
How to Set Up a New Printer (First-Time Setup Guide)
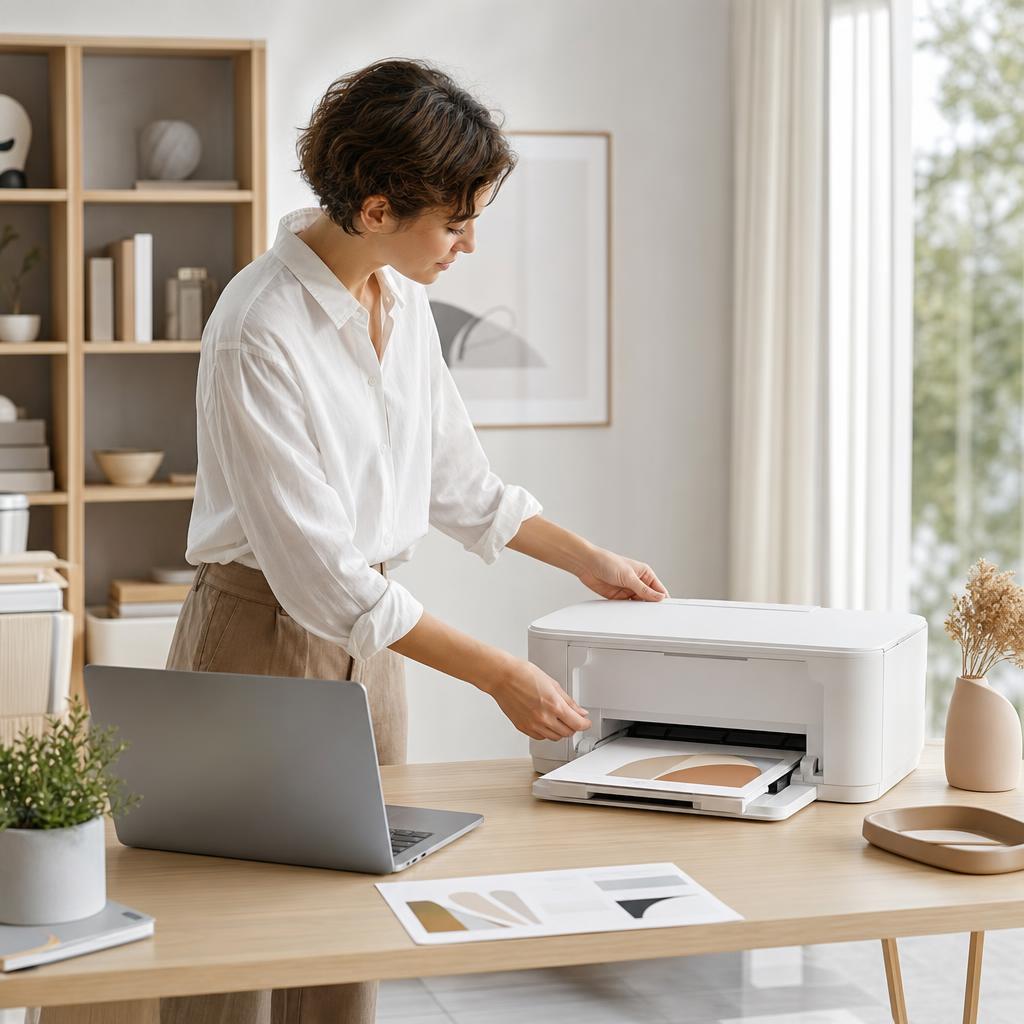
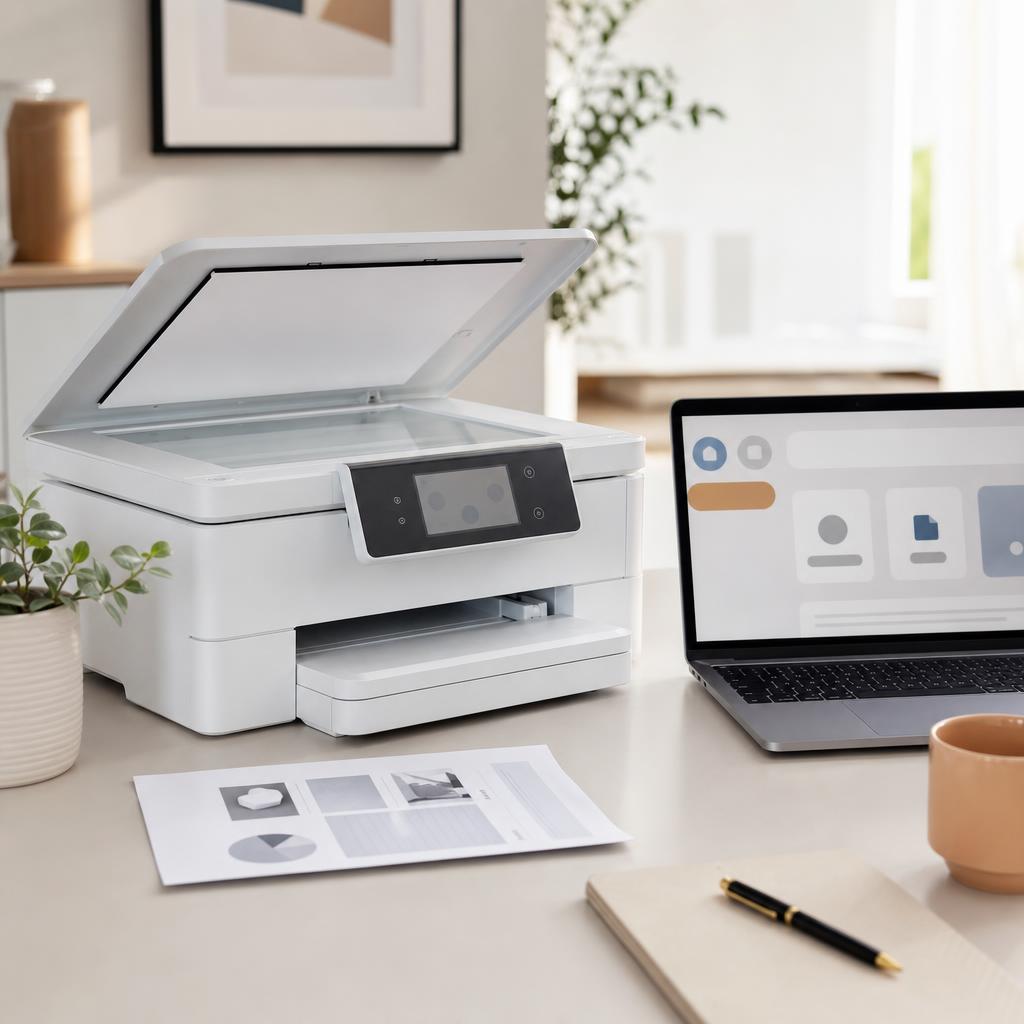
A new printer works beautifully once it’s set up properly — but rushed unboxing, forgotten shipping tape, and a wrongly seated cartridge cause most first-day headaches. This guide walks you calmly through every step, from lifting the printer out of the box to installing ink or toner, loading paper, and printing a clean first test page, so your printer is ready before you ever connect it to a computer or phone.
Applies to: Brand-new inkjet & laser printers, All-in-one (print/scan/copy) models, Ink-tank & cartridge printers, Wi-Fi, Ethernet & USB printers, HP, Canon, Epson, Brother & more

Quick summary
- The problem
- You’ve unboxed a new printer and need to get it physically ready to print — hardware, ink or toner, paper, and its first test page — before connecting any devices.
- The fix
- Place it on a firm level surface, remove every piece of shipping tape and packing material inside and out, install the ink or toner, load paper, power it on and follow the on-screen setup, then print a test page to confirm it all works.
- Applies to
- Any brand-new inkjet or laser printer, all-in-one or single-function, before it’s connected to Wi-Fi, USB, or a network.
On this page Show
Understanding the problem
A modern printer arrives as a carefully packed machine with a surprising amount holding it steady in transit. Inside and out you’ll find bright orange or blue tape, foam blocks, cardboard inserts, and plastic film — all there to stop the delicate print mechanism shifting about in the courier van. Before the printer can do anything useful, that packaging has to come out, the ink or toner has to go in, and paper has to be loaded so the machine has everything it needs to put marks on a page. It sounds involved, but it’s a logical sequence, and each part takes only a few minutes once you know what you’re looking for.
The two things that trip people up most are hidden shipping tape and cartridge confusion. Manufacturers tuck tape and protective strips in places you wouldn’t think to look — under the scanner lid, inside the paper tray, behind the cartridge door, even around the print head — and a single missed piece can cause a jam or an error the moment you try to print. Ink and toner differ too: inkjet cartridges usually have a plastic pull-tab or protective clip to remove, while laser toner needs a gentle rock and a sealing strip pulled out, and neither should be forced into place. Get the sequence and these small details right and the printer almost sets itself up.
This guide takes it slowly and in order, assuming no prior experience. You’ll unbox and place the printer, strip out every scrap of packaging, fit the ink or toner the right way, load paper correctly, and power it on to run through the on-screen language and alignment steps — including the one-time priming cycle inkjets perform, which uses a little ink and is completely normal. By the end you’ll have printed a clean test page, with your printer sitting ready for the next stage: connecting it to your computer or phone.
Did you know?
Laser printers use no liquid ink
Laser printers fuse a fine plastic powder called toner onto the page with heat, which is why prints come out dry and smudge-resistant.
Signs you're in the right place
If you're seeing any of these, this guide is for you.
-
You’ve just unboxed a brand-new printer
The printer is out of the box for the first time and you want to set it up correctly rather than guess your way through.
-
You’re not sure what packaging to remove
There’s tape, foam, and film in and around the printer, and you’re unsure which pieces are safe to pull out.
-
You need to install ink or toner for the first time
The cartridges are still sealed in their bags and you’re not certain how they fit or what strips to remove.
-
You don’t know how to load the paper
The tray adjusters and paper guides are unfamiliar and you want to avoid a jam on the very first print.
-
The panel is asking for language and region
On first power-on the printer wants a language, region, date, and time before it will go any further.
-
You want a clean first test page
You’d like to confirm the printer physically works before you spend time connecting it to a device.
-
You replaced an old printer and want a fresh start
You’ve bought a new machine and want to set it up properly from scratch rather than copy an old, half-remembered setup.
-
You’ll connect it to Wi-Fi or a computer next
You know a device connection is coming, but you want the hardware fully ready before you get to that stage.
What's usually behind it
The most common reasons this happens, so the fix makes sense.
Shipping tape left in place
Missed tape on the print head, cartridge door, or paper path is the single most common reason a new printer jams or throws an error on its first print.
Foam or cardboard inserts still inside
Transit blocks in the paper tray or behind the access door stop paper feeding and can trigger a “paper jam” warning before you’ve printed a thing.
Protective strips left on cartridges
Inkjet pull-tabs and toner sealing strips must be removed before fitting; leaving them on blocks ink or toner and produces blank pages.
Ink or toner not clicked fully home
A cartridge that isn’t seated with a firm click often isn’t recognised, leading to a “missing cartridge” or “install ink” message.
Paper loaded past the fill line or guides too loose
Overfilling the tray, or leaving the side guides slack, causes skewed feeds, multiple sheets grabbing at once, and early jams.
Skipping the one-time priming or alignment cycle
Inkjets run a priming routine to fill the print head on first use; interrupting it or skipping alignment leaves prints streaky and faint.
Printer placed on an uneven or cramped surface
A wobbly, sloped, or tight spot with no clearance for the tray or lid causes misfeeds and makes the printer awkward to use day to day.
Powering on before it’s fully unpacked
Switching the printer on with tape or blocks still fitted can lock the carriage and produce an error that forces you to start over.
Using the wrong or a damaged power cable
A cable from another device, or one kinked in the box, can prevent a clean power-on or cause the printer to shut down mid-setup.
Expecting to connect a device before the hardware is ready
Trying to add the printer to a phone or laptop before ink, paper, and priming are done leads to confusing, incomplete setups.
What you'll need
Have these on hand before you start for a smooth fix.
-
A firm, level surface with clearance
Choose a stable spot with room for the paper tray to extend and the lid to open fully — not a wobbly shelf or a tight corner.
-
The ink cartridges or toner supplied in the box
New printers include starter ink or toner; keep them in their sealed bags until the printer prompts you to fit them.
-
A stack of plain A4 or Letter paper
Fresh, flat paper feeds best. Fan the stack before loading so the sheets aren’t stuck together.
-
The power cable that came with the printer
Use the printer’s own cable rather than one borrowed from another device, and check it isn’t kinked from the box.
-
The quick-start sheet or setup poster
Manufacturers include a model-specific diagram; keep it to hand, as the exact tape locations and steps vary slightly by printer.
-
A few minutes of patience for priming
Inkjets run a one-time head-filling cycle on first use that can take several minutes and makes some noise — that’s expected.
How to fix it
Work through these in order — they run from the quickest checks to the more advanced fixes.
-
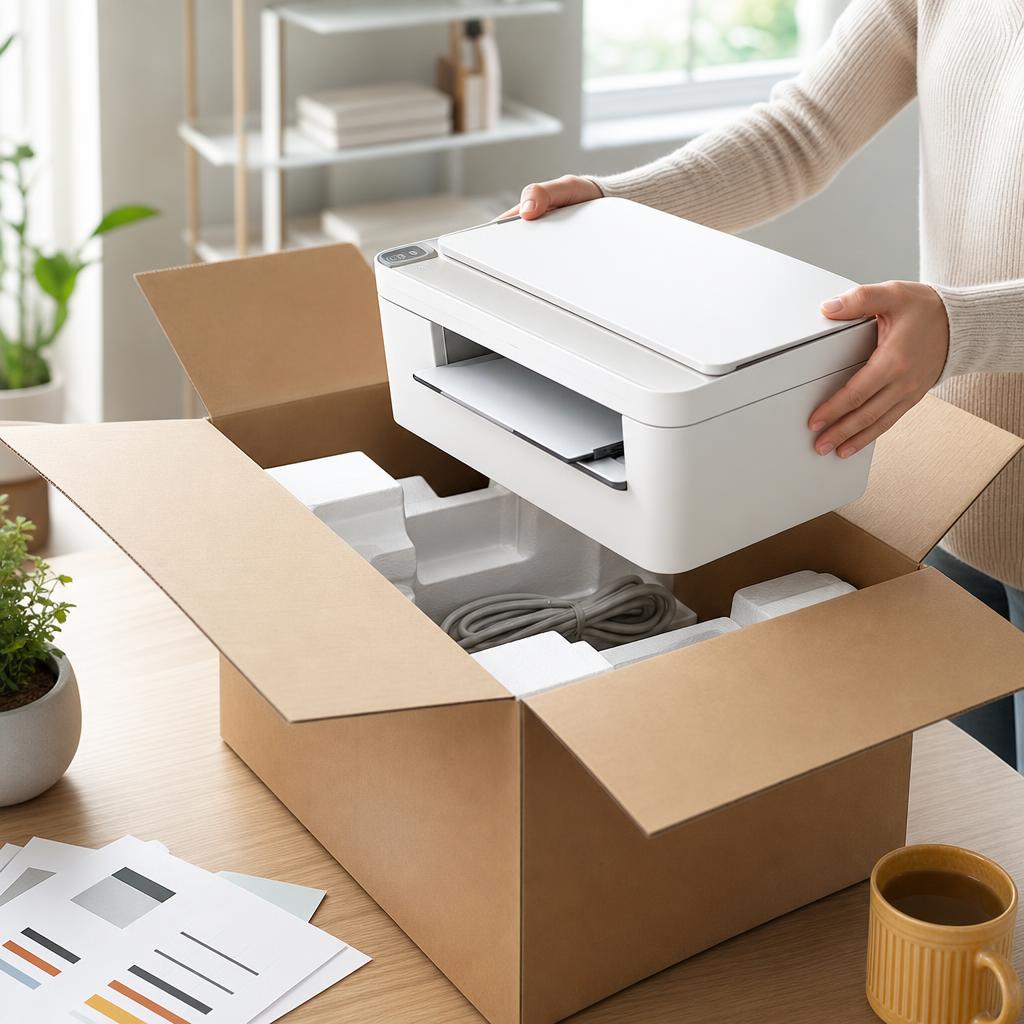
Step 1: Choose a good spot and lift the printer out
Pick a firm, level surface near a power socket, with space for the paper tray to slide out at the front and the lid to open fully at the top.
Lift the printer from the box supporting its base — not by the scanner lid or paper tray — and set it down gently.
Keep the box and all packaging nearby for now; it often holds the power cable, a quick-start sheet, and the starter cartridges.
Why this works: A stable, well-ventilated spot with room to open trays and lids prevents misfeeds and makes the printer easy to live with. Lifting by the base avoids straining the parts that aren’t built to bear the printer’s weight.
Expected result: The printer sits level and steady on your chosen surface, with clearance all round and its accessories gathered beside it.
Avoid direct sunlight, radiators, and dusty or damp spots — heat and dust are hard on ink, toner, and the print head over time.
-
Step 2: Remove every piece of shipping tape and packaging
Peel off all the bright tape, plastic film, and stickers on the outside, then open the top lid, the front cartridge door, and the paper tray.
Look inside for foam blocks, cardboard inserts, and more tape — common hiding places are under the scanner lid, around the print head, and inside the tray.
Follow the quick-start sheet, which shows the exact tape points for your model, and gently remove each one until nothing coloured remains.
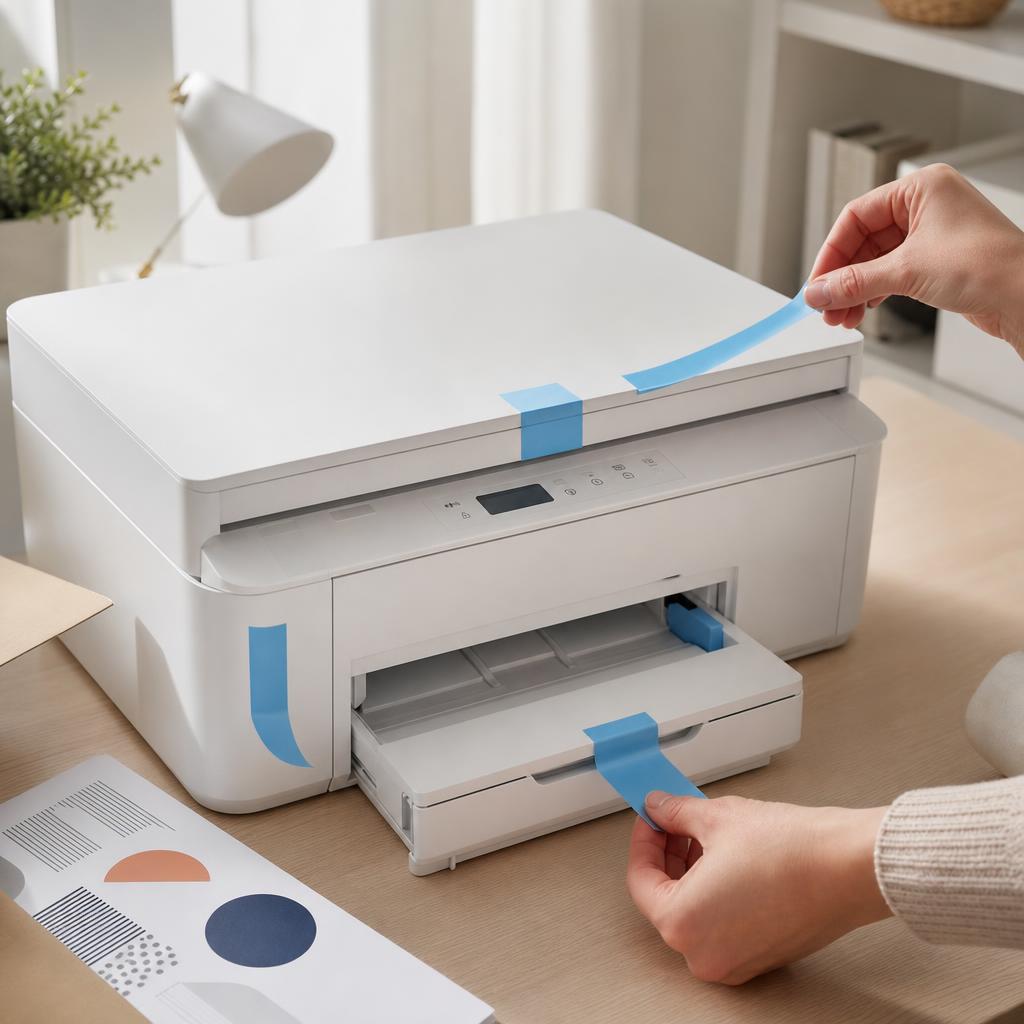
Why this works: Transit tape and packing hold the mechanism still in the courier’s hands, but left in place they jam the paper path or lock the carriage the moment you print. Removing every last piece now is the single biggest thing you can do to avoid a first-day error.
Expected result: All tape, film, foam, and cardboard is out, and the print head or carriage can move freely with nothing coloured left inside.
Manufacturers deliberately use vivid orange or blue tape so it stands out — if you can still see any, keep looking before you power on.
No bright tape or packing material remains anywhere inside or outside the printer.
-
Step 3: Install the ink cartridges or toner
Open the cartridge or toner access door and wait for the carriage to settle if it moves into position on its own.
For inkjets: take each cartridge out of its bag, remove the plastic pull-tab or protective clip, avoid touching the copper contacts or nozzles, and press it in until it clicks firmly into its colour-matched slot.
For laser toner: gently rock the cartridge side to side to spread the toner, pull out the orange sealing strip fully, then slide it in until it locks and close the door.
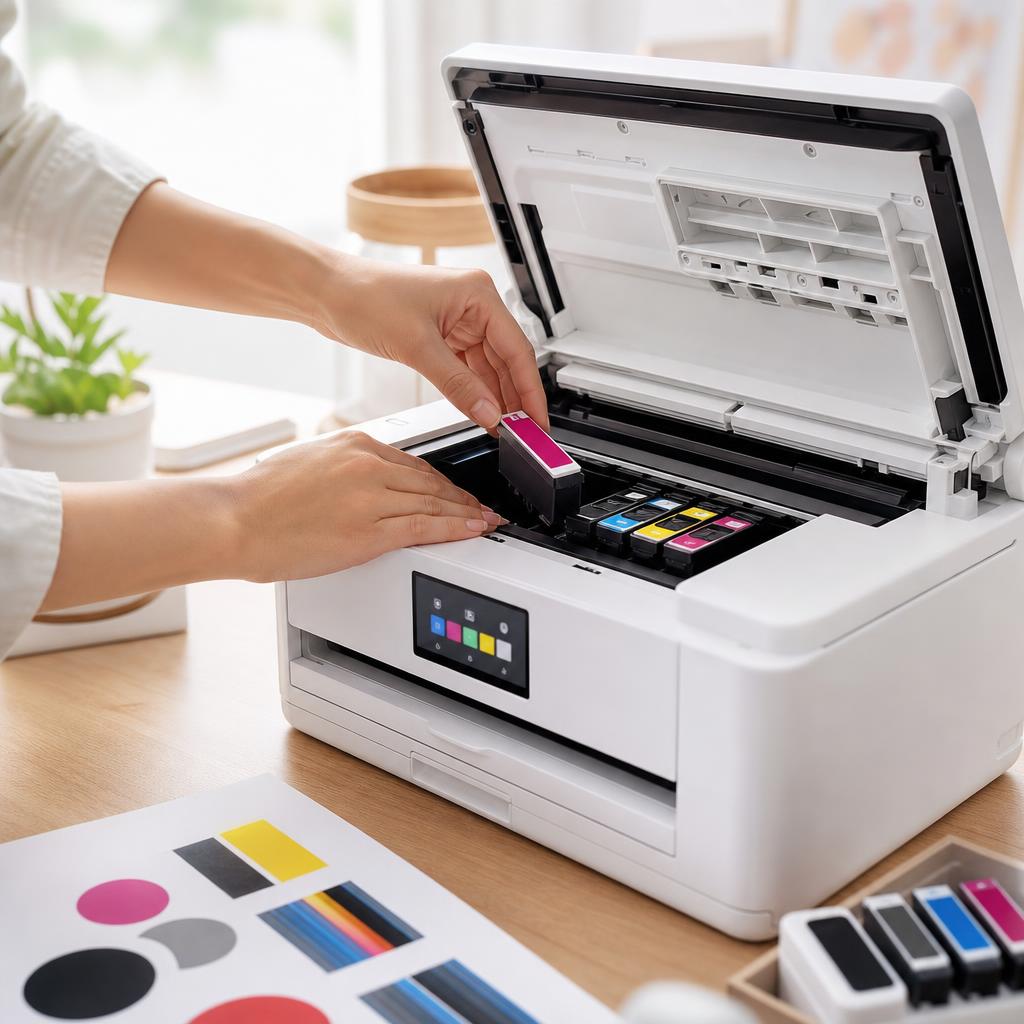
Why this works: Ink and toner are what actually mark the page, and they must be unsealed and seated correctly to be recognised. A missed pull-tab or a cartridge that isn’t clicked home is a leading cause of blank pages and “install cartridge” errors.
Expected result: Every cartridge or the toner unit clicks firmly into place, the door closes flush, and the panel stops asking you to fit supplies.
Never force a cartridge — if it won’t seat, check it’s the right colour slot and that the pull-tab is fully off. Avoid touching the gold or copper contacts, as fingerprints can stop it being detected.
The printer acknowledges the ink or toner instead of showing a “missing cartridge” warning.
-
Step 4: Load paper into the tray correctly
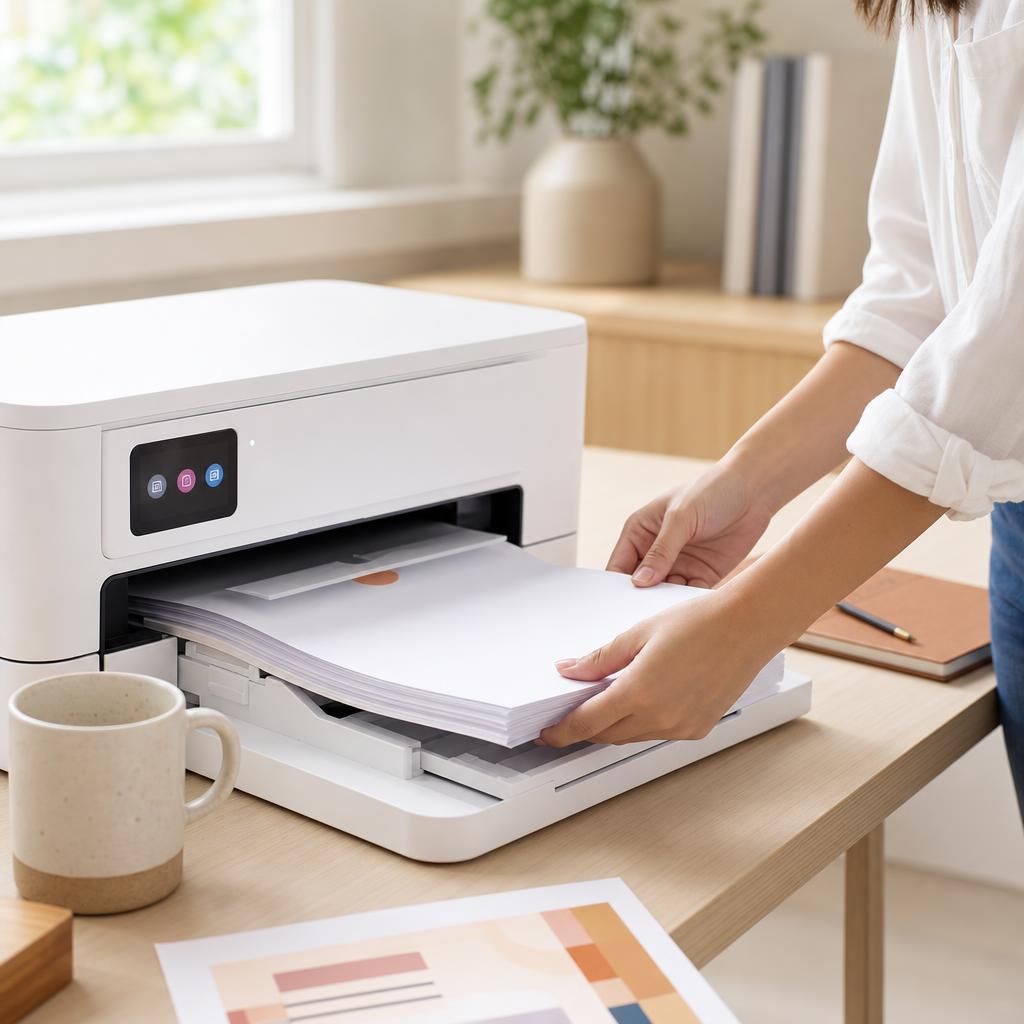
Pull out the paper tray, fan a stack of plain A4 or Letter paper to separate the sheets, and tap the edges square on the desk.
Place the stack in the tray, then slide the side and rear guides in until they rest lightly against the paper without bending or squeezing it.
Keep the stack below the maximum fill line marked inside the tray, then slide the tray fully back into the printer.
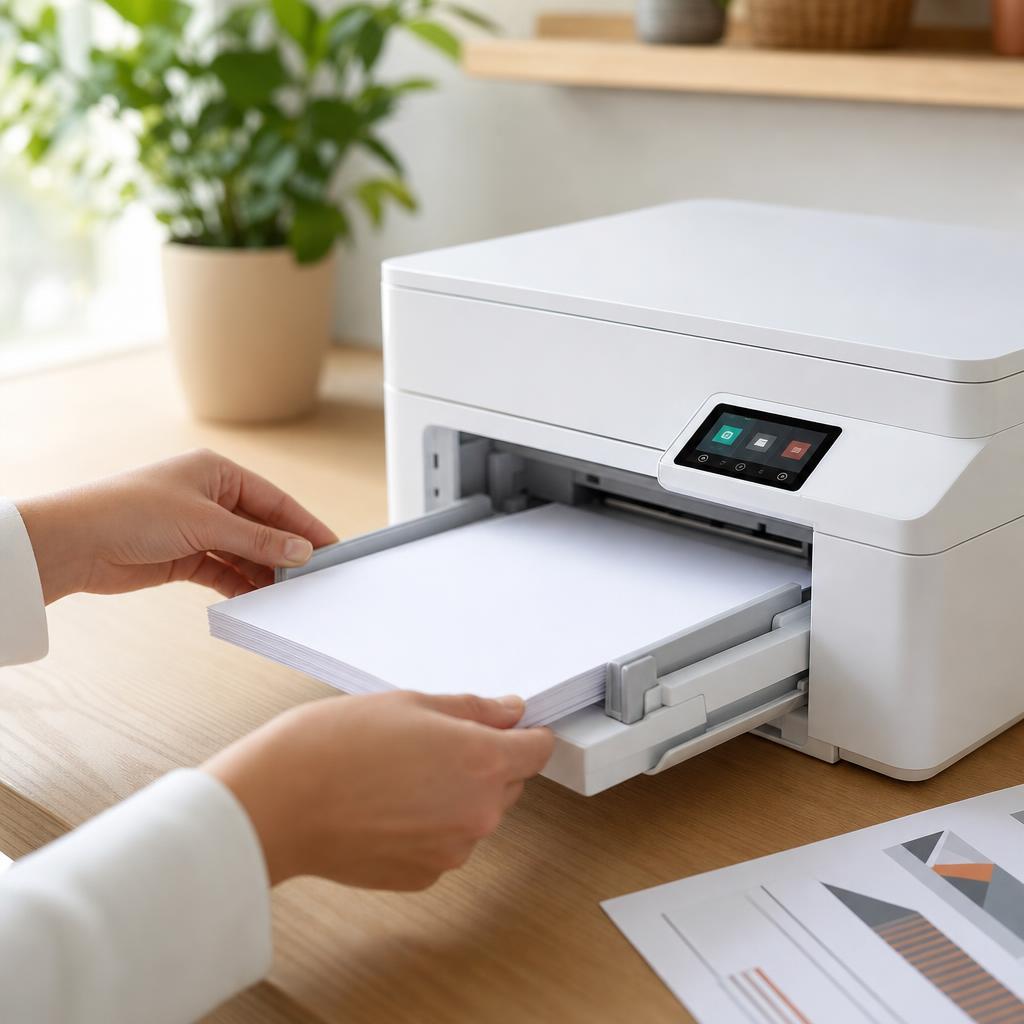
Why this works: Paper that’s squared, guided, and not overfilled feeds one clean sheet at a time, which prevents the skewed feeds and jams that so often spoil a first print. The guides tell the printer the paper size and keep every sheet travelling straight.
Expected result: The tray sits flush in the printer with the paper held snugly but freely between the guides, below the fill line.
Guides that are too tight can stop paper feeding; too loose and sheets skew. Aim for a light touch against the edges of the stack.
-
Step 5: Connect the power and switch it on
Plug the printer’s own power cable into the back of the printer and then into a wall socket — many printers have no separate on/off for the mains.
Press the power button on the control panel and wait while the printer starts up; you may hear whirring and clicking as it wakes.
Let it complete its start-up on its own without pressing more buttons or opening doors while it initialises.
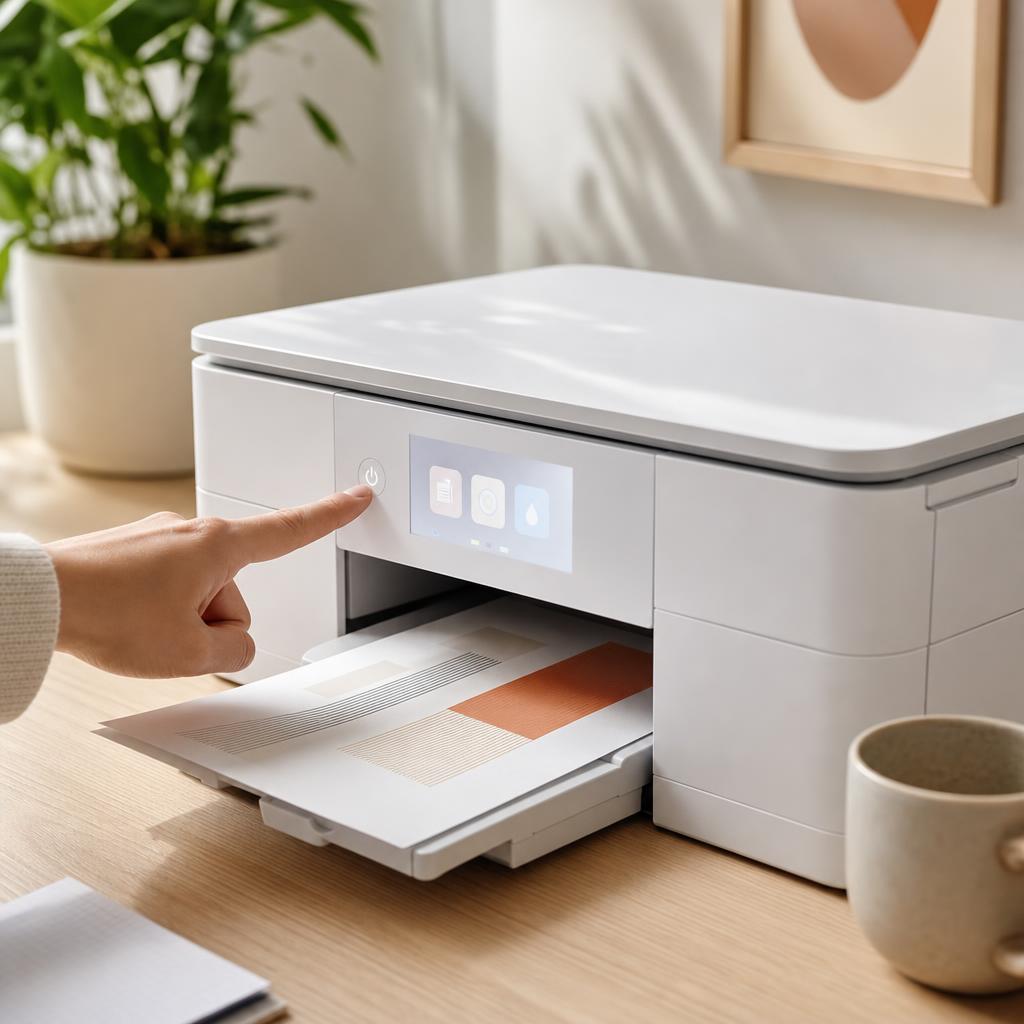
Why this works: The printer runs internal checks and positions its mechanism as it powers on, so it needs a clean, uninterrupted start. Using the supplied cable and a proper socket avoids the power drops that can stall setup halfway through.
Expected result: The panel lights up and moves to a welcome or setup screen after its start-up routine, ready for configuration.
The noises during start-up are normal. If nothing happens, check the cable is firmly in at both ends and the socket is switched on.
The control panel is lit and displays a welcome or first-time setup screen.
-
Step 6: Set language, region, and date on the panel
On the welcome screen, choose your language from the list, then select your country or region when prompted.
Set the date and time if the printer asks — this keeps logs and any fax or scheduling features accurate.
Work through any short introductory prompts by following the on-screen buttons, confirming each choice as you go.
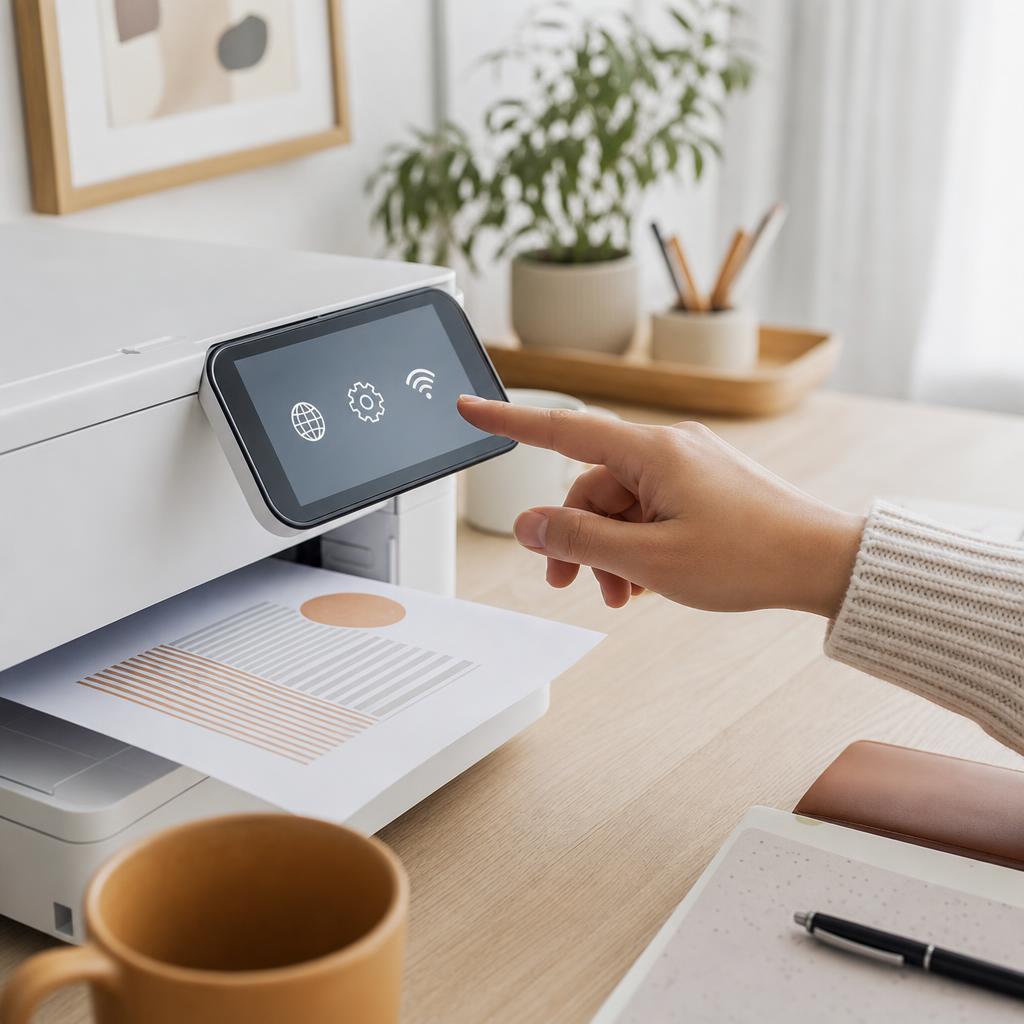
Why this works: These basics shape how menus, paper sizes, and messages appear from here on, so setting them once now saves confusion later. Region in particular tells the printer whether to default to A4 or Letter and other local settings.
Expected result: The panel’s menus now appear in your language with the correct region, ready for the setup steps that follow.
-
Step 7: Let the printer prime and align itself
When prompted, allow the printer to run its one-time priming or charging cycle — on inkjets this fills the print head with ink and can take several minutes.
Do not open doors, remove cartridges, or switch the printer off while it primes; let it finish undisturbed.
If it offers a print-head alignment, accept it and follow any prompt to scan or confirm the alignment page it produces.
Why this works: Priming draws ink through the print head so the first prints come out full and even rather than faint or streaky, and it naturally uses a little ink — that’s expected, not a fault. Alignment tunes the head so lines and colours land precisely on the page.
Expected result: The printer completes priming and any alignment, then returns to a ready state on the panel.
Laser printers don’t prime, but may run a brief warm-up instead. The dip in the starter cartridge after priming is normal — it isn’t a sign of a leak or a faulty cartridge.
The panel shows a ready or home screen once priming and alignment finish.
-
Step 8: Check the panel shows no warnings
Look over the control panel for any error icons, flashing lights, or messages about paper, ink, or a door being open.
If something is flagged, reopen the relevant door and re-check for leftover tape, a loose cartridge, or a slightly ajar cover.
Close everything firmly and confirm the printer settles on a clean home screen before continuing.
Why this works: Clearing warnings now, before the test page, means any problem you see later comes from the print itself rather than a missed setup step. A clean home screen is the printer’s way of saying the hardware is ready.
Expected result: The panel rests on a clear home or ready screen with no outstanding warnings or flashing alerts.
A common early message is “door open” or “check cartridge” — both usually mean a cover or cartridge just needs a firmer push to click home.
-
Step 9: Print your first test page
From the panel, open the Setup, Tools, or Reports menu and choose an option such as “Print Test Page”, “Print Quality Report”, or “Demo Page”.
Watch the page feed through and check it prints promptly, pulls in one clean sheet, and comes out without smudges.
Look at the result: text should be crisp and solid, and any colour bars even, with no heavy streaks or gaps.
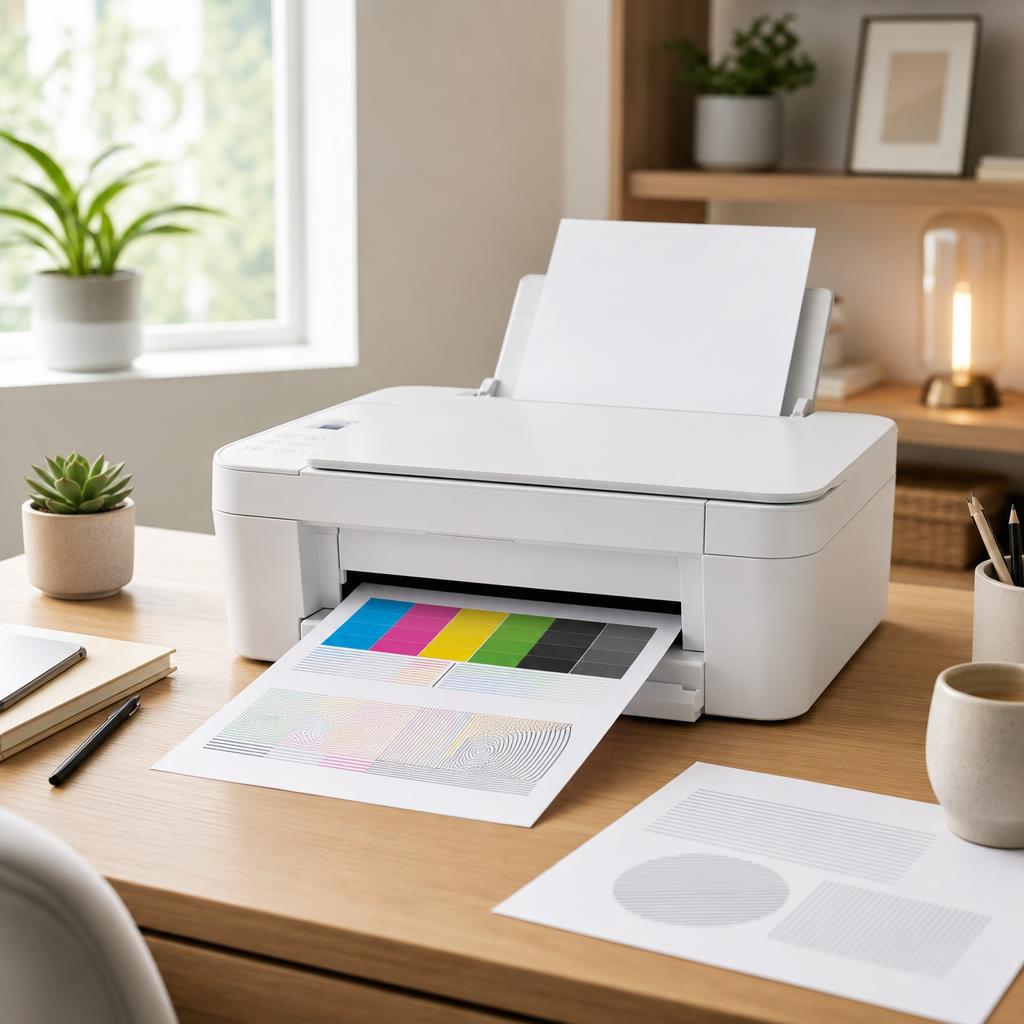
A clean test page straight from the printer confirms the hardware is set up and ready to connect. Why this works: A test page printed from the printer itself proves the hardware works on its own, independently of any computer or network. It confirms ink or toner, paper feed, and priming have all come together before you add a device connection.
Expected result: A clean, evenly printed test page feeds out on the first try, with sharp text and no streaking.
If the page is faint or streaky, run the built-in print-head cleaning once and test again — a new inkjet occasionally needs one cleaning cycle to settle after priming.
A crisp test page prints straight from the printer’s own menu.
-
Step 10: Get ready to connect a computer or phone
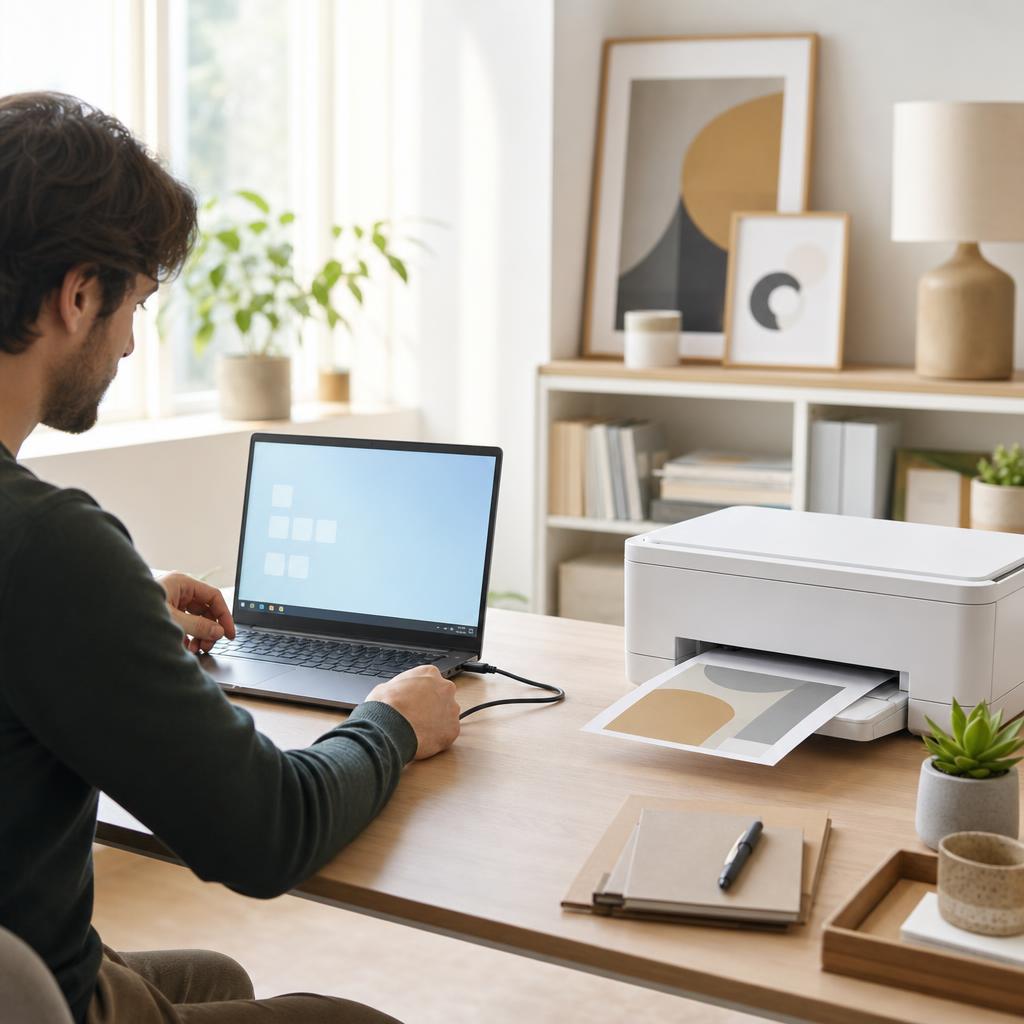
With the hardware working, decide how you’ll connect: Wi-Fi for wireless printing from any device, a USB cable to one computer, or Ethernet to your router.
Have your Wi-Fi network name and password to hand if you’re going wireless, and keep the printer switched on and ready.
Follow a dedicated connection guide for your method and device from here — the on-printer setup is now complete.
Why this works: Connecting to a device is a separate stage with its own steps for each operating system and connection type. Because the printer is already primed, loaded, and tested, that connection will go far more smoothly than trying to do everything at once.
Expected result: The printer is fully set up as hardware and waiting, ready for you to add it to Windows, macOS, or a phone.
On Windows 11 you’ll add it under Settings → Bluetooth & devices → Printers & scanners; on a Mac under System Settings → Printers & Scanners. Wireless setup usually starts from the printer’s own Wireless or Network menu.
Tip
Printer Tip
Don’t rush the unboxing — missing even one strip of hidden tape is the most common cause of a first-day jam or error.
Other solutions to try
If the steps above didn't do it, these fixes resolve the less common cases.
If the printer won’t power on
A new printer that stays dark almost always has a power or unpacking issue rather than a fault.
- Check the supplied power cable is pushed firmly into both the printer and a working, switched-on wall socket.
- Try the socket with another device to rule out a dead outlet, and avoid extension leads for the first power-on.
- Confirm no tape or block is jamming the power button or carriage, then press and hold the power button for a few seconds.
If it reports a jam or “paper” error before you’ve printed
A jam warning on a brand-new printer nearly always means packaging is still inside.
- Open every door and the paper tray again and hunt for leftover tape, foam blocks, or cardboard inserts.
- Make sure the paper isn’t above the fill line and that the guides rest lightly against the stack, not squeezing it.
- Remove and re-seat the paper squarely, close all covers firmly, then clear the error from the panel and retry.
If the first pages are blank, faint, or streaky
Early print-quality wobbles on a new inkjet usually settle after priming and a cleaning cycle.
- Confirm every protective pull-tab and sealing strip is fully removed and each cartridge is clicked firmly home.
- Run the built-in print-head cleaning from the Tools or Maintenance menu, then print the test page again.
- If it’s still poor after two cleanings, run alignment and check the cartridges are the correct ones for your exact model.
If the panel won’t accept your setup choices
A control panel that seems stuck on the setup screens usually just needs a clean restart.
- Wait a little longer — priming and initialisation can pause the panel for a few minutes on first use.
- If it’s genuinely frozen, switch the printer off, wait 30 seconds, and switch it on to restart the setup wizard.
- Work through the language and region prompts slowly, confirming each choice before moving to the next.
Confirm it's working
Tick these off to be sure the problem is fully resolved.
Keep it from happening again
A few habits that stop this problem coming back.
- Don’t rush the unboxing — missing even one strip of hidden tape is the most common cause of a first-day jam or error.
- Never force a cartridge or toner into place; if it resists, check the colour slot and that every pull-tab and strip is off.
- Avoid overfilling the paper tray or leaving the guides slack, as both lead to skewed feeds and early jams.
- Don’t interrupt the priming cycle or switch the printer off during it — the small dip in starter ink is normal, not a fault.
- Resist connecting a phone or laptop before the hardware is fully set up and a test page prints — do the physical steps first.
- Always use the printer’s own power cable and a proper wall socket, not a borrowed lead or a crowded extension strip.
Frequently asked questions
Was this guide helpful?
Your feedback helps us keep these steps accurate.
Thanks for your feedback!
Written by
The Guts Guide Editorial Team · Printer Setup Specialists
Reviewed by
Daniel Owens · Print & Network Technician
Last updated
Jul 14, 2026
Continue Reading
Pick up where you left off with the next guide in your troubleshooting journey.
Related Guides
More troubleshooting walkthroughs you may find useful.
Buying Guides
Plain-English comparisons and pre-purchase checklists — find the right printer before you buy.


