
How to Connect a Printer to macOS (Mac Setup Guide)
Adding a printer to a Mac is usually far simpler than people expect — modern printers speak AirPrint, so your Mac often finds and sets them up in seconds with no driver to download. This guide walks you through every route (AirPrint, USB, and network printers by IP), shows you exactly where the settings live on both new and older macOS versions, and fixes the classic Mac printing snags like a paused queue or an “unable to communicate” message.
Applies to: AirPrint-capable inkjet & laser printers, USB-connected printers, Wi-Fi & Ethernet network printers, All-in-one (print/scan/copy) models, HP, Canon, Epson, Brother & more
Quick summary
- The problem
- You want to add a printer to your Mac and be able to print reliably — whether it’s brand new, connected by USB, or sitting on your Wi-Fi network.
- The fix
- Open System Settings → Printers & Scanners, click Add, and let your Mac find the printer over AirPrint; if it’s USB just plug it in, and if it’s a network printer that won’t appear, add it by its IP address.
- Applies to
- macOS Ventura, Sonoma and later (System Settings), plus older macOS with System Preferences — for AirPrint, USB, Wi-Fi, and Ethernet printers.
On this page Show
Understanding the problem
A Mac talks to printers in a refreshingly modern way. Most printers made in the last decade support AirPrint, Apple’s built-in printing technology, which means macOS already knows how to talk to them — there’s nothing to download and no driver disc to hunt for. When your printer and Mac are on the same network, macOS discovers the printer automatically, sets up the right features, and lets you print, all in a few clicks. This is why Mac printer setup is often quicker and less fiddly than the equivalent on other systems.
Where people trip up is usually one small thing rather than a big fault. The printer and the Mac are on different Wi-Fi networks — often a “guest” network or a separate 5GHz band — so they simply can’t see each other. Or the printer is still finishing its own wireless setup, so it hasn’t announced itself yet. Occasionally an older printer isn’t an AirPrint model and needs the manufacturer’s software, or a network printer has been given a fixed address that macOS can’t discover on its own. None of these are hard to solve once you know where to look.
This guide covers every route in plain language. You’ll learn exactly where the printer settings live on current macOS (System Settings → Printers & Scanners) and on older versions (System Preferences), how to add an AirPrint printer, how USB setup works, and how to add a stubborn network printer by typing in its IP address. The final steps cover the everyday print dialog, saving your favourite settings as a preset, and printing a test page — plus the fixes for the classic Mac problems: a paused printer, an “unable to communicate” message, and a stale queue that clears the moment you delete and re-add the printer.
Did you know?
Tank printers are still inkjets
Ink-tank printers are inkjets that use large refillable reservoirs instead of cartridges, which usually lowers the cost per printed page.
Signs you're in the right place
If you're seeing any of these, this guide is for you.
-
You’ve just unboxed a new printer
The printer is set up and powered on, and now you want to add it to your Mac so you can print for the first time.
-
Your Mac can’t find the printer
You clicked Add in Printers & Scanners but the printer never appears in the list of nearby devices.
-
You’re switching from USB to Wi-Fi
The printer worked over a cable and now you’d like to print wirelessly from anywhere in the house.
-
You’re connecting by USB cable
You want the simplest, most reliable link — a direct cable between the printer and your Mac.
-
The printer shows as paused
Jobs sit in the queue and nothing prints because the printer has quietly been set to Paused on the Mac.
-
“Unable to communicate with the printer”
You try to print and macOS reports it can’t reach the printer, even though it’s switched on.
-
A network printer needs adding by IP
The printer has a fixed address on the office network and won’t appear in the automatic discovery list.
-
The old queue is stuck or confused
The printer has been playing up for a while and you suspect a stale setup is the cause.
What's usually behind it
The most common reasons this happens, so the fix makes sense.
The Mac and printer are on different networks
If the printer is on one Wi-Fi network and the Mac on another — including a guest network — they can’t discover each other, so nothing appears in the list.
The printer hasn’t finished its own Wi-Fi setup
A printer still joining wireless, or sitting on Wi-Fi Direct, hasn’t announced itself to the network yet and won’t show up on the Mac.
The printer isn’t an AirPrint model
Older or very basic printers don’t support AirPrint, so macOS can’t set them up automatically and needs the manufacturer’s software instead.
A firewall or “stealth mode” is blocking discovery
Security software or the macOS firewall’s stealth mode can quietly block the messages printers use to advertise themselves on the network.
The USB cable or port is the weak link
A charge-only cable, a loose connection, or a flaky hub can stop a USB printer being recognised even when everything else is fine.
The printer uses a fixed IP that changed
A network printer set to a static address, or one whose address shifted after a router restart, may not be found by automatic discovery.
The wrong protocol was chosen when adding by IP
Picking the wrong connection type — AirPrint, IPP, or LPD — when adding a printer manually can leave macOS unable to talk to it.
The printer is set to Paused on the Mac
It’s easy to pause a printer by accident; while paused, jobs queue up and nothing prints until you resume it.
A stale or corrupted printer entry
An old setup that half-worked can leave a confused entry in Printers & Scanners that reports errors or refuses to communicate.
macOS chose a generic driver
If macOS falls back to a generic driver instead of AirPrint or the correct model, some features and reliability can suffer.
What you'll need
Have these on hand before you start for a smooth fix.
-
Your Mac, switched on and unlocked
You’ll need an administrator account, as adding a printer may ask for your Mac password.
-
The printer, powered on and ready
For wireless setup it should already be connected to your Wi-Fi; its screen or a status light should show it’s online.
-
Your Wi-Fi network name and password
Needed if the printer isn’t yet on your network — and make sure the Mac is on that same network, not a guest one.
-
A USB cable (for a wired connection)
A proper data cable, not a charge-only lead; you may also need a USB-C adapter on newer Macs.
-
The printer’s IP address (for network printers)
Print a network configuration page from the printer, or check its screen, if you’ll be adding it by address.
-
A sheet of plain paper
Loaded in the tray so you can print a test page at the end to confirm everything works.
How to fix it
Work through these in order — they run from the quickest checks to the more advanced fixes.
-
Step 1: Get the printer ready and on the right network
Switch the printer on and wait for it to fully warm up and reach its home screen or ready light.
For wireless printing, make sure the printer is connected to your Wi-Fi — check for a steady Wi-Fi symbol on its panel.
Confirm your Mac is on the same Wi-Fi network as the printer, not a separate guest or 5GHz-only network.
Why this works: A Mac can only discover a printer that is already on the same network and announcing itself. Getting both devices onto the same Wi-Fi first prevents the single most common reason a printer never appears in the list.
Expected result: The printer shows it’s online and connected to the same network as your Mac.
If you’re connecting by USB instead, you can skip the Wi-Fi checks — just have the cable to hand for the USB step.
-
Step 2: Open Printers & Scanners on your Mac
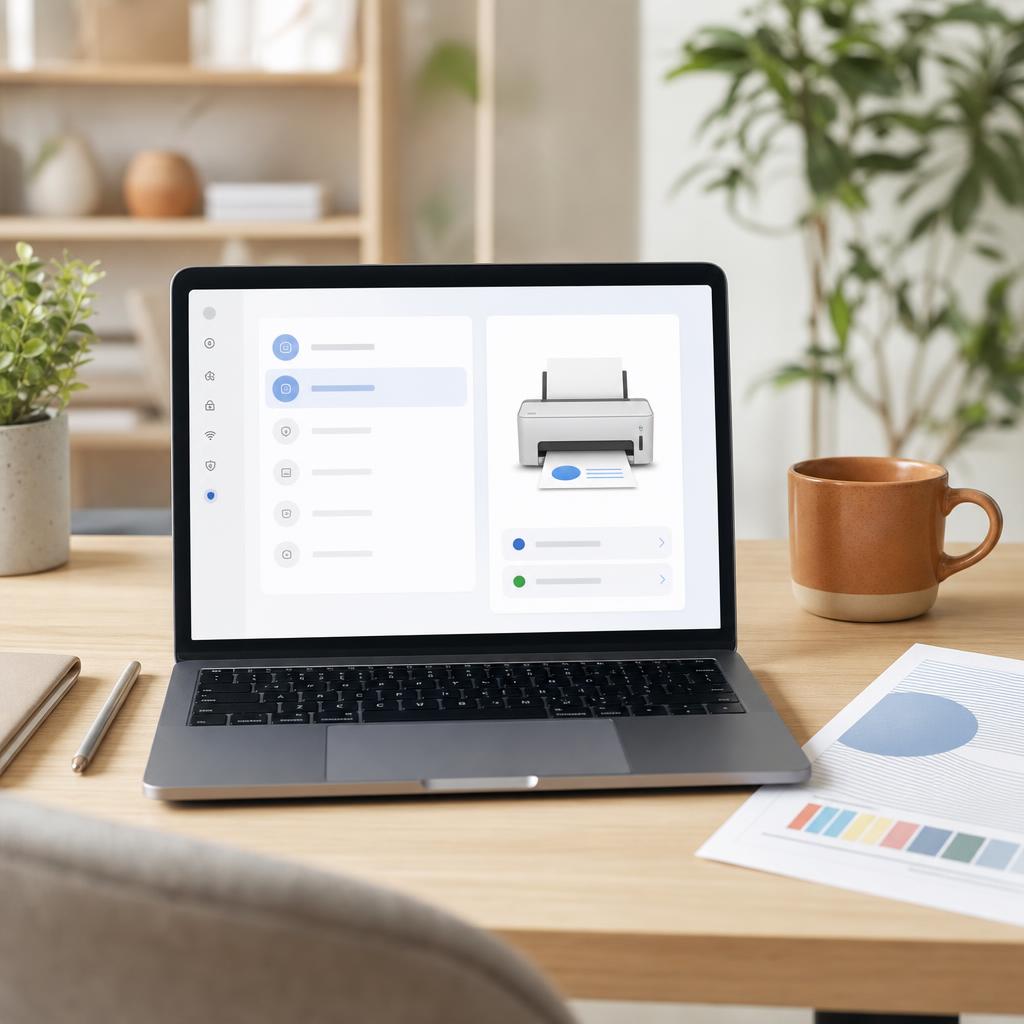
On macOS Ventura, Sonoma, or later, click the Apple menu → System Settings, then scroll down and choose Printers & Scanners.
On older macOS (Monterey and earlier), click the Apple menu → System Preferences → Printers & Scanners instead.
You’ll see a list of any printers already set up, with an Add Printer, Scanner, or Fax button to add a new one.
Why this works: Almost everything to do with printers on a Mac lives in this one panel, whichever macOS version you’re on. Knowing exactly where it is — and that it was renamed from System Preferences to System Settings in Ventura — saves a lot of hunting.
Expected result: The Printers & Scanners panel is open, showing your current printers and an Add button.
You can see the Add Printer, Scanner, or Fax button.
-
Step 3: Add your AirPrint printer
Click the Add Printer, Scanner, or Fax button; a window opens and your Mac begins searching the network for printers.
When your printer appears in the list, select it — check that the Use (or Driver) field reads “AirPrint” or “Secure AirPrint”.
Click Add, and wait a few seconds while macOS sets the printer up and adds it to your list.

Why this works: AirPrint is Apple’s built-in printing technology, so a supported printer needs no driver download at all — macOS already knows how to talk to it. Choosing the AirPrint option gives you the most reliable connection and full access to the printer’s features.
Expected result: The printer appears in your Printers & Scanners list, ready to use, with no driver to install.
If “AirPrint” doesn’t appear as the Use option, your printer may not support it — see the USB or network steps below, or install the maker’s software.
The new printer is listed with a green “Idle” or “Ready” status.
-
Step 4: Or connect the printer by USB
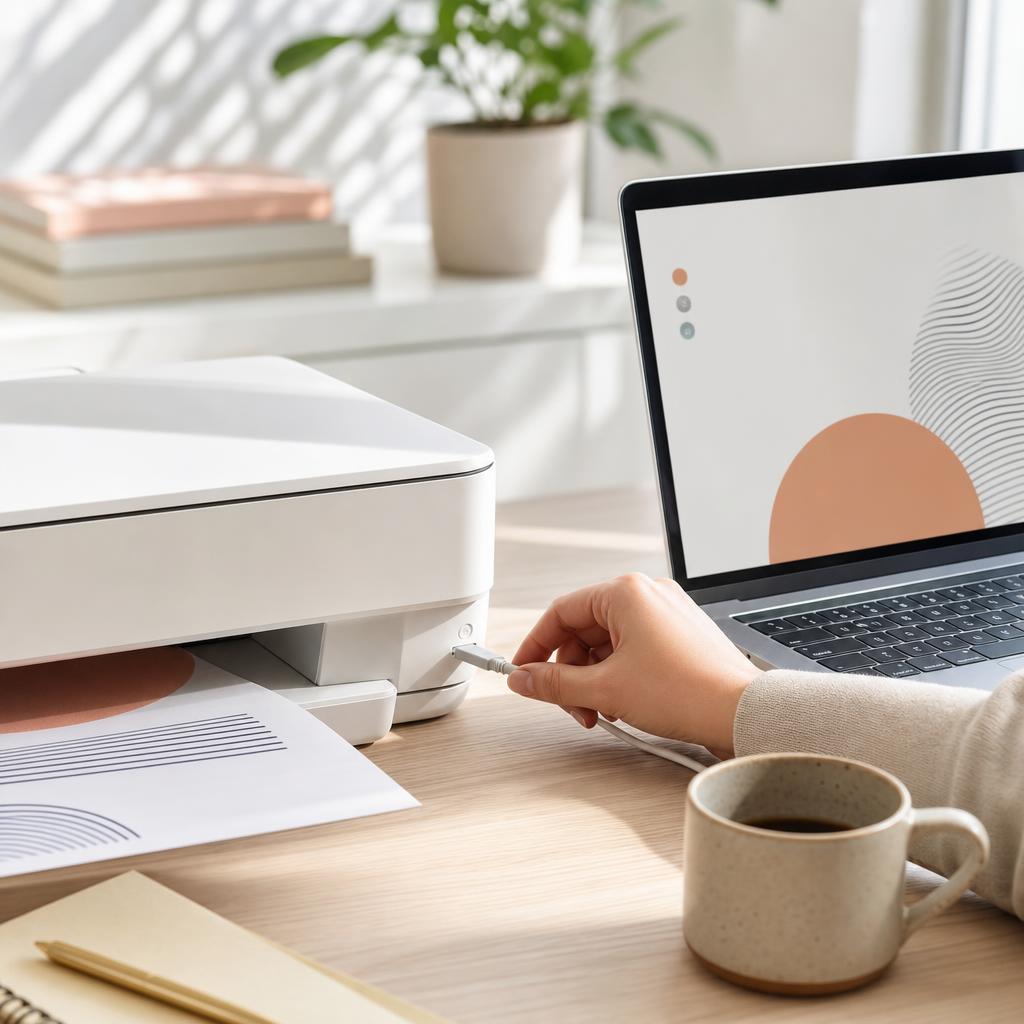
Connect the USB cable from the printer to your Mac; on a Mac with only USB-C ports, use a USB-C adapter or the right cable.
macOS usually detects the printer straight away and adds it automatically — watch for it to appear in Printers & Scanners.
If it doesn’t appear, click Add, select the printer from the list, and click Add to finish.
Why this works: A USB connection is the simplest and most reliable route because it doesn’t depend on your network at all. It’s ideal for a printer that sits right beside your Mac, or as a fallback when wireless discovery is being troublesome.
Expected result: The USB printer appears in Printers & Scanners without you needing to add it by hand.
Make sure it’s a data cable, not a charge-only lead. If macOS offers to download software from Apple to complete setup, allow it — it’s the correct driver.
-
Step 5: Add a network printer by its IP address
If a network printer never appears automatically, first find its IP address — print a network configuration page or read it from the printer’s screen.
In the Add Printer window, click the IP tab (the globe icon), type the IP address into the Address field, and leave the Protocol on AirPrint if offered.
If AirPrint isn’t available, choose “Internet Printing Protocol – IPP” (or “Line Printer Daemon – LPD” for older office printers), then click Add.

Why this works: Some office and static-IP printers don’t broadcast themselves in a way macOS discovers automatically, so you tell the Mac exactly where to find them. In plain terms, AirPrint and IPP are modern, feature-rich ways to print, while LPD is an older, very compatible method for legacy machines.
Expected result: The printer is added using its IP address and appears in your list, ready to print.
A truly static IP is best for this — if the address can change, the printer may “disappear” again later. Ask whoever manages the network if you’re unsure which protocol to pick.
The printer shows as Idle after adding it by IP.
-
Step 6: Set your default printer and paper size
Back in Printers & Scanners, use the “Default printer” menu to choose the printer you want selected automatically.
Set the “Default paper size” to match what’s in your tray — A4 in the UK and most of Europe, or Letter in the US.
If you have more than one printer, this saves you picking the right one every time you print.
Why this works: Setting a sensible default means the correct printer and paper size are chosen for you, avoiding jobs that come out on the wrong device or scaled oddly. It’s a small step that prevents a lot of everyday confusion.
Expected result: Your chosen printer is the default, with the correct paper size ready to go.
-
Step 7: Open the print dialog and check the options
Open any document, then choose File → Print (or press Command-P) to bring up the print dialog.
Confirm the correct printer is selected at the top, then click “Show Details” if you only see a compact box.
Review copies, page range, paper size, and options like double-sided (duplex) or colour before printing.

Why this works: The print dialog is where you control how each job comes out, and “Show Details” reveals the full set of options many people never realise are there. Checking these before you print avoids wasted paper and ink.
Expected result: The print dialog shows your printer selected and all the options you expect for it.
-
Step 8: Save your favourite settings as a preset
In the expanded print dialog, set everything the way you like it — paper size, quality, colour or black-and-white, double-sided.
Open the “Presets” menu near the top and choose “Save Current Settings as Preset…”, then give it a clear name.
Next time you print, pick that preset to apply all those choices in one click.
Why this works: Presets save you re-selecting the same options every time, which is handy if you often switch between, say, draft black-and-white and best-quality colour. They live on your Mac, so they’re there for every app you print from.
Expected result: Your named preset appears in the Presets menu and applies your chosen settings instantly.
This step is optional but well worth a minute if you print regularly with particular settings.
-
Step 9: Print a test page to confirm it works
Print a short document, or right-click the printer in Printers & Scanners, but the simplest check is a normal one-page print.
Watch that the job appears in the queue, feeds a sheet, and prints promptly and cleanly.
Check the page for the right paper size and that colour or black-and-white matches what you chose.
Why this works: A test print proves the whole chain works end to end — the Mac, the connection, and the printer itself. It’s the clearest confirmation that setup succeeded before you rely on it for something important.
Expected result: A clean page prints on the first try, with the correct size and colour.
The page prints promptly and looks exactly as expected.
-
Step 10: If it’s paused, resume the printer
In Printers & Scanners, double-click the printer (or click the printer’s queue button) to open its job list.
If you see a “Resume” button or a paused message, click Resume to release the held jobs.
Watch the queued jobs start printing once the printer is no longer paused.
Why this works: A paused printer is one of the most common reasons a Mac appears to “not print” — jobs simply queue up quietly. Resuming it releases everything that was waiting, often clearing the problem instantly.
Expected result: The printer status changes from Paused to Idle and the queued jobs print.
Printers can pause themselves after an error, such as a paper-out warning; fix the cause, then resume.
-
Step 11: Fix “unable to communicate with the printer”
Check both devices are on the same Wi-Fi network again, and that the printer is on and showing a steady connection.
Restart the printer, and if needed toggle your Mac’s Wi-Fi off and on from the menu-bar Wi-Fi icon.
Try printing again; if the message persists, move on to deleting and re-adding the printer in the next step.
Why this works: This message almost always means the Mac briefly can’t reach the printer over the network, rather than a fault with either device. A restart and a network check clear the great majority of these temporary hiccups.
Expected result: The Mac reconnects to the printer and the error no longer appears when you print.
-
Step 12: The classic Mac fix — delete and re-add the printer
In Printers & Scanners, select the troublesome printer and click the Remove Printer button (or the minus button on older macOS) to delete it.
Click Add again, let your Mac rediscover the printer, and add it fresh — choosing AirPrint where offered.
Send a test print to confirm the clean setup has cleared the stale queue or error for good.
Deleting and re-adding the printer, then printing a clean test page, is the classic cure for a stubborn Mac queue. Why this works: Over time a printer entry can become confused, holding on to a stale queue or a broken connection that no amount of restarting fixes. Removing it and adding it back gives macOS a completely fresh setup, which is the single most reliable cure for a Mac printer that keeps misbehaving.
Expected result: The re-added printer works cleanly, with the old error or stuck queue gone.
A test page prints correctly from the freshly added printer.
Tip
Printer Tip
Don’t put the printer and the Mac on different Wi-Fi networks — a guest network is the classic reason they can’t find each other.
Other solutions to try
If the steps above didn't do it, these fixes resolve the less common cases.
When the printer never appears in the list
If clicking Add shows an empty or incomplete list, the printer usually just can’t be seen on the network yet.
- Confirm the Mac and printer are on the exact same Wi-Fi network — not a guest network or a separate band.
- Restart the printer and give it a minute to rejoin Wi-Fi and announce itself before searching again.
- Temporarily turn off any third-party firewall, or disable the macOS firewall’s stealth mode, then search once more.
- As a fallback, add the printer by its IP address using the IP tab, as described in the steps above.
When AirPrint isn’t available for your printer
Older or very basic printers may not support AirPrint, so macOS needs the manufacturer’s own software.
- Check the printer maker’s support page for macOS software matching your exact model and macOS version.
- Download and install only from the official manufacturer site — never a third-party “driver updater”.
- After installing, add the printer again in Printers & Scanners; the correct driver should now appear in the Use menu.
- If no macOS software exists, a USB connection with a generic driver may still let you print basic documents.
When printing is slow or jobs stall
A job that crawls or gets stuck part-way is usually the queue or connection, not the printer itself.
- Open the printer’s queue in Printers & Scanners and delete any stuck or error jobs, then try again.
- For large or high-resolution documents, allow extra time — they take longer to send over Wi-Fi than by USB.
- If wireless printing is consistently slow, move the printer closer to the router or connect it by Ethernet or USB.
- Reset the printing system as a last resort: right-click (Control-click) the printer list and choose “Reset printing system…”, then add your printers again.
Confirm it's working
Tick these off to be sure the problem is fully resolved.
Keep it from happening again
A few habits that stop this problem coming back.
- Don’t put the printer and the Mac on different Wi-Fi networks — a guest network is the classic reason they can’t find each other.
- Don’t rush setup before the printer has finished joining Wi-Fi; wait for a steady connection symbol first.
- Don’t install “driver updater” tools from search ads — use AirPrint, or software only from the manufacturer’s official site.
- Don’t ignore a paused printer; check the queue and resume it before assuming the setup has failed.
- Don’t rely on a charge-only USB cable — use a proper data cable and, on newer Macs, the correct USB-C adapter.
- Don’t battle a confused printer endlessly; deleting and re-adding it is quicker and fixes most stubborn Mac queues.
Frequently asked questions
Was this guide helpful?
Your feedback helps us keep these steps accurate.
Thanks for your feedback!
Written by
The Guts Guide Editorial Team · Mac Setup Specialists
Reviewed by
Daniel Owens · Print & Network Technician
Last updated
Jul 14, 2026
Continue Reading
Pick up where you left off with the next guide in your troubleshooting journey.
Related Guides
More troubleshooting walkthroughs you may find useful.
Buying Guides
Plain-English comparisons and pre-purchase checklists — find the right printer before you buy.


