
How to Choose a Photo Printer: What Actually Matters for Great Prints
Want prints that do your photos justice without overpaying? This beginner-friendly guide explains what really matters when choosing a photo printer — dye versus pigment ink in plain English, how many ink colours help, borderless printing, paper sizes and types, why more dpi stops mattering past a point, speed versus quality, dedicated photo printers versus photo-capable all-in-ones, the true cost per photo, colour accuracy basics, and when a print shop is simply cheaper.
Applies to: Photo printers, Inkjet printers, All-in-one printers, Ink tank printers
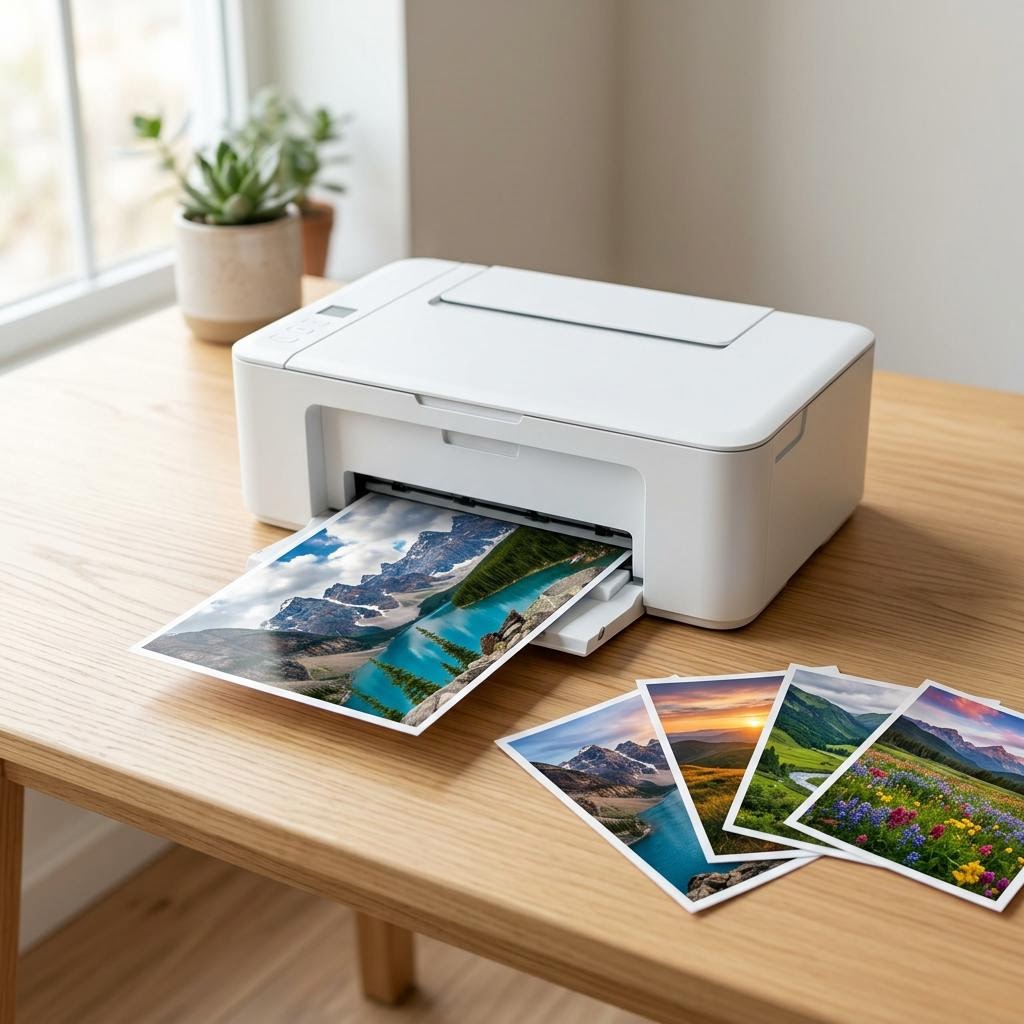
Quick summary
- The problem
- Photo printers are sold on big-sounding numbers — resolution, ink colours, droplet size — and it is hard to tell which of them actually change how your prints look, or whether buying a printer beats using a print shop at all.
- The fix
- Decide what and how much you print first, then focus on the things that genuinely affect photo quality and cost: the ink type, the number of ink colours, borderless support, the paper sizes and finishes you want, and the real cost per photo including paper and ink. Ignore resolution bragging past a sensible point, and compare the total against what a print shop would charge.
- Applies to
- Home users choosing a dedicated photo printer or a photo-capable inkjet, ink tank, or all-in-one printer.
On this page Show
Understanding the problem
Photo printing is where marketing numbers get loudest. Listings shout about enormous resolution figures, tiny ink droplets, and extra ink colours, and it can feel as though every spec is the one that decides whether your prints look good. In reality, photo output quality varies widely from model to model, and only a few of those numbers make a difference you can actually see. The rest are there to make one printer look better than another on paper.
A photo printer is also two costs rolled into one. There is the price on the box, and then there is what every finished print costs you in ink and paper for years afterward. A printer that looks cheap can turn out to be expensive per photo, while a dearer model with efficient ink can pay for itself if you print often. That means the smart way to choose starts with how many photos you print and at what sizes, not with the headline specs.
This guide walks through the features that genuinely matter for photos: the difference between dye and pigment ink, how many ink colours help, borderless printing, the paper sizes and finishes you can use, why resolution stops mattering past a point, the trade-off between speed and quality, whether a dedicated photo printer or a photo-capable all-in-one suits you better, colour accuracy basics, and the running cost per print. It also covers the moment when a local print shop is simply the cheaper, easier choice.
Terminology
The print spooler is a queue
The print spooler holds jobs in a queue before sending them to the printer. Restarting it is a common fix for stuck or frozen print jobs.
Signs you're in the right place
If you're seeing any of these, this guide is for you.
-
You want prints that match what you see on screen
Your photos look great on a phone or monitor and you want prints that do them justice rather than looking dull or off-colour.
-
You print photos regularly
You make prints often enough — family snaps, prints for frames, gifts — that convenience at home appeals more than trips to a shop.
-
You are worried about the cost per photo
You have heard photo printing at home can be pricey and want to understand what each print really costs in ink and paper.
-
You are confused by the spec sheets
The listings are full of resolution numbers and ink-colour counts and you are not sure which ones affect the finished print.
-
You care about prints lasting
You want prints for albums or frames that will not fade quickly, and you are unsure which ink or paper helps them last.
-
You print a mix of photos and documents
You want good photo output but also print everyday pages, so you are weighing a dedicated photo printer against an all-in-one.
What's usually behind it
The most common reasons this happens, so the fix makes sense.
Chasing the biggest resolution number
Beyond a sensible point, more dpi does not make a visible difference on a print, so buying on that number alone often means paying for a spec you will never see.
Ignoring the ink type
Whether a printer uses dye or pigment ink affects colour, how prints look on glossy paper, and how well they resist fading — and it is easy to overlook entirely.
Overlooking the cost per photo
Shoppers rarely add up paper plus ink for a single print, which is the number that decides whether home printing is cheaper than a shop.
Assuming every printer prints borderless
Not all models can print all the way to the paper edge, and support can vary by paper size, so a printer may not do the edge-to-edge prints you want.
Forgetting which paper sizes you need
Some printers handle only small photo sizes while others take larger sheets, so the wrong choice can rule out the prints you actually plan to make.
Expecting fast prints and top quality at once
The highest-quality photo modes are usually slower, and treating speed and quality as the same thing leads to disappointment either way.
Skipping colour accuracy basics
Prints that look off are often down to screen and paper settings rather than the printer, so ignoring those basics leads to blaming the wrong thing.
Not comparing against a print shop
For occasional prints, a shop can be cheaper and easier, and buying a printer without checking that comparison can be money wasted.
What you'll need
Have these on hand before you start for a smooth fix.
-
A rough count of how many photos you print
Estimate how many prints you make in a typical month or year — even "just a few now and then" versus "lots" changes the decision.
-
The photo sizes you want
Know whether you mostly want small snapshot prints, standard photo sizes, or larger prints for framing, since not every printer handles every size.
-
A realistic budget for the year, not just the box
Think about what you can spend up front plus what each print will cost you in ink and paper over time.
-
The space where the printer will live
Measure width, depth, and height, and leave room to load photo paper and let prints feed out cleanly.
-
How you want to send photos to print
Decide whether you need Wi-Fi, printing from a phone, a memory-card slot, or a simple USB link from a computer.
-
Whether you also print everyday documents
If you need to print pages, scan, or copy too, a photo-capable all-in-one may suit you better than a dedicated photo printer.
How to fix it
Work through these in order — they run from the quickest checks to the more advanced fixes.
-
Step 1: Work out how much you print and at what sizes
Estimate how many photos you print in a typical month or year, and be honest — many people print far fewer than they expect to.
Note the sizes you actually want, from small snapshot prints to standard photo sizes to larger prints for frames.
Decide whether printing is steady all year or comes in bursts, such as around holidays or family events.
Why this works: Every other choice flows from how many photos you print and how big. Someone who makes a handful of prints a year has very different needs from someone printing dozens a month, and matching the printer to real use is what prevents both overspending and disappointment.
Expected result: You have a rough volume and a clear idea of the photo sizes you want.
You can describe your needs in one sentence, such as "a few dozen standard-size prints a year, plus the odd larger print for a frame".
-
Step 2: Understand dye versus pigment ink
Learn the plain-English difference: dye inks soak into the paper and often give vivid, glossy-looking colour, while pigment inks sit more on the surface and tend to resist fading and water better.
Match the ink type to your goal — vivid glossy snapshots lean toward dye, while prints meant to last in albums or frames lean toward pigment.
Check the model’s own specifications, because results vary widely and some printers blend both approaches or are tuned for a particular paper.
Why this works: Ink type is one of the few choices that genuinely changes how a photo looks and how long it lasts. Knowing the difference in plain terms lets you pick for your goal rather than guessing from marketing words, and it explains why two printers can produce quite different-looking prints.
Expected result: You understand which ink approach suits the kind of prints you want to make.
Fade and water resistance vary a great deal by model and by paper, so treat the ink type as a guide rather than a guarantee and check the maker’s claims for the specific printer.
-
Step 3: Check the number of ink colours
Look at how many separate ink colours the printer uses, since photo-focused models often add colours beyond the basic set to render subtle tones.
Understand that extra colours can help with smooth skin tones, gradients, and grey shades, but the benefit depends heavily on the model and the paper.
Weigh the trade-off: more inks can mean better tonal range but also more cartridges or tanks to buy and replace over time.
Why this works: The number of ink colours affects how smoothly a printer reproduces subtle shades, which is where cheaper printers often fall short on photos. Knowing what extra colours do — and what they cost to keep topped up — helps you decide whether they are worth it for the prints you make.
Expected result: You know how many ink colours a shortlisted printer uses and roughly what that means for your photos.
You can say whether a model has a basic colour set or extra photo inks, and whether that matters for your prints.
-
Step 4: Confirm borderless printing and the paper sizes you need
Check whether the printer supports borderless printing if you want prints with no white margin around the edge.
Confirm which paper sizes it handles, from small photo sizes to standard sheets, and that borderless is supported at the sizes you care about.
Note the paper path and tray, since some printers have a dedicated photo tray while others feed photo paper through the main tray.
Why this works: Borderless support and paper size decide whether a printer can make the prints you actually want. It is a common surprise to find a model cannot print edge to edge at a particular size, so confirming this up front avoids buying a printer that rules out your favourite formats.
Expected result: The printer supports the sizes you want and can print borderless where you need it.
Borderless support can differ by paper size on the same printer, so check the size you plan to use most rather than assuming it applies to all of them.
-
Step 5: Choose the right photo paper types and finishes
Decide on the finish you like — glossy for punchy, vivid snapshots, or matte and lustre finishes for a softer, less reflective look.
Check that the printer and its ink are suited to the paper you want, since some inks look best on certain finishes.
Remember that paper quality has a large effect on the final print, so budget for good photo paper rather than the cheapest option.
Why this works: Paper is half of a photo print. The same printer can produce very different results on glossy versus matte paper, and cheap paper can undo an otherwise good printer. Matching paper to your taste and to the printer’s ink is one of the easiest ways to lift print quality.
Expected result: You know which paper finishes suit your prints and that the printer works well with them.
You have picked a finish and confirmed the printer and ink are a good match for it.
-
Step 6: See through the resolution myth and balance speed with quality
Treat very high resolution figures with caution: beyond a sensible point, more dpi does not create a difference you can see on a normal print.
Focus instead on how prints actually look in sample images and reviews, since real output quality varies widely between models.
Expect the best-quality photo modes to be slower, and decide whether you value speed or maximum quality for the prints you make most.
Why this works: Resolution is the number most often used to make one printer look better than another, yet past a point it stops mattering to the eye. Understanding that — and that top quality usually costs time — keeps you from overpaying for specs and helps you set realistic expectations for speed.
Expected result: You judge printers on real print quality rather than headline resolution, and you know the speed trade-off.
Photo output quality varies widely by model, so look at independent sample prints rather than relying on any single resolution or speed number.
-
Step 7: Decide between a dedicated photo printer and a photo-capable all-in-one
If photos are your main goal and you want the best possible prints, a dedicated small photo printer is built for exactly that, often in compact sizes.
If you print documents, scan, or copy as well, a photo-capable all-in-one covers everyday tasks and still makes good prints.
Consider that dedicated photo printers may be limited to smaller sizes, while all-in-ones handle standard pages but may not match a specialist on the finest photo work.
Why this works: Buying the right type avoids both waste and compromise. A dedicated photo printer shines at photos but does little else, while an all-in-one is the flexible choice for mixed use — so matching the device to your real tasks is what gets you a printer you are happy with.
Expected result: You have chosen between a dedicated photo printer and a photo-capable all-in-one based on your needs.
Our related guides on all-in-one versus single-function printers and how to choose the right printer go deeper if you are still weighing this up.
-
Step 8: Get colour accuracy basics right
Set your expectations by remembering that a bright, backlit screen and a printed page will never look exactly identical.
Use the correct paper setting in the print dialog so the printer lays down ink to suit that specific paper.
Make small test prints and adjust brightness or colour before printing a batch, rather than reprinting a whole set.
Why this works: Prints that look off are often down to settings and screen differences rather than the printer itself. Getting the basics right — matching the paper setting and testing before a batch — solves most colour complaints and saves wasted ink and paper.
Expected result: Your prints look close to what you intended, with realistic expectations about screen-to-paper differences.
A small test print looks right before you commit to printing the full set.
-
Step 9: Add up the cost per photo and compare a print shop
Estimate the cost of a single print by adding the ink used to the cost of one sheet of photo paper, using published figures where available.
Multiply that by how many photos you print in a year, then add the printer price spread over the years you expect to keep it.
Compare the total against what a local print shop or online service charges for the same sizes, and choose whichever fits your volume and convenience needs.
Why this works: The cost per photo is the number that decides whether home printing pays off. For occasional prints, a print shop is often cheaper and easier, while for regular printing a home printer can win — and only adding up the real cost tells you which side of that line you are on.
Expected result: You know your rough cost per photo and whether printing at home or using a shop makes more sense for you.
Cost per photo varies by model, paper, and the sizes you print, so treat any figures as a guide and compare like for like against a shop’s prices.
Tip
Printer Tip
Estimate how many photos you actually print before buying, since many people print far fewer than they expect.
Other solutions to try
If the steps above didn't do it, these fixes resolve the less common cases.
If you only print photos occasionally
When prints are a now-and-then thing, do the maths before buying any printer at all.
- Add up how few prints you really make in a year and compare the total cost against a print shop or online service.
- Remember that ink can dry out or need cleaning cycles if a printer sits unused, which wastes ink over time.
- If you still want a printer at home, a compact dedicated photo printer keeps the size and up-front cost down for small prints.
- For larger or one-off prints, a print shop is often cheaper and gives access to sizes a small printer cannot handle.
If you print photos in higher volumes
For regular printing, prioritise low cost per photo and consistent quality over the lowest sticker price.
- Weigh ink tank models, which typically deliver a much lower cost per print for regular, higher-volume photo printing.
- Favour a printer with extra ink colours if smooth tones and gradients matter for the prints you make.
- Buy good photo paper in the finishes you like, since paper quality has a large effect on the finished print.
- Make test prints and keep your paper settings consistent so batches come out looking the same.
Confirm it's working
Tick these off to be sure the problem is fully resolved.
Keep it from happening again
A few habits that stop this problem coming back.
- Estimate how many photos you actually print before buying, since many people print far fewer than they expect.
- Compare the total cost per photo — paper plus ink — against a print shop before committing to a printer.
- Choose the ink type and number of ink colours for your goal rather than for the biggest-sounding spec.
- Confirm borderless support and paper sizes for the formats you print most, not just in general.
- Budget for good photo paper, because it affects the final print as much as the printer does.
- Judge print quality from independent sample prints, not from resolution numbers alone.
Frequently asked questions
Was this guide helpful?
Your feedback helps us keep these steps accurate.
Thanks for your feedback!
Written by
The Guts Guide Editorial Team · Technology Writers
Reviewed by
The Guts Guide Editorial Team · Technical Review
Last updated
2026-08-02
Continue Reading
Pick up where you left off with the next guide in your troubleshooting journey.
Related Guides
More troubleshooting walkthroughs you may find useful.



Buying Guides
Plain-English comparisons and pre-purchase checklists — find the right printer before you buy.