
How to Fix Paper Feed Problems
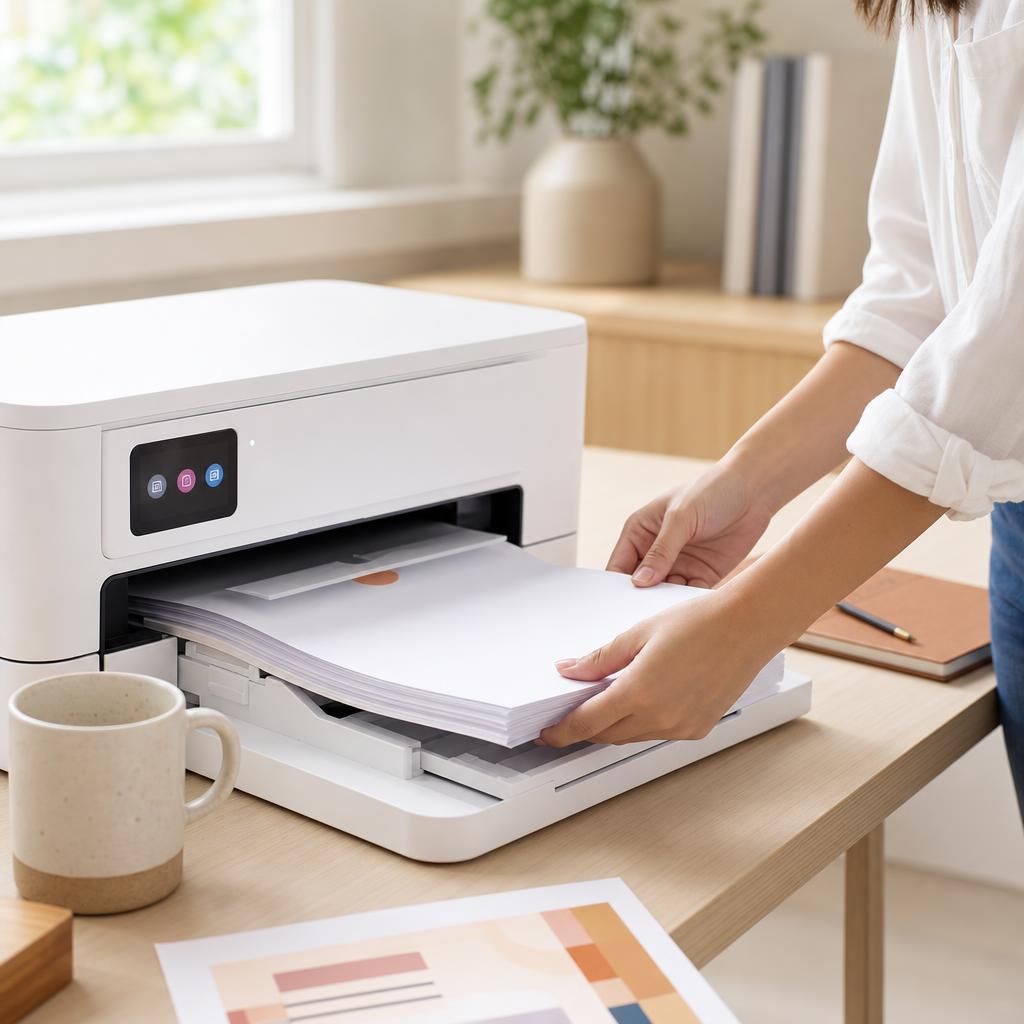
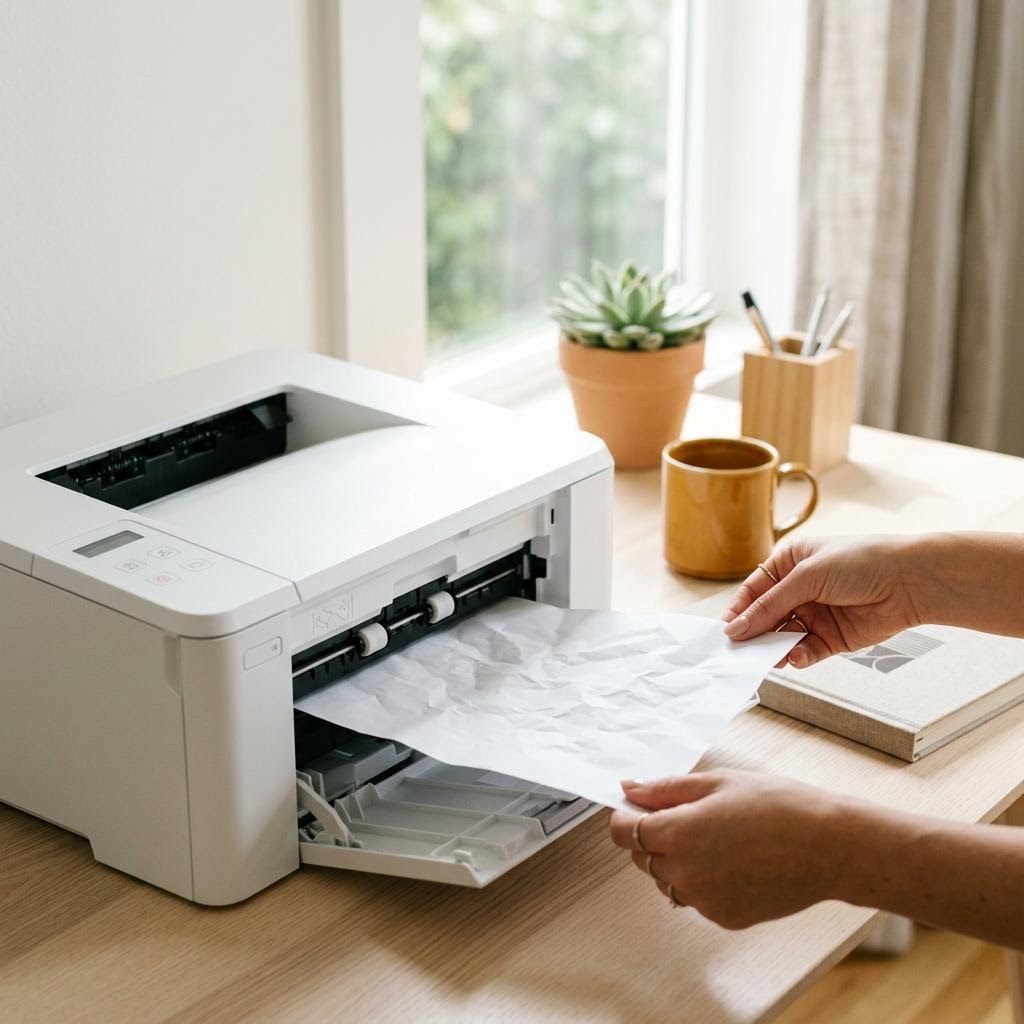
When your printer won’t grab paper, pulls several sheets at once, or feeds pages crooked, the cause is nearly always the paper, the guides, or the pickup rollers. This guide walks you through fanning and squaring the stack, setting the guides, cleaning the rollers, and loading paper correctly so pages feed one at a time, straight and reliably.
Applies to: Inkjet & laser printers, All-in-one & multifunction models, Windows & macOS, Home & office printers, Tray-fed & rear-feed designs
Quick summary
- The problem
- The printer won’t feed paper, pulls in several sheets at once, or feeds pages skewed and crooked.
- The fix
- Fan and square the stack, set the guides snugly, don’t over- or under-fill the tray, use flat dry paper, and clean the pickup rollers if they’ve lost grip.
- Applies to
- Inkjet and laser printers on Windows and macOS, including all-in-one models.
On this page Show
Understanding the problem
Every printer pulls paper the same basic way. A rubber pickup roller presses onto the top sheet in the tray and turns, dragging that single sheet forward into the paper path, where more rollers carry it past the printhead or drum. Small plastic guides sit against the sides (and sometimes the back) of the stack to keep the paper square, so each sheet enters straight. When that gentle, one-sheet-at-a-time hand-off works, you never think about it — pages simply appear.
Feed problems happen when any part of that chain is slightly off. If the rollers are dusty or worn, they slip and can’t grip the top sheet, so nothing feeds. If sheets are stuck together — common with fresh reams or damp paper — the roller drags two or three through at once. If the guides are too loose the stack shifts and pages come out crooked; if they’re too tight the paper binds and won’t move. Overfilling the tray, underfilling it, or loading curled paper all upset the same delicate balance. None of this means your printer is broken; it means one small thing needs adjusting.
The good news is that paper feed problems are among the most fixable of all printer issues, and almost never need a repair shop. This guide starts with the quickest, safest checks — fanning the stack and squaring the guides — and works up to cleaning the pickup rollers and matching your paper to what the printer can handle. Follow the steps in order, test after each one, and you’ll usually have paper feeding cleanly again within half an hour.
Best practice
Keep firmware up to date
Installing firmware updates from the manufacturer can fix bugs and improve compatibility. Keep the printer powered on throughout the update.
Signs you're in the right place
If you're seeing any of these, this guide is for you.
-
The printer won’t pick up paper at all
The printer sounds like it’s trying to feed but no sheet moves, or it reports the tray is empty when it isn’t.
-
Several sheets feed at once
The printer grabs two or three pages together, wasting paper and often triggering a jam further along.
-
Pages come out skewed or crooked
Text and images print at a slight angle because the sheet entered the paper path at an angle.
-
Paper slips or feeds part-way
A sheet starts to move, then the roller slips and it stalls halfway into the printer.
-
Repeated misfeed or “load paper” errors
The control panel keeps asking you to reload paper even though the tray is properly stocked.
-
Paper feeds noticeably slowly
Sheets are drawn in hesitantly or with an extra grinding pause, a common sign of tired rollers.
-
Damp or curled paper jams on entry
Wavy, curled, or humidity-softened sheets buckle or catch as the printer tries to pull them in.
-
The problem comes and goes
Feeding works for a while, then a fresh batch of pages misfeeds — usually down to stack height or paper condition.
What's usually behind it
The most common reasons this happens, so the fix makes sense.
Sheets stuck together
Fresh reams and paper cut at the factory often cling together, so the roller pulls two or three sheets as one.
Paper guides set wrong
Guides that are too loose let the stack shift and skew; guides too tight bind the paper so it can’t move.
Dirty or dusty pickup rollers
Rubber rollers collect dust and paper residue over time, which makes them slip and lose grip on the top sheet.
Worn pickup rollers
After heavy use the rubber goes smooth and hard, so even clean rollers can no longer grab paper reliably.
Overfilled paper tray
Loading paper above the tray’s fill line stops the roller reaching the top sheet at the right angle and pressure.
Underfilled tray or just a few sheets
With too little paper the stack sits too low, and the roller may miss it or feed inconsistently.
Damp or humid paper
Paper absorbs moisture from the air, softening and curling so sheets buckle, stick, or misfeed on the way in.
Curled or previously used paper
Curled edges, folds, staples, or paper that has already been through the printer catch on the feed path.
Wrong paper weight or size
Paper that’s too thin, too heavy, or the wrong size for the tray feeds unpredictably or not at all.
Debris in the paper path
A torn scrap, label, or stray object left in the tray or path blocks smooth pickup and causes misfeeds.
What you'll need
Have these on hand before you start for a smooth fix.
-
A fresh ream of good-quality paper
Flat, dry sheets of the right size and weight for your tray.
-
A lint-free or microfiber cloth
For wiping dust and residue from the rubber pickup rollers.
-
A little distilled water
Dampen the cloth itself — never spray water into the printer.
-
The printer turned off and unplugged
Power down and unplug before reaching inside to clean rollers, for safety.
-
Your printer’s manual or model number
Handy for the tray fill line, paper-weight range, and roller location.
-
A few minutes and good light
A well-lit spot makes it easy to spot debris, curl, and a shifted stack.
How to fix it
Work through these in order — they run from the quickest checks to the more advanced fixes.
-
Step 1: Remove the paper and check its condition
Take all the paper out of the tray and set it on a flat surface.
Look for curled corners, folds, tears, staples, or sheets that have already been printed on.
Set aside any damaged or curled sheets and keep only flat, clean paper to reload.
Why this works: Damaged, curled, or reused paper is one of the most common causes of misfeeds and skewing. Starting with clean, flat sheets removes the simplest culprit before you touch anything mechanical.
Expected result: A tidy pile of flat, undamaged paper ready to reload.
Never reload paper that has already been through the printer — it curls slightly and feeds unpredictably.
-
Step 2: Fan and square the stack
Hold the stack at one end and riffle through it like a deck of cards to separate the sheets.
Fan it from both ends so air gets between every page, breaking any static or factory “stick”.
Tap the short and long edges on a flat surface until the stack is perfectly square and even.

Why this works: Fresh paper often clings together, which is why a printer pulls several sheets at once. Fanning separates the sheets and squaring the stack helps each one enter the paper path straight.
Expected result: A loose, evenly separated stack with all edges neatly aligned.
The sheets slide apart freely instead of feeling stuck together.
-
Step 3: Set the paper guides snugly
Load the squared stack into the tray and slide the side guides in until they just touch the edges.
If your tray has a rear or length guide, bring it up to the back of the stack too.
Check the guides aren’t squeezing the paper — they should rest against it without bowing the stack.
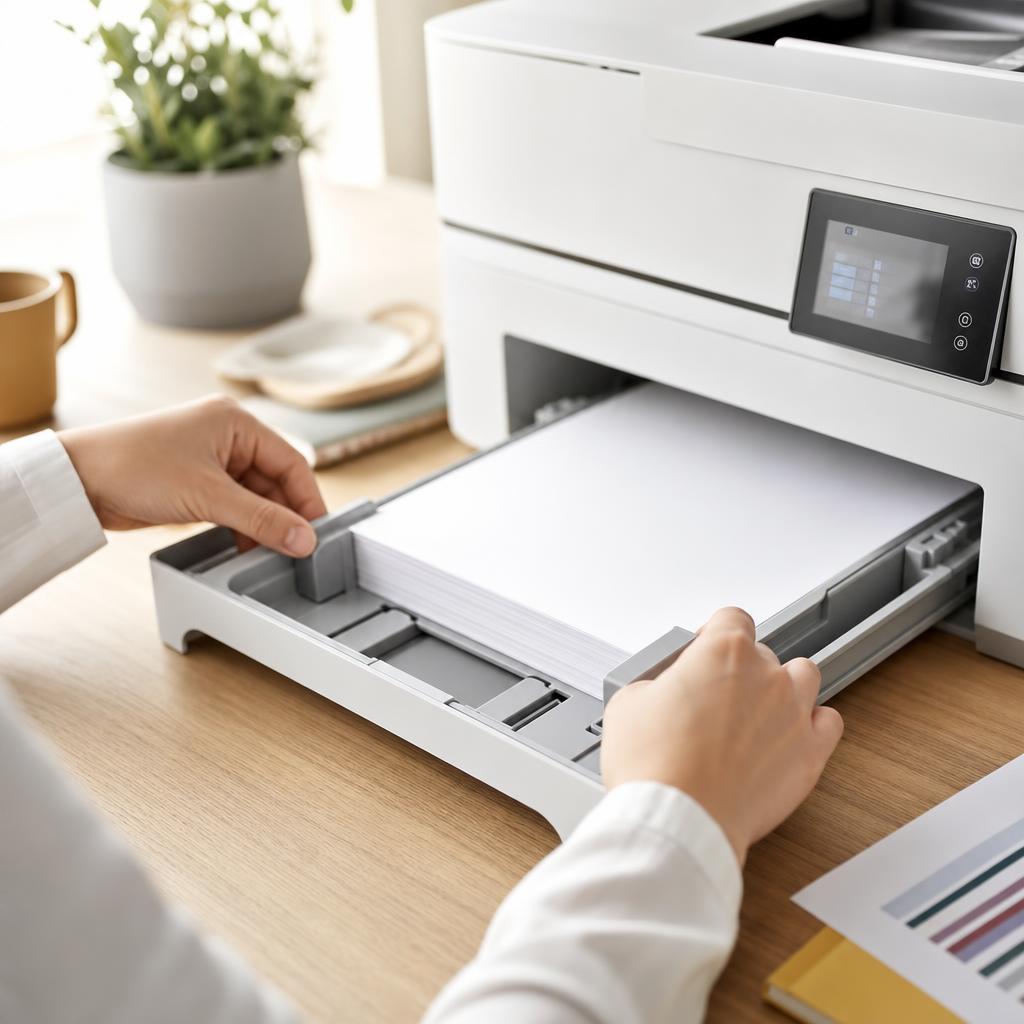
Why this works: Guides keep the paper square so each sheet feeds straight. Too loose and the stack drifts, causing skew; too tight and the paper binds and won’t feed at all.
Expected result: The stack sits centred and square, held gently by the guides on all sides.
A good test: the paper shouldn’t slide around, but you should still be able to lift a corner without resistance.
-
Step 4: Check the tray fill level
Look inside the tray for a moulded “max fill” line or a small arrow near the top of the guides.
Make sure your stack sits below that line — remove sheets if it’s overfilled.
If you’ve only a handful of sheets loaded, add more so the stack has enough height to reach the roller cleanly.
Why this works: The pickup roller is designed to meet the top sheet at a set height. An overfilled tray blocks it, and a nearly empty one sits too low for the roller to grip reliably.
Expected result: A stack loaded between roughly a quarter full and the max-fill line.
-
Step 5: Clear any debris from the tray and path
With the printer off, check the tray and the visible feed opening for torn scraps, labels, or stray objects.
Remove anything that shouldn’t be there, pulling gently and in the direction the paper normally travels.
Shine a light into the input area to confirm the path is clear before reloading.
Why this works: Even a small torn corner or a sticky label can block the roller or catch each incoming sheet. Clearing debris often fixes stubborn, repeating misfeeds in one move.
Expected result: A clean, empty paper path with nothing left to snag the next sheet.
If you tear a sheet while removing it, make sure no fragment stays behind — leftover scraps cause fresh jams.
-
Step 6: Turn the printer off and reach the pickup rollers
Switch the printer off and unplug it from the wall before opening any covers.
On a laser printer, give the inside a few minutes to cool — the fuser near the paper path gets hot.
Open the access door or slide out the tray to locate the grey rubber pickup rollers, following your manual if unsure.
Why this works: The rollers do the actual gripping, so they’re the heart of most feed problems. Unplugging first keeps you safe from moving parts and electricity, and cooling protects you from the hot fuser.
Expected result: The printer is powered down and the rubber pickup rollers are in view and safe to reach.
Never reach inside a plugged-in printer, and don’t touch a laser fuser until it has cooled.
-
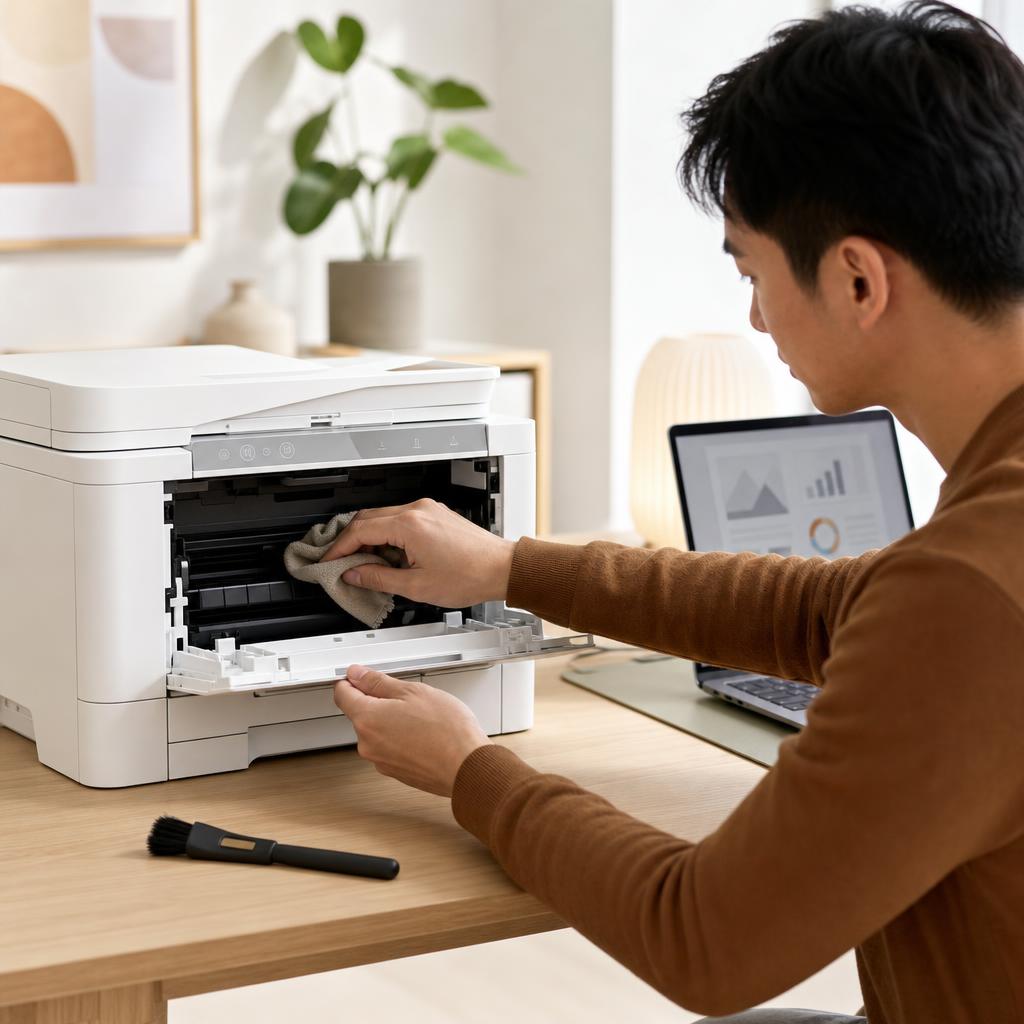
Step 7: Clean the pickup rollers
Lightly dampen a lint-free cloth with distilled water — it should be barely moist, not wet.
Wipe each rubber roller firmly, turning it by hand so you clean all the way around its surface.
Let the rollers dry completely, then close up and reconnect the printer before testing.
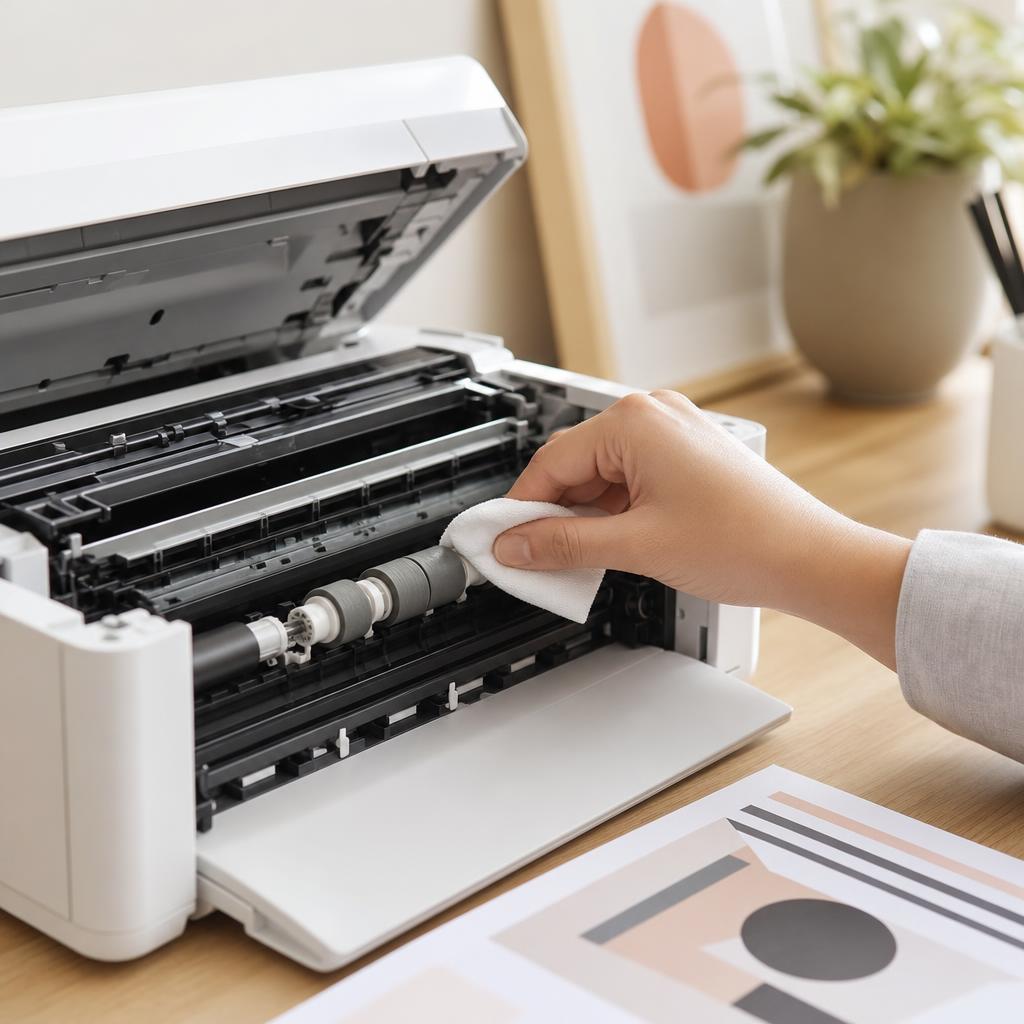
Why this works: Dust and paper residue make rollers slippery, so they can’t grip the top sheet and feeding fails or slows. Cleaning restores the rubber’s grip and often revives a printer that had stopped picking up paper.
Expected result: Clean rollers that feel grippy again and pull paper in firmly.
The roller surface looks matte and clean rather than shiny and dusty.
-
Step 8: Reload the paper correctly
Place the fanned, squared stack into the tray with the correct side up for your printer.
Push the stack fully to the back or reference edge so it sits flush, then reset the guides snugly.
Slide the tray back in smoothly until it seats, without forcing or slamming it.
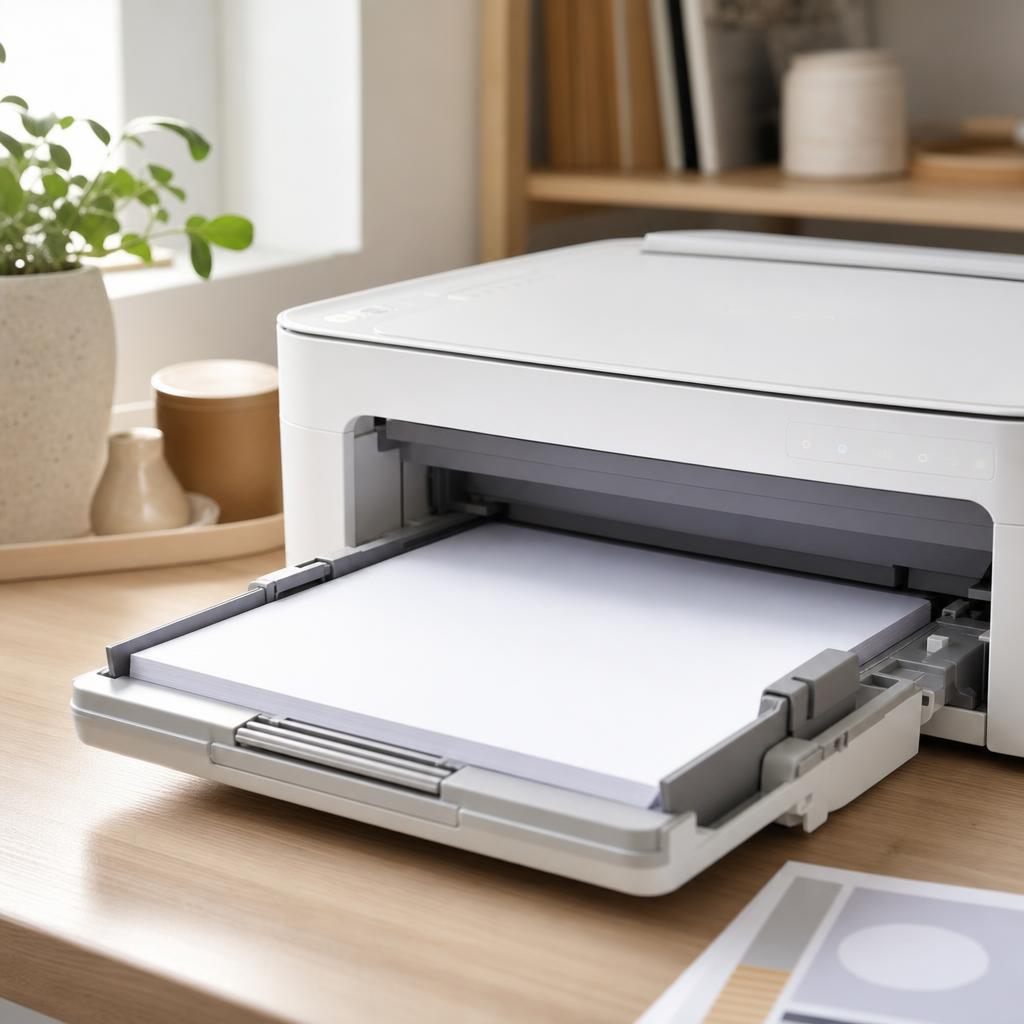
Why this works: How the paper sits matters as much as its condition. A flush, square, correctly oriented stack lets the roller meet the top sheet cleanly, which prevents both skewing and multi-sheet pickups.
Expected result: A neat, square stack seated flush in the tray with the guides just touching it.
-
Step 9: Match the paper to your printer’s limits
Check your manual or the manufacturer’s support page for the supported paper weight range, usually given in gsm.
Confirm the tray’s paper size setting on the control panel matches the paper you’ve loaded.
Avoid mixing sizes or weights in one tray, and use the correct tray or slot for card, labels, or photo paper.
Why this works: Paper that’s too thin, too heavy, or the wrong size feeds unpredictably or not at all. Matching the paper to the printer’s design lets the rollers and guides do their job as intended.
Expected result: Loaded paper that falls within the supported weight and matches the size set on the printer.
Everyday copier paper of around 80 gsm suits almost every home and office printer’s main tray.
-
Step 10: Store paper properly to prevent damp and curl
Keep unused paper sealed in its wrapper or a closed drawer, away from heat, damp, and dust.
Store the ream flat rather than on its edge so the sheets stay smooth and don’t curl.
Load only what you’ll use soon, and keep the rest sealed until you need it.
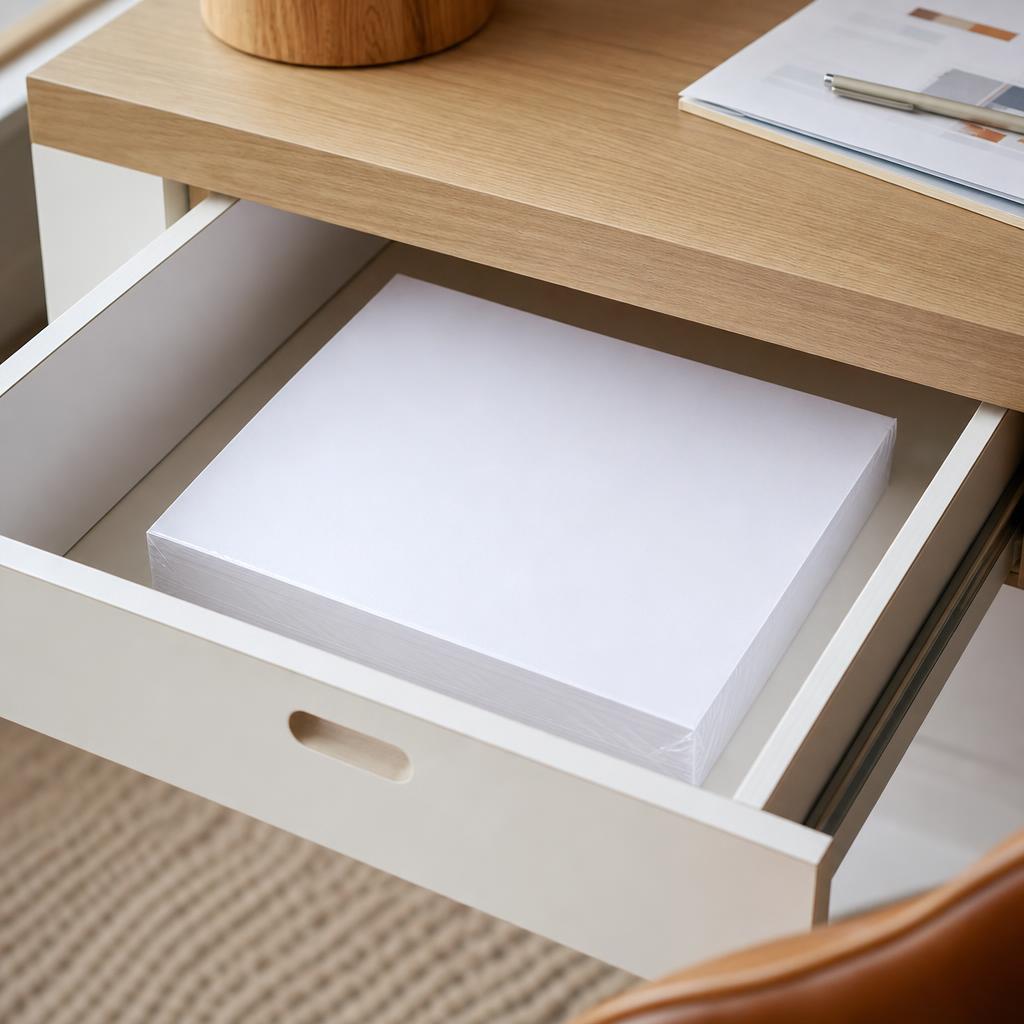
Why this works: Paper readily soaks up moisture from the air, and damp or curled sheets are a leading cause of misfeeds and skewing. Good storage stops problems before the paper ever reaches the tray.
Expected result: Flat, dry, dust-free paper that stays crisp and feeds cleanly.
-
Step 11: Run a feed test and print a page
Reconnect and switch the printer on, then print a test page from the control panel or from your computer.
On Windows, open Settings → Bluetooth & devices → Printers & scanners, pick your printer, and choose Print test page; on macOS, open System Settings → Printers & Scanners, select the printer, then Print Test Page.
Watch the tray as it feeds and check the printed sheet is straight, single, and clean.
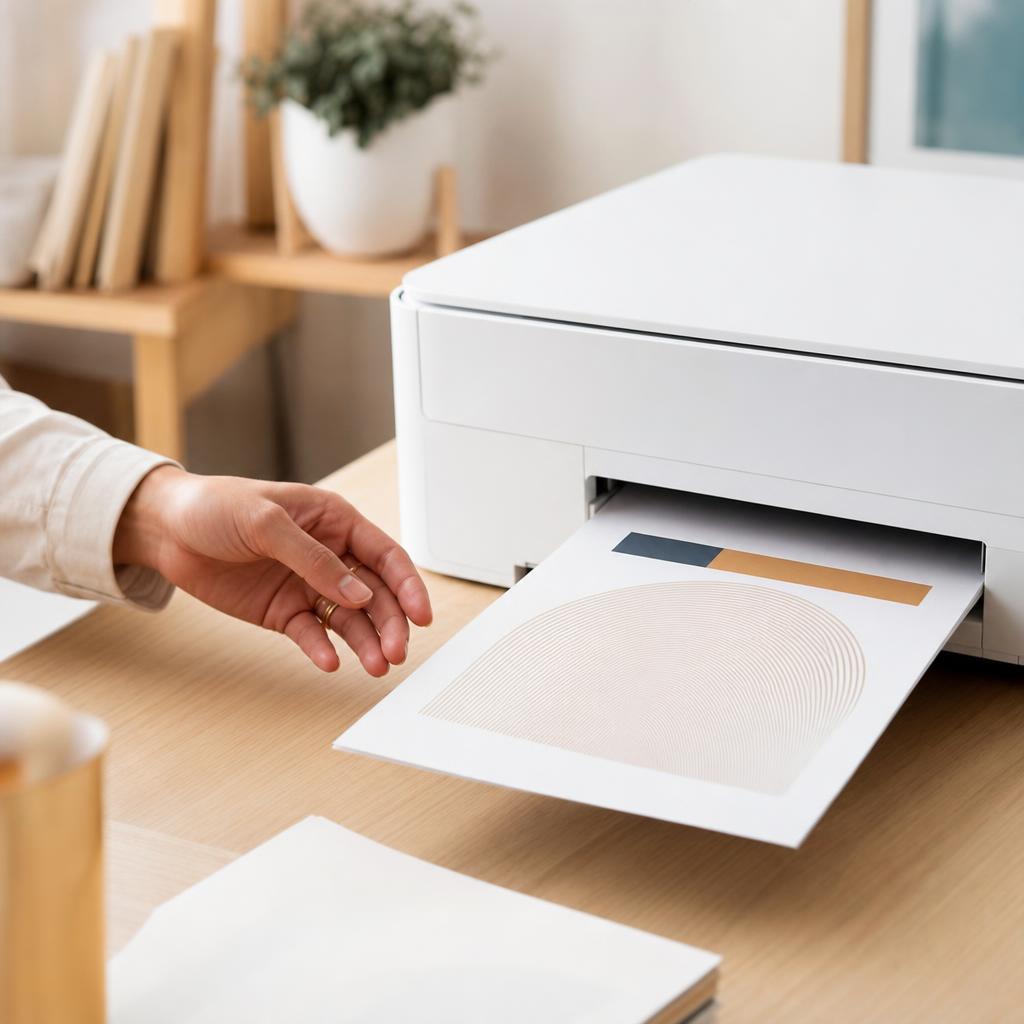
One straight, single sheet feeding cleanly confirms the paper, guides, and rollers are all working together. Why this works: A live test confirms the fixes worked together — clean rollers, a squared stack, and snug guides. Watching the feed also tells you at a glance whether anything still slips or skews.
Expected result: A single sheet feeds in straight and prints without skew, doubling, or stalling.
The test page comes out square and on its own, and the tray feeds quietly.
Tip
Printer Tip
Fan and square every fresh ream before loading it, especially the first stack from a new pack.
Other solutions to try
If the steps above didn't do it, these fixes resolve the less common cases.
If multiple sheets keep feeding at once
Doubling almost always traces back to the paper itself or an overloaded tray.
- Fan the stack thoroughly again — factory-fresh reams cling together more than you’d expect.
- Remove some paper so the stack sits well below the max-fill line.
- Swap in a fresh, dry ream if the current paper feels damp, waxy, or unusually smooth.
- Check for a separation pad near the rollers; if it looks glazed or worn, it may need replacing on some models.
If the printer still won’t pick up any paper
When nothing feeds at all, the rollers or a tray sensor are the usual suspects.
- Repeat the roller clean, wiping firmly until the rubber feels grippy rather than shiny.
- If clean rollers still slip, the rubber may be worn smooth — order the correct pickup-roller kit for your model.
- Reseat the tray fully so the printer registers that paper is loaded.
- Try the manual or single-sheet feed slot, if your printer has one, to confirm the rest of the path works.
Windows and macOS software checks
A wrong tray or paper setting in the driver can cause feed errors that look mechanical.
- On Windows, open Printers & scanners, select your printer, choose Printing preferences, and confirm the paper source, size, and type match the loaded tray.
- On macOS, open the print dialog, expand the options, and check the paper size and feed source are correct.
- Cancel any stuck jobs in the print queue, since a job set for the wrong tray can stall feeding.
- Reinstall or update the printer driver from the manufacturer’s official site if settings won’t stick.
Confirm it's working
Tick these off to be sure the problem is fully resolved.
Keep it from happening again
A few habits that stop this problem coming back.
- Fan and square every fresh ream before loading it, especially the first stack from a new pack.
- Keep paper sealed and stored flat, away from heat, damp, and dust.
- Load paper between roughly a quarter full and the max-fill line — never overfill the tray.
- Reset the guides snugly each time you reload, so they touch the stack without squeezing it.
- Clean the pickup rollers with a barely-damp lint-free cloth every few months, more often with heavy use.
- Use paper within your printer’s supported size and weight range, and never reload previously printed sheets.
Frequently asked questions
Was this guide helpful?
Your feedback helps us keep these steps accurate.
Thanks for your feedback!
Written by
The Guts Guide Editorial Team · Paper Handling Specialists
Reviewed by
Daniel Owens · Print & Network Technician
Last updated
Jul 14, 2026
Continue Reading
Pick up where you left off with the next guide in your troubleshooting journey.
Related Guides
More troubleshooting walkthroughs you may find useful.

Buying Guides
Plain-English comparisons and pre-purchase checklists — find the right printer before you buy.


