
How to Connect a Printer to Windows 10 & 11
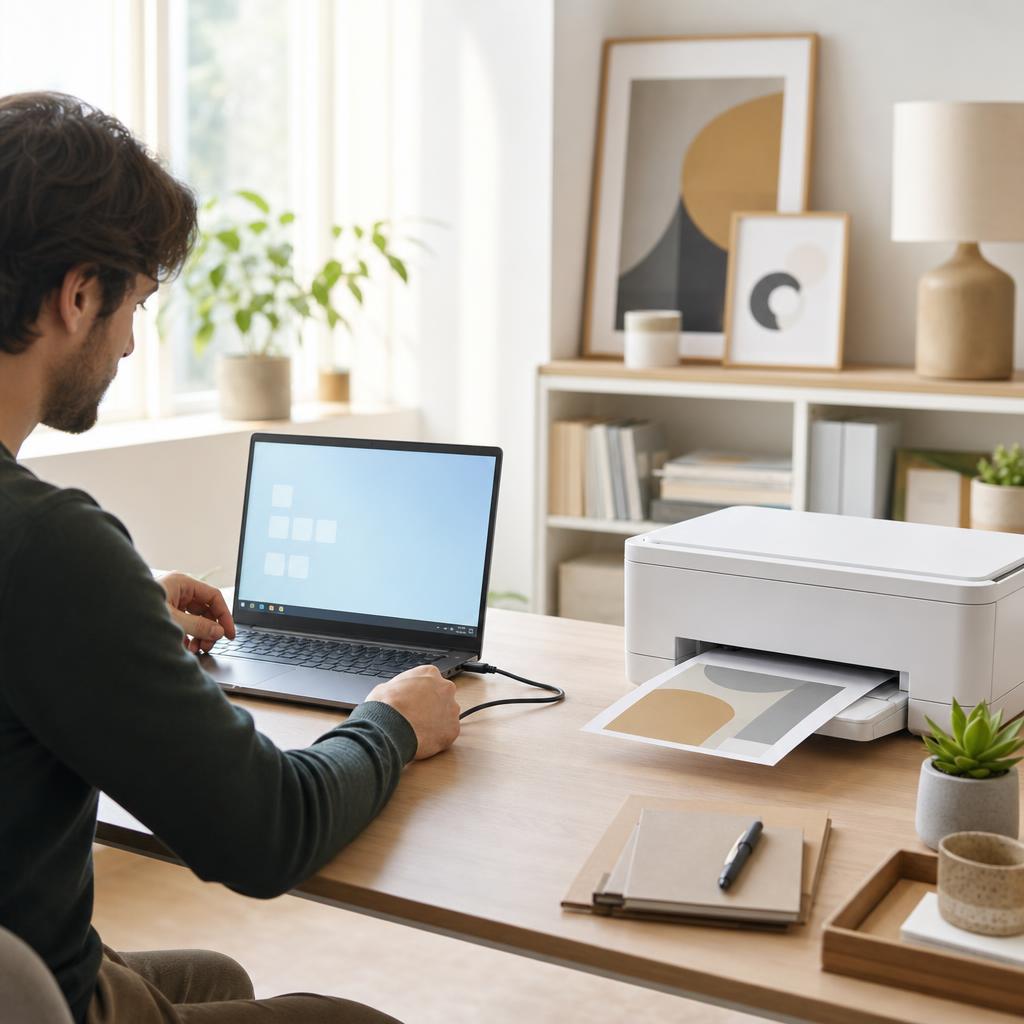
Getting a printer talking to a Windows PC should take a few minutes, whether you plug it in with a USB cable or add it over Wi-Fi. This guide walks you through both routes on Windows 10 and Windows 11, shows you exactly where the menus live, and covers what to do when the printer that you want isn’t listed — so you finish with a printer set as default and a clean test page in the tray.
Applies to: Inkjet & laser printers, All-in-one (print/scan/copy) models, Wi-Fi, Ethernet & USB printers, Windows 10 & Windows 11 PCs, HP, Canon, Epson, Brother & more
Quick summary
- The problem
- You want your new or existing printer connected to a Windows 10 or 11 PC so you can print reliably from any app.
- The fix
- Connect the printer by USB or join it to your Wi-Fi, open Settings → Printers & scanners, let Windows add and install it (or add it manually if it isn’t listed), set it as default, then print a test page.
- Applies to
- USB, Wi-Fi, and Ethernet printers on Windows 10 and Windows 11 — inkjet, laser, and all-in-one models.
On this page Show
Understanding the problem
A printer and a Windows PC need two things to work together: a physical or wireless link between them, and a small piece of software called a driver that translates your documents into instructions the printer understands. On a USB printer the link is the cable; on a wireless printer it’s your home or office Wi-Fi network. Once Windows can see the printer and has the right driver, it appears in your list of printers and every app — Word, your browser, a PDF viewer — can send pages to it.
Most setups fall down at one of a few familiar hurdles. Windows sometimes can’t find a wireless printer because the printer hasn’t actually joined the Wi-Fi yet, or the PC and the printer are on different networks (a common trap where one is on the 5 GHz band and the other on 2.4 GHz). USB printers can stall on a cable plugged into a faulty port or hub. And occasionally the printer is detected but no driver installs cleanly, leaving it listed but unable to print. Knowing which of these you’re facing turns a frustrating guessing game into a quick fix.
This guide takes you through the whole journey in plain language. You’ll choose between USB and wireless, get the printer ready, then add it through the Settings app — with the exact menu path for both Windows 11 and Windows 10. When automatic detection doesn’t work, you’ll use the “The printer that I want isn’t listed” option to add it by IP address or install the manufacturer’s driver by hand. Finally you’ll set your default printer, clear any queue trouble, and print a test page to confirm everything works. Follow it in order and you won’t need to know a thing about networking to get there.
Best practice
Give your printer a fixed IP address
Assigning a fixed IP address helps a networked printer stay reachable, since it will not go offline when the router hands out a new address.
Signs you're in the right place
If you're seeing any of these, this guide is for you.
-
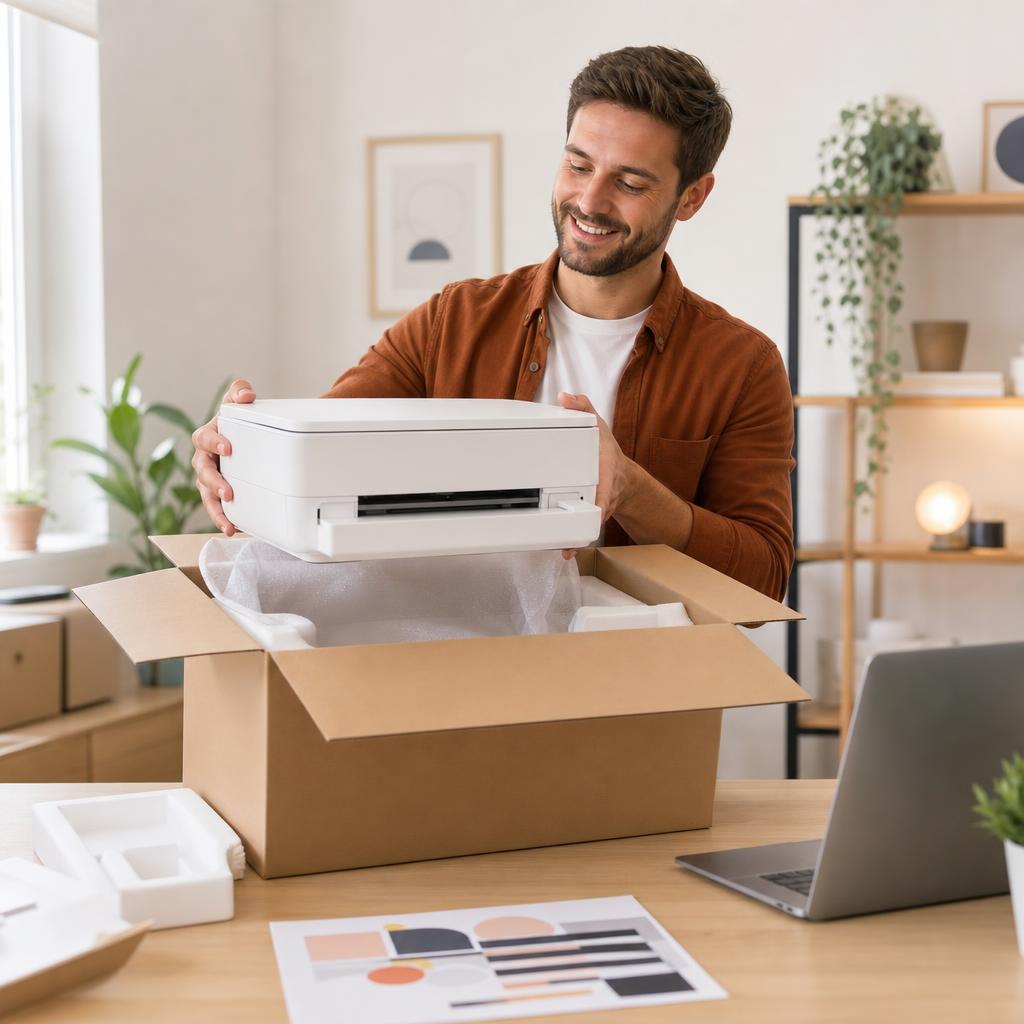
You’ve just unboxed a new printer
The printer is set up and powered on, and now you need to get it printing from your Windows PC for the first time.
-
Your PC can’t find the printer over Wi-Fi
You clicked “Add device” but Windows shows nothing, or it searches endlessly without ever listing your printer.
-
The printer that you want isn’t listed
Windows offers other devices but not yours, and you’re not sure how to add it manually or by its address.
-
A USB printer isn’t recognised when plugged in
You connected the cable but nothing happens, or Windows briefly reacts and then the printer never appears.
-
The printer shows as offline right after setup
It’s added to Windows but greyed out or marked offline, so documents you send never actually print.
-
You replaced a router, PC, or reinstalled Windows
The printer worked before, but a new network or a fresh Windows install means it needs adding all over again.
-
You want to switch a printer from USB to wireless
You’d like to unplug the cable and print over Wi-Fi instead, and need to re-add the printer the right way.
-
You’re not sure where the printer settings even are
The Windows 10 and Windows 11 menus differ, and you just want to be told the exact clicks to make.
What's usually behind it
The most common reasons this happens, so the fix makes sense.
The printer hasn’t joined your Wi-Fi yet
Windows can only find a wireless printer once the printer itself is connected to the same network — this is the single most common reason it doesn’t appear.
The PC and printer are on different networks
A guest network, a work VPN, or the 5 GHz versus 2.4 GHz split on a dual-band router can quietly put the two devices on separate networks that can’t see each other.
No driver, or the wrong driver, is installed
Windows may detect the printer but lack the software to talk to it, so it appears without printing — or an old, mismatched driver causes errors.
A faulty USB cable, port, or hub
A worn cable, a dead front-panel port, or an unpowered USB hub can stop Windows from ever seeing a USB-connected printer.
The printer is asleep or powered down
A printer in deep sleep or switched off won’t respond to discovery, making Windows report that nothing is there to add.
Network discovery is switched off
If your network is set to “Public”, Windows hides nearby devices for safety, which can prevent it from finding a wireless printer.
A firewall or security suite is blocking it
Some third-party antivirus and firewall tools block the ports printers use to announce themselves, so the printer never shows up in the list.
The print spooler service has stalled
The Windows service that manages printing can jam, leaving added printers stuck offline or unable to accept new jobs.
The printer already exists with a stale entry
A leftover entry from a previous setup can conflict with a fresh install, causing duplicates or an “offline” status that won’t clear.
Manufacturer setup was skipped or interrupted
Some printers need their maker’s app or installer to finish configuring features, and a half-finished setup can leave the printer only partly working.
What you'll need
Have these on hand before you start for a smooth fix.
-
Your printer, powered on and set up
Unbox it, remove all tape and packing, install the ink or toner, load paper, and let it finish its own start-up before you begin.
-
A Windows 10 or Windows 11 PC
Signed in with an account that can install software — a standard or administrator account is fine for adding most printers.
-
A USB cable (for a wired connection)
A standard USB-A to USB-B printer cable. Many printers don’t include one in the box, so check before you start.
-
Your Wi-Fi network name and password (for wireless)
You’ll enter these on the printer to join it to the same network as your PC — check the router label if you’re unsure.
-
The printer’s exact model name
Printed on the front or a label inside — you’ll need it to pick the right driver from Windows Update or the maker’s site.
-
A few sheets of plain paper
Loaded in the tray so you can print a test page at the end and confirm everything is working.
How to fix it
Work through these in order — they run from the quickest checks to the more advanced fixes.
-
Step 1: Get the printer ready before you touch Windows
Unbox the printer, remove every piece of tape and packing foam, and install the ink cartridges or toner as the setup sheet shows.
Load a small stack of plain paper into the main tray and adjust the guides so they sit snugly against the paper.
Switch the printer on, let it run its start-up and any initial alignment, and wait until the panel shows a ready or home screen.
Why this works: A printer that hasn’t finished its own start-up, or still has shipping tape in place, won’t respond properly to your PC. Getting it fully ready first means the Windows side goes smoothly rather than stalling halfway.
Expected result: The printer is powered on, error-free, and sitting on its home screen, ready to be connected.
Keep the printer within a couple of metres of your PC or router during setup — you can move it once it’s working.
-
Step 2: Choose USB or wireless
Pick USB if the printer sits right next to your PC and only that one computer needs to print — it’s the simplest, most reliable option.
Pick wireless (Wi-Fi) if you want to print from several devices, or the printer lives away from the computer.
If your printer has an Ethernet port and sits by the router, a network cable works just like Wi-Fi but is even steadier.
Why this works: The two routes start differently, so deciding now saves confusion later. USB needs a cable but almost never drops out; wireless is more flexible but depends on your printer and PC sharing one network.
Expected result: You know which connection you’re setting up and can follow the matching step below.
-
Step 3: USB: connect the cable
Plug the square end of the USB cable into the printer and the flat end directly into a USB port on your PC — not a hub if you can avoid it.
Use a port on the back of a desktop tower where possible, as these are wired most reliably.
Watch the bottom-right of the Windows screen: you should see a brief “Setting up a device” message as Windows notices the printer.
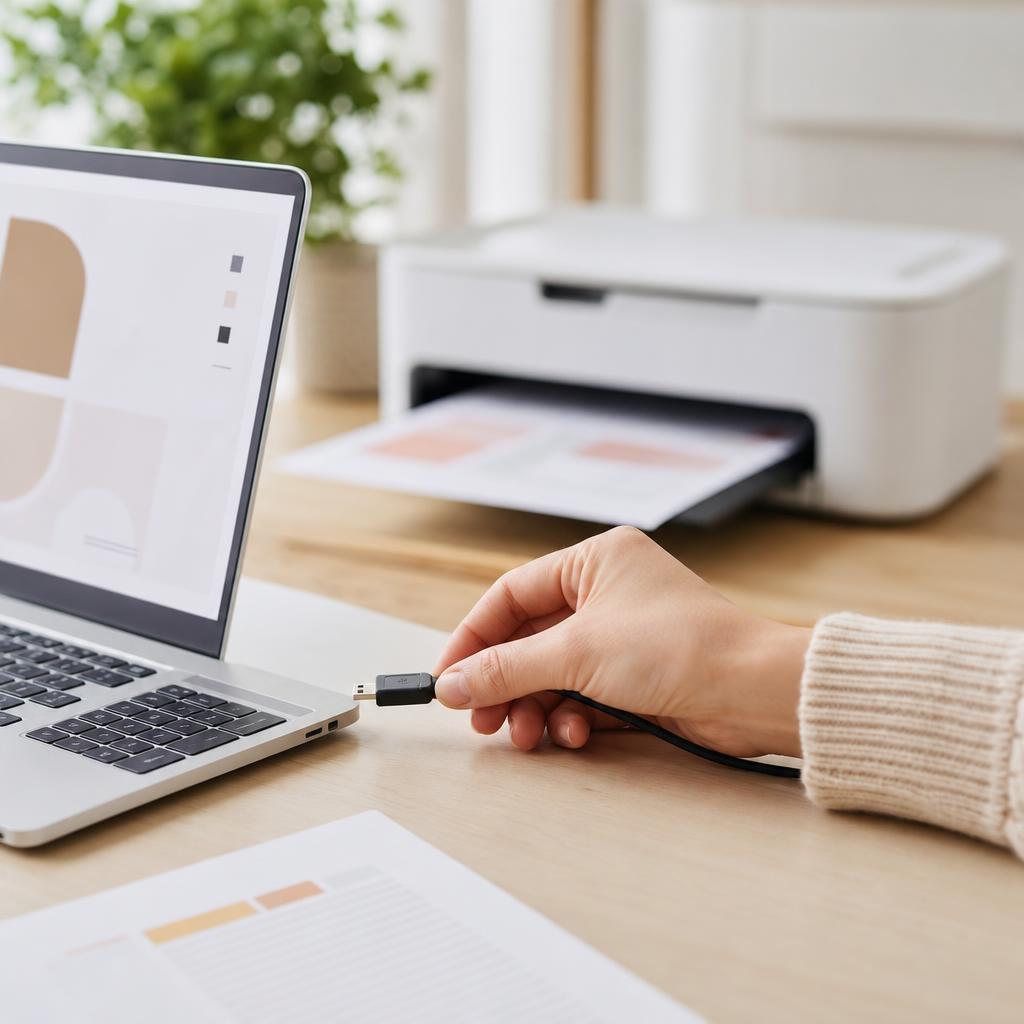
Why this works: A direct, firm cable connection is what lets Windows detect a USB printer and fetch its driver automatically. Skipping hubs and using a rear port rules out the flaky connections that cause most USB setup failures.
Expected result: Windows reacts to the cable and begins installing the printer in the background.
If nothing happens at all, try a different USB cable and a different port before assuming the printer is at fault.
-
Step 4: Wireless: join the printer to your Wi-Fi first
On the printer’s control panel, open the wireless or network setup wizard, choose your Wi-Fi network from the list, and enter its password.
Wait for the Wi-Fi symbol to show a steady, connected state — this is the step people most often skip.
Make sure it’s the same network your PC uses; on a dual-band router, joining “MyWiFi” and “MyWiFi-5G” counts as two different networks.
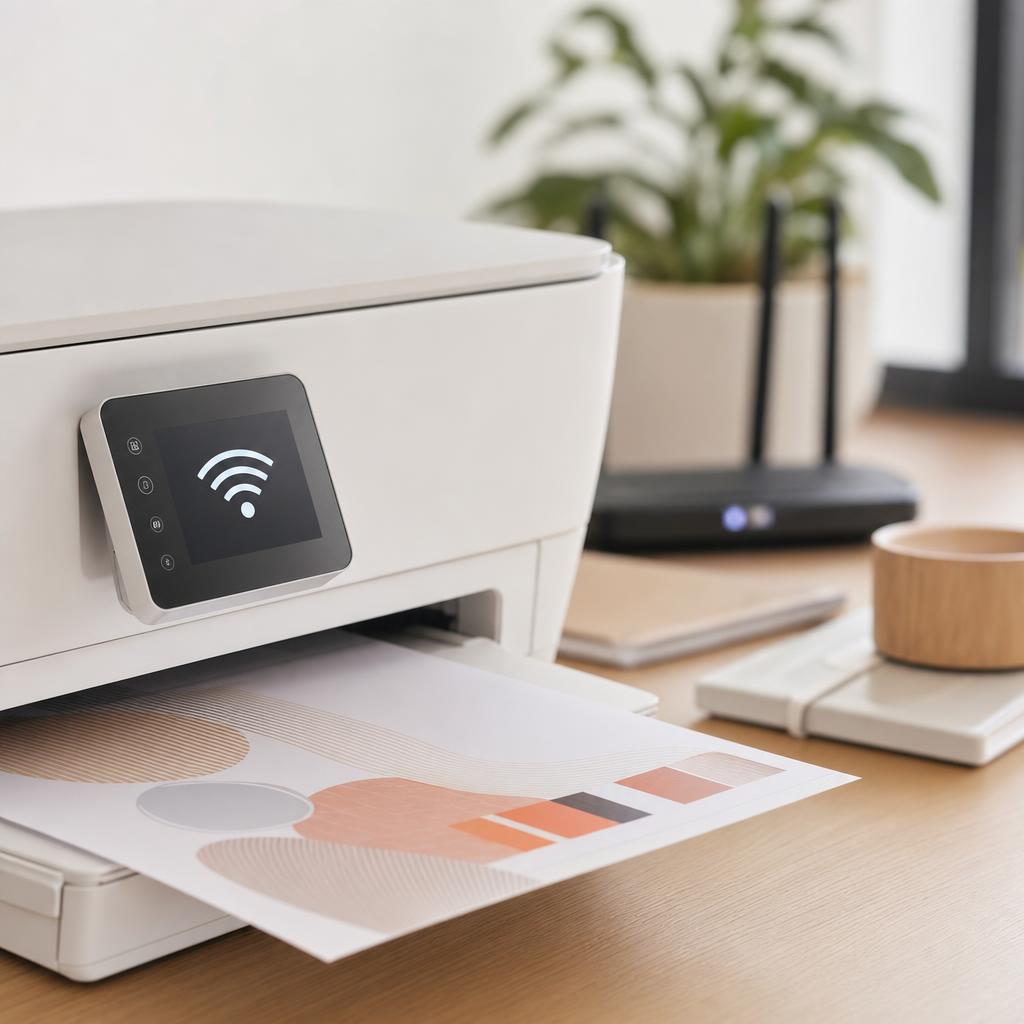
Why this works: Windows can only discover a wireless printer once the printer is actually on the network — until then there is nothing for the PC to find. Confirming both devices share one network prevents the single most common wireless setup failure.
Expected result: The printer reports a solid Wi-Fi connection and is ready for Windows to detect it.
No screen on the printer? Many models use WPS: press the WPS button on your router, then the Wi-Fi button on the printer within two minutes to pair them.
The printer’s Wi-Fi icon is solid and it shows as connected.
-
Step 5: Open Printers & scanners in Windows
On Windows 11: open Settings, then go to Bluetooth & devices → Printers & scanners.
On Windows 10: open Settings, then go to Devices → Printers & scanners.
A quick shortcut on either version: press the Windows key, type “Printers & scanners”, and press Enter.
Why this works: This is the one page in Windows where all printer setup happens, so knowing exactly where it lives on your version saves a lot of hunting. Everything from here on takes place on this screen.
Expected result: You’re looking at the Printers & scanners page, showing any printers already known to Windows.
-
Step 6: Add the printer
On the Printers & scanners page, click “Add device” (Windows 11) or “Add a printer or scanner” (Windows 10).
Wait a few moments while Windows searches — a USB printer or a wireless printer that’s on your network should appear in the list.
When your printer shows up, click it (on Windows 11 click “Add device” next to it) and let Windows install it.
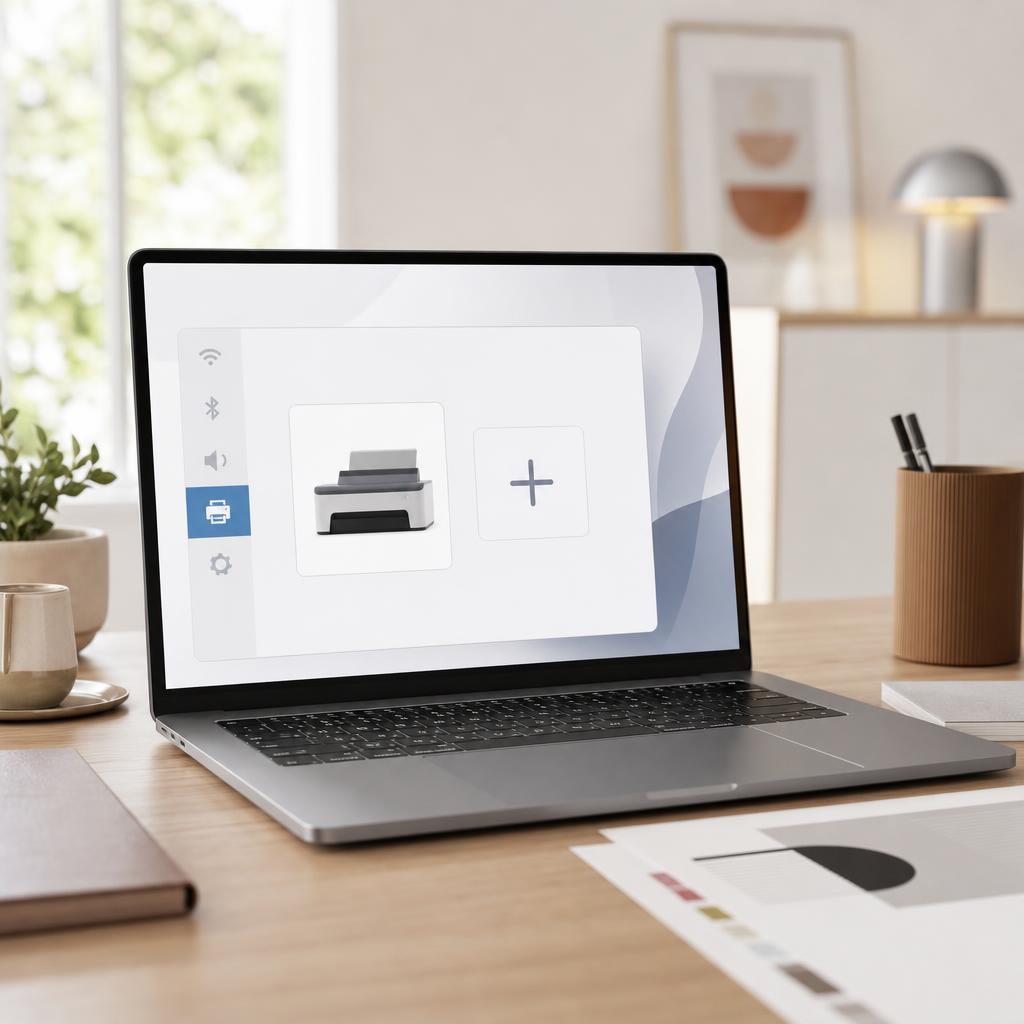
Why this works: This is where Windows connects to the printer and pulls in a working driver on its own, which is all most people ever need to do. Letting automatic detection run first is quicker and cleaner than any manual method.
Expected result: Windows finds the printer, installs it, and it appears in your list of printers as ready.
Your printer’s name now appears under Printers & scanners.
-
Step 7: If the printer isn’t listed, add it manually
Click the “The printer that I want isn’t listed” link that appears while Windows searches (on Windows 11 choose “Add manually”).
To add by network address, pick “Add a printer using a TCP/IP address or hostname”, then enter the printer’s IP address — you can find it under the printer’s own Network or Wi-Fi settings menu.
Follow the prompts to finish; Windows will match a driver or ask you to choose one for your exact model.
Why this works: Some printers, especially on business or mesh networks, don’t announce themselves in a way automatic search catches. Adding by IP address gives Windows a direct route to the printer so it can install regardless.
Expected result: The printer is added using its address and appears in your list even though search didn’t find it.
To keep the IP steady over time, set a static IP on the printer or reserve its address in your router — otherwise it can change and the printer will drop offline later.
-
Step 8: Install the right driver
For most home printers, the driver Windows Update installs automatically during “Add device” is all you need.
For full features — scanning, ink levels, advanced settings — download the manufacturer’s installer for your exact model from HP, Canon, Epson, Brother, or your maker’s official site, and run it.
Only ever download drivers from the manufacturer’s own website; avoid third-party “driver update” tools, which often bundle the wrong or unwanted software.
Why this works: The driver is the translator between Windows and your printer, so having the correct one is what turns a detected printer into a working one. The manufacturer’s installer adds the scanning and management tools that the basic Windows driver leaves out.
Expected result: The printer has a matching driver installed and its full software (if you added it) is ready to use.
If you install the maker’s software, do it with the printer switched on and connected so the installer can find it during setup.
-
Step 9: Set your default printer
On the Printers & scanners page, click your printer, then choose “Set as default” (on Windows 11 you may first turn off “Let Windows manage my default printer”).
If that toggle is on, Windows picks the last printer you used, which can be confusing when you have more than one.
Turn it off and set your main printer manually so every app sends jobs to the right place automatically.
Why this works: Setting a default means apps print to the correct printer without you choosing it each time. Taking manual control avoids the surprise of documents landing on a printer you weren’t expecting.
Expected result: Your chosen printer is marked as the default and is pre-selected in print dialogs.
-
Step 10: Check the print queue
Click your printer, then “Open print queue” (Windows 11) or “Open queue” (Windows 10) to see any waiting jobs.
The queue should be empty and the title bar should not say “Offline” or “Paused”.
If it does, right-click the printer name in the queue window and clear any tick against “Use Printer Offline” or “Pause Printing”.
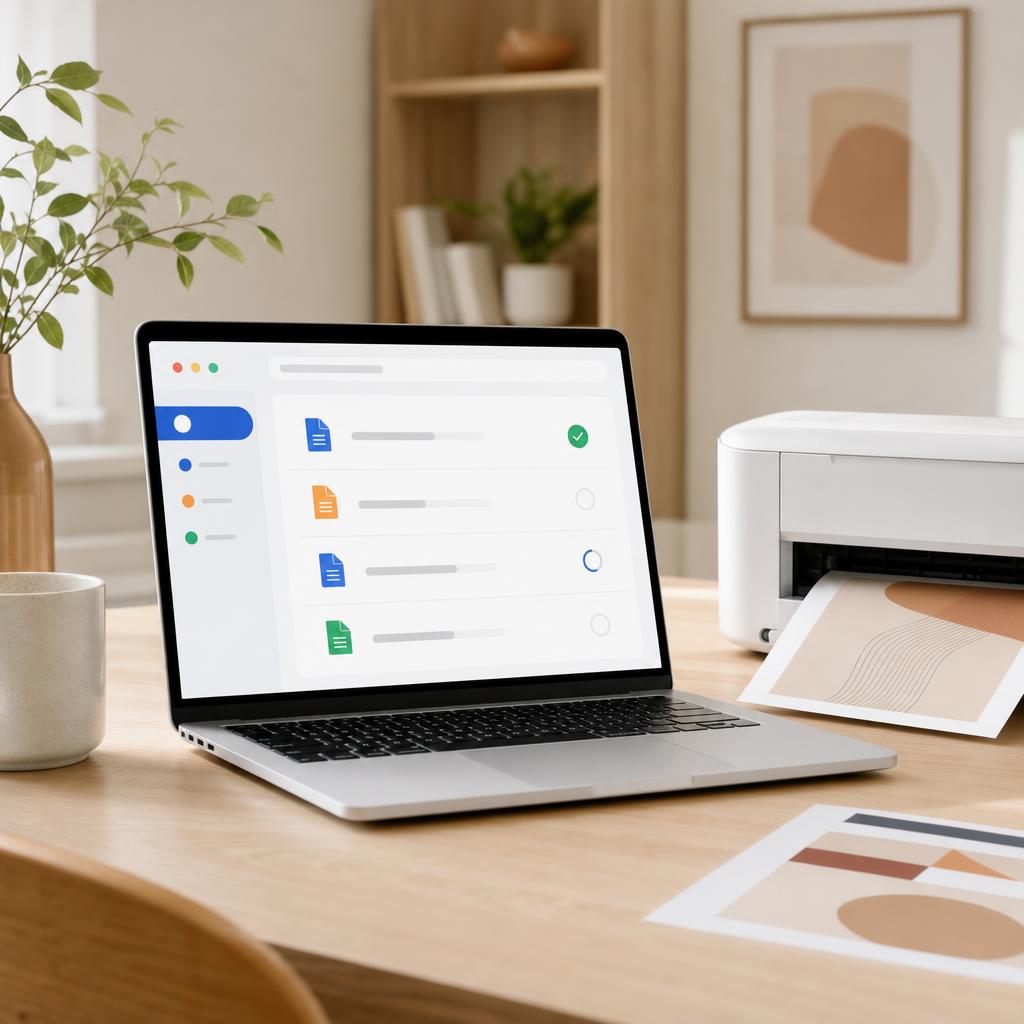
Why this works: A printer freshly added but stuck “offline” or “paused” will silently swallow every job you send. Checking the queue now confirms Windows is ready to pass your documents straight through.
Expected result: The queue is empty, the printer reads “Ready”, and nothing is paused or offline.
If the queue is jammed with old jobs that won’t clear, restarting the Print Spooler service (search “Services”, right-click “Print Spooler”, choose Restart) usually frees it.
-
Step 11: Print a test page
On the Printers & scanners page, open your printer, go to Printer properties (or Manage → Printer properties), and click “Print Test Page”.
Confirm the page prints promptly, feeds cleanly, and shows the correct printer and driver details.
Then print a normal everyday document from an app you use, such as Word or your browser, to be sure real printing works too.
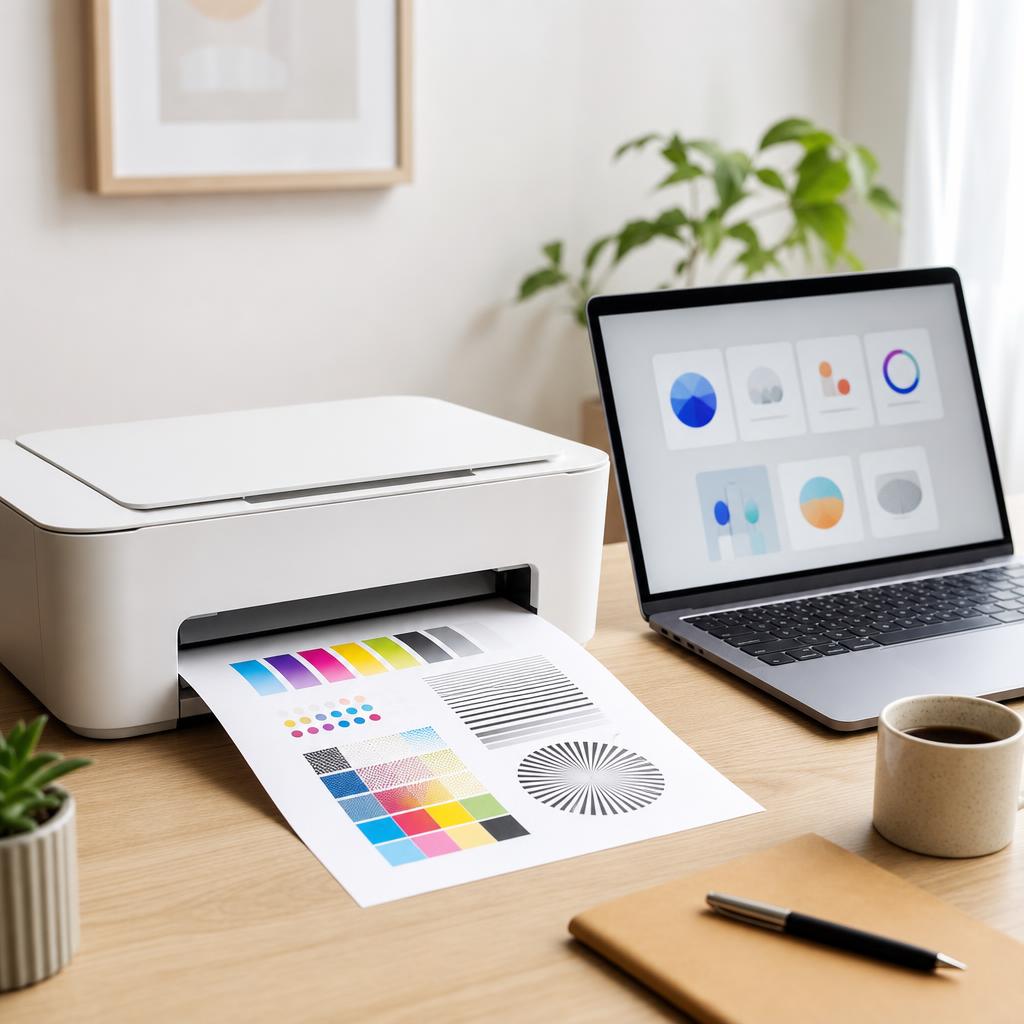
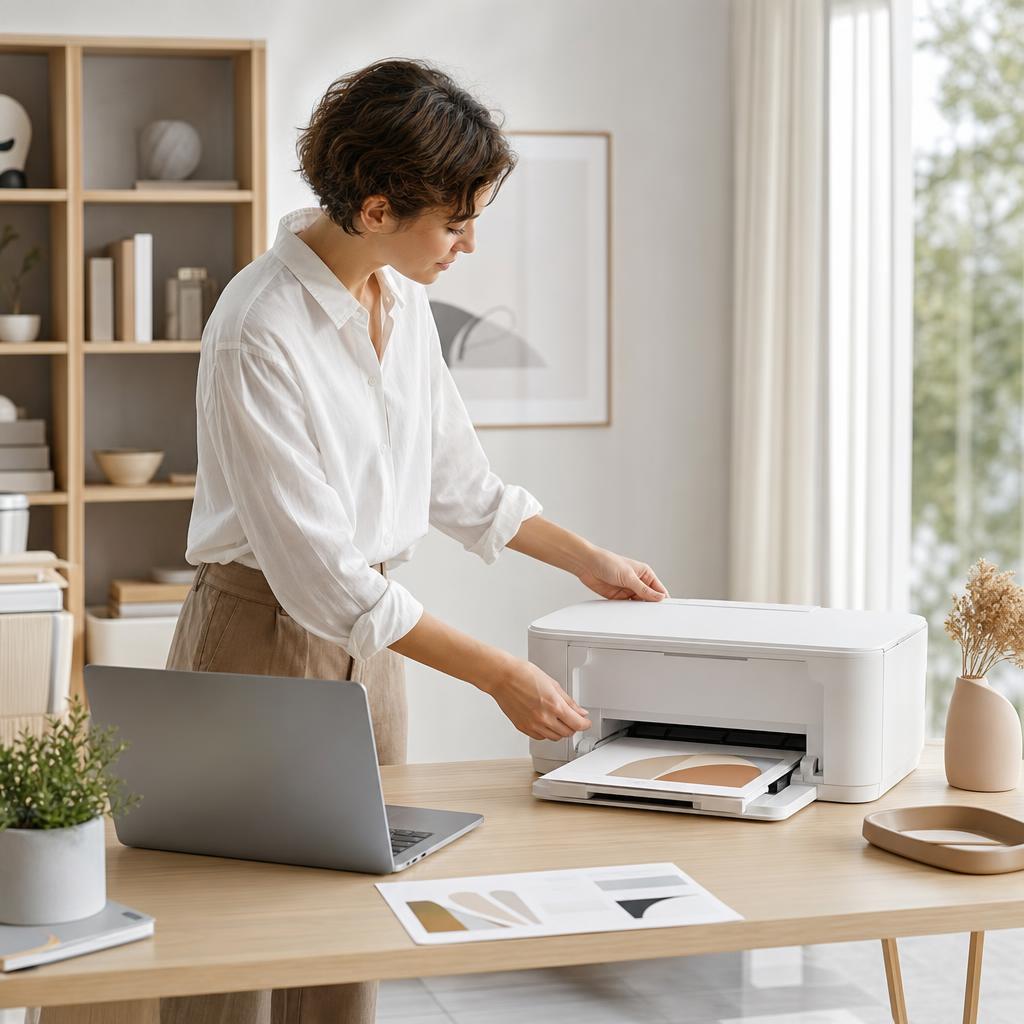
A clean test page confirms Windows, the driver, and the printer are all talking to each other. Why this works: A test page proves the whole chain works end to end — the connection, the driver, and the queue. Following it with a real document confirms your day-to-day apps will print without any further fuss.
Expected result: A clean Windows test page prints on the first try, followed by a normal document from your own apps.
Both the test page and a real document print correctly.
-
Step 12: Tidy up and confirm it sticks
Remove any old or duplicate entries for the same printer from Printers & scanners so only the working one remains.
Restart your PC and print one more page to confirm the printer reconnects on its own after a reboot.
If it’s a wireless printer, move it to its permanent spot and print again to check the signal reaches that far.
Why this works: Clearing duplicates prevents Windows from ever choosing a dead entry, and a reboot test proves the setup survives everyday use. Confirming the signal in the final location avoids a printer that works on the desk but drops out across the room.
Expected result: One clean printer entry remains, and it reconnects and prints reliably after a restart.
Tip
Printer Tip
Don’t skip joining the printer to Wi-Fi first — Windows can only find a wireless printer that’s already on the network.
Other solutions to try
If the steps above didn't do it, these fixes resolve the less common cases.
Windows can’t find your wireless printer
When “Add device” shows nothing, the fix is almost always about the network, not the printer.
- Confirm the printer shows a steady Wi-Fi connection on its own panel before searching again.
- Check the PC and printer are on the same network — not a guest network, a VPN, or the opposite 2.4 GHz / 5 GHz band.
- On Windows, set the network to “Private” (Settings → Network & internet → your network) so device discovery is allowed.
A USB printer isn’t detected
If plugging in the cable produces no reaction, work through the physical connection first.
- Try a different USB cable and a different port, ideally on the back of a desktop, avoiding hubs and extension cables.
- Switch the printer off and on, then reconnect the cable so Windows sees it as a fresh device.
- Open Device Manager (right-click Start → Device Manager) and look for the printer under “Printers” or a yellow warning icon under other categories.
The printer is added but shows offline
A printer listed in Windows but marked offline usually needs its status or spooler nudging.
- Open the print queue, right-click the printer, and untick “Use Printer Offline” and “Pause Printing”.
- Restart the Print Spooler: search “Services”, right-click “Print Spooler”, and choose Restart.
- Power-cycle the printer and confirm it still has a solid Wi-Fi or cable connection, then try printing again.
A firewall or security suite is blocking setup
Third-party antivirus and firewall tools can hide network printers from Windows.
- Temporarily pause your third-party firewall or antivirus, then run “Add device” again to see if the printer appears.
- If it does, add an exception for the printer or your manufacturer’s software rather than leaving protection off.
- Turn your security software back on straight away once the printer is installed and working.
Confirm it's working
Tick these off to be sure the problem is fully resolved.
Keep it from happening again
A few habits that stop this problem coming back.
- Don’t skip joining the printer to Wi-Fi first — Windows can only find a wireless printer that’s already on the network.
- Don’t assume one network: on dual-band routers make sure the PC and printer are on the same band, not 2.4 GHz versus 5 GHz.
- Avoid third-party “driver updater” tools — download drivers only from the manufacturer’s official site or let Windows Update handle it.
- Don’t leave several duplicate printer entries behind; remove old ones so Windows never picks a dead connection.
- Don’t rely on “Let Windows manage my default printer” if you have more than one — set your main printer yourself.
- For wireless printers, reserve or set a static IP so the address doesn’t change and knock the printer offline later.
Frequently asked questions
Was this guide helpful?
Your feedback helps us keep these steps accurate.
Thanks for your feedback!
Written by
The Guts Guide Editorial Team · Windows Setup Specialists
Reviewed by
Daniel Owens · Print & Network Technician
Last updated
Jul 14, 2026
Continue Reading
Pick up where you left off with the next guide in your troubleshooting journey.
Related Guides
More troubleshooting walkthroughs you may find useful.
Buying Guides
Plain-English comparisons and pre-purchase checklists — find the right printer before you buy.


