
How to Fix a Scanner That Is Not Working (Complete Scanner Troubleshooting & Setup Guide)
When your scanner won’t scan or your computer can’t find it, the cause is almost always the connection, the driver, or the scanning software. This beginner-friendly guide explains how printer scanners work and walks you through fixing a scanner that isn’t detected, won’t scan, or produces poor-quality images on Windows and macOS.
Applies to: Multifunction printer-scanners, Standalone flatbed & document scanners, Windows 11 & Windows 10, macOS 12 and later, USB & wireless scanners
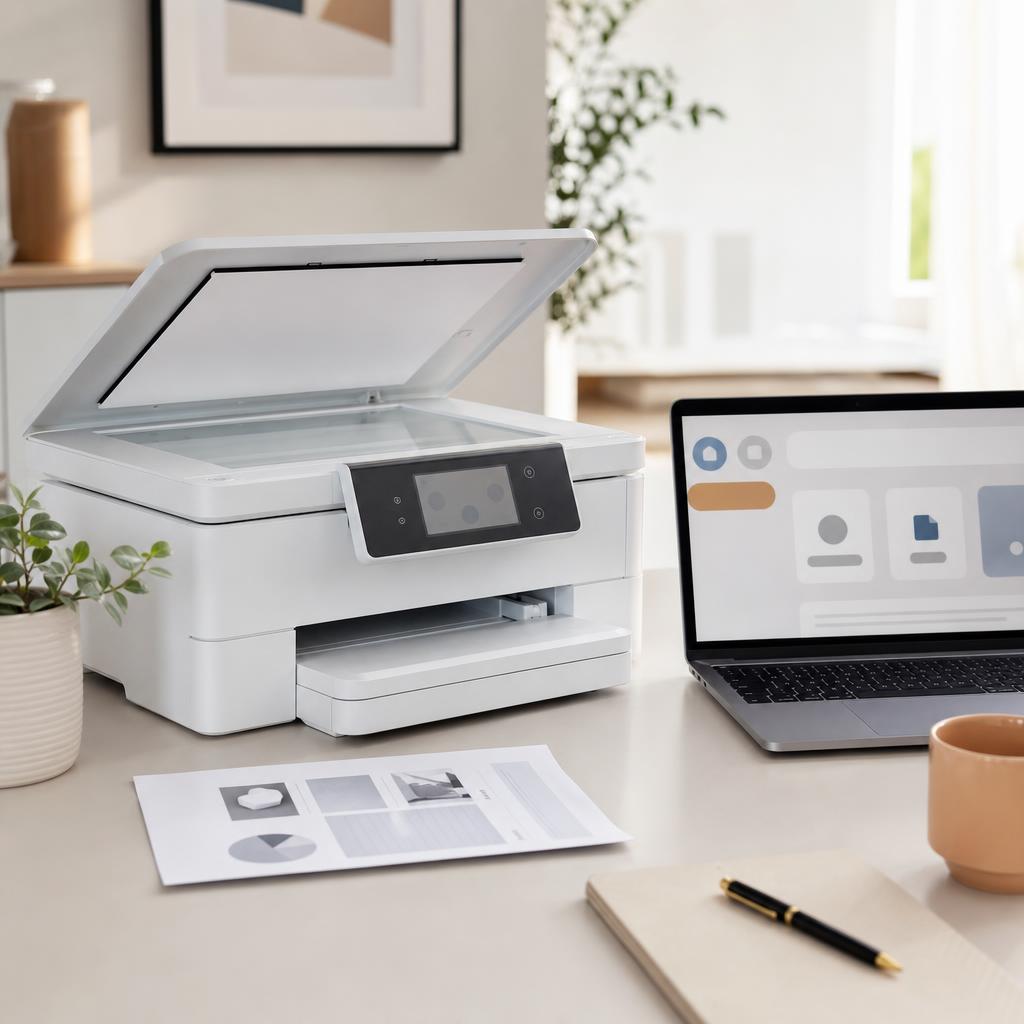
Quick summary
- The problem
- Your scanner won’t scan — the computer can’t find it, the scan button does nothing, "scan to computer" fails, or scans come out blurry and poor.
- The fix
- Restart the scanner and computer, then check the USB or Wi-Fi connection and confirm your computer recognizes the device. If it still won’t scan, select the correct scanner, update or reinstall its driver and software, and run a test scan. Clean the glass to fix poor image quality.
- Applies to
- Multifunction and standalone scanners on Windows 11, Windows 10, and macOS.
On this page Show
Understanding the problem
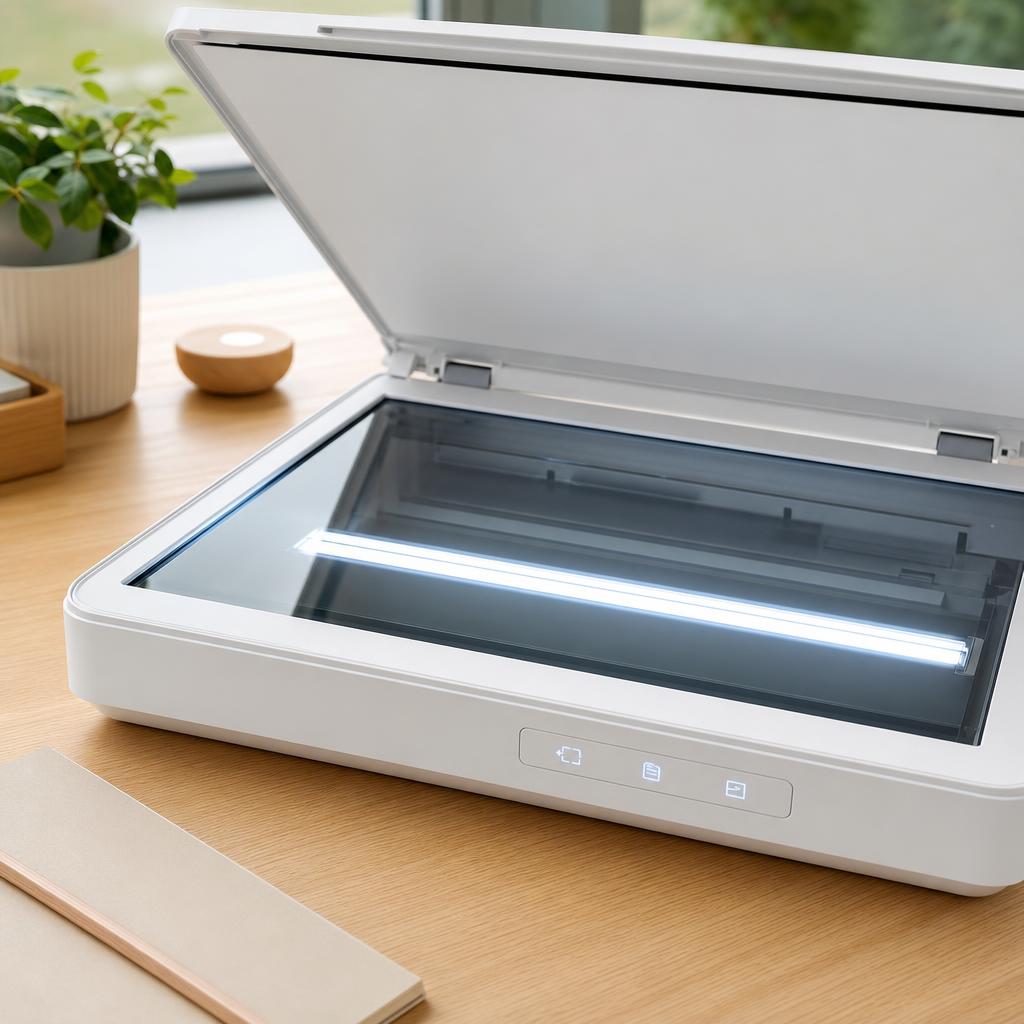
A scanner works like a camera for paper. When you scan, a bright light moves across the glass and a row of sensors records what it sees, turning your document or photo into a digital image or PDF on your computer. On a multifunction printer, the scanner sits under the lid on top — the flatbed glass — while the printing parts sit below, so one device can both print and scan.
Scanning is the reverse of printing, and that’s why the two don’t always fail together. Printing sends data from your computer to the printer; scanning sends data the other way, from the scanner back to your computer. That return trip needs its own driver and scanning software, so a printer can print perfectly while the scanner half stays silent — the printing side simply isn’t involved in getting a scan back to your screen.
Scanner communication fails when anything on that return path breaks. A loose USB cable, a dropped Wi-Fi connection, a missing or outdated scanner driver, a firewall blocking a network scanner, or scanning software that has stopped responding can all leave the scanner unable to reach your computer. The scan software can also lose track of which device to use, or the scanner can be switched off in settings without you realising. The good news is that almost every one of these is fixable at home, and this guide works from the simplest checks up to reinstalling drivers on both Windows and macOS.
Quick fact
Duplex means double-sided
Duplex printing prints on both sides of the paper automatically. If your printer lacks it, you can print odd pages, flip the stack, and print the even ones.
Signs you're in the right place
If you're seeing any of these, this guide is for you.
-
The scanner is not detected
The scanner doesn’t appear in your scanning software or settings at all.
-
Your computer can’t find the scanner
A search for scanners finds nothing, even though the device is switched on.
-
The scan button does nothing
Pressing Scan on the device or in the app produces no response.
-
Scan to computer fails
The scan starts but never reaches your computer, or shows a "scan to computer" error.
-
The scan preview never loads
The preview window stays blank or spins without ever showing your document.
-
The scanner disconnects unexpectedly
It works for a moment, then drops out partway through a scan.
-
Scans work but look poor
The scanner scans, but the image is blurry, streaky, dark, or off-colour.
-
An error appears when you start a scan
A message pops up the moment you try to scan, and nothing happens.
What's usually behind it
The most common reasons this happens, so the fix makes sense.
Missing or outdated scanner drivers
Scanning needs its own driver; if it’s missing or out of date, your computer can’t talk to the scanner even when printing works.
A USB connection problem
A loose cable, a faulty port, or a hub between the scanner and computer can break the link the scan travels over.
Wi-Fi connectivity issues
A network scanner that drops off Wi-Fi, or sits on a different network from your computer, simply can’t be reached.
Scanning software configuration
The scan app may be pointed at the wrong device or set up incorrectly, so it never connects to your scanner.
A firewall or antivirus block
Security software can quietly block the connection a network scanner uses, stopping scans from reaching your computer.
The scanner is disabled in software
The device can be switched off in your system settings, so it stays hidden even though it’s powered on.
The wrong default scanner
If several devices are installed, your computer may keep sending scans to one that isn’t connected.
An operating system update
A Windows or macOS update can reset scanning settings or leave an old driver that no longer works.
Firmware issues
Outdated firmware on the scanner itself can cause scans to freeze, fail, or drop the connection.
A hardware connection problem
A worn cable, a failing port, or a scanner left in sleep or error mode can stop it responding at all.
What you'll need
Have these on hand before you start for a smooth fix.
-
The scanner powered on and awake
Make sure it’s switched on and not in sleep or error mode before you start.
-
A secure USB cable or active Wi-Fi
Check the cable is firmly seated at both ends, or that a wireless scanner is on your network.
-
The scanner lid properly closed
Many scanners won’t start if the lid is left open or the transport lock is engaged.
-
Your computer recognising the device
The scanner should appear in your system’s Printers & scanners or Printers & Scanners list.
-
The scanning software installed
You’ll need the built-in scan app or the manufacturer’s full-feature software.
-
Administrator permissions
Installing drivers or changing device settings needs an admin account.
How to fix it
Work through these in order — they run from the quickest checks to the more advanced fixes.
-
Step 1: Restart the scanner and your computer
Switch the scanner off, wait about 30 seconds, then turn it back on and let it return to a ready state.
Restart your computer fully rather than just closing the lid or putting it to sleep.
Once both are back up, open your scanning app and try a scan again.
Why this works: A restart clears temporary glitches in the scanner and reloads the scanning software and services on your computer. It’s the quickest fix and resolves a surprising number of "won’t scan" problems before you touch any settings.
Expected result: Both devices restart cleanly and the scanner is ready to try again.
-
Step 2: Check the connection and close the lid
For a USB scanner, reseat the cable firmly at both ends and try a different USB port directly on the computer, not through a hub.
For a wireless scanner, confirm it’s connected to the same Wi-Fi network as your computer and that the network is working.
Close the scanner lid fully and make sure any transport or shipping lock on the device is released.
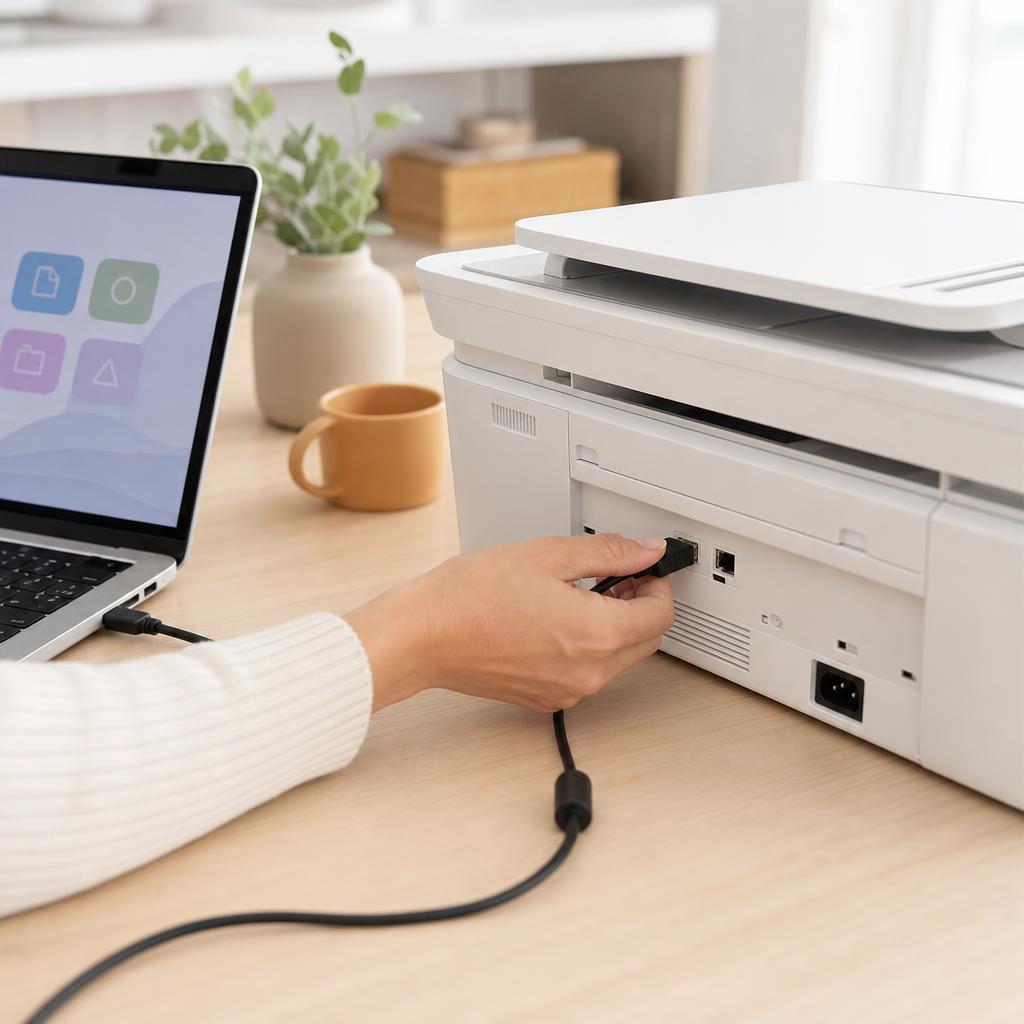
Why this works: The scan has to travel from the scanner back to your computer, so a loose cable, a bad port, or a dropped Wi-Fi link is one of the most common reasons a scanner isn’t found. Ruling the connection out first saves time.
Expected result: The scanner has a solid USB or Wi-Fi connection and the lid is closed.
The scanner shows a ready or connected status on its display or indicator light.
-
Step 3: Confirm your computer recognizes the scanner
On Windows, open Settings → Bluetooth & devices → Printers & scanners and check your scanner is listed.
On macOS, open System Settings → Printers & Scanners and confirm the device appears with a Scan option.
If it isn’t listed, use "Add device" (Windows) or the Add (+) button (macOS) to detect and add it.
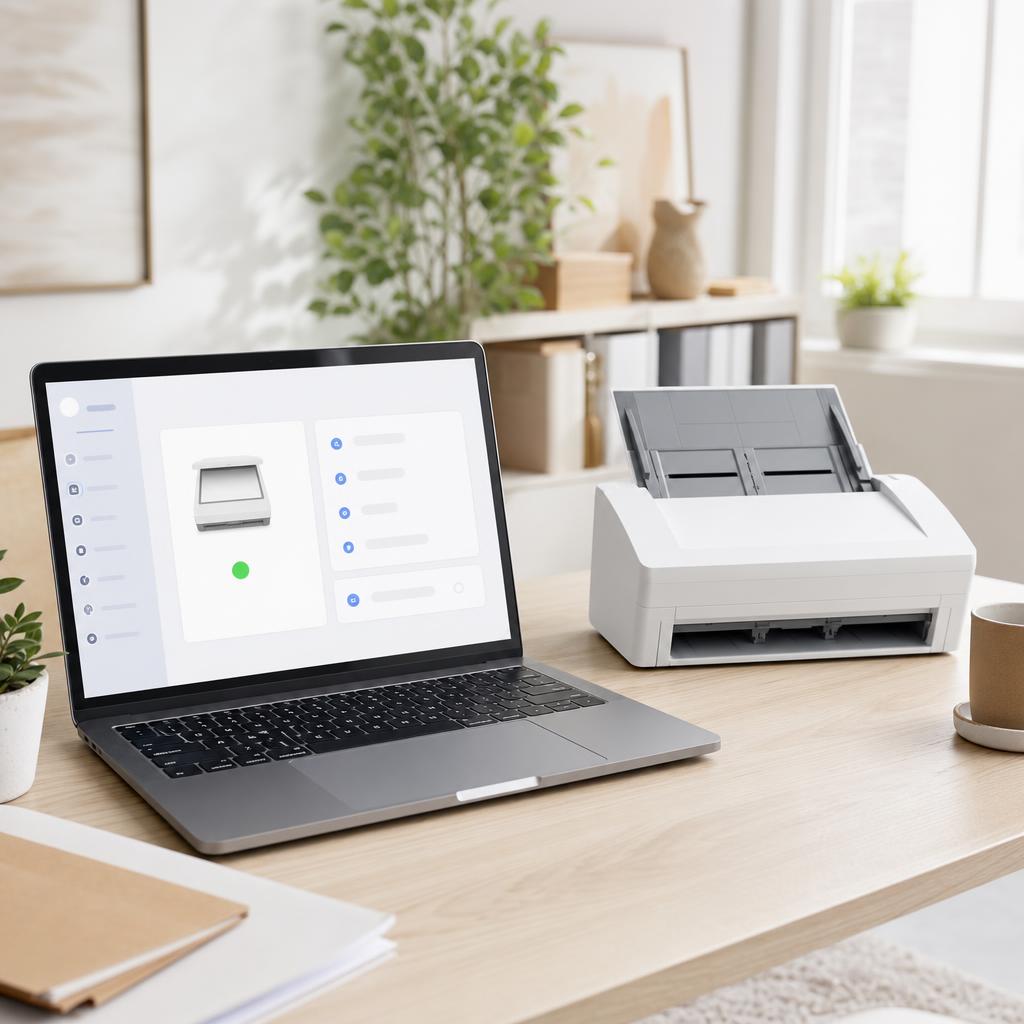
Why this works: If your computer can’t see the scanner in its device list, no scanning app will find it either. Confirming the device is recognised tells you whether this is a connection problem or a software one.
Expected result: The scanner appears in your system’s device list and is available to use.
The scanner shows up with a ready status and a scanning option.
-
Step 4: Place your document and run a test scan
Lift the lid and place your document face-down on the glass, lined up with the corner arrow or guide.
On Windows, open the built-in Windows Scan app (or Windows Fax and Scan) and start a scan.
On macOS, open Image Capture or the Scan tab in Printers & Scanners and click Scan.
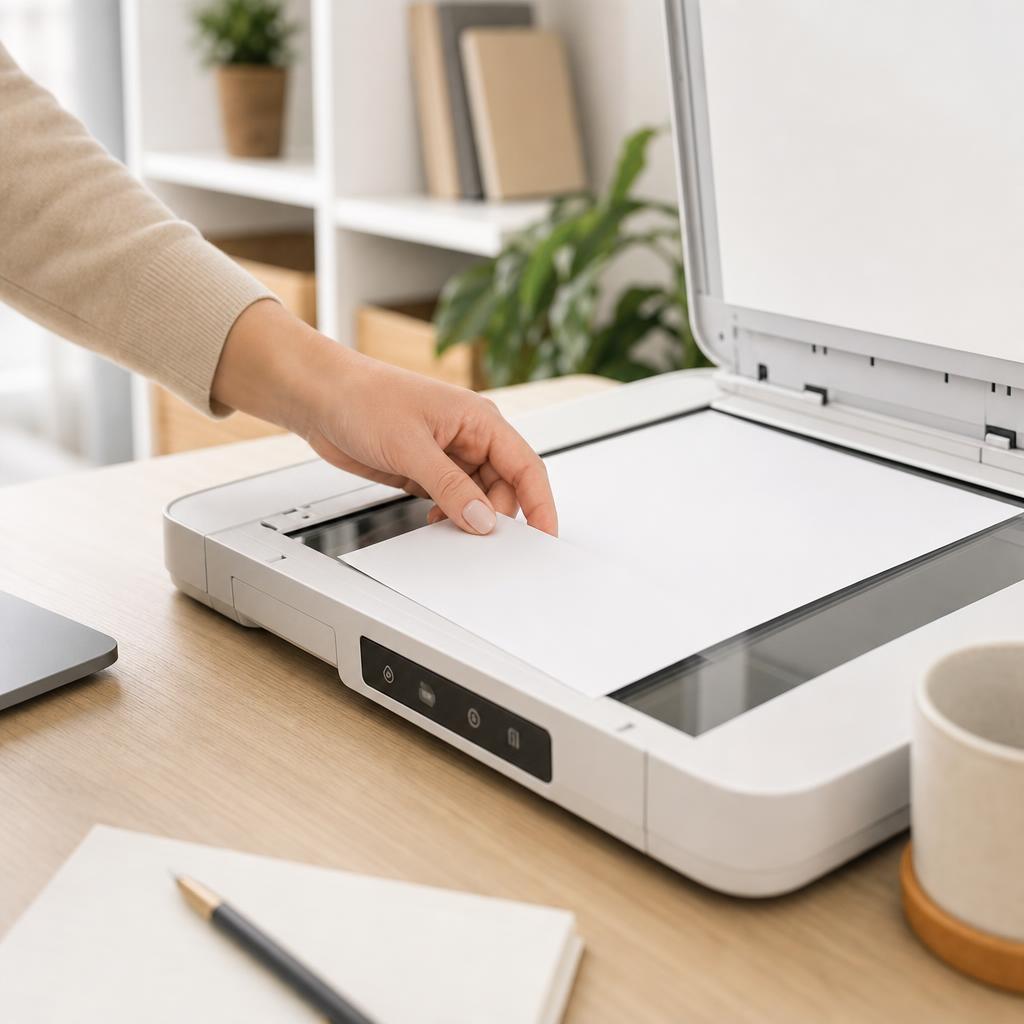
Why this works: Testing with your computer’s built-in scan app rules out a problem with third-party software. If the built-in app scans, the scanner and driver are fine and the issue is with your other program.
Expected result: A preview appears and the document scans through to your computer.
If the built-in app works but another program doesn’t, the fix is in that program’s settings, not the scanner.
-
Step 5: Open the scanner software and select the correct scanner
Open your scanning app and check which scanner is selected in its device or source list.
If several devices are listed, choose the one that’s actually connected and set it as the default scanner.
Remove any old or duplicate scanner entries that point to devices you no longer use.
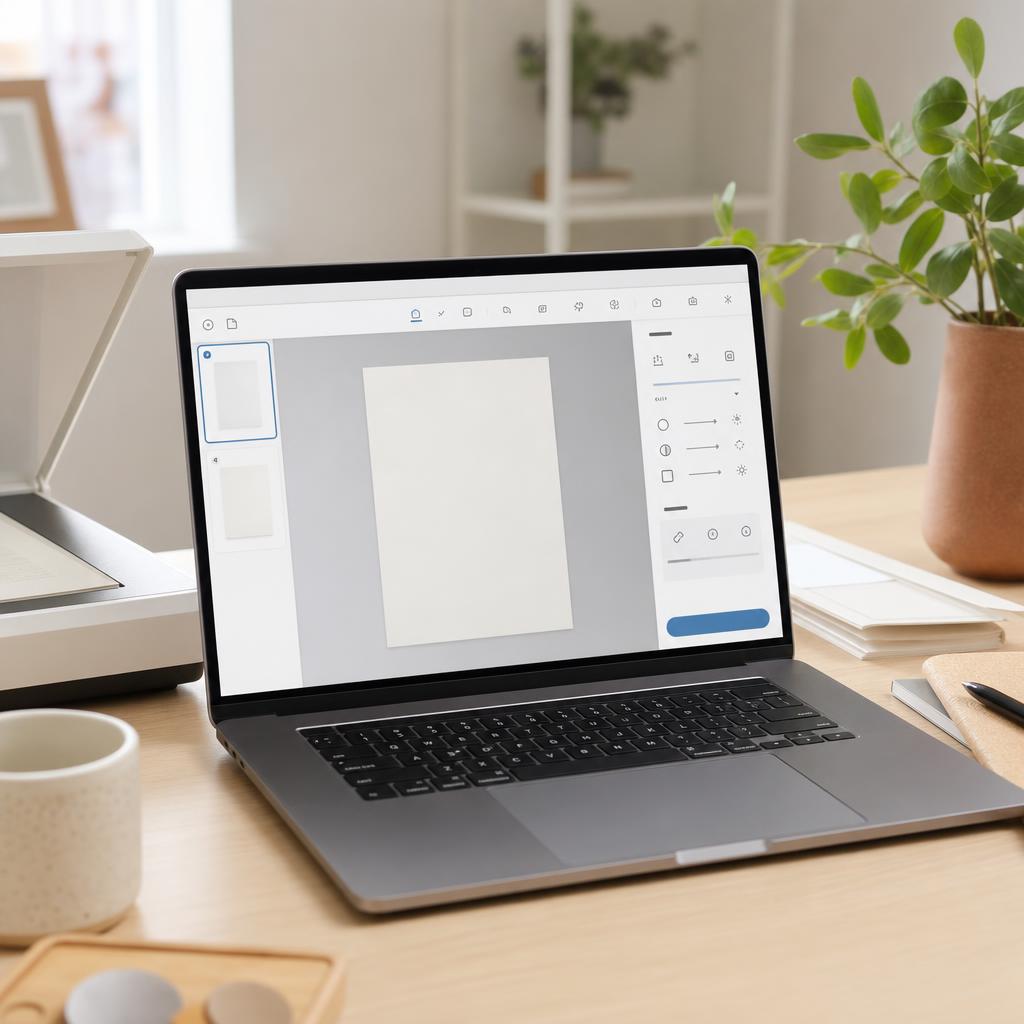
Why this works: When more than one device is installed, the app often keeps sending scans to the wrong one — usually an old printer that isn’t connected. Selecting the correct scanner points the software at the device that’s really there.
Expected result: The scanning app is set to the correct, connected scanner.
A scan started from the app reaches the right device and begins.
-
Step 6: Check scanning settings on macOS
Open System Settings → Printers & Scanners, select your scanner, and click the Scan tab, then "Open Scanner".
If the scanner is missing, try Image Capture, which often detects devices the settings panel misses.
If it still won’t appear, remove the device and add it again with the Add (+) button.
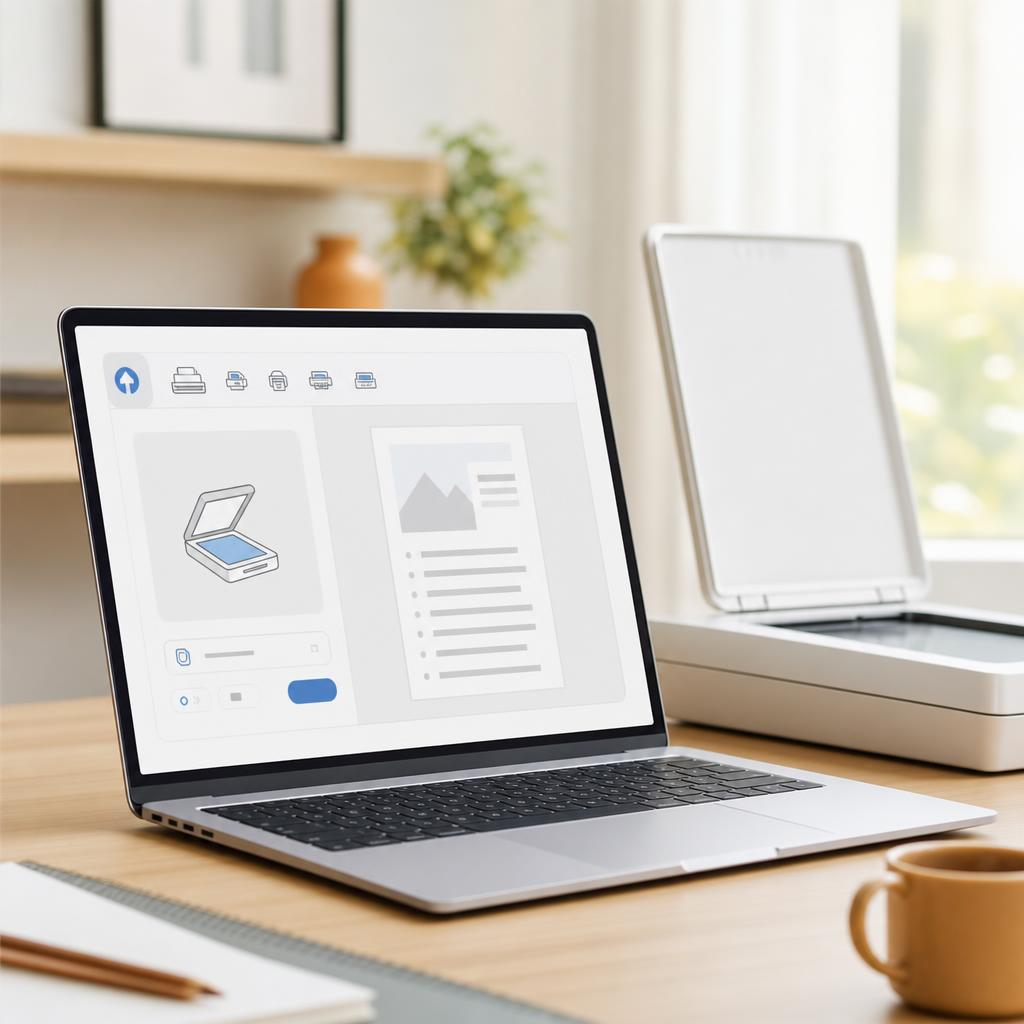
Why this works: macOS handles scanning differently from Windows and has its own built-in tools. Image Capture and the Scan tab can reach a scanner even when one app can’t, which quickly shows whether the device or the software is at fault.
Expected result: The scanner opens in a Mac scanning tool and produces a preview.
On a Mac, "Reset printing system" in Printers & Scanners clears every printer and scanner so you can add yours back fresh — use it if the device simply won’t appear.
-
Step 7: Reconnect a wireless scanner and check firewall or antivirus
For a network scanner, reconnect it to your Wi-Fi using the control-panel wireless setup, and make sure it’s on the same network as your computer.
Temporarily disable your firewall or antivirus and try a scan; if it works, add the scanner or its software as an allowed exception before turning protection back on.
Restart your router if the scanner keeps dropping off the network.
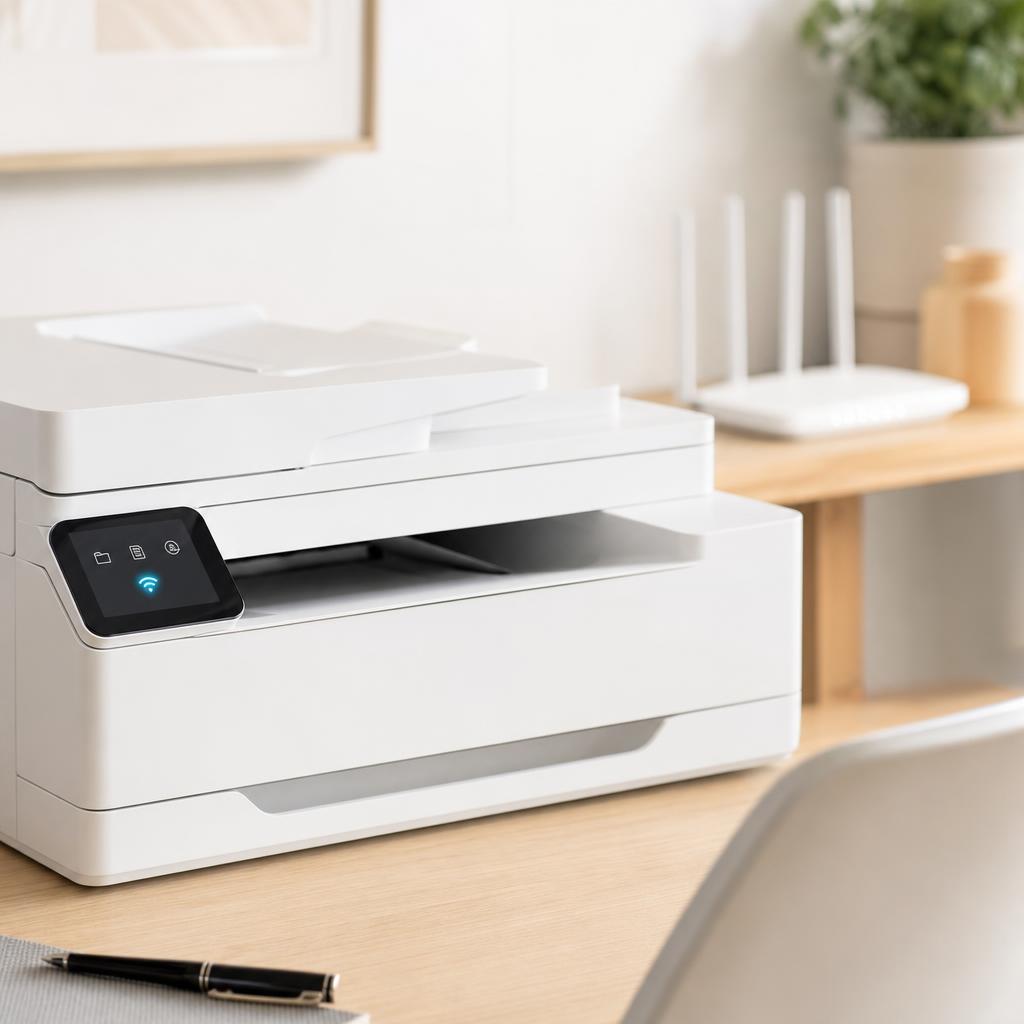
Why this works: Network scanners rely on a clear path across your Wi-Fi, and security software can silently block it. Reconnecting the scanner and allowing it through the firewall restores that path so scans can reach your computer.
Expected result: The wireless scanner stays connected and scans reach your computer.
Always turn your firewall or antivirus back on after testing — leave it running with the scanner added as an exception.
-
Step 8: Update or reinstall the scanner driver and software
Download the latest full-feature driver and scanning software for your exact model and operating system from the manufacturer’s official website.
Uninstall the current scanner software first, restart the computer, then install the fresh download.
On Windows, you can also open Device Manager, find the scanner under "Imaging devices", and update or reinstall its driver there.
Why this works: A missing, outdated, or corrupted driver is the single most common reason a scanner won’t scan while the printer still prints. Reinstalling the full software rebuilds the scanning connection and restores the scan features that a print-only driver leaves out.
Expected result: The scanner works again with an up-to-date driver and full scanning software.
Choose the "full feature" or "complete" package rather than the basic print driver, so scanning is included.
-
Step 9: Update the scanner firmware
Check the manufacturer’s support page for a firmware update for your exact model.
Follow their instructions to install it, and keep the scanner powered on and connected throughout — never interrupt a firmware update.
Once it finishes and the device restarts, try scanning again.
Why this works: Firmware is the software built into the scanner itself. An outdated version can cause scans to freeze or the device to drop offline, and a manufacturer update often fixes exactly these faults.
Expected result: The scanner runs current firmware and scans reliably.
Only ever use firmware from the manufacturer’s official site, and don’t switch the device off while it updates.
-
Step 10: Clean the scanner glass to fix poor quality
If scans come out blurry, streaky, or marked, lift the lid and gently wipe the glass with a soft, lint-free or microfiber cloth.
For stubborn smudges, lightly dampen the cloth with glass cleaner sprayed onto the cloth, never directly onto the glass.
Let the glass dry fully, then check the document is lying flat and square before scanning again.
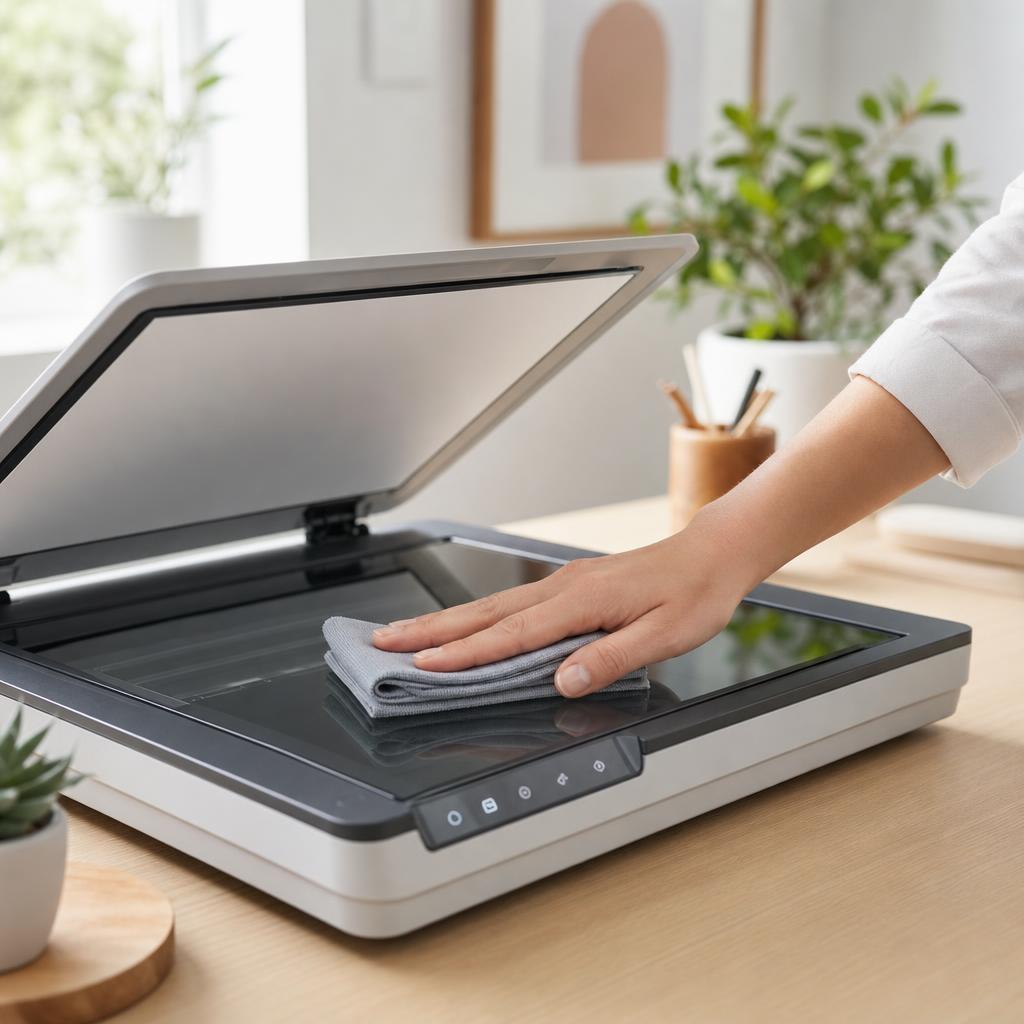
Why this works: The scanner reads whatever is on the glass, so dust, fingerprints, and smears show up as lines or blur on every scan. A clean glass and a flat document are often all it takes to turn a poor scan into a sharp one.
Expected result: The glass is clean and clear, and scans look sharp and even.
-
Step 11: Run a final test scan to confirm
Place a document on the glass and run a full scan from start to finish.
Check that the preview loads, the scan completes, and the image looks clear and correctly coloured.
Save the file to your computer to confirm the whole process works end to end.

A clear preview, a completed scan, and a saved file confirm the scanner is working again. Why this works: A final scan proves the scanner, driver, and software are all working together again. Watching a document scan, preview, and save confirms the fix will hold for your everyday scanning.
Expected result: A document scans, previews, and saves cleanly to your computer.
The scan completes, looks sharp, and saves successfully without errors.
Tip
Printer Tip
Keep your scanner driver and scanning software updated so they keep working after system updates.
Other solutions to try
If the steps above didn't do it, these fixes resolve the less common cases.
On Windows
Windows includes built-in scanning tools and a service that scanners depend on, so most scanner problems can be fixed from there.
- Test with the built-in Windows Scan app or Windows Fax and Scan to rule out third-party software.
- Open Device Manager, expand "Imaging devices", and update or reinstall the scanner’s driver — or right-click and enable it if it’s disabled.
- Make sure the "Windows Image Acquisition (WIA)" service is running: open Services (services.msc), find it, and set it to start automatically.
- Reinstall the manufacturer’s full-feature software so the scan features are included, not just the print driver.
On macOS
macOS handles scanning through its own tools rather than a separate service, with a few reliable ways to reach a stubborn scanner.
- Scan from Image Capture or the Scan tab in System Settings → Printers & Scanners, which often detect devices other apps miss.
- Remove the scanner and add it again with the Add (+) button so macOS rebuilds the connection.
- If it still won’t appear, right-click (or Control-click) the device list and choose "Reset printing system", then add the scanner back.
- For a network scanner, confirm the Mac and the scanner are on the same Wi-Fi network before scanning.
Confirm it's working
Tick these off to be sure the problem is fully resolved.
Keep it from happening again
A few habits that stop this problem coming back.
- Keep your scanner driver and scanning software updated so they keep working after system updates.
- Maintain a stable USB or Wi-Fi connection, and avoid connecting through unpowered hubs.
- Clean the scanner glass regularly with a soft, lint-free cloth to keep scans sharp.
- Install firmware updates from the manufacturer when they’re available.
- Close the lid gently and keep the glass free of dust, marks, and fingerprints.
- Restart the scanner occasionally to clear temporary glitches before they cause problems.
Frequently asked questions
Was this guide helpful?
Your feedback helps us keep these steps accurate.
Thanks for your feedback!
Written by
The Guts Guide Editorial Team · Scanner & Connectivity Specialists
Reviewed by
Daniel Owens · Print & Network Technician
Last updated
July 2026
Continue Reading
Pick up where you left off with the next guide in your troubleshooting journey.
Related Guides
More troubleshooting walkthroughs you may find useful.

Buying Guides
Plain-English comparisons and pre-purchase checklists — find the right printer before you buy.


