
How to Scan Documents to PDF
Turning a paper document into a clean, shareable PDF is one of the most useful things an all-in-one printer can do — yet the results range from a crisp, readable file to a blurry, bloated one depending on a handful of settings most people never touch. This guide walks you through scanning to PDF on both Windows and macOS, choosing resolution and colour honestly, keeping file size sensible, and naming and filing your scans so you can actually find them again.
Applies to: All-in-one (print/scan/copy) inkjets, Laser multifunction printers, Flatbed & sheet-fed scanners, Wi-Fi, Ethernet & USB models, Windows & macOS, HP, Canon, Epson, Brother & more
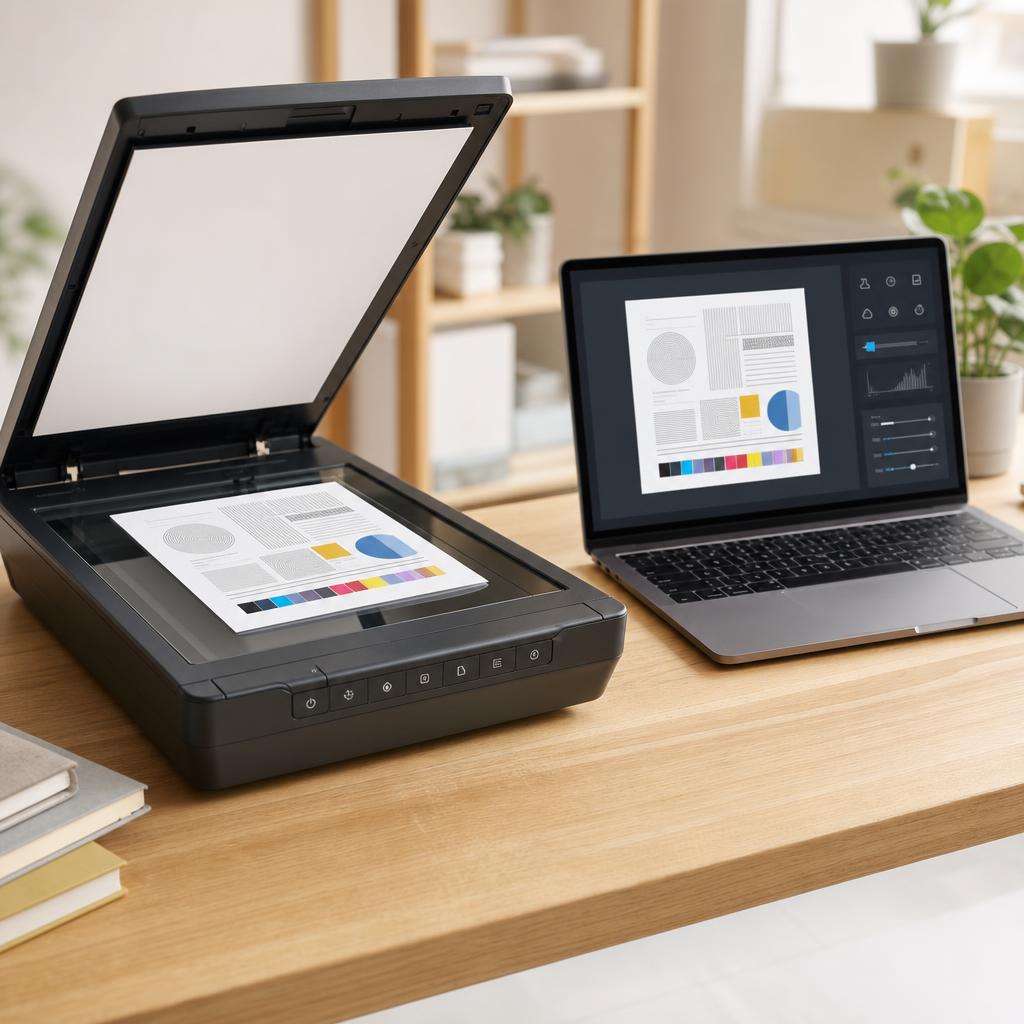
Quick summary
- The problem
- You need to turn a paper document — a contract, receipt, form, or ID — into a proper PDF you can email, upload, or keep, but you are not sure which software to use or which settings give a clean file that is not enormous.
- The fix
- Place the page squarely on the glass, open Windows Scan (or your maker’s app) on Windows or Image Capture on a Mac, set 300 DPI and the right colour mode, choose PDF as the format, then save it with a clear name in a sensible folder — and use OCR if you need the text to be searchable.
- Applies to
- Any all-in-one printer or scanner on Windows and macOS, connected by Wi-Fi, Ethernet, or USB.
On this page Show
Understanding the problem
A scanner takes a photograph of a page and hands your computer a digital image. On its own that image is just pixels; what turns it into a genuinely useful document is the PDF wrapper around it — a format that keeps one or many pages together, prints back at the right size, and opens on virtually any device without special software. Scanning to PDF is really two jobs happening at once: capturing a good, faithful image of the paper, and packaging it into a file that is easy to share, store, and read. Get both right and you have a document that looks professional and behaves predictably; get either wrong and you end up with a crooked, washed-out, or needlessly huge file.
The reason results vary so much is that the important decisions are made before you press the button, and the default settings are rarely the best ones for the document in front of you. Resolution (measured in DPI, or dots per inch) controls how much detail is captured; colour mode decides whether you keep full colour, drop to greyscale, or reduce to plain black and white; and the format and quality settings determine how the finished PDF balances sharpness against file size. Most people leave every one of these at whatever the software chose last time, then wonder why a simple one-page letter arrives as a ten-megabyte file, or why a receipt is unreadable when they zoom in. None of this is complicated once you know what each control does — it just takes a moment of deliberate choice.
This guide takes that deliberate route. You will learn how to place a document so it scans straight, how to open the right scanning software on Windows and macOS, and how to choose resolution, colour, and format settings that suit the job rather than fighting them afterwards. We will be honest about the trade-offs — higher DPI and full colour mean bigger files, and the built-in tools do not all handle searchable text the same way — and we will finish with a simple, repeatable habit for naming and filing scans so a folder of PDFs stays something you can search rather than a digital shoebox. If your all-in-one is not scanning at all yet, our guide on how to scan to a computer covers getting the connection working first.
Tip
Run one cleaning cycle at a time
When print quality drops, run a single printhead cleaning cycle and print a test page before running another. Repeated cycles use a lot of ink.
Signs you're in the right place
If you're seeing any of these, this guide is for you.
-
You need to email or upload a paper document
A form, contract, or application asks for a PDF, and you only have the document on paper in front of you.
-
You want to keep a digital copy of receipts or records
You are tired of losing paper receipts, warranties, or letters and want a searchable digital archive instead.
-
Your scans come out crooked, dark, or blurry
The scanner works, but the finished files look tilted, washed out, or too soft to read comfortably.
-
Your PDFs are far bigger than they should be
A one-page letter arrives as a multi-megabyte file that is slow to email or rejected by an upload limit.
-
You are not sure which software to use
There is a maker’s app, a built-in Windows or Mac tool, and a button on the printer — and you do not know which to trust.
-
You cannot search the text inside your scans
You can see the words on screen, but you cannot select, copy, or search them because the scan is just an image.
-
Your saved scans are impossible to find later
You have a folder full of files called “scan001” and “document(3)” and can never locate the one you need.
-
You scan often and want a reliable routine
You handle paperwork regularly and want a repeatable process that gives clean, consistent results every time.
What's usually behind it
The most common reasons this happens, so the fix makes sense.
Leaving resolution on the default setting
The scanner often defaults to a resolution that is either too low to read comfortably or wastefully high, so the file is either fuzzy or bloated for no benefit.
Scanning everything in full colour
Colour looks safe but multiplies file size, and a plain black-text document gains nothing from it — greyscale or black and white is usually the smarter, smaller choice.
Saving as an image instead of a PDF
Some apps default to JPEG or PNG, which cannot hold multiple pages and are awkward to share as documents — the format has to be set to PDF deliberately.
Placing the page carelessly on the glass
A sheet nudged away from the corner guide, or a lid left ajar, produces crooked, shadowed, or cropped scans that no software setting can fully rescue.
A dirty scanner glass
Dust, fingerprints, or correction-fluid flecks on the glass show up as specks and streaks on every scan until the surface is cleaned.
Not knowing which tool to reach for
Between the maker’s app, the built-in operating-system tool, and the printer’s own scan button, it is easy to pick the one that offers the fewest useful controls.
Expecting searchable text automatically
A scan is an image of text, not text itself; it only becomes searchable when optical character recognition (OCR) is applied, and not every built-in tool includes it.
No filing habit for the finished files
Without a consistent name and a home folder, scans pile up under default names and become impossible to search or retrieve when they matter.
Quality set higher than the document needs
Pushing quality and DPI to the maximum for a routine letter wastes storage and email allowance without making the document any more legible.
What you'll need
Have these on hand before you start for a smooth fix.
-
An all-in-one printer or scanner that is set up
It needs to be connected to your computer by Wi-Fi, Ethernet, or USB. If scanning is not working yet, sort the connection first with our scan-to-a-computer guide.
-
The document you want to scan
Flatten any folds and remove staples or paper clips so pages sit flush against the glass and feed cleanly.
-
Scanning software on your computer
On Windows this can be the free Windows Scan app or your maker’s software; on a Mac it is Image Capture or Preview, both built in.
-
A clean, dry microfibre cloth
For wiping the scanner glass so dust and fingerprints do not show up as specks on every page.
-
A sensible folder to save into
Decide in advance where scans will live — a “Scans” or “Documents” folder — so files do not scatter across your desktop and downloads.
-
A few minutes to preview and check
Previewing before you save catches crooked, dark, or cropped scans while they are still quick to redo.
How to fix it
Work through these in order — they run from the quickest checks to the more advanced fixes.
-
Step 1: Clean the glass and prepare the document
Lift the scanner lid and wipe the glass with a dry microfibre cloth to remove dust, fingerprints, and stray specks.
Remove any staples, paper clips, or sticky notes, and gently flatten folded or curled pages so they lie flat.
If the document has several loose pages and your printer has an automatic document feeder (ADF), fan the stack so the sheets separate cleanly.
Why this works: Every mark on the glass and every crease in the paper is captured faithfully in the scan, so a minute of preparation prevents specks, shadows, and jams that no software setting can fix afterwards. Clean glass and flat paper are the foundation of a professional-looking PDF.
Expected result: The glass is spotless and your document is flat, unclipped, and ready to sit squarely in place.
Never spray liquid directly onto the glass — if it needs more than a dry wipe, dampen the cloth lightly instead, and never use abrasive cleaners that could scratch the surface.
-
Step 2: Place and align the document on the flatbed
Lay the page face down on the glass and slide it firmly into the corner marked by the small arrow or icon — this is the scanner’s origin point.
Line the edges of the paper up with the guides etched around the glass so the scan comes out straight, not tilted.
Close the lid gently but fully; a lid left ajar lets in light that washes out the edges of the page.
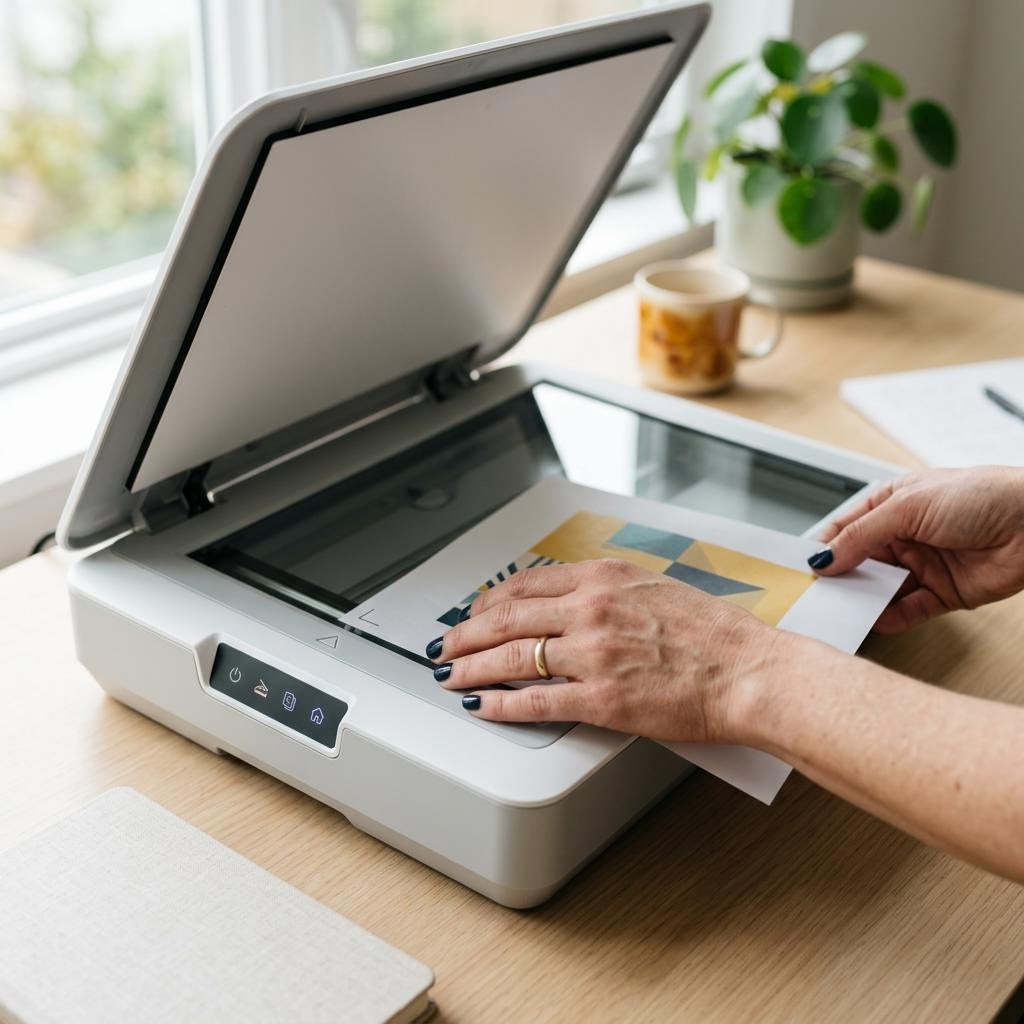
Why this works: The scanner measures everything from that corner marker, so aligning the page to it is what keeps the scan square and correctly cropped. Getting this right on the glass saves you from straightening or re-cropping the file later, which always costs a little quality.
Expected result: The document sits flush in the corner, aligned to the guides, with the lid closed flat over it.
For a stack of same-size pages, the ADF is faster, but the flatbed gives better results for fragile, glossy, folded, or oddly sized originals such as receipts and ID cards.
The page is square against the corner guide with the lid fully closed.
-
Step 3: Open the right scanning software
On Windows, open the free “Windows Scan” app (also called Scan) from the Start menu, or launch your printer maker’s own software such as HP Smart, Epson ScanSmart, Canon IJ Scan Utility, or Brother iPrint&Scan.
On macOS, open Image Capture from the Applications folder, or use Preview’s File → Import from Scanner option; both are built in and need no download.
Select your printer from the list of devices in the app; if it does not appear, confirm it is powered on and on the same network or cable as your computer.
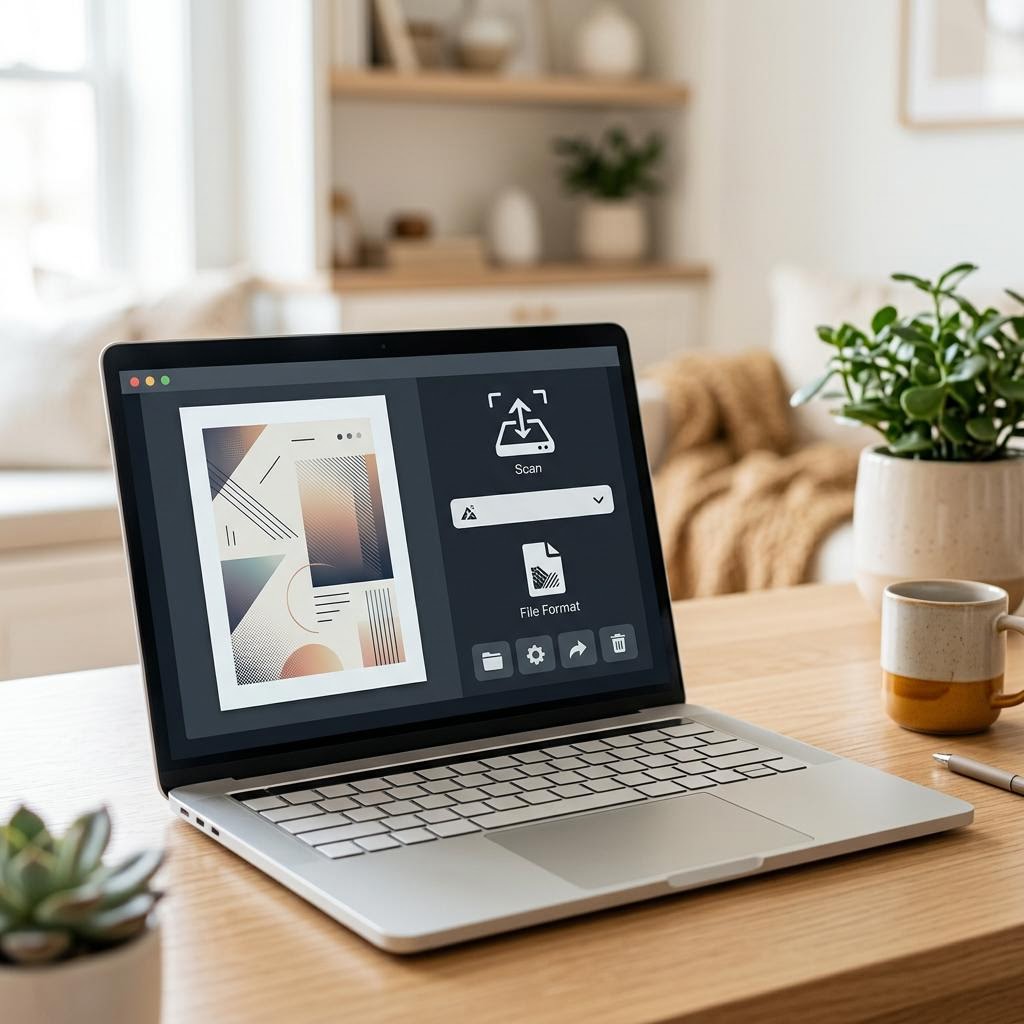
Why this works: The software you choose decides which controls you get. The built-in tools (Windows Scan, Image Capture, Preview) are simple and reliable for most documents, while the maker’s app usually adds extras such as automatic straightening, multi-page merging, and OCR. Knowing what each offers lets you pick the right one for the job rather than settling for the first button you find.
Expected result: Your scanning app is open and your printer is selected as the active scanner.
The printer’s own “Scan to Computer” button works too, but it sends the scan with whatever settings the printer holds — starting from the computer gives you far more control over resolution, colour, and format. If the printer will not appear at all, our scanner-not-working guide covers the fixes.
-
Step 4: Choose the resolution (DPI) that suits the job
Find the resolution or DPI setting and match it to the document: 150 DPI for a quick, small file where you only need readability; 300 DPI for most documents, the sweet spot for clear text and sensible size; 600 DPI only for photos, fine print, or anything you may enlarge.
Avoid going higher than you need — resolution above 300 DPI rarely improves a plain text document and dramatically increases file size.
If you plan to run OCR later to make the text searchable, use at least 300 DPI, as recognition accuracy drops sharply on low-resolution scans.
Why this works: DPI is the single biggest lever over both quality and file size. Too low and text turns fuzzy and jagged; too high and a one-page letter balloons into megabytes with no visible benefit. Matching the resolution to what the document actually needs is the key habit that separates clean, right-sized PDFs from bloated or blurry ones.
Expected result: The resolution is set appropriately for the document — usually 300 DPI for everyday paperwork.
As a rule of thumb: 300 DPI is right roughly nine times out of ten. Reserve 600 DPI for detailed photographs or documents with very small print, and drop to 150 DPI only when you deliberately want the smallest possible file.
-
Step 5: Set the colour mode deliberately
Choose Colour only when the document genuinely needs it — photographs, coloured charts, or anything where colour carries meaning.
Choose Greyscale for documents with shading, logos, or photos where the colour itself does not matter; it keeps tonal detail while cutting the file size well below full colour.
Choose Black & White (also labelled “text” or “document” mode) for plain printed or typed pages; it produces the smallest, crispest files and is ideal for contracts, letters, and forms.

Resolution and colour mode are the two settings that most affect both clarity and file size — set them for the document in front of you, not by habit. Why this works: Colour mode has a large, often overlooked effect on file size. A full-colour scan of a plain black-text letter can be several times larger than the same page in black and white, with nothing gained. Choosing the mode that matches the content keeps text sharp and files lean, which matters the moment you try to email or upload them.
Expected result: The colour mode fits the document — black and white for text, greyscale or colour only where it earns its keep.
If a black-and-white scan looks patchy or drops faint text, step up to greyscale rather than full colour — it recovers the detail without the size penalty of colour.
-
Step 6: Select PDF as the file format
In the format or “Save as type” list, choose PDF rather than JPEG, PNG, or TIFF.
If the app offers a choice between “PDF” and “Searchable PDF”, pick the searchable option when you want to select and search the text later (covered fully in a later step).
Check for a quality or compression slider tied to the PDF and leave it at a balanced setting — high quality for archival documents, standard for everyday sharing.
Why this works: PDF is the format built for documents: it holds one or many pages in a single file, prints back at the correct size, and opens on virtually any device without special software. Image formats such as JPEG cannot combine pages and are awkward to treat as documents, which is why choosing PDF deliberately is what turns a scan into something genuinely shareable.
Expected result: The output format is set to PDF, ready to save the scan as a proper document.
For a multi-page document, look for an “add page” or “combine into one PDF” option so all pages land in a single file rather than several. Our guide on scanning multiple pages into one PDF walks through this in detail.
-
Step 7: Preview the scan before you commit
Use the Preview or Prescan button, if the app offers one, to capture a quick low-resolution view before the full scan.
Check the preview for the common faults: a crooked page, a dark or washed-out exposure, cut-off edges, or specks from the glass.
Adjust the crop box to trim empty margins, straighten a tilted page, or nudge the exposure, then re-preview until it looks right.
Why this works: A preview costs seconds and saves you from saving a flawed file you will only have to redo. Catching a tilt or a dark edge now, while the page is still on the glass, is far easier than trying to rescue it in an editor afterwards — and it is the habit that makes every scan come out consistently clean.
Expected result: The preview shows a straight, well-exposed, fully captured page with tidy margins.
If the whole scan looks too dark or too light, adjust brightness or contrast slightly rather than rescanning blindly — but a persistent problem points back to the glass or the lid, so re-check those first.
-
Step 8: Run the full scan
With the settings and preview confirmed, press Scan and let the scanner make its full pass across the page.
Keep the lid closed and the printer still while it works; moving the document mid-scan produces blur or banding.
For a multi-page job on the flatbed, wait for the “scan next page” prompt, replace the page, and continue until every page is captured.
Why this works: The full scan is where your chosen resolution and colour mode are actually applied, capturing the page at the quality you set. Letting it complete undisturbed ensures the finished image is sharp and even, with none of the smearing that comes from a document shifting partway through.
Expected result: The scanner completes its pass and the finished page appears in the app, ready to save.
The scanned page appears in the app looking straight, clear, and correctly exposed.
-
Step 9: Save the PDF with a sensible name and location
When prompted, give the file a clear, descriptive name rather than accepting a default like “scan001” — for example, “2026-07-electricity-bill” or “tenancy-agreement-signed”.
Choose a deliberate save location such as a dedicated “Scans” folder or the relevant project folder, not the desktop or downloads.
Confirm the format is still PDF in the save dialog, then save and note where the file has gone.
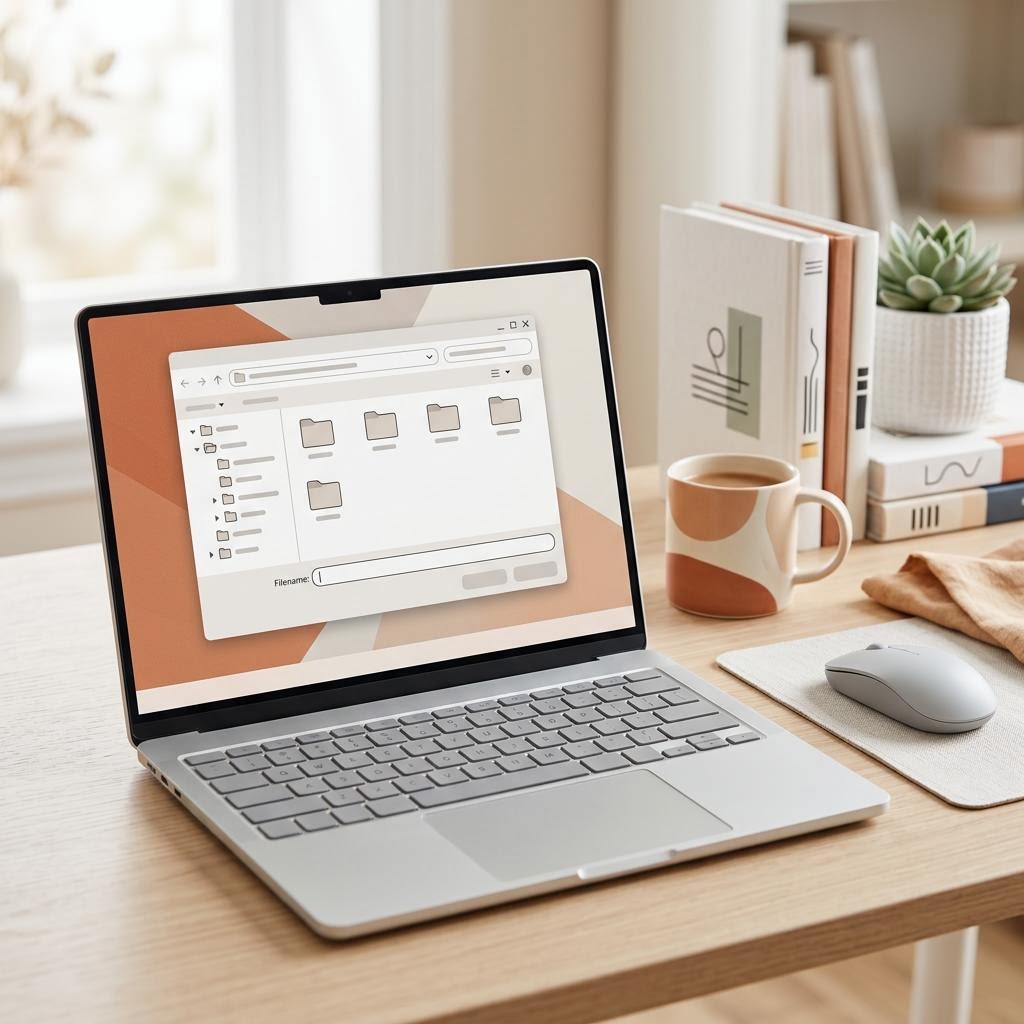
Why this works: A file you cannot find later might as well not exist. A descriptive name and a consistent home folder are what let you search, sort, and retrieve a scan months from now, and they cost nothing at the moment of saving. This small discipline is the difference between an archive and a digital pile.
Expected result: The PDF is saved with a meaningful name in a folder you will remember.
A useful naming pattern is date-then-description in the form YYYY-MM-DD — for example, “2026-07-14-invoice-acme” — because that sorts files neatly in date order automatically.
-
Step 10: Check the finished file before archiving
Open the saved PDF in a viewer and read it at 100% zoom to confirm every line of text is legible and nothing is cut off.
Check that all pages are present and in the right order, and that the file opens without errors on your usual PDF reader.
Note the file size — if a simple text document is several megabytes, revisit the resolution and colour mode and rescan at 300 DPI in black and white.

Opening the saved PDF and reading it at 100% confirms it is legible and complete before you file or send it. Why this works: Opening the actual saved file, rather than trusting the in-app preview, is the only way to be sure the PDF is complete, readable, and a sensible size before you rely on it. This final check catches missing pages, a wrong format, or a needlessly huge file while it is still easy to redo.
Expected result: The PDF opens cleanly, every page is present and readable, and the file size is reasonable for the content.
The document reads clearly at full zoom and the file is a sensible size for its length.
-
Step 11: Make the text searchable with OCR (optional)
Decide whether you need the text to be selectable and searchable — useful for contracts, references, and anything you may want to find by its contents later.
Use the OCR feature where it lives: many maker’s apps (such as Epson ScanSmart, HP Smart, and Canon’s utility) offer a “searchable PDF” or “OCR” option at scan time, and on a Mac, Preview and the Files/Notes ecosystem increasingly recognise text automatically.
If your tool has no OCR, scan at 300 DPI or higher and run the file through a dedicated OCR application or a reputable online service afterwards to add the text layer.
Why this works: A plain scan is only a picture of text — you cannot select, copy, or search it. OCR reads the shapes of the letters and adds an invisible, searchable text layer beneath the image, turning a static scan into a document you can search and quote from. Being honest about where OCR lives matters, because the built-in tools vary and not all of them include it.
Expected result: You can select and search the words inside the PDF, or you know your tool lacks OCR and have a plan to add it.
OCR accuracy depends on a clean scan: aim for at least 300 DPI, good contrast, and straight pages. Faint, skewed, or low-resolution originals produce garbled results no matter which tool reads them.
-
Step 12: Build an organised filing habit
Adopt one consistent naming convention — date plus description works well — and apply it to every scan so files sort and search predictably.
Keep a small, logical folder structure such as “Scans → Bills”, “Scans → Contracts”, and “Scans → Receipts”, and move each new PDF into place as you save it.
Back the folder up automatically to a cloud service or an external drive so your paperless records survive a lost or failed computer.
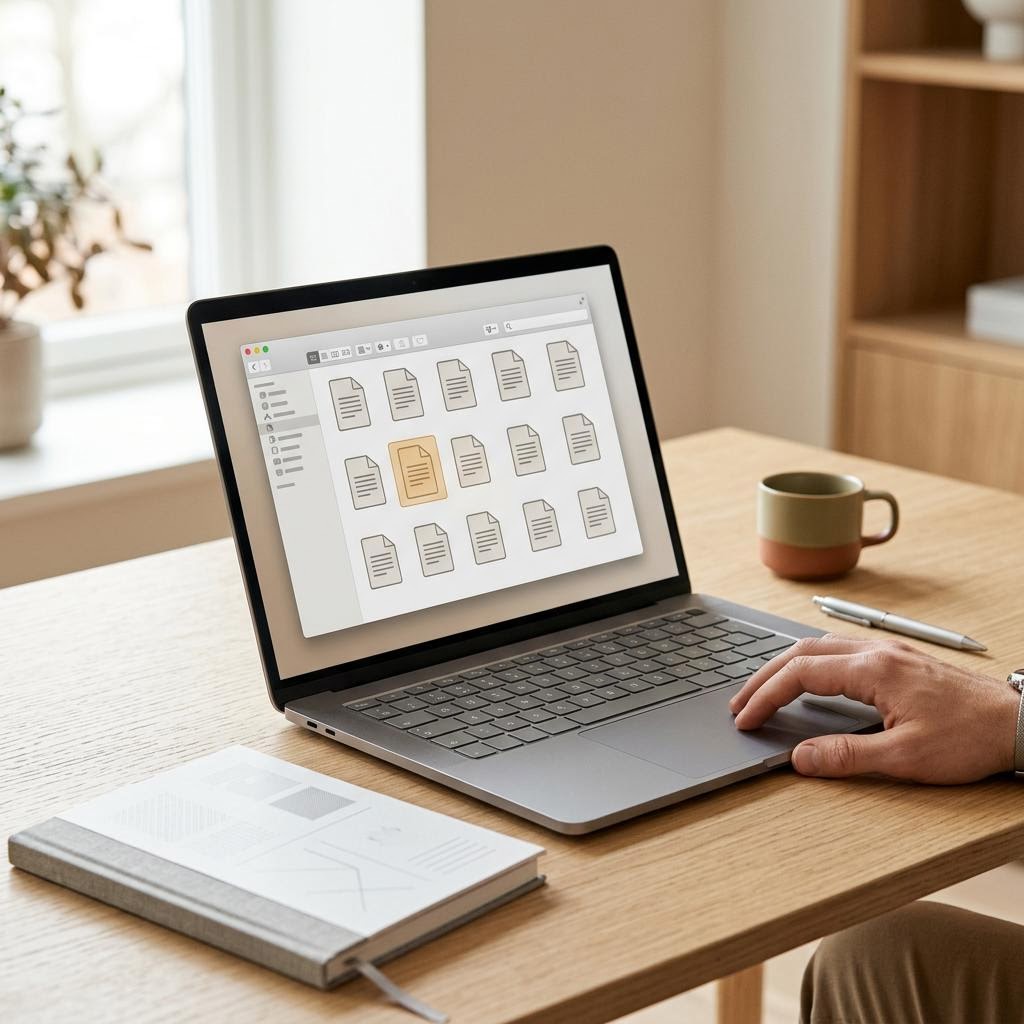
A simple, consistent folder structure and naming habit turn a pile of scans into an archive you can actually search. Why this works: The value of scanning to PDF is only realised if you can find and trust the files afterwards. A consistent name, a simple folder structure, and an automatic backup turn a growing collection of scans into a genuine, dependable archive rather than a folder you dread opening.
Expected result: New scans land in a predictable place under a predictable name and are safely backed up.
You can locate any past scan in seconds by searching its name or browsing its folder.
Tip
Printer Tip
Keep the scanner glass clean — a quick dry wipe before an important scan prevents specks on every page.
Other solutions to try
If the steps above didn't do it, these fixes resolve the less common cases.
A quick DPI reference for common documents
Match the resolution to the document and you avoid both fuzzy text and oversized files — these are sensible starting points.
- 150 DPI: quick, disposable scans where only readability matters and the smallest file is the priority.
- 300 DPI: the default for almost everything — letters, forms, contracts, receipts — clear text at a reasonable size.
- 600 DPI: photographs, documents with very fine print, or anything you may enlarge or reprint at a larger size.
- Above 600 DPI: rarely useful for documents; it mostly just multiplies file size with no visible gain.
When the file is still too big to email
If a scan exceeds an upload or attachment limit, reduce the size without necessarily sacrificing readability.
- Rescan in black and white or greyscale instead of colour — the single biggest saving for text documents.
- Drop the resolution from 600 to 300 DPI, which is still comfortably readable for most paperwork.
- Use your PDF tool’s “reduce file size” or “compress” option, or lower the PDF quality slider a notch before saving.
Choosing between the flatbed and the document feeder
Each has its place; picking the right one saves time and gives better results.
- Use the ADF for multi-page stacks of standard, undamaged paper — it is far faster and captures them straight into one PDF.
- Use the flatbed for fragile, glossy, folded, stapled, or oddly sized originals such as receipts, photos, and ID cards.
- For a mixed job, scan the bulk through the ADF and add the awkward pages from the flatbed into the same PDF afterwards.
If the scan quality looks poor no matter the settings
Persistent streaks, specks, or bands usually point to the hardware rather than the software.
- Clean the scanner glass thoroughly with a dry or very lightly dampened microfibre cloth, checking for dust and fingerprints.
- For an ADF, clean the small feed-scanner strip and the rollers, as a single speck there prints a line down every page.
- If problems persist, check for a scanner driver update or reinstall the driver — our driver guide covers doing this safely.
Confirm it's working
Tick these off to be sure the problem is fully resolved.
Keep it from happening again
A few habits that stop this problem coming back.
- Keep the scanner glass clean — a quick dry wipe before an important scan prevents specks on every page.
- Default to 300 DPI and black and white for everyday documents, stepping up only when the content genuinely needs it.
- Always preview before you save; catching a crooked or dark page early saves rescanning after the fact.
- Adopt one naming convention — date plus description — and stick to it so files stay searchable.
- Keep a simple, logical folder structure and file each scan as you make it rather than letting them pile up.
- Back your scans folder up automatically so a paperless archive survives a lost or failed computer.
Frequently asked questions
Was this guide helpful?
Your feedback helps us keep these steps accurate.
Thanks for your feedback!
Written by
The Guts Guide Editorial Team · Scanning & Imaging Specialists
Reviewed by
Daniel Owens · Print & Network Technician
Last updated
Jul 14, 2026
Continue Reading
Pick up where you left off with the next guide in your troubleshooting journey.
Related Guides
More troubleshooting walkthroughs you may find useful.
Buying Guides
Plain-English comparisons and pre-purchase checklists — find the right printer before you buy.



Helpful Resources
References and tools to help you go further.
-
Scan to a computer
Get scanning working from your printer to Windows or macOS before you fine-tune the output.
-
Scan multiple pages into one PDF
Combine several pages into a single, tidy PDF using the feeder or the flatbed.
-
Fix a scanner that is not working
Troubleshoot a scanner that will not appear, connect, or complete a scan.