
How to Print from Windows (Complete Windows Printing Guide)
Printing from Windows should be as simple as pressing Ctrl+P — and once you know your way around the print dialog, printing preferences, and the print queue, it usually is. This guide walks you through printing from any app on Windows 10 and Windows 11, choosing the right printer and settings, setting a sensible default, and managing jobs when they stack up, so a document goes from screen to paper on the first attempt.
Applies to: Inkjet & laser printers, All-in-one (print/scan/copy) models, Wi-Fi, Ethernet & USB printers, Windows 10 & Windows 11, HP, Canon, Epson, Brother & more

Quick summary
- The problem
- You want to print reliably from Windows — from any app, with the right printer, quality, paper, and colour settings — without documents going to the wrong device or getting stuck in the queue.
- The fix
- Press Ctrl+P in any app to open the print dialog, confirm the correct printer is selected, open Preferences to set quality, paper and colour, then print. Set a sensible default printer in Windows Settings, and use the print queue to pause, restart, or clear jobs when they stall.
- Applies to
- Windows 10 and Windows 11 PCs printing to inkjet or laser printers over Wi-Fi, Ethernet, or USB.
On this page Show
Understanding the problem
Printing feels like it ought to be the most basic thing a computer does, yet it quietly involves several moving parts working together: the app you are printing from, the print dialog that collects your choices, the printer driver that translates the document into something the printer understands, the Windows print spooler that queues the job, and finally the printer itself. When all of that runs smoothly you press Ctrl+P, click Print, and a page appears — but because there are so many links in the chain, it is worth understanding each one so you can steer the outcome rather than hope for the best.
Windows 10 and Windows 11 handle printing in very similar ways, with a few cosmetic differences. Both offer a standard print dialog reached with Ctrl+P from almost any application, both keep your installed printers in a Printers & scanners list, and both let a printer’s own preferences control the finer details such as print quality, paper size, and whether you print in colour or black and white. The wording and layout of some menus changed between the two versions, and Windows 11 leans more heavily on the modern Settings app, so this guide describes the flows in a way that holds across both and flags where the exact path depends on your version or your printer’s driver.
The aim here is not just to get one page out, but to make printing predictable. By the end you will know how to open and read the print dialog in any app, dig into printing preferences to control quality and colour, choose and lock in a default printer so documents stop wandering off to the wrong device, and manage the print queue when jobs pile up. We will also be honest about where problems belong to a bigger topic — a printer that shows offline, a queue that refuses to clear, or a driver that needs reinstalling — and point you to the dedicated guides that cover those in depth.

Did you know?
Laser printers use no liquid ink
Laser printers fuse a fine plastic powder called toner onto the page with heat, which is why prints come out dry and smudge-resistant.
Signs you're in the right place
If you're seeing any of these, this guide is for you.
-
You just want to print a document cleanly
You have something on screen — a letter, a photo, a web page — and you want it on paper with the right settings the first time.
-
Documents keep going to the wrong printer
Jobs land on a device you didn’t mean to use, or Windows keeps switching your default without asking.
-
You’re not sure how to change quality or colour
You want draft quality to save ink, a specific paper size, or black and white, but can’t find where those options live.
-
Print jobs stack up and nothing comes out
You’ve clicked Print several times and now a pile of jobs is sitting in the queue with nothing reaching the tray.
-
You’ve moved from Windows 10 to Windows 11
The menus look different after an upgrade and you want to know where the familiar print settings have gone.
-
You want a repeatable, no-surprises routine
You print often and want a dependable sequence so you never have to think twice about whether a page will appear.
What's usually behind it
The most common reasons this happens, so the fix makes sense.
The wrong printer is selected in the dialog
Windows remembers the last printer used or a managed default, so the dialog may point at a device other than the one you expect.
“Let Windows manage my default printer” is switched on
This setting quietly makes your most recently used printer the default, which is convenient for some people and maddening for others who print to a fixed device.
Preferences are buried a layer deeper
Quality, paper type, and colour usually live behind a “More settings”, “Preferences”, or “Properties” link rather than on the main dialog, so they’re easy to miss.
The print spooler has a stuck job at the front
A single failed or corrupted document can block everything queued behind it, so later jobs never print even though they were sent correctly.
The printer is offline or asleep
If Windows can’t reach the printer over Wi-Fi or USB it marks it offline and holds every job, even though the document was sent perfectly.
An app uses its own print dialog
Some apps — many PDF readers and browsers — show a custom print window that looks different from the standard Windows one, which can hide familiar options.
The driver is outdated or the wrong one
A generic or mismatched driver can strip out features such as duplex or colour control, or cause jobs to fail silently.
Colour and paper defaults don’t match the document
A default set to black and white, or to the wrong paper size, means the output never looks the way you expected until you adjust preferences.
What you'll need
Have these on hand before you start for a smooth fix.
-
A Windows 10 or Windows 11 PC
The steps apply to both; a few menu names differ, which the guide points out as it goes.
-
A printer already installed on the PC
It should appear in Printers & scanners. If it isn’t there yet, add it first — see the guide on connecting a printer to Windows.
-
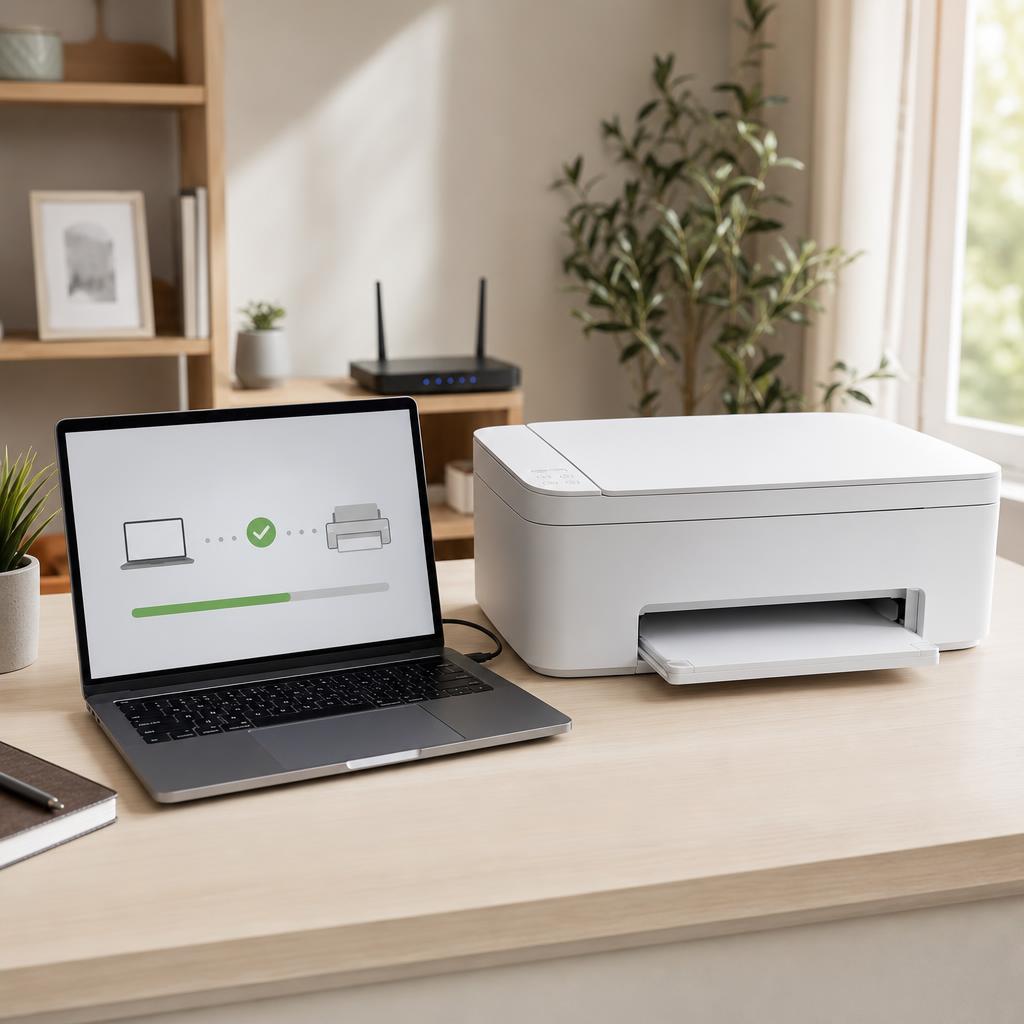
The printer switched on and connected
Powered up and joined to the same network as the PC, or plugged in by USB, and showing as ready rather than offline.
-
A sheet or two of the right paper
Loaded squarely in the tray so you can run a test page and confirm real output at the end.
-
Ink or toner with some life left
A near-empty cartridge can make a perfectly configured print look faint or blank, which is easy to mistake for a settings problem.
-
The document or page you want to print
Open in its app — a word processor, PDF reader, browser, or photo viewer — ready to send.
How to fix it
Work through these in order — they run from the quickest checks to the more advanced fixes.
-
Step 1: Confirm the printer is installed and ready
Open Windows Settings and go to the printers list — on Windows 11 it is under “Bluetooth & devices → Printers & scanners”, and on Windows 10 under “Devices → Printers & scanners”.
Check that your printer is in the list and does not show “Offline”, “Paused”, or an error underneath its name.
If the printer is missing, add it before going further; if it shows offline, resolve that first rather than fighting the print dialog.
Why this works: Everything that follows assumes Windows can actually reach the printer. Confirming it is installed and shows as ready avoids the frustration of perfecting your settings only to have the job stall because the device was never reachable.
Expected result: Your printer appears in Printers & scanners without an offline or error label, ready to accept jobs.
If the printer isn’t listed yet, our guide on connecting a printer to Windows walks through adding it. If it shows offline, the dedicated guide on fixing a printer that appears offline is the faster route.
-
Step 2: Open the print dialog with Ctrl+P
Open the document, photo, web page, or PDF you want to print in its usual app.
Press Ctrl+P — the standard shortcut that opens the print dialog in almost every Windows application — or use the app’s menu, often “File → Print”.
Wait for the print window to appear; many apps show a live preview of the page alongside the settings.

Why this works: Ctrl+P is the single most useful printing habit on Windows because it works consistently across word processors, browsers, image viewers, and PDF readers. Learning it once means you never have to hunt through menus to reach the print options again.
Expected result: A print dialog opens showing a preview of your document and a set of options such as printer, copies, and pages.
Some apps — several PDF readers and browsers among them — use their own print window that looks different from the standard Windows one. The core choices (printer, copies, pages, and a link to more settings) are still there, just arranged differently.
-
Step 3: Select the correct printer
At the top of the dialog, open the printer drop-down and read which device is currently selected.
Choose the printer you actually want if it isn’t already highlighted — pay attention to similar names, such as a physical printer versus “Microsoft Print to PDF” or a fax entry.
If your printer isn’t listed here at all, close the dialog and confirm it is installed and online, then try again.
Why this works: The most common reason a document “doesn’t print” is that it printed perfectly — to the wrong device. Windows often defaults to whatever was used last, so a quick glance at the selected printer saves paper, ink, and confusion.
Expected result: The correct printer’s name is shown as the chosen destination in the print dialog.
“Microsoft Print to PDF” and “Microsoft XPS Document Writer” are virtual printers that create a file instead of paper. They’re useful on purpose, but selecting one by accident is a classic cause of “nothing came out”.
-
Step 4: Set copies, pages, and orientation
Enter how many copies you need, and if you only want part of the document, set a page range such as “1–3” or “2, 5, 8”.
Choose portrait or landscape orientation to match your content — landscape suits wide tables and spreadsheets.
Check the paper size shown (commonly A4 or Letter) matches the paper actually loaded in the tray.
Why this works: These basic choices decide how much paper and ink a job uses and whether the layout fits the page. Setting a page range in particular avoids printing a whole document when you only need a couple of pages.
Expected result: The dialog reflects the exact number of copies, page range, orientation, and paper size you intend to print.
A mismatch between the paper size in the dialog and the paper in the tray is a frequent cause of cut-off content or a printer that stops and asks for a different size.
-
Step 5: Open printing preferences for quality, paper and colour
Look for a link labelled “More settings”, “Preferences”, “Printer properties”, or “Advanced” — the wording depends on the app and driver — and open it.
Set the print quality (for example draft, normal, or best), choose the paper type (plain, photo, or glossy), and pick colour or black and white.
Apply your choices and return to the main dialog; the settings you pick here belong to this print job.
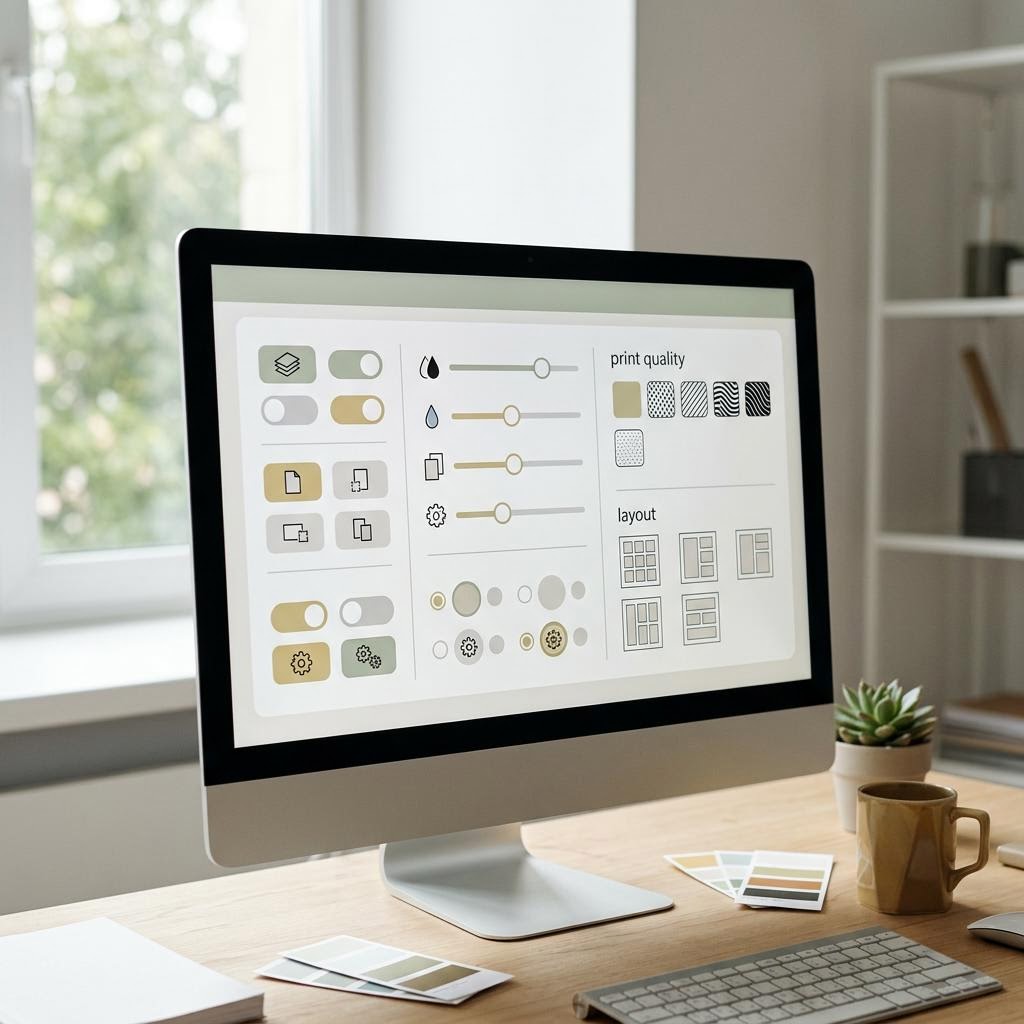
Why this works: The everyday choices that most affect your result — how sharp the print is, how much ink it uses, and whether it comes out in colour — live in preferences rather than on the first screen. Knowing they’re one click deeper is what turns guesswork into control.
Expected result: You’ve set quality, paper type, and colour to suit the document, and returned to the main print dialog ready to print.
Exact labels vary by manufacturer, so a Canon driver, an Epson driver, and an HP driver won’t word things identically. Choose “draft” or “economy” quality to save ink on everyday pages, and “best” or “photo” only when the output quality really matters.
-
Step 6: Print and watch for the job to appear
Click the “Print” button to send the job to the printer.
Watch the printer for a moment: it should wake, pull a sheet, and begin printing within a few seconds on USB or a little longer over Wi-Fi.
If nothing happens, don’t click Print repeatedly — that only stacks duplicate jobs in the queue; open the queue to see what’s going on instead.
Why this works: Sending the job is the moment all your choices take effect, and watching the printer respond confirms the chain worked end to end. Resisting the urge to re-click when there’s a pause prevents a pile of duplicate copies later.
Expected result: The printer starts and produces your document exactly as configured in the dialog.
Over Wi-Fi there’s often a short delay before the printer wakes and starts — give it ten or fifteen seconds before assuming something is wrong.
A page feeds out matching your settings for copies, colour, and quality.
-
Step 7: Set your default printer in Windows Settings
Go to Printers & scanners in Windows Settings, then select the printer you use most often.
On Windows 11 open the printer and choose “Set as default”; on Windows 10 select the printer and click “Manage → Set as default”.
Confirm a “Default” label now appears beside that printer in the list.
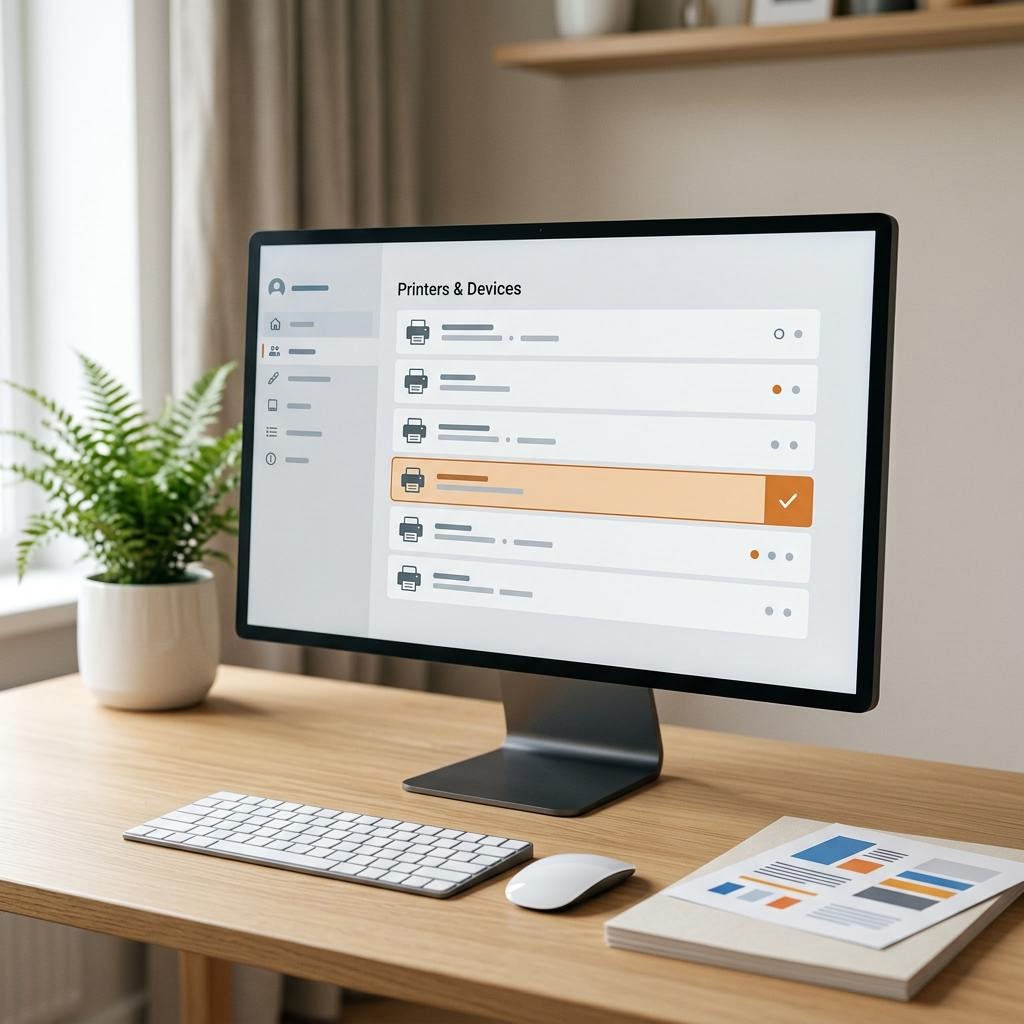
Why this works: A sensible default means the print dialog opens pre-set to the right device, so you spend less time re-selecting and never send a job to the wrong printer by habit. It’s the single change that makes everyday printing feel effortless.
Expected result: Your chosen printer shows a “Default” tag and is selected automatically the next time you press Ctrl+P.
If the option to set a default is greyed out, Windows is probably managing the default for you — the next step turns that off.
-
Step 8: Disable “Let Windows manage my default printer” if it misbehaves
In Printers & scanners, find the setting labelled “Let Windows manage my default printer” — on Windows 11 it’s within the Printers & scanners page, and on Windows 10 lower down the same screen.
Turn the toggle off if Windows keeps changing your default to whatever you used last.
Then set your preferred printer as the default again using the previous step, and it will now stay put.
Why this works: This feature makes your most recently used printer the default automatically. It suits people who move between printers, but for anyone who prints to one fixed device it causes documents to drift to the wrong printer. Turning it off restores a predictable, chosen default.
Expected result: The default printer stays fixed on the device you chose, regardless of which one you used last.
There’s no right answer here — leave the setting on if you genuinely switch printers often, and turn it off if you print mostly to one machine and want it to stay the default.
-
Step 9: Open and read the print queue
Open Printers & scanners, select your printer, and choose “Open print queue” (or “Open queue”).
Read the list of jobs: each shows a name, an owner, its status (printing, spooling, paused, or error), and its size.
Note whether the job at the top is stuck — an “Error” or endlessly “Spooling” status at the front will block everything behind it.
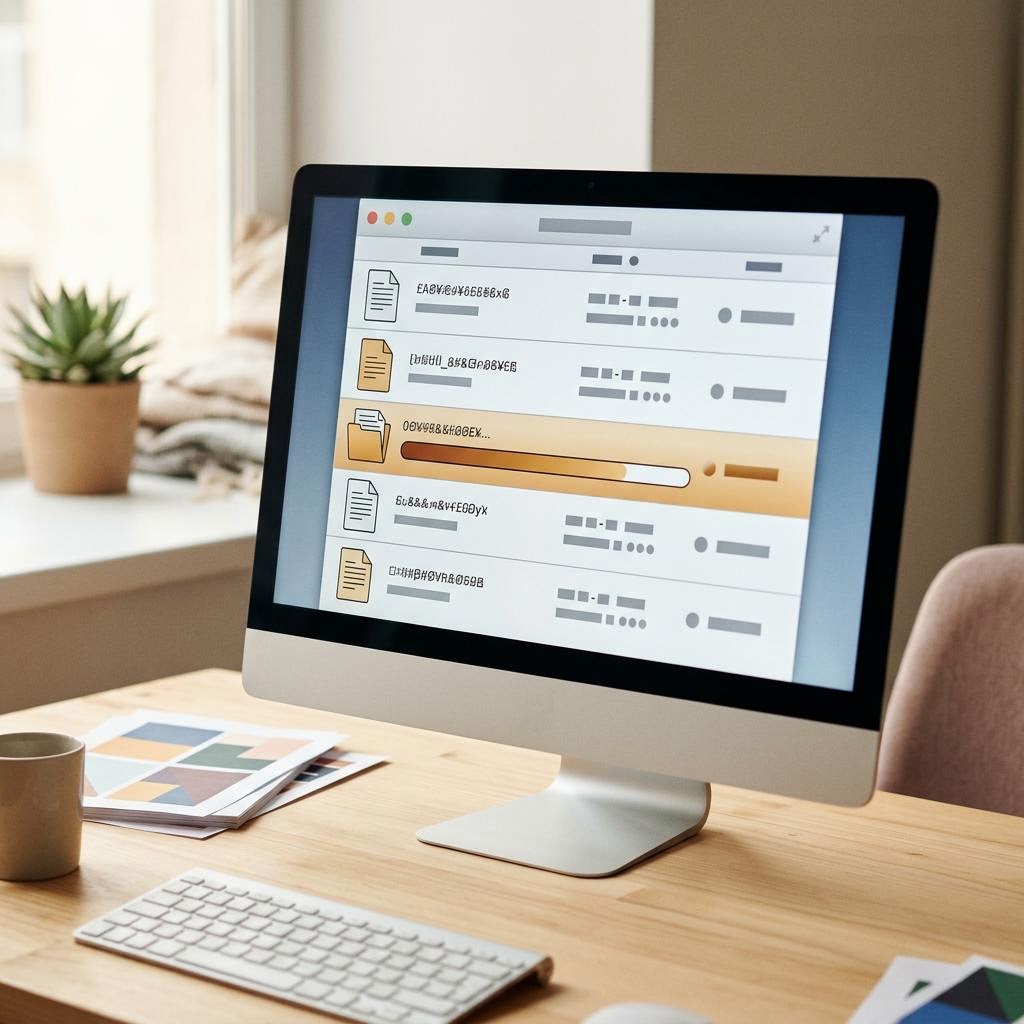
Why this works: The print queue is the control room for everything you’ve sent. Being able to open and read it turns “nothing is printing” from a mystery into a clear picture of which job is stuck and why.
Expected result: You can see every pending job, its status, and which one — if any — is holding up the line.
You can also reach the queue quickly by clicking the printer icon that appears in the system tray (near the clock) while a job is active.
-
Step 10: Pause, restart, cancel, and clear stuck jobs
To stop a job, right-click it in the queue and choose “Cancel”; to hold it, choose “Pause”, and to resume, choose “Restart” or “Resume”.
If one job is blocking the rest, cancel that job first, then let the others print, or cancel everything with “Printer → Cancel all documents”.
Give cancelled jobs a few seconds to clear — they can briefly show “Deleting” before they disappear.
Why this works: A single corrupted or oversized document at the front of the queue can freeze everything behind it. Knowing how to pause, cancel, and clear jobs lets you unblock the line yourself instead of restarting the whole PC.
Expected result: You can remove a problem job and watch the remaining documents print, or clear the queue entirely for a fresh start.
If a job refuses to cancel and stays stuck as “Deleting” no matter what you do, that’s a spooler problem in its own right — our guide on fixing a stuck printer queue covers restarting the print spooler service safely.
-
Step 11: Run a test page to confirm real output
In Printers & scanners, open your printer’s properties and use “Print test page”, or simply print a short everyday document.
Check the page for the right printer, correct paper size, and the colour or black-and-white result you chose.
Look closely at the print quality — sharp text and clean colour confirm the driver, settings, and supplies are all in order.
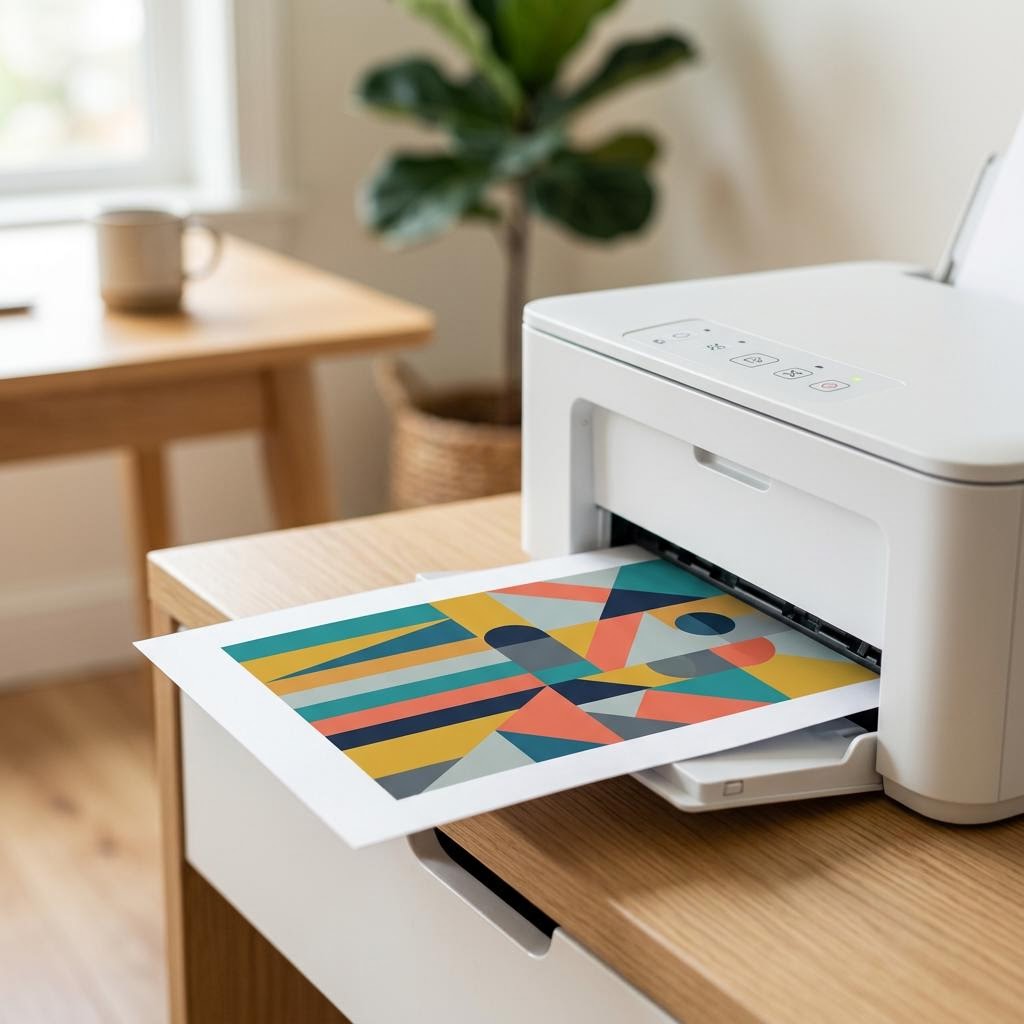
A clean test page confirms the app, driver, spooler, and printer are all working together. Why this works: A test page proves the entire chain works: app, dialog, driver, spooler, and printer. It’s the clearest single confirmation that your settings and your default are correct, and it flags supply or quality issues before an important job.
Expected result: A clean, correctly formatted page prints promptly with the quality and colour you selected.
Faint, streaky, or patchy output usually points to ink, toner, or printhead issues rather than Windows settings — a print-quality guide will help you sort those out.
The test page prints on the first try with the expected quality and colour.
-
Step 12: Run quick checks when nothing prints
Confirm the printer is on, awake, and shows as ready — not offline or paused — in Printers & scanners.
Check the connection: for USB reseat the cable at both ends; for Wi-Fi make sure the printer and PC are on the same network and the printer isn’t sleeping.
Clear the queue of stuck jobs, then restart both the printer and the PC and send a fresh, single job before assuming the driver is at fault.
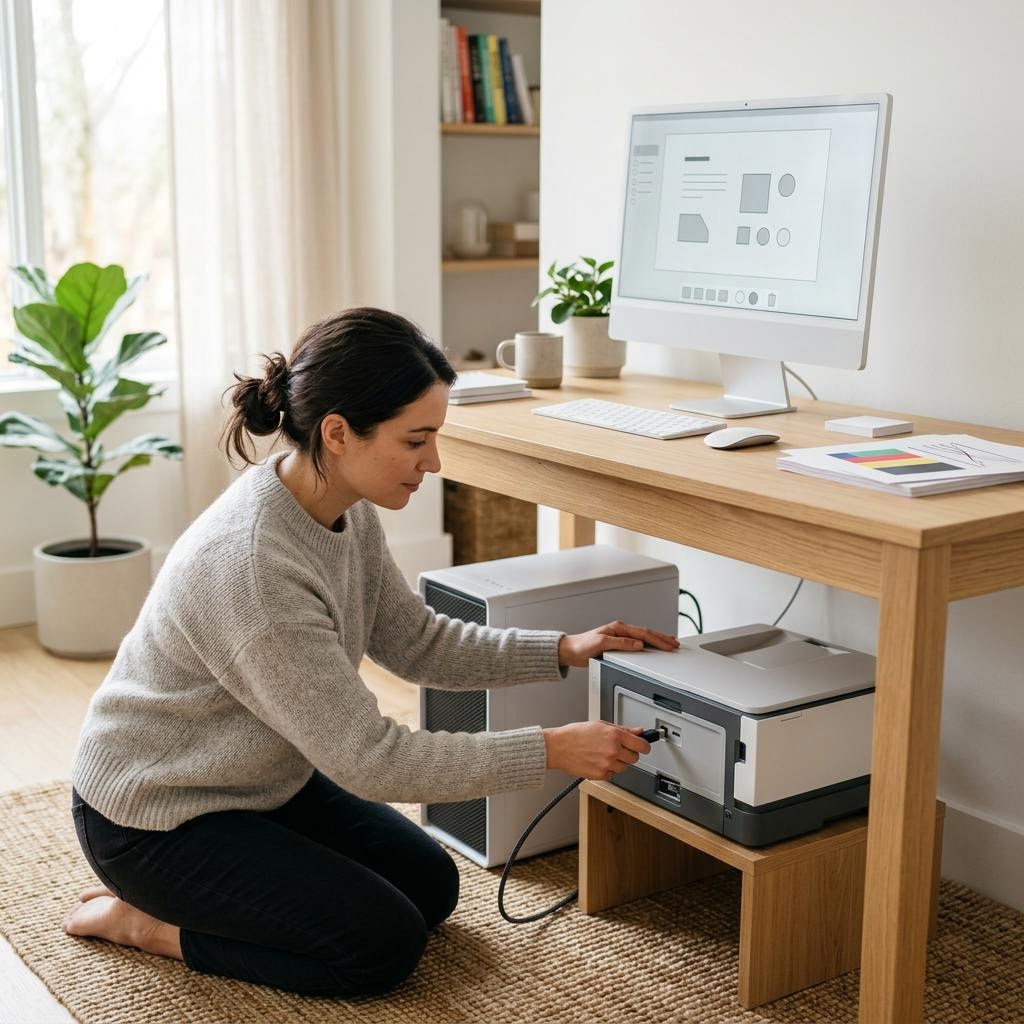
Why this works: Most “it won’t print” situations come down to a handful of basics — a sleeping printer, a loose cable, a dropped Wi-Fi link, or a jammed queue. Working through them in order fixes the majority of cases without touching the driver or reinstalling anything.
Expected result: Either the job prints once the basics are addressed, or you’ve narrowed the cause down to something specific such as the driver or the connection.
If it still won’t print after these checks, the cause is usually a bigger topic with its own guide: a printer that appears offline, a queue that won’t clear, or a driver that needs reinstalling or updating. Those dedicated guides go far deeper than a general how-to can.
Tip
Printer Tip
Make Ctrl+P a habit — it opens the print dialog consistently in almost every Windows app.
Other solutions to try
If the steps above didn't do it, these fixes resolve the less common cases.
When an app shows its own print dialog
Some browsers and PDF readers replace the standard Windows dialog with their own, which can hide familiar options.
- Look for a link such as “More settings”, “System dialog”, or “Print using system dialog” to switch to the standard Windows print window.
- The system dialog gives you the full driver preferences — quality, paper type, duplex, and colour — that a simplified app dialog may omit.
- If the app’s own dialog is enough for a quick print, there’s no need to switch; use the system dialog when you need finer control.
Printing in black and white to save colour ink
Forcing greyscale for everyday documents makes expensive colour cartridges last far longer.
- Open printing preferences from the print dialog and find the colour setting.
- Choose “Black and white”, “Greyscale”, or “Print in black only” for text documents.
- To make it permanent, set the same option as the default in the printer’s properties so every job starts in greyscale.
Choosing draft quality for internal or throwaway pages
Lower quality prints faster and uses noticeably less ink, which is ideal for drafts and reference copies.
- In printing preferences, set the quality to “Draft”, “Economy”, or “Fast”.
- Keep “Normal” or “Best” for anything shared, posted, or kept, where legibility and appearance matter.
- If you print a lot of drafts, a faster everyday setting also helps overall throughput — our guide on improving printing speed has more.
When the driver looks like the culprit
Missing features, failed jobs, or a generic driver name often mean the wrong or an outdated driver is installed.
- Check whether features such as duplex or colour control are simply absent from preferences — a sign of a generic driver.
- Remove the printer and re-add it, or download the current driver for your exact model from the manufacturer.
- Follow the dedicated guide on installing or updating a printer driver for the safe, full process.
Confirm it's working
Tick these off to be sure the problem is fully resolved.
Keep it from happening again
A few habits that stop this problem coming back.
- Make Ctrl+P a habit — it opens the print dialog consistently in almost every Windows app.
- Set a default printer and, if it drifts, turn off “Let Windows manage my default printer”.
- Glance at the selected printer in the dialog before every job to avoid the wrong-device trap.
- Use draft quality and greyscale for everyday pages to stretch ink and toner further.
- Match the paper size in the dialog to the paper in the tray to avoid cut-off or stopped jobs.
- Clear stuck jobs from the queue promptly so a single failed document never blocks the rest.
- Keep your printer driver current from the manufacturer to keep duplex, colour, and quality options available.
Frequently asked questions
Was this guide helpful?
Your feedback helps us keep these steps accurate.
Thanks for your feedback!
Written by
The Guts Guide Editorial Team · Desktop Printing Specialists
Reviewed by
Daniel Owens · Print & Network Technician
Last updated
Jul 14, 2026
Continue Reading
Pick up where you left off with the next guide in your troubleshooting journey.
Related Guides
More troubleshooting walkthroughs you may find useful.

Buying Guides
Plain-English comparisons and pre-purchase checklists — find the right printer before you buy.


