
How to Print from macOS (Complete Mac Printing Guide)
Printing on a Mac looks simple until an option is hidden, a preset is missing, or a document quietly slips into a paused queue. This complete guide walks you through the macOS print dialog and its expanded view, how to save presets you can reuse in one click, what AirPrint really does, how to drive the print queue, and how to fix the everyday snags — including the honest truth about resetting the printing system.
Applies to: AirPrint-capable inkjet & laser printers, All-in-one (print/scan/copy) models, Wi-Fi, Ethernet & USB printers, macOS Ventura, Sonoma & later, HP, Canon, Epson, Brother & more
Quick summary
- The problem
- You want to print reliably from your Mac — with the right paper, quality, and page range — and to fix it quickly when a job stalls, pauses, or the printer shows as offline.
- The fix
- Press Cmd+P, expand the dialog to reach every option, save a preset for jobs you repeat, and use the print queue to pause, resume, or cancel. When something sticks, resume the queue and clear the printer’s pause before considering a full reset of the printing system.
- Applies to
- Any printer added to a Mac running a recent version of macOS, connected by Wi-Fi, Ethernet, USB, or AirPrint.
On this page Show
Understanding the problem
Printing from a Mac is designed to feel effortless: open a document, press Cmd+P, and confirm. Most of the time that is genuinely all it takes, because macOS handles the driver, the connection, and the page layout quietly in the background. The trouble is that the friendly, compact print dialog hides almost everything useful behind a single button. People never find the options for double-sided printing, paper source, or print quality, then conclude their Mac “can’t do” something it has always been able to do — the setting was simply one click away.
The other half of Mac printing is the machinery you only notice when it stops. Behind every document sits a print queue: a small waiting room where jobs line up before they reach the printer. When everything works, you never see it. When a job stalls, or you accidentally pause the printer, or macOS marks the device “offline”, that queue is exactly where the answer lives — yet most people never open it. Learning to read and drive the queue turns the most common Mac printing frustrations from mysteries into thirty-second fixes.
This guide covers macOS printing end to end, and it does so in the order you actually meet each part. You will learn the print dialog and its expanded view, how to build and reuse presets so a favourite setup is one click away, what AirPrint is and when it means you need no driver at all, and how to manage the queue app. We finish with honest troubleshooting for the everyday snags — a paused printer, an “offline” message, and, only as a genuine last resort, resetting the printing system, which wipes every printer you have added. Take it in order and Mac printing stops being fiddly and starts being fast.

Quick fact
Most offline errors are connection issues
A printer that shows offline is usually still working — the computer has simply lost track of it. Reconnecting and setting it as default often fixes it.
Signs you're in the right place
If you're seeing any of these, this guide is for you.
-
You can’t find the double-sided or layout options
The print dialog looks bare — there’s no obvious place to choose duplex, paper source, or pages per sheet.
-
You keep re-choosing the same settings every time
A particular job always needs the same tray, quality, and paper, and you set it manually on every print.
-
You’re unsure whether you even need a driver
You’ve heard the printer “just works” on a Mac and want to know when AirPrint means no download at all.
-
A job sat there and nothing came out
You pressed print, the document seemed to send, but the printer stayed silent and you don’t know where it went.
-
The printer shows as “Paused” or greyed out
Your printer appears dimmed in the list, or a job in the queue is marked on hold and won’t move.
-
macOS says the printer is “offline”
The printer is switched on and on the network, yet the Mac insists it’s offline and refuses to print.
-
You want to reuse a setup across apps
You’d like the same photo or draft settings to be available whether you print from Pages, Preview, or a browser.
-
Everything’s tangled and you’re tempted to start fresh
Nothing prints, several printers are listed, and you’re wondering whether to wipe it all and re-add the printer.
What's usually behind it
The most common reasons this happens, so the fix makes sense.
The dialog is collapsed to its simplest view
macOS opens print in a minimal form by default, so the paper, quality, and layout controls stay hidden until you expand it or open a settings menu.
No preset saved for a repeated job
Without a saved preset, macOS falls back to default settings each time, so any custom tray, quality, or duplex choice has to be re-selected by hand.
Assuming a driver is always required
Many modern printers support AirPrint, so macOS can print with no separate driver at all — hunting for a download you don’t need wastes time and can add duplicate printers.
The printer or a job has been paused
A single click can pause the whole printer or put one job on hold; the document then waits in the queue indefinitely with nothing appearing to be wrong.
The Mac has marked the printer “offline”
If macOS can’t reach the printer briefly — a sleep, a Wi-Fi hiccup, or a changed address — it flags it offline and holds jobs until the connection is confirmed again.
A stuck or corrupted job blocking the queue
One malformed document can jam the queue so everything behind it waits, even though later jobs are perfectly fine.
Multiple or duplicate printer entries
The same printer added more than once — sometimes as both an AirPrint and a driver version — means jobs go to an entry that isn’t the live one.
The Mac and printer are on different networks
A printer on a guest network, a separate band, or an Ethernet segment the Mac can’t see will appear unreachable no matter how healthy it is.
A deeper configuration tangle
Occasionally the printing system itself gets into a confused state that only a full reset clears — a powerful step that removes every printer and must be a last resort.
What you'll need
Have these on hand before you start for a smooth fix.
-
A Mac running a recent version of macOS
The flow here matches macOS Ventura, Sonoma and later; exact wording of a few labels shifts slightly between versions.
-
A printer already added to the Mac
If your printer isn’t set up yet, add it first — our guide on connecting a printer to macOS covers that end to end.
-
Both devices on the same network
For wireless printing, the Mac and the printer must share one network; USB printers just need the cable connected.
-
The document you want to print
Have it open in its app — Pages, Preview, Safari, or anything else — so you can reach the print dialog.
-
Paper loaded in the tray
Squared against the guides, so you can send a real test page and confirm the whole chain works.
-
A couple of minutes to explore the dialog
Expanding the dialog once and learning where the options live pays off on every print afterwards.
How to fix it
Work through these in order — they run from the quickest checks to the more advanced fixes.
-
Step 1: Open the print dialog with Cmd+P
With your document open, press Cmd+P, or choose File → Print from the menu bar.
The print dialog appears — in most apps it opens in a compact form showing a preview, the printer name, copies, and a page range.
Confirm the correct printer is chosen in the “Printer” pop-up menu at the top before you change anything else.
Why this works: Cmd+P is the universal shortcut across virtually every Mac app, so learning it once means you can print from anywhere without hunting through menus. Checking the printer name first avoids the classic mistake of sending a job to the wrong device or a leftover duplicate entry.
Expected result: The print dialog opens with your document previewed and the right printer selected.
If no printer is listed, or the one you want is missing, it hasn’t been added yet — see our guide on connecting a printer to macOS before continuing.
You see a live preview of your document and the correct printer name at the top.
-
Step 2: Expand the dialog to reveal every option
If the dialog looks minimal, click “Show Details” (or the small disclosure triangle) to expand it fully.
The expanded view adds copies, paper size, orientation, and a pop-up menu of setting groups such as Layout, Paper Handling, and Media & Quality.
Use that pop-up menu to switch between groups — this is where double-sided, pages-per-sheet, paper source, and print quality all live.

Click “Show Details” to expand the dialog — the pop-up menu switches between Layout, Paper Handling, Media & Quality and more. Why this works: Almost every “my Mac can’t do that” problem is really an “I never expanded the dialog” problem. The compact view hides the controls most people actually need, and expanding it once reveals the full, powerful set of options macOS has always offered.
Expected result: The dialog grows to show a larger preview alongside grouped setting menus for layout, paper, and quality.
The exact group names vary a little by macOS version and by the printer’s own capabilities — a basic printer shows fewer groups than a full-featured all-in-one. If double-sided is missing entirely, the printer may not support it; our double-sided printing guide explains how to check.
-
Step 3: Set page range, layout, and paper handling
Choose how many copies you need and whether to print all pages or a specific range such as “From 2 to 5”.
Open the Layout group to set pages per sheet, borders, and two-sided (duplex) printing if the printer supports it.
Open Paper Handling to reverse page order, print only odd or even pages, or scale the document to fit the paper.
Why this works: These are the settings that turn a rough print into a finished one — the right range saves paper, duplex halves your stack, and scaling rescues a document that would otherwise spill off the page. Knowing which group holds which control means you set them in seconds rather than guessing.
Expected result: The preview updates live to reflect your page range, layout, and paper choices before anything prints.
Printing to PDF instead of paper is always available from the “PDF” menu at the bottom of the dialog — handy for saving a copy. If your PDFs print with the wrong margins or missing elements, our guide on printing PDFs correctly walks through the fixes.
-
Step 4: Choose media type and print quality
Open the Media & Quality group (the name varies) and set the paper type — plain, photo, glossy, or card — to match what’s in the tray.
Pick a quality level: draft or normal for everyday text, best or high for photos and important documents.
If the printer has more than one tray, choose the correct paper source here so the job draws from the right stack.
Why this works: Telling the printer what paper it’s using changes how it lays down ink or toner, so matching the media type is the single biggest factor in output that looks right. Draft mode also saves ink and prints faster when quality doesn’t matter — a small habit that adds up over time.
Expected result: The media type, quality, and paper source all match the physical paper you’ve loaded.
Available options depend on the printer. A basic mono laser offers little here; a photo inkjet offers a great deal. If prints look slow at the highest quality, our guide on improving printing speed explains the trade-offs.
-
Step 5: Save a preset you can reuse in one click
Once the dialog holds a combination you use often, open the “Presets” pop-up menu near the top and choose “Save Current Settings as Preset”.
Give it a clear name — for example “Double-sided draft” or “Photo — glossy A4” — and choose whether it applies to all printers or just this one.
Next time, simply pick that preset from the Presets menu and every setting is restored at once.

Save a favourite combination as a named preset, then reuse it in one click on any future print. Why this works: A preset captures the whole dialog — layout, paper, quality, source — under a single name, so a setup you’d otherwise rebuild each time becomes one click. For anyone who prints the same kinds of jobs regularly, this is the biggest time-saver in Mac printing.
Expected result: Your named preset appears in the Presets menu and restores every saved setting instantly when selected.
Presets are tied to the settings the printer supports, so a preset saved for one model may show fewer options on another. You can update a preset later by re-saving over it from the same menu.
Selecting your preset changes all the relevant options in the dialog at once.
-
Step 6: Understand AirPrint and driver-free printing
Recognise that AirPrint is Apple’s built-in printing technology — if your printer supports it, macOS can print with no driver to download or install.
When you added an AirPrint printer, it typically appeared and worked straight away, and it will show as an “AirPrint” or “Secure AirPrint” device in the printer list.
For everyday printing this is all you need; you only look for a manufacturer driver if a specific feature (an unusual tray, a special finish, or advanced controls) isn’t offered by AirPrint.
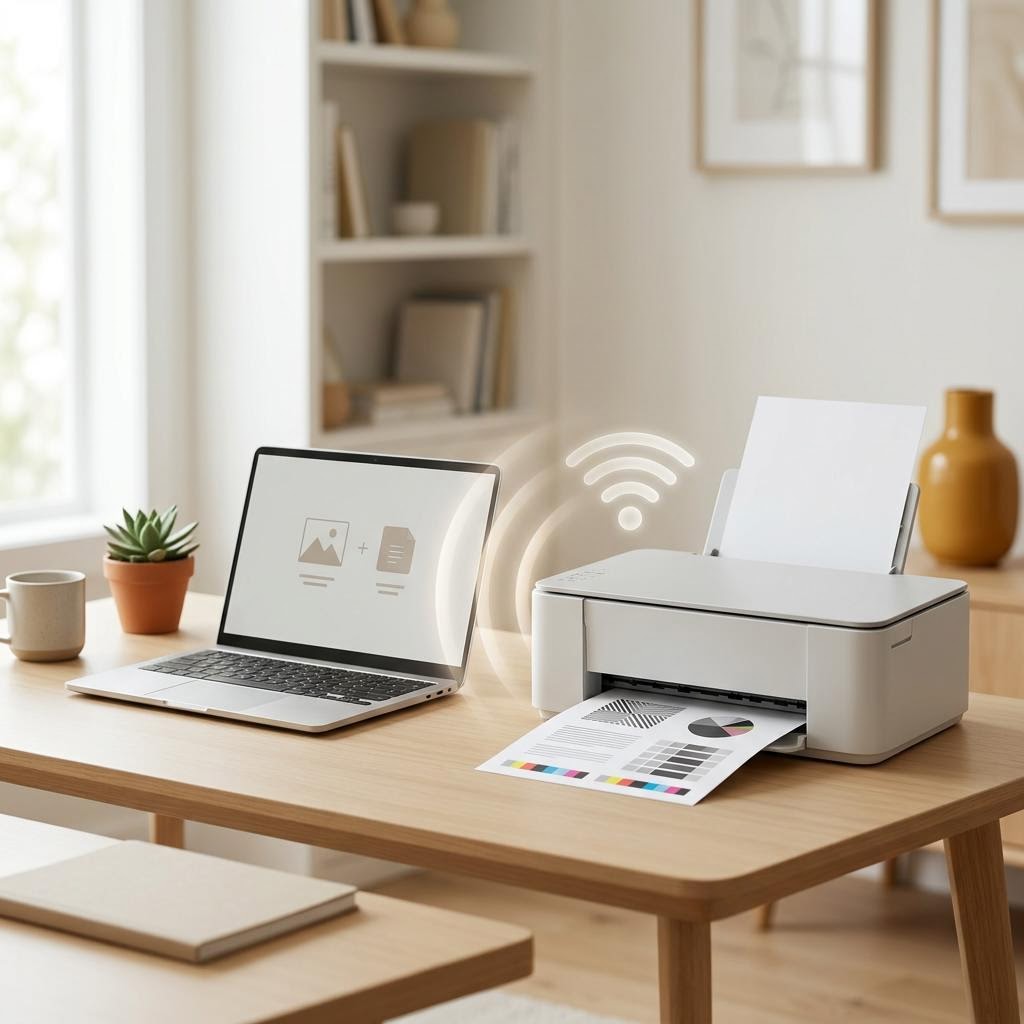
An AirPrint printer works without any downloaded driver — macOS talks to it directly. Why this works: AirPrint removes the most common source of Mac printing confusion — hunting for and installing drivers you may not need. Knowing your printer is AirPrint means you can trust it to work after a clean setup and avoid adding duplicate driver-based entries that split your jobs.
Expected result: You understand whether your printer uses AirPrint and, if so, that no separate driver is required for normal printing.
Most printers made in recent years support AirPrint, and it also powers printing from an iPhone or iPad — our iPhone and iPad printing guide covers that side. If a niche feature is missing, installing the manufacturer’s driver adds it, but for most people AirPrint is enough.
-
Step 7: Open the print queue to watch a job
After you print, the printer’s queue can open automatically; if not, click the printer’s icon in the Dock, or open System Settings → Printers & Scanners, select the printer, and click “Printer Queue” (labels vary slightly by version).
The queue window lists jobs with their status — printing, waiting, or on hold — and shows a progress bar for the active one.
Keep this window handy whenever a print doesn’t appear; it’s the single most useful place to see what’s actually happening.

The per-printer queue shows every job’s status and lets you pause, resume, or cancel with the toolbar buttons. Why this works: The queue is the truth about your printing: it shows whether a job left the Mac, whether it’s waiting its turn, and whether the printer is paused. Most “nothing printed” mysteries are solved in seconds simply by opening the queue and reading it.
Expected result: A queue window opens showing your job and its current status.
The queue app lives per printer, so each printer has its own window. If a stuck job blocks everything behind it, our guide on fixing a stuck printer queue goes deeper than the quick fixes here.
-
Step 8: Pause, resume, and cancel jobs
In the queue window, select a job and use the toolbar buttons to pause it, resume it, or delete (cancel) it.
To pause the whole printer, use the “Pause” button for the printer itself; the icon and jobs then show as on hold until you resume.
To clear a stuck job, cancel it, then re-send the document — often that alone gets everything behind it moving again.
Why this works: Controlling jobs individually lets you stop a mistaken print without cancelling everything, or clear one bad document so the rest flow through. Understanding the difference between pausing a single job and pausing the whole printer prevents the common “why won’t anything print?” confusion.
Expected result: You can hold, release, or remove any job, and the printer resumes normal printing once nothing is paused.
If cancelling a job leaves it stuck as “Deleting…”, turn the printer off and on, then clear the queue again. A truly jammed queue may need the deeper steps in our stuck-queue guide.
The job you resumed prints, or the job you cancelled disappears from the list.
-
Step 9: Fix a paused printer or a “paused” job
If nothing prints and the printer looks dimmed or says “Paused”, open its queue and click “Resume” for the printer.
Check individual jobs too — a single document on hold shows a small pause icon; select it and resume it.
In System Settings → Printers & Scanners, confirm the printer isn’t set to a paused state and that it shows as “Idle” or “Ready”.
Why this works: A paused printer is one of the most common and most quietly baffling Mac printing states — everything looks fine, but a single earlier click stopped the whole device. Resuming it is a five-second fix once you know to look, and it saves a great deal of needless reinstalling.
Expected result: The printer returns to an active, ready state and held jobs begin printing.
macOS sometimes pauses a printer automatically after an error, such as running out of paper. Clear the underlying cause first — refill paper, close covers — then resume.
-
Step 10: Resolve a printer that shows as “offline”
Confirm the basics: the printer is switched on, not asleep, and on the same Wi-Fi network as the Mac (or connected by cable).
Open the queue and try resuming; sometimes “offline” clears the moment the Mac successfully reaches the printer again.
If it persists, remove and re-add the printer in System Settings → Printers & Scanners, or restart both the Mac and the printer to re-establish the connection.

System Settings → Printers & Scanners is where you check status, set the default, and add or remove a printer. Why this works: “Offline” usually means the Mac briefly lost contact with the printer, not that anything is broken — a sleep, a Wi-Fi blip, or a changed address is often all it is. Working through the connection basics restores contact far more reliably than reinstalling drivers.
Expected result: The printer’s status changes from offline to idle or ready, and jobs print again.
A persistent offline state can point to a network or address problem — our dedicated guide on fixing a printer that shows offline covers the deeper causes, and our guide on connecting a printer to macOS helps you re-add it cleanly.
-
Step 11: Reset the printing system — only as a last resort
Understand first what this does: resetting the printing system removes every printer, scanner, and print queue you have added, along with their custom settings and presets.
Only use it when nothing else works — persistent errors, duplicate entries that won’t clear, or a printing system that has become genuinely tangled.
To reach it, open System Settings → Printers & Scanners, right-click (or Control-click) inside the list of printers, and choose “Reset printing system…”, then confirm.
Why this works: A reset gives you a completely clean printing environment, which reliably clears deep configuration problems that lighter fixes leave behind. But because it wipes every printer and preset you’ve built up, it is a heavy hammer — the right tool only after paused states, offline fixes, and re-adding a single printer have all failed.
Expected result: The printer list empties completely, ready for you to add your printer back from scratch.
This genuinely removes all your printers — you will need to add each one again and rebuild any presets afterwards. Save yourself the pain by trying the earlier steps first, and have your printer to hand to re-add it once the reset finishes.
The Printers & Scanners list is empty, confirming the reset completed.
-
Step 12: Print a test page and verify the output
Add your printer back if you reset the system, then open any document and print a normal test page with Cmd+P.
Check that it prints promptly, feeds cleanly, and matches the settings you chose — the right size, quality, and duplex.
Set the printer as the default in System Settings → Printers & Scanners if you want it selected automatically for every job.
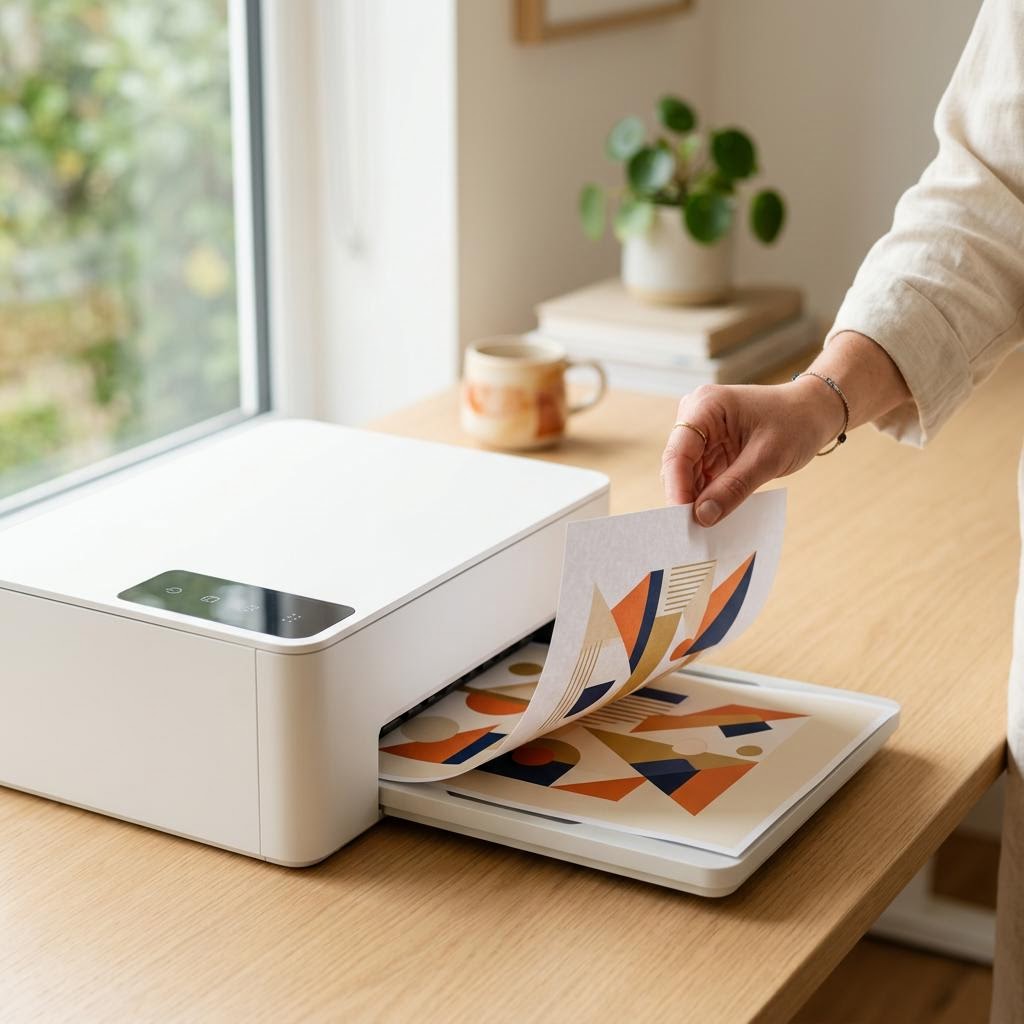
A clean test page that matches your settings confirms the whole chain — app, queue, connection, and printer — is working. Why this works: A real test page proves the whole chain is working — the app, the queue, the connection, and the printer itself. Confirming the output matches your settings is the clearest sign your dialog choices and any presets are doing what you expect.
Expected result: A clean page prints on the first try, matching your chosen settings, with the printer marked as ready.
If you print regularly, keep a couple of go-to presets and a maintenance habit — our guide on maintaining your printer year-round helps keep output crisp over the long term.
The test page prints correctly and reflects the exact settings you selected.
Tip
Printer Tip
Learn Cmd+P and the “Show Details” expansion once — it makes every future print faster.
Other solutions to try
If the steps above didn't do it, these fixes resolve the less common cases.
When a job simply won’t leave the queue
A single stuck document can hold up everything behind it, even when later jobs are perfectly fine.
- Open the printer’s queue and cancel the stuck job, then re-send the document from the app.
- If it won’t cancel, turn the printer off and on, then clear the queue again once it reconnects.
- For a queue that keeps jamming, work through our dedicated stuck-printer-queue guide, which covers the spooler-level causes.
When you see duplicate printers in the list
The same printer added twice — often as both an AirPrint and a driver version — splits your jobs unpredictably.
- Open System Settings → Printers & Scanners and note which entry is actually working.
- Remove the duplicate with the minus (–) button, keeping the one that prints reliably.
- Set the remaining printer as the default so every app targets the live entry.
When a needed feature is missing from the dialog
AirPrint covers most tasks, but a niche capability may need the manufacturer’s driver.
- Check whether the missing option (an unusual tray, a special finish, advanced colour controls) is one AirPrint simply doesn’t expose.
- Download the current driver for your exact model from the manufacturer’s official site and add the printer using it.
- Our guide on installing or updating a printer driver walks through doing this cleanly without creating duplicates.
When printing across several computers or a network
A Mac can print to a printer shared by another computer or living on the office network.
- Confirm the printer is shared or reachable, and that the Mac is on the same network segment.
- Add it in Printers & Scanners the same way you would a directly connected printer.
- Our guides on sharing a printer across computers and using a printer on a network cover the setup in detail.
Confirm it's working
Tick these off to be sure the problem is fully resolved.
Keep it from happening again
A few habits that stop this problem coming back.
- Learn Cmd+P and the “Show Details” expansion once — it makes every future print faster.
- Save presets for your common jobs so you never rebuild the same settings twice.
- Trust AirPrint for everyday printing and avoid installing drivers you don’t actually need.
- When nothing prints, open the queue first — it usually shows a paused printer or a stuck job in seconds.
- Keep the Mac and printer on the same network, and let the printer wake fully before judging it offline.
- Treat “reset the printing system” as a true last resort, since it removes every printer and preset you’ve set up.
Frequently asked questions
Was this guide helpful?
Your feedback helps us keep these steps accurate.
Thanks for your feedback!
Written by
The Guts Guide Editorial Team · Desktop Printing Specialists
Reviewed by
Daniel Owens · Print & Network Technician
Last updated
Jul 14, 2026
Continue Reading
Pick up where you left off with the next guide in your troubleshooting journey.
Related Guides
More troubleshooting walkthroughs you may find useful.

Buying Guides
Plain-English comparisons and pre-purchase checklists — find the right printer before you buy.



Helpful Resources
References and tools to help you go further.