
How to Print from an iPhone or iPad (AirPrint Guide)
Your iPhone and iPad can print to almost any modern Wi-Fi printer with no app, driver, or cable to install, thanks to a built-in feature called AirPrint. This guide shows you exactly how to print a photo, web page, or document from the Share sheet, how to find and choose your printer, and what to do when the “No AirPrint Printers Found” message appears.
Applies to: AirPrint-compatible Wi-Fi printers, Most home & office printers from ~2012 onward, HP, Canon, Epson, Brother, Xerox & more, iPhone & iPad running iOS/iPadOS, Non-AirPrint printers via a manufacturer app
Quick summary
- The problem
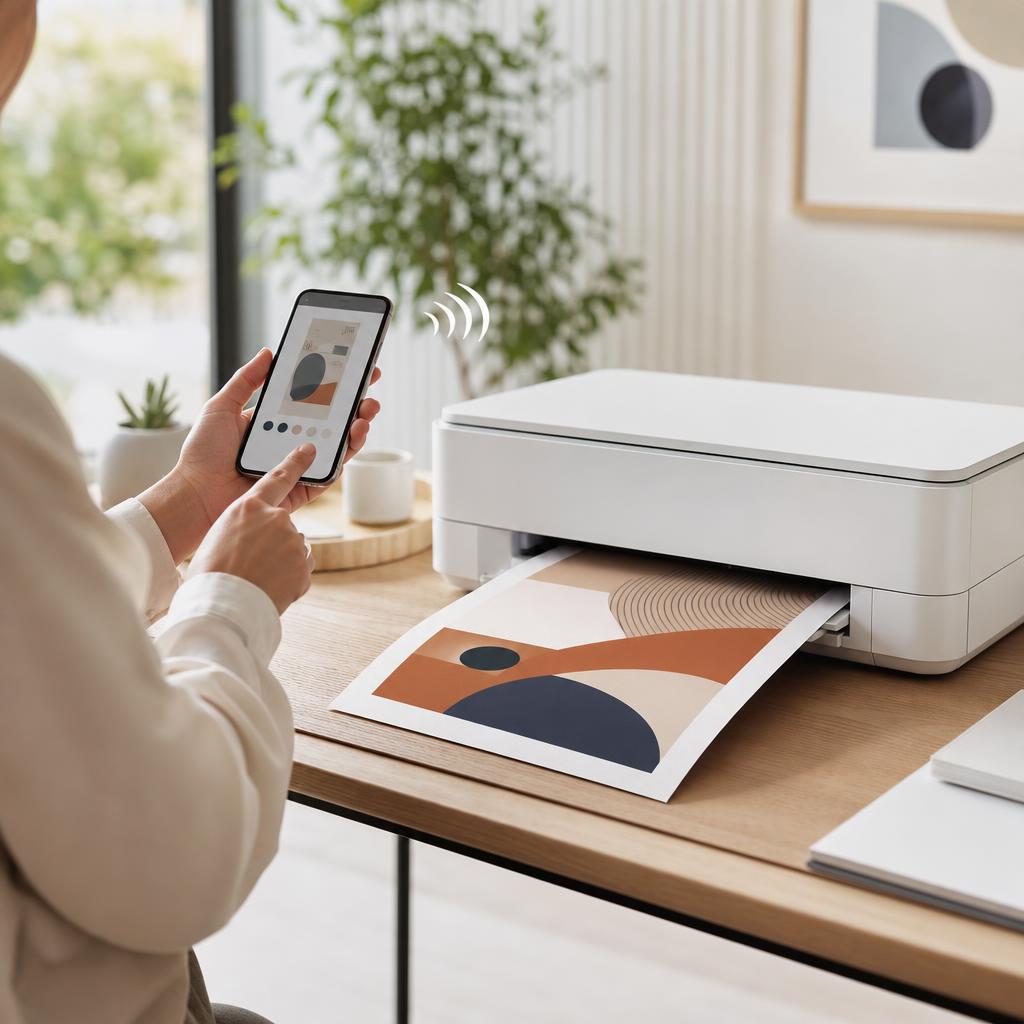
- You want to print a photo, web page, email, or document straight from your iPhone or iPad — with no app to download and no cable to plug in.
- The fix
- Put your device and an AirPrint printer on the same Wi-Fi network, tap the Share button (or the ••• menu) in any app, choose Print, pick your printer, set copies and page size, and tap Print.
- Applies to
- iPhone and iPad on iOS/iPadOS, printing to an AirPrint-compatible Wi-Fi printer on the same network.
On this page Show
Understanding the problem
Apple built a feature called AirPrint into every iPhone and iPad so that printing works the same simple way in almost every app. There is nothing to download and no printer driver to install — as long as your printer supports AirPrint and sits on the same Wi-Fi network as your device, the Print option simply appears wherever you can share something. Behind the scenes, your iPhone finds the printer on the network by itself, sends the page across in the right format, and lets you choose copies, paper size, and which pages to print, all from a tidy on-screen panel.
The part that trips people up is almost never the printing itself — it’s the network. AirPrint only works when your iPhone or iPad and your printer are talking on the same Wi-Fi. Many home routers now split a single network into two “bands”, a 2.4 GHz band and a 5 GHz band, and a phone on one band sometimes can’t see a printer on the other. A VPN running on your phone, a “guest” network, or an office network that isolates devices can hide the printer too. When any of these get in the way, you’ll see the message “No AirPrint Printers Found”, and it feels as though printing is broken when the connection is really the culprit.
The good news is that once the basics line up, printing from an iPhone or iPad is genuinely effortless and reliable. This guide starts by confirming AirPrint support and getting both devices onto the same network, then walks you through printing from Photos, Safari, Mail, and Files using the Share sheet. After that, it covers the exact fixes for “No AirPrint Printers Found”, and finishes with a fallback for older printers that don’t support AirPrint at all. Follow it in order and you’ll be printing from your phone in a few minutes.
Did you know?
Tank printers are still inkjets
Ink-tank printers are inkjets that use large refillable reservoirs instead of cartridges, which usually lowers the cost per printed page.
Signs you're in the right place
If you're seeing any of these, this guide is for you.
-
You just unboxed a new printer
You’ve set the printer up on Wi-Fi and now want to print from your iPhone or iPad without installing anything on your device.
-
You want to print without a computer
A photo, boarding pass, or PDF is on your phone and you’d rather print it directly than email it to a laptop first.
-
Your phone can’t find the printer
You tap Print and see “No AirPrint Printers Found”, even though the printer is switched on and connected to Wi-Fi.
-
You’re not sure if your printer supports AirPrint
You’ve heard the term but don’t know whether your model works with it, or where to check.
-
You want to print a photo from the Photos app
You’d like a physical print of a picture and want to know exactly which buttons to tap to send it to the printer.
-
You need to print a web page or email
A page in Safari or a message in Mail needs printing, and you want the tidy, formatted version rather than a screenshot.
-
The printer appears then disappears
Your printer shows up in the list one moment and is gone the next, or takes a long time to appear at all.
-
Your printer is older and has no AirPrint
The printer predates AirPrint or simply doesn’t support it, and you need another way to print from your iPhone or iPad.
What's usually behind it
The most common reasons this happens, so the fix makes sense.
Phone and printer on different Wi-Fi networks
The single most common blocker: your iPhone is on one network (or a guest network) while the printer is on another, so AirPrint can’t see it.
2.4 GHz and 5 GHz bands kept separate
Many routers split Wi-Fi into two bands with different names; a phone on the 5 GHz band may not find a printer that only joined the 2.4 GHz one.
A VPN is running on your device
An active VPN routes your traffic elsewhere and can hide printers on your local network, making the list come back empty.
The printer isn’t actually AirPrint-compatible
A small number of budget or older printers never supported AirPrint, so the Print option won’t discover them at all.
The printer is asleep or offline
A printer in deep sleep, mid-error, or showing offline on its own panel won’t announce itself to your iPhone until it wakes and clears.
Router “client isolation” or guest mode
Some routers and most public or office guest networks stop devices seeing one another for security, which blocks AirPrint discovery.
Weak Wi-Fi signal to the printer
If the printer sits far from the router with a poor signal, it may drop off the network intermittently and vanish from the list.
A stalled network state after a change
After a router restart, a new password, or an iOS update, either device can hold a stale connection until it re-joins the network.
Firewall or “private address” settings
On business networks a firewall may block the discovery traffic AirPrint uses, and rarely a private Wi-Fi address setting can interfere.
The printer’s own Wi-Fi has dropped
The printer may have quietly fallen off Wi-Fi even though it looks powered on, so it’s no longer reachable from your device.
What you'll need
Have these on hand before you start for a smooth fix.
-
An iPhone or iPad
Any current iPhone or iPad running iOS or iPadOS has AirPrint built in — there’s nothing extra to install on the device itself.
-
An AirPrint-compatible printer
Most Wi-Fi printers made since around 2012 support AirPrint; you’ll confirm this on the manufacturer’s site or the box in Step 1.
-
A working Wi-Fi network
Both the printer and your device must be able to join the same home or office network for AirPrint to find the printer.
-
Your Wi-Fi network name and password
Needed in case you have to reconnect the printer to Wi-Fi, or move your phone off a guest network onto the main one.
-
The printer switched on and connected
Make sure the printer is awake, out of any error state, and showing a steady Wi-Fi symbol on its control panel.
-
Paper and ink or toner loaded
Keep a few sheets in the tray and check supplies aren’t empty so your first print comes out cleanly.
How to fix it
Work through these in order — they run from the quickest checks to the more advanced fixes.
-
Step 1: Confirm your printer supports AirPrint
Look for the “Works with Apple AirPrint” logo on the printer’s box, its manual, or the specifications page on the manufacturer’s website.
Alternatively, search Apple’s support site for “AirPrint printers”, which lists supported models by brand.
If your printer was bought since around 2012 and connects by Wi-Fi, it almost certainly supports AirPrint.
Why this works: AirPrint is what lets your iPhone print with no app or driver, so it’s worth confirming your model supports it before troubleshooting anything else. Knowing this up front tells you whether to follow this guide or jump straight to the manufacturer-app fallback near the end.
Expected result: You’ve confirmed your printer is AirPrint-compatible, or identified that it isn’t and will need a manufacturer app instead.
If you can’t find your exact model on the list, check the manufacturer’s support page — most modern Wi-Fi printers support AirPrint even when the box doesn’t shout about it.
-
Step 2: Put your device and printer on the same Wi-Fi
On your iPhone or iPad, open Settings → Wi-Fi and note the network name shown with a tick at the top.
On the printer’s control panel, open its network or wireless menu and check it’s joined to that same network name.
If they differ, join your device to the printer’s network (or reconnect the printer to your main network) so both match exactly.
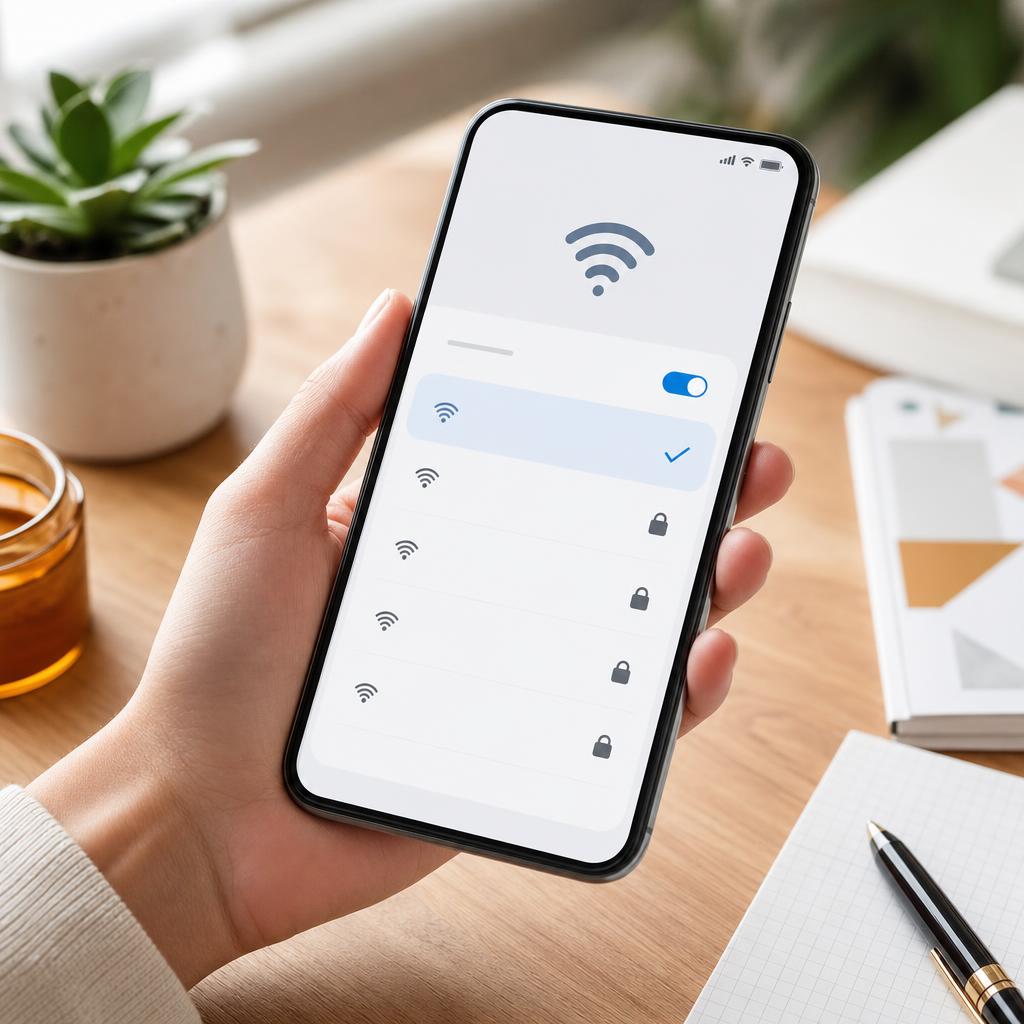
Why this works: AirPrint only discovers printers on the same Wi-Fi network as your device, so this single check prevents the most common cause of “No AirPrint Printers Found”. Getting both onto one network now saves you from chasing the problem later.
Expected result: Your iPhone or iPad and your printer both show the same Wi-Fi network name.
Avoid “guest” networks — a phone on the guest Wi-Fi usually can’t see a printer on the main Wi-Fi, even in the same house.
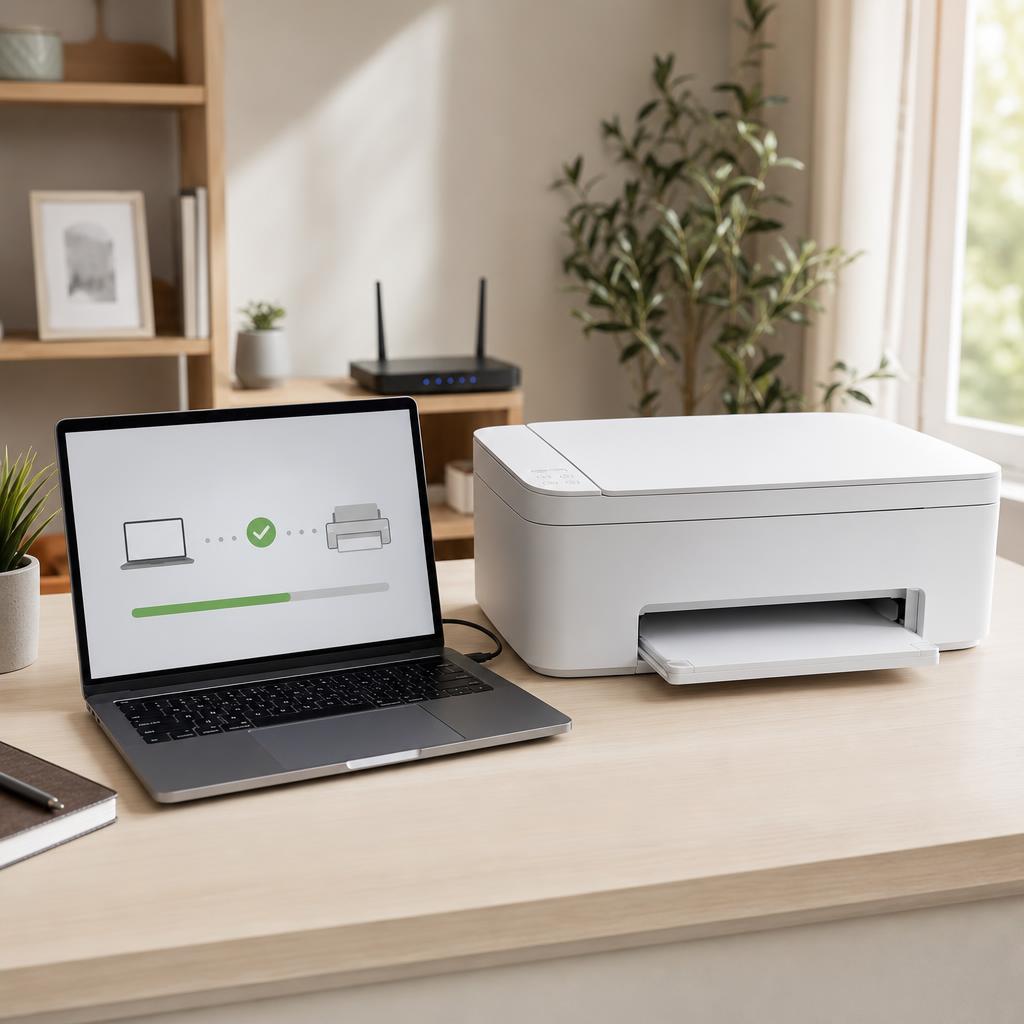
Both devices display the identical network name.
-
Step 3: Watch out for the 2.4 GHz and 5 GHz split
Check whether your router shows two network names, often one ending in something like “-2.4G” and another “-5G”.
Note which band your printer joined — many printers connect only to the 2.4 GHz band.
If your phone is on the 5 GHz network and the printer on the 2.4 GHz one, switch your phone to match the printer’s band.
Why this works: A router that splits its Wi-Fi into two named bands can leave your phone and printer on separate networks without you realising. Putting both on the same band lets AirPrint discover the printer straight away.
Expected result: Your device and printer share not just the network but the same Wi-Fi band, so they can see each other.
If your router uses a single merged name for both bands, you don’t need to worry about this — just make sure the one name matches on both devices.
-
Step 4: Open the item you want to print
For a picture, open the Photos app and tap the photo you’d like to print.
For a web page, open it in Safari; for an email, open the message in Mail; for a PDF or document, open it in the Files app.
Make sure you’re viewing the single item you want, not a grid or list of several.
Why this works: AirPrint works from inside the app that holds your content, so you print from wherever the item lives rather than from a separate printing app. Opening the exact item first makes the next steps quick and predictable.
Expected result: The photo, page, email, or document you want to print is open and filling the screen.
-
Step 5: Tap the Share button to open the Share sheet
Look for the Share icon — a square with an arrow pointing up — usually at the bottom or top of the screen.
In some apps you’ll instead tap the ••• (more) button or a reply arrow, then look for Print.
Tap it to open the Share sheet, the panel of options that slides up from the bottom.
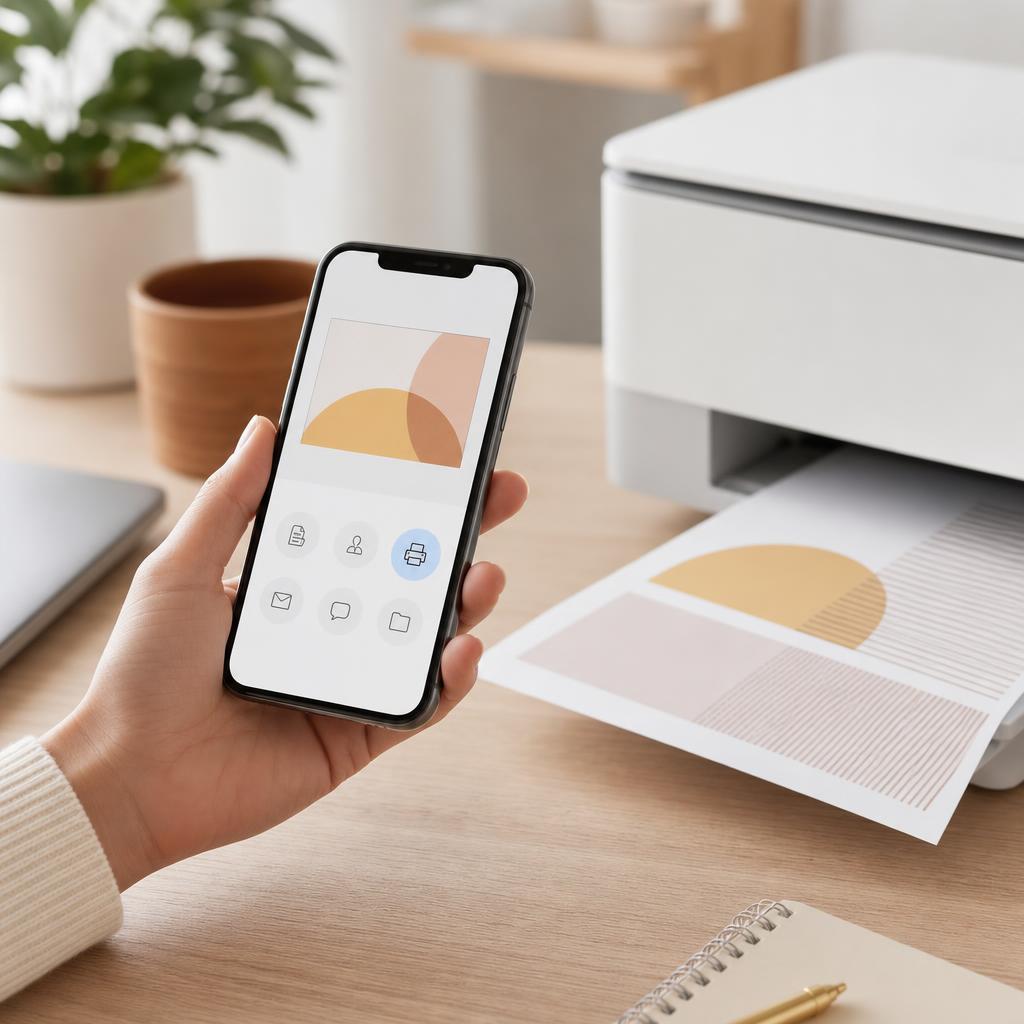
Why this works: The Share sheet is Apple’s standard menu for doing things with content, and Print lives inside it in nearly every app. Learning to find this one button means you can print from almost anywhere on your device.
Expected result: The Share sheet slides up, showing a row of apps and a list of actions including Print.
In Mail, tap the reply arrow (the curved arrow) first, then choose Print from the menu that appears.
-
Step 6: Choose Print from the list
Scroll down the Share sheet’s list of actions until you see Print.
Tap Print to open the printer options panel.
If you don’t see Print, scroll the actions list further — it often sits below the sharing apps.
Why this works: Selecting Print tells iOS you want a paper copy and brings up the panel where you choose the printer and options. This is the moment your device starts looking for AirPrint printers on the network.
Expected result: The Printer Options panel appears, ready for you to select a printer.
-
Step 7: Select your AirPrint printer
At the top of the panel, tap where it says Printer (it may say “Select Printer”).
Wait a moment while your device scans the network, then tap your printer’s name in the list.
Your choice is remembered, so next time this printer is usually pre-selected.
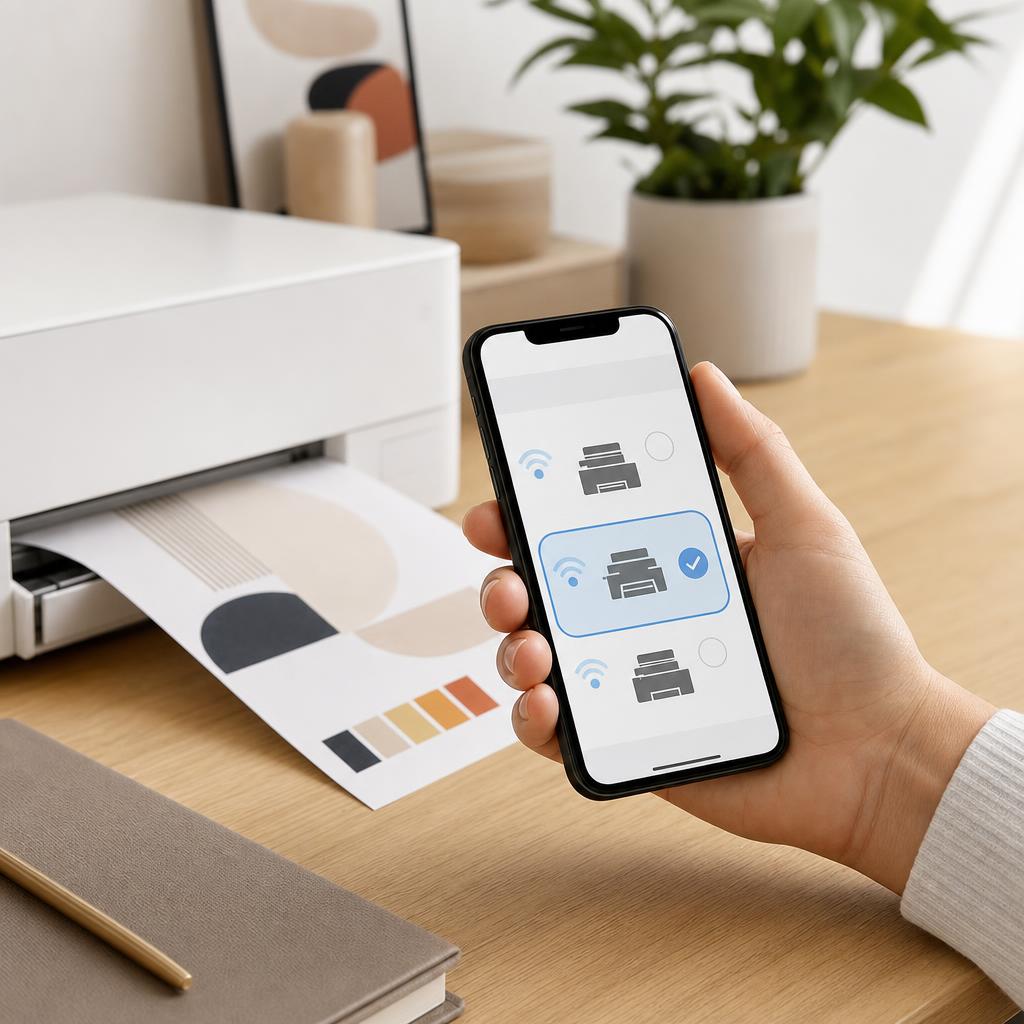
Why this works: Choosing the printer points your print job at the right machine and confirms your device can actually see it on the network. If your printer appears here, AirPrint is working and the hard part is done.
Expected result: Your printer’s name appears in the list and shows as selected at the top of the panel.
If the list is empty or shows “No AirPrint Printers Found”, don’t worry — the troubleshooting steps further down fix exactly this.
Your printer’s name is shown as the selected printer.
-
Step 8: Set your options, then print
Choose the number of copies with the plus and minus buttons, and set the paper size or range if the options are shown.
For photos, you can usually pick paper size and whether to print in colour; pinch the preview to check how it will look.
Tap Print in the top corner to send the job to the printer.

Why this works: Setting copies, paper size, and range before you print avoids wasted paper and gives you exactly the result you want. The preview lets you catch a wrong page or orientation before anything comes out of the printer.
Expected result: The job sends, the panel closes, and the printer begins printing within a few seconds.
The printer starts pulling in paper and printing your item.
-
Step 9: If your printer isn’t found, wake and check it
Tap the printer’s control panel or a button to wake it from sleep, and clear any error or low-paper warning showing.
Confirm the Wi-Fi symbol on the printer is steady and it reports being connected to your network.
If the Wi-Fi symbol is off or flashing, run the printer’s wireless setup again to re-join your network.
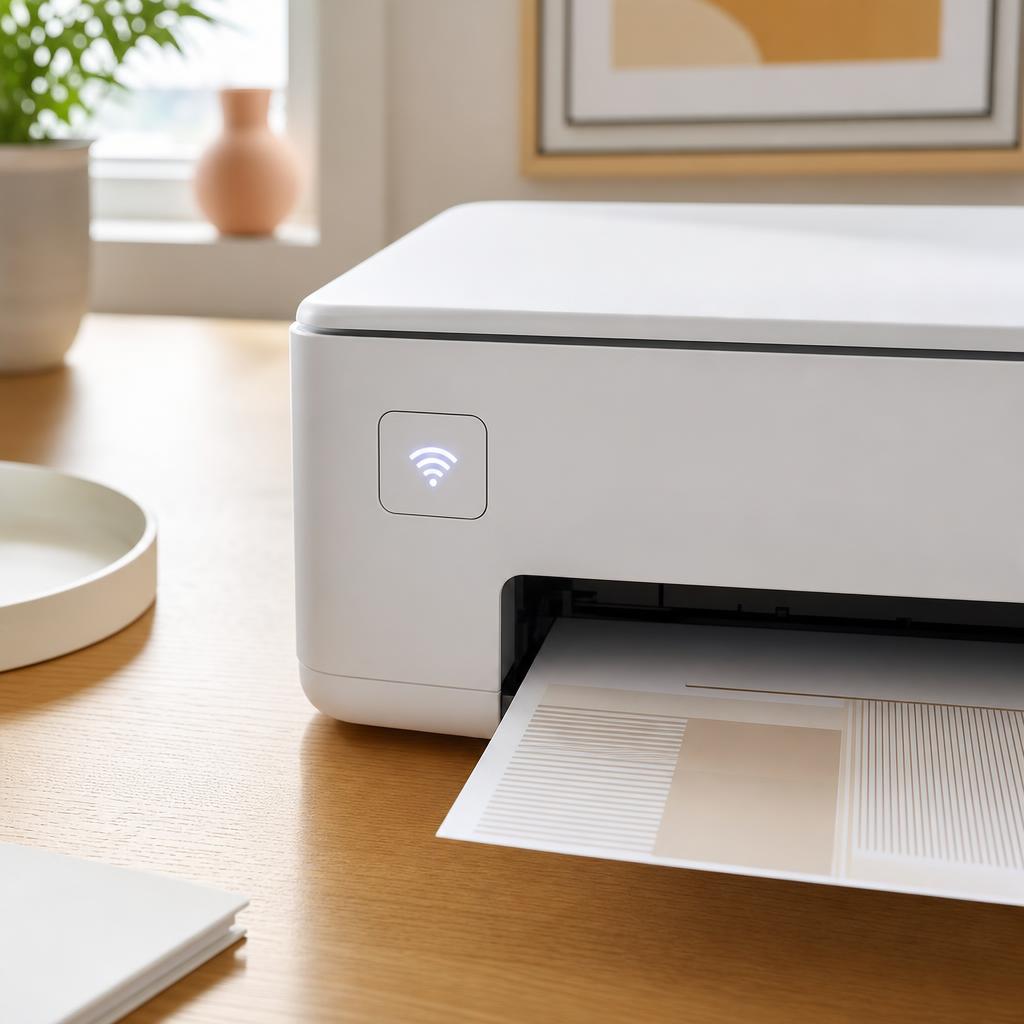
Why this works: A sleeping, erroring, or disconnected printer won’t announce itself to AirPrint even though it looks switched on. Waking it and confirming its Wi-Fi connection often makes it reappear in the printer list straight away.
Expected result: The printer is awake, error-free, and showing a steady connection to your Wi-Fi network.
Check the printer’s panel for its network name; if it’s joined to a different network from your phone, reconnect it to the right one.
-
Step 10: Turn off any VPN and re-check the network
On your device, open Settings and look for a VPN toggle near the top; if it’s on, switch it off and try printing again.
Make sure you’re on your home or office Wi-Fi rather than mobile data or a guest network.
On a business network that isolates devices, ask whether AirPrint is allowed — client isolation and firewalls can block it.
Why this works: A VPN or an isolating network reroutes or hides your local traffic, so your device can’t discover the printer even when both are online. Turning the VPN off and confirming you’re on the right network clears one of the most overlooked blockers.
Expected result: With the VPN off and your device on the correct network, the printer appears in the AirPrint list.
If turning off the VPN fixes printing, you can switch it back on afterwards — you only need it off while discovering and printing.
-
Step 11: Restart the printer, router, and your device
Switch the printer off, wait about a minute, and switch it back on so it re-joins Wi-Fi cleanly.
Restart your Wi-Fi router if problems persist, and turn your iPhone or iPad off and on again.
On your device, you can also tap Settings → Wi-Fi, forget the network, then re-join it with the password to refresh the connection.
Why this works: A restart clears stale network states on any of the three devices in the chain, which is often why a printer suddenly stops appearing. Re-joining the Wi-Fi gives your device a fresh, clean connection that AirPrint can use.
Expected result: After the restarts and a Wi-Fi refresh, your printer is discovered reliably and prints on the first try.
Never switch a printer off while it’s mid-way through a firmware update — wait until it’s finished and idle before restarting it.
-
Step 12: Collect your print and confirm success
Take your printed page or photo from the output tray and check it looks correct — right size, colours, and pages.
Print one more everyday item, such as a web page, to confirm printing works consistently, not just once.
Now that your printer is remembered, future prints are just Share → Print → Print.
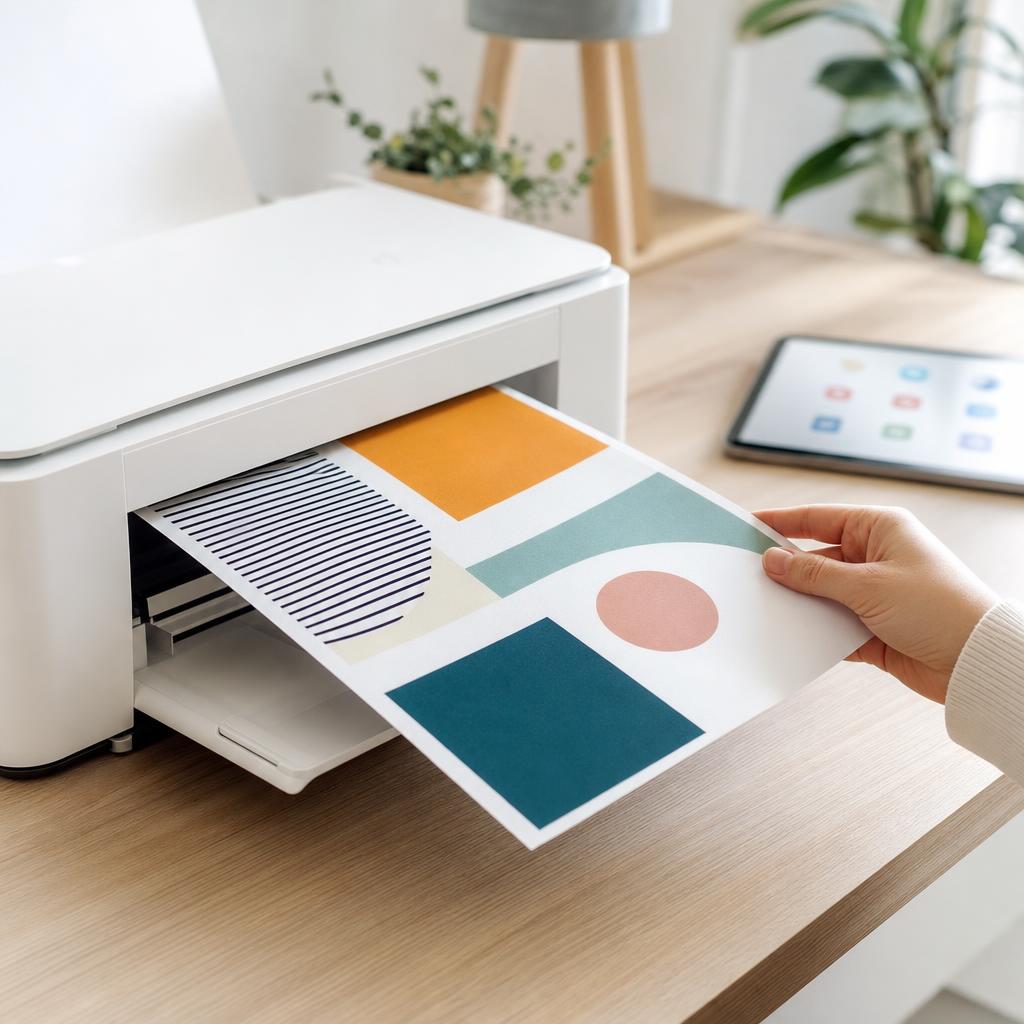
Once AirPrint finds your printer, printing from an iPhone or iPad is as simple as Share → Print → Print. Why this works: Checking the finished print confirms the whole chain works — your device, the network, and the printer — not just that the job sent. A second print proves it’s reliable rather than a one-off success.
Expected result: A clean print comes out correctly, and a second item prints just as easily to confirm it’s working for good.
Two separate items print cleanly from your device without a hitch.
Tip
Printer Tip
Don’t leave your phone on a guest network — keep it on the same main Wi-Fi as the printer.
Other solutions to try
If the steps above didn't do it, these fixes resolve the less common cases.
Still seeing “No AirPrint Printers Found”
When the printer list stays empty, work through the network causes in order — it’s almost always a connection issue, not the printing.
- Confirm your device and printer are on the exact same network name, not a guest network or a different band.
- Turn off any VPN on your device, then try printing again straight away.
- Restart the printer, router, and your iPhone or iPad, then forget and re-join your Wi-Fi on the device.
- Move the printer closer to the router temporarily to rule out a weak signal dropping it off the network.
Using a manufacturer app for non-AirPrint printers
If your printer genuinely doesn’t support AirPrint, the maker’s free app usually adds wireless printing from your iPhone or iPad.
- Install the official app for your brand from the App Store — for example HP Smart, Canon PRINT, Epson iPrint, or Brother iPrint&Scan.
- Open the app, let it find your printer on the same Wi-Fi network, and follow its prompts to connect.
- Print from within the app, or use its “share to” option so it appears alongside Print in the Share sheet.
- Keep the app updated, as makers use it to add features and fix connection problems over time.
Printing when there’s no shared Wi-Fi
Away from your usual network, you can still print using the printer’s own direct connection.
- Enable Wi-Fi Direct (sometimes called Wireless Direct) on the printer from its network menu.
- On your iPhone, open Settings → Wi-Fi and join the printer’s own network, using the password shown on its panel.
- Print as usual with AirPrint or the manufacturer app, then re-join your normal Wi-Fi afterwards.
Confirm it's working
Tick these off to be sure the problem is fully resolved.
Keep it from happening again
A few habits that stop this problem coming back.
- Don’t leave your phone on a guest network — keep it on the same main Wi-Fi as the printer.
- Don’t forget to turn off a VPN before printing; it’s the most overlooked reason a printer won’t appear.
- Don’t assume your printer is broken when the list is empty — check the network and band first.
- Don’t connect your printer to the 5 GHz band alone if your router splits the two; keep it where your phone can reach it.
- Don’t search the App Store for AirPrint — it’s built in, so there’s nothing to download for a supported printer.
- Don’t let the printer sleep into an offline state; a quick wake or a steady Wi-Fi symbol keeps it discoverable.
Frequently asked questions
Was this guide helpful?
Your feedback helps us keep these steps accurate.
Thanks for your feedback!
Written by
The Guts Guide Editorial Team · Mobile Printing Specialists
Reviewed by
Daniel Owens · Print & Network Technician
Last updated
Jul 14, 2026
Continue Reading
Pick up where you left off with the next guide in your troubleshooting journey.
Related Guides
More troubleshooting walkthroughs you may find useful.

Buying Guides
Plain-English comparisons and pre-purchase checklists — find the right printer before you buy.


