
How to Fix Printer Smudges, Toner Marks and Ink Smears
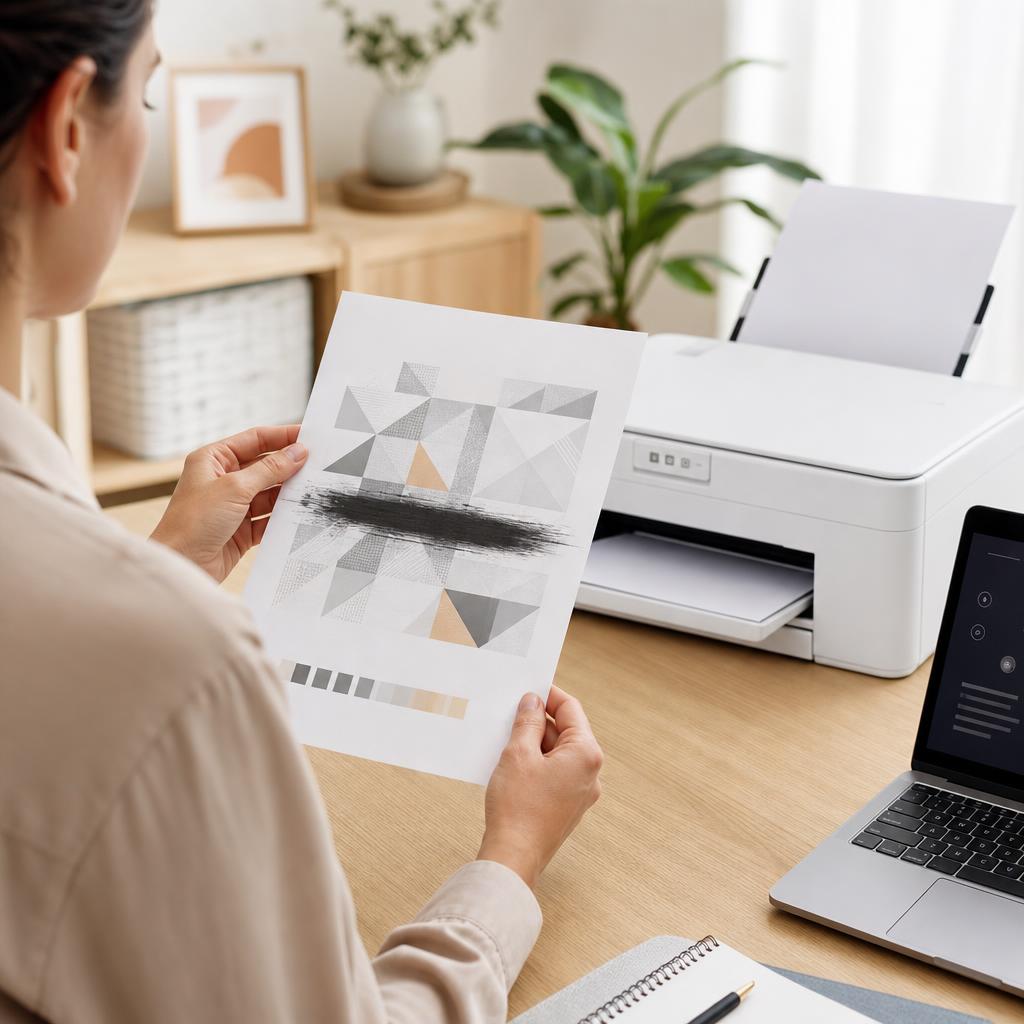
Smudges, toner marks and wet ink smears usually come from ink that hasn’t dried, the wrong paper, or a dirty paper path rather than a broken printer. This guide walks you through drying times, paper choice, and cleaning the rollers, cartridge area and fuser safely so your pages come out crisp and clean.
Applies to: Inkjet & laser printers, All-in-one & single-function models, Windows & macOS, HP, Canon, Epson, Brother, Xerox & more, Single-sided & duplex (two-sided) printing
Quick summary
- The problem
- Pages come out with smudges, streaked toner marks, or wet ink smears that wipe or drag across the print.
- The fix
- Let prints dry, switch to the correct paper, and clean the rollers, cartridge area and paper path — safely, with the printer off and any laser fuser cooled.
- Applies to
- Inkjet and laser printers on Windows and macOS, including single-sided and duplex printing.
On this page Show
Understanding the problem
Every printer lays an image onto paper and then has to make it stay put. An inkjet sprays microscopic droplets of liquid ink that need a moment to soak in and dry, while a laser printer melts fine toner powder onto the page using a hot roller called the fuser. When that process is disturbed — the ink is still wet, the toner didn’t fuse properly, or something dirty touches the page on its way out — you get a smudge, a smear, or a repeating dirty mark instead of a clean print.
Most smudging has a simple, mechanical cause. Handling a page before the ink has dried drags it across the paper; using glossy, coated or very thin paper stops ink absorbing the way the printer expects; and dust, paper fibres or spilled ink and toner build up on the rollers and inside the paper path, transferring onto every sheet that passes. Two-sided (duplex) printing is especially prone to marks because the page is pulled back inside and flipped while the first side may still be settling. Occasionally a leaking cartridge or a fuser problem is to blame, and those need a slightly different, careful approach.
The reassuring part is that a smudging printer is rarely a broken one, and you almost never need tools or spare parts to fix it. This guide starts with the quickest, safest checks — drying time and paper — then moves step by step through cleaning the rollers, the area around the cartridges, and the paper path, with clear safety notes for laser fusers and loose toner. Work through it in order and stop as soon as your test print comes out clean; there’s no need to do every step if an early one solves it.
Tip
Match the paper setting to the paper
Choosing the correct paper type in the print dialog changes how much ink is used and can noticeably improve print quality.
Signs you're in the right place
If you're seeing any of these, this guide is for you.
-
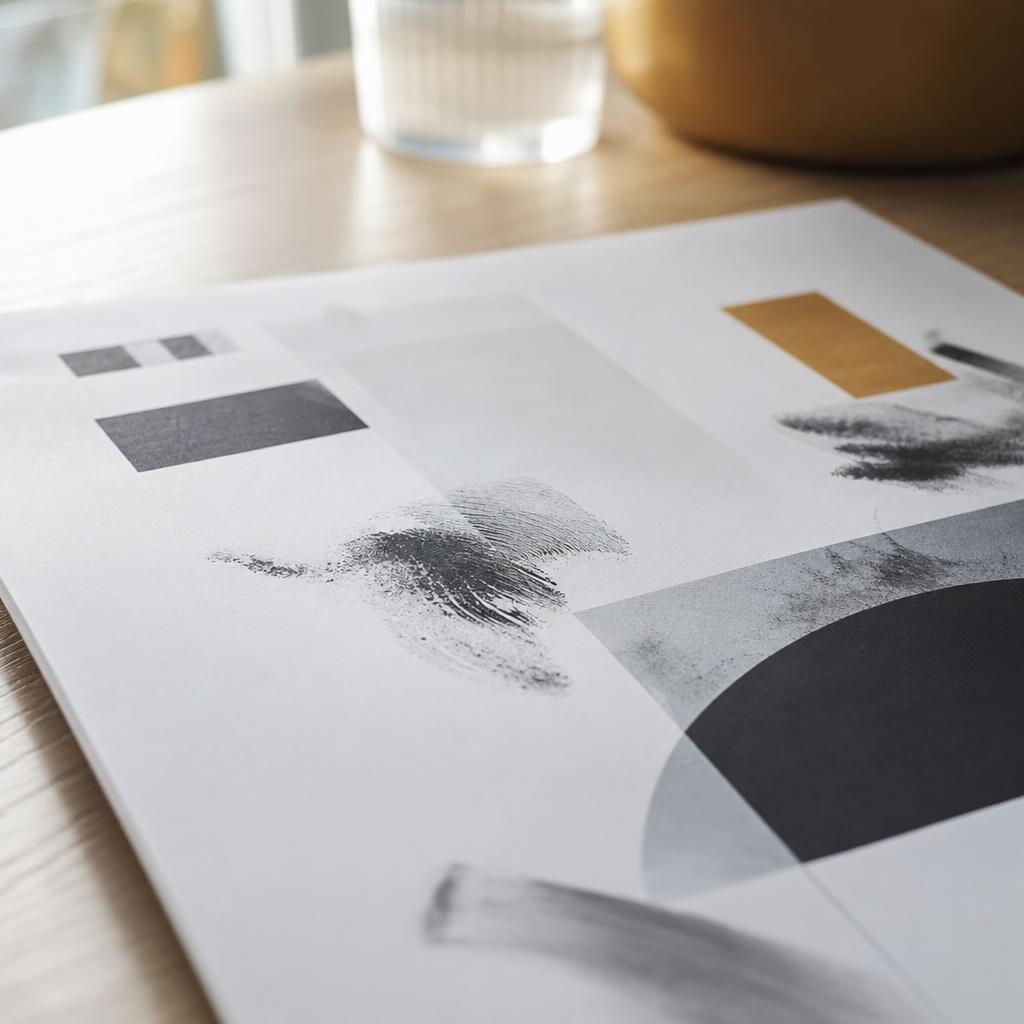
Wet ink smears when touched
Freshly printed pages feel damp and the ink drags or blurs the moment you touch or stack them.
-
Fingerprints and hand marks
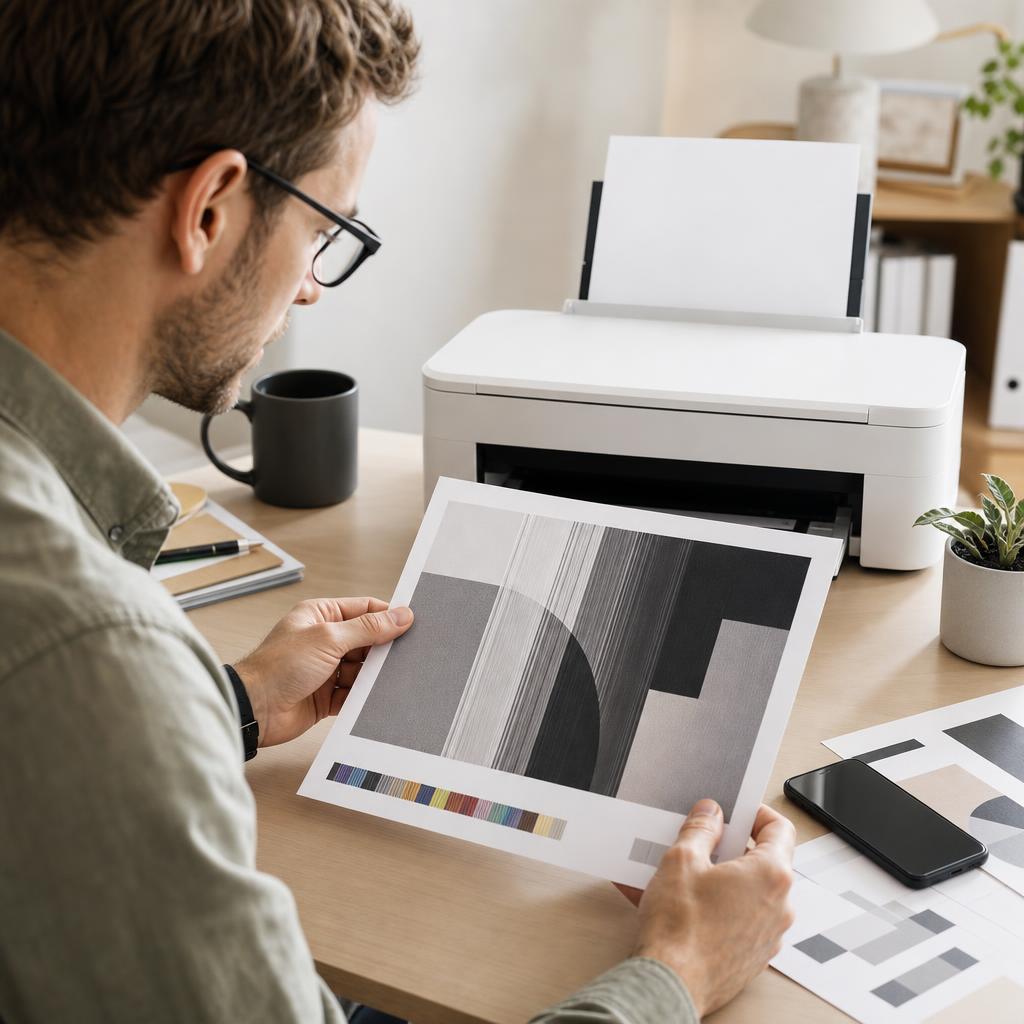
Smudges appear exactly where you held the page, leaving fingerprints or a smeared edge on the print.
-
Grey toner marks or shadows
A laser printer leaves loose, dusty toner marks or faint grey shading in the margins and background.
-
Repeating streaks down the page
The same smear or dirty band appears in the same place on every sheet you print.
-
Smears only on glossy or thin paper
Print looks clean on plain paper but smudges on glossy, coated or lightweight sheets.
-
Marks on the second (duplex) side
Two-sided prints come out clean on the first side but smudged on the reverse or along the edges.
-
Ink blotches from a leaking cartridge
Random dark blotches, drips or pooled ink appear rather than a neat dragged smear.
-
Wavy or patchy ink coverage
Wet, over-inked areas ripple, pool or take far longer than usual to dry on the page.
What's usually behind it
The most common reasons this happens, so the fix makes sense.
Ink handled before it dried
Picking up, stacking or feeding pages too soon drags still-wet inkjet ink across the paper.
The wrong paper type
Glossy, coated or very thin paper doesn’t absorb ink the way plain paper does, so ink sits on top and smears.
Wrong paper setting in the driver
If the printer thinks it’s using plain paper when it isn’t, it lays down the wrong amount of ink and dries it incorrectly.
Dirty or inky feed rollers
Rollers pick up dust, paper fibres and stray ink, then transfer those marks onto every page they touch.
A contaminated paper path
Spilled ink or loose toner inside the paper path rubs onto sheets as they travel through the printer.
Loose or spilled toner (laser)
Toner that hasn’t been fused, or powder spilled inside the machine, leaves smudgy grey marks and shadows.
A leaking or damaged cartridge
A cracked or overfilled ink cartridge drips, and a faulty toner cartridge sheds powder, causing random blotches.
A fuser problem (laser)
If the fuser isn’t heating properly, toner never bonds to the page and rubs off as a smear when touched.
Duplex printing on slow-drying ink
Two-sided printing flips the page back inside before the first side has fully dried, smearing it.
Damp or poorly stored paper
Paper that has absorbed moisture holds ink on the surface for longer and is far more likely to smudge.
What you'll need
Have these on hand before you start for a smooth fix.
-
A soft, lint-free or microfibre cloth
For wiping rollers and interior surfaces without scratching or leaving fibres behind.
-
Distilled water
Dampen the cloth with a little distilled water for inkjet marks — never spray liquid inside the printer.
-
A dry cloth for toner
Toner is a dry powder, so clean it with a dry cloth only; moisture makes it clump and smear.
-
A few sheets of fresh plain paper
Good-quality, dry plain paper for test prints and for clearing the paper path.
-
The printer turned off and unplugged
Power down and unplug before reaching inside, for your safety and to protect the electronics.
-
Time for a laser printer to cool
The fuser inside a laser printer gets very hot — allow 15–30 minutes for it to cool before touching it.
How to fix it
Work through these in order — they run from the quickest checks to the more advanced fixes.
-
Step 1: Let the page dry before you touch it
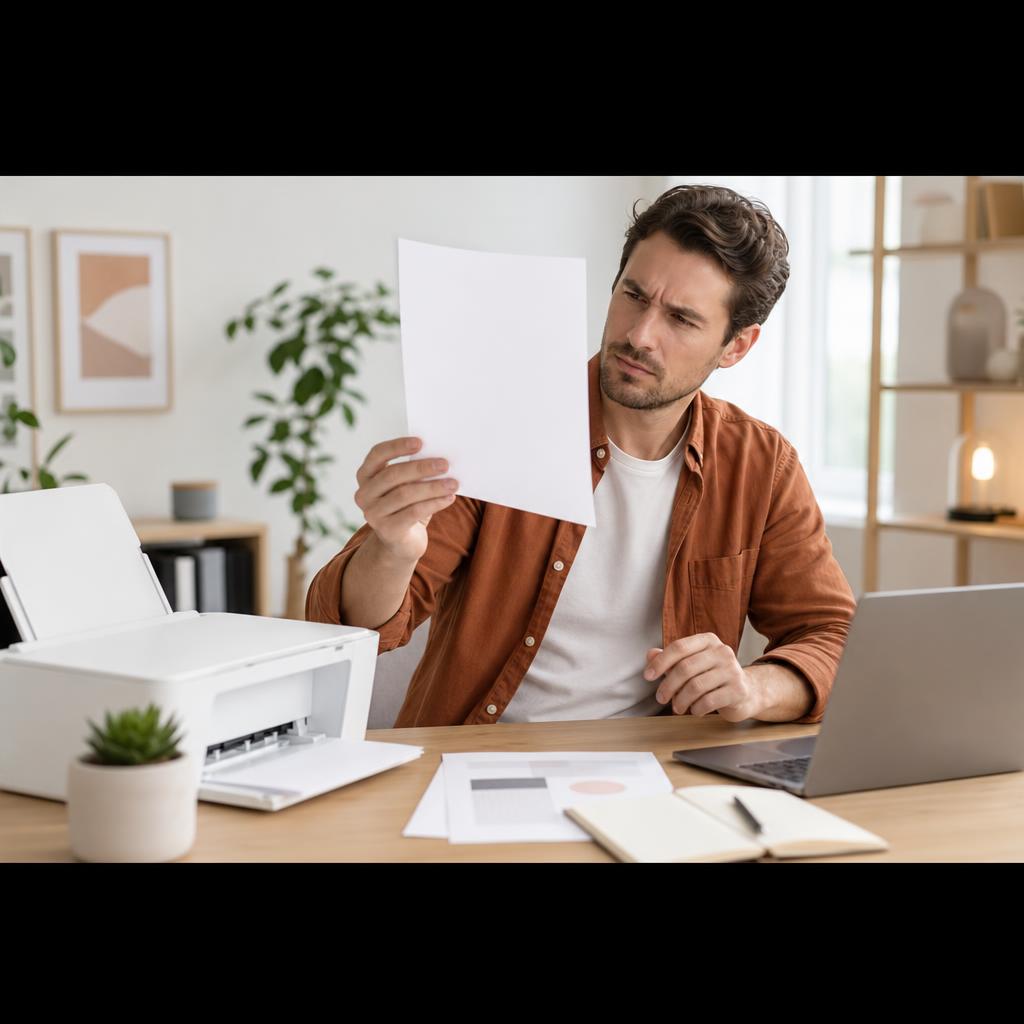
Print a single test page and set it aside on a flat surface without touching the printed area.
Give inkjet prints 30–60 seconds — longer on heavy or photo pages — before picking them up or stacking them.
Check the dried page against a fresh smudge: if the dried one is clean, wet ink was the cause.
Why this works: Inkjet ink is a liquid that needs a short moment to soak into the paper and dry. Handling or stacking a page too soon is the single most common reason for smears, and it’s the easiest to rule out.
Expected result: A page that dries clean when left untouched, with no dragging or blurring.
The smear disappears once you give each page time to dry.
-
Step 2: Power off and let a laser printer cool before inspecting
Switch the printer off and unplug it from the wall before opening any covers.
On a laser printer, wait 15–30 minutes so the fuser and internal rollers cool down completely.
Open the front or top cover and look inside for stray toner, ink, or paper scraps — but don’t touch hot parts.
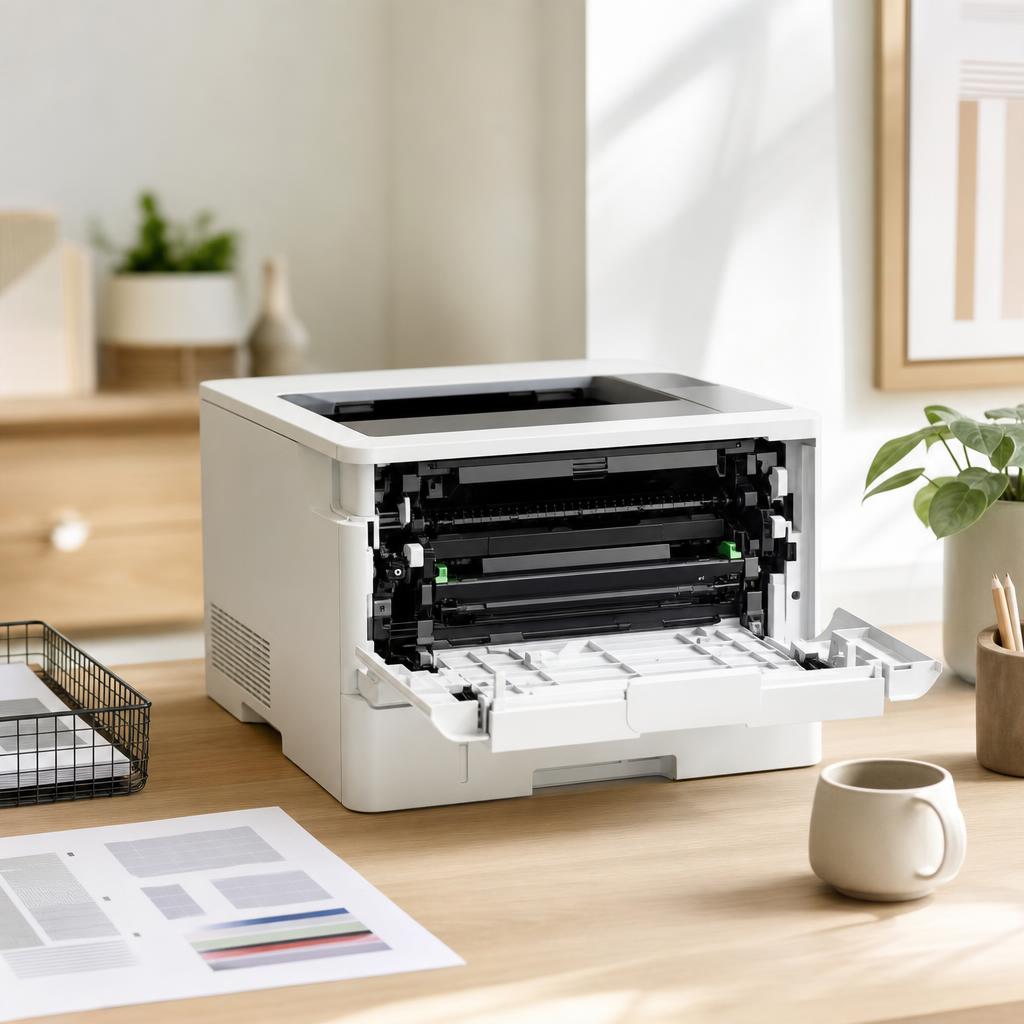
Why this works: The fuser inside a laser printer runs hot enough to cause burns, so it must cool before you reach in. Working on a powered-off, cooled machine keeps you safe and protects the electronics from accidental damage.
Expected result: A cool, powered-off printer that is safe to inspect and clean inside.
Never rush this on a laser printer — the fuser stays hot for several minutes after the last print. When in doubt, wait longer.
-
Step 3: Check the paper type and match the driver setting
Confirm you’re using good-quality plain paper unless you specifically need glossy or coated stock.
On Windows, open Settings → Bluetooth & devices → Printers & scanners, pick your printer, then Printing preferences, and set the paper type to match what’s loaded.
On macOS, open the print dialog, expand the options, and choose the correct Media Type (for example “Plain Paper” or “Glossy”).
Why this works: The printer decides how much ink to use and how to dry it based on the paper type you tell it. A mismatch — such as printing on glossy paper set to plain — leaves ink sitting on the surface where it smears easily.
Expected result: The loaded paper and the driver’s paper-type setting match, and coverage looks correct.
Glossy and coated papers need the matching photo or glossy setting and much longer drying time; give them a minute or two before handling.
-
Step 4: Load the correct paper and check it’s dry
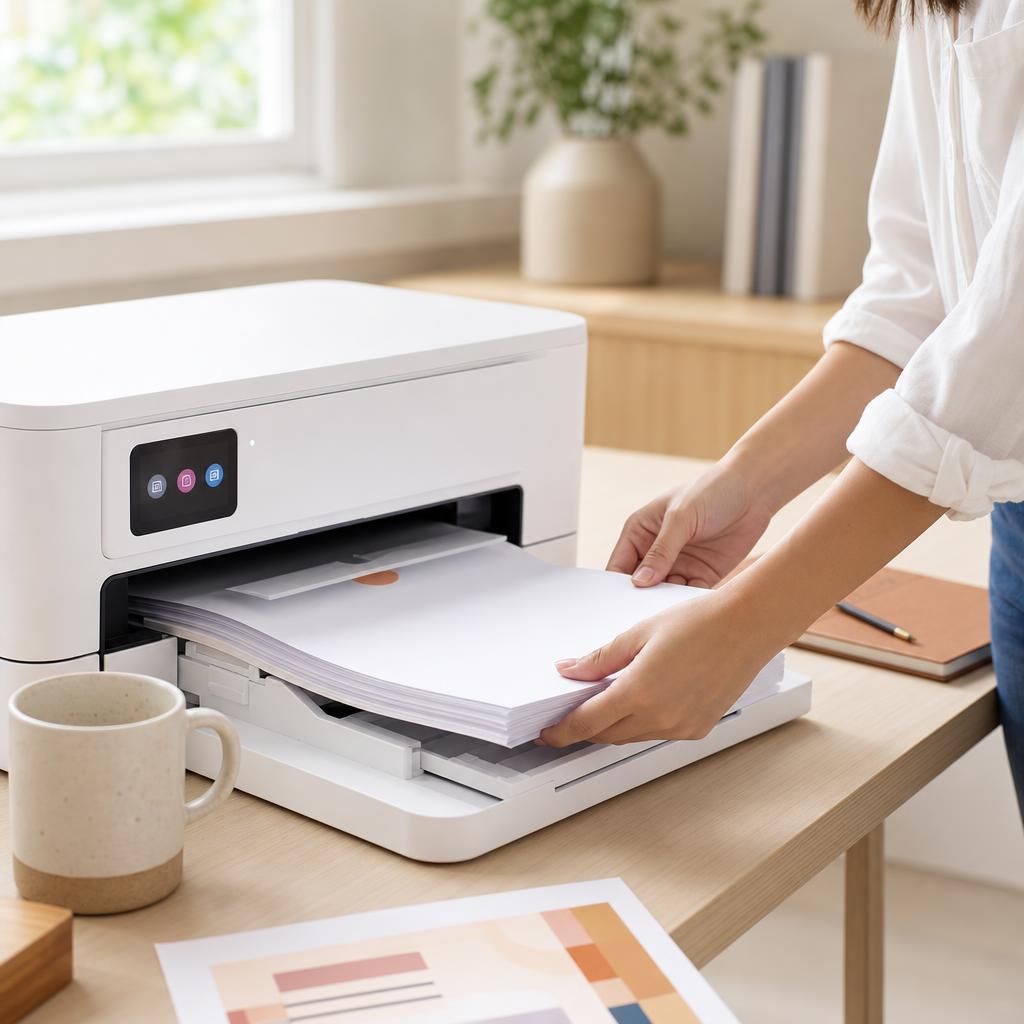
Fan a fresh stack of plain paper, tap it square, and load it neatly with the guides snug against the edges.
Avoid paper that feels damp, curled or that has been sitting open in a humid room.
Store the rest of the ream sealed and flat, away from heat and damp, so it feeds and dries cleanly.
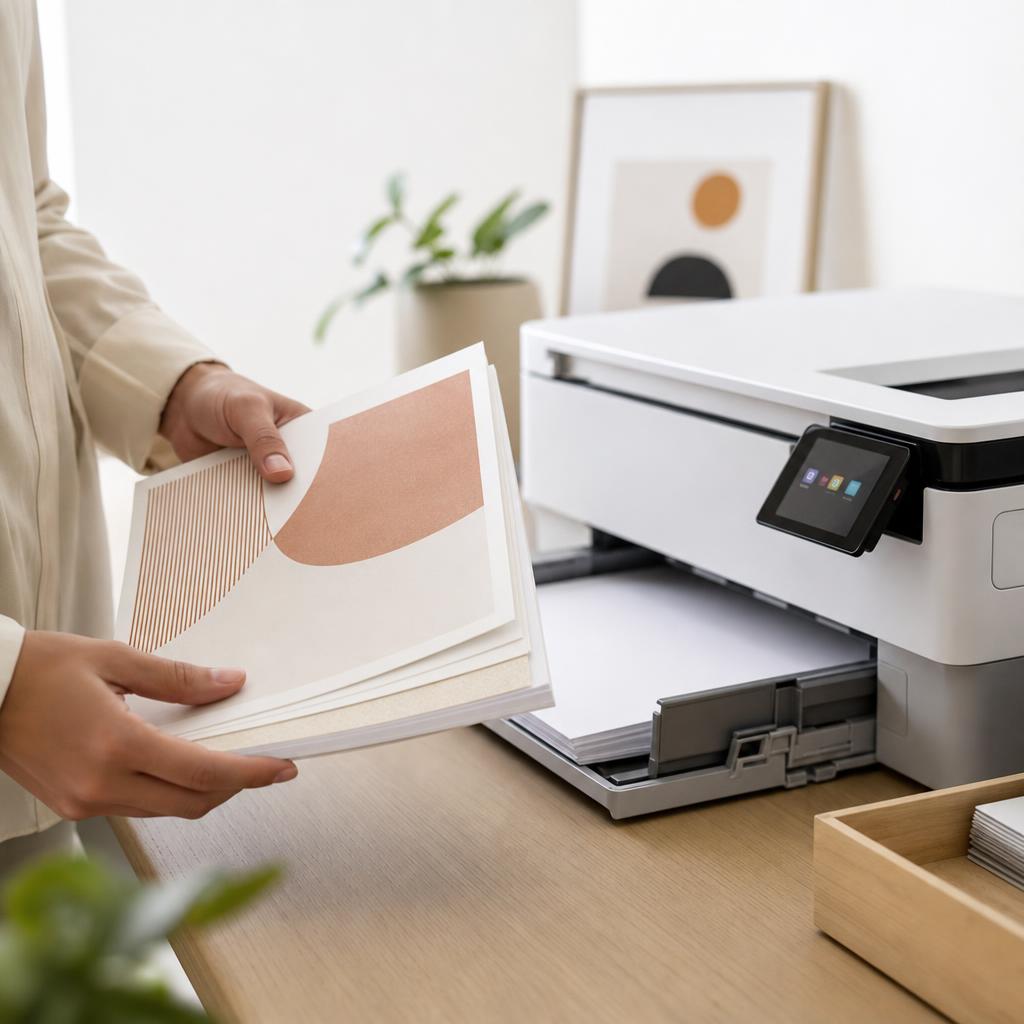
Why this works: Paper that has absorbed moisture holds ink on its surface for longer and smudges far more readily. Fresh, dry, correctly loaded paper absorbs ink properly and feeds straight through the printer.
Expected result: A neat stack of dry, correctly loaded paper that feeds one sheet at a time.
-
Step 5: Turn off duplex printing to test
In the print dialog on Windows or macOS, switch off two-sided (duplex) printing for a test.
Print the same document single-sided and compare it with the smudged duplex version.
If the single-sided print is clean, the ink simply needs longer to dry between sides.
Why this works: Duplex printing pulls the page back inside and flips it while the first side may still be settling, which smears fresh ink. Testing single-sided quickly confirms whether drying time is the real issue.
Expected result: A clean single-sided print, showing duplex drying time was causing the smears.
If you need two-sided prints, choose a slower or “best” quality mode, print fewer pages at once, or let each page dry and print the reverse side manually.
-
Step 6: Clean the paper-feed rollers
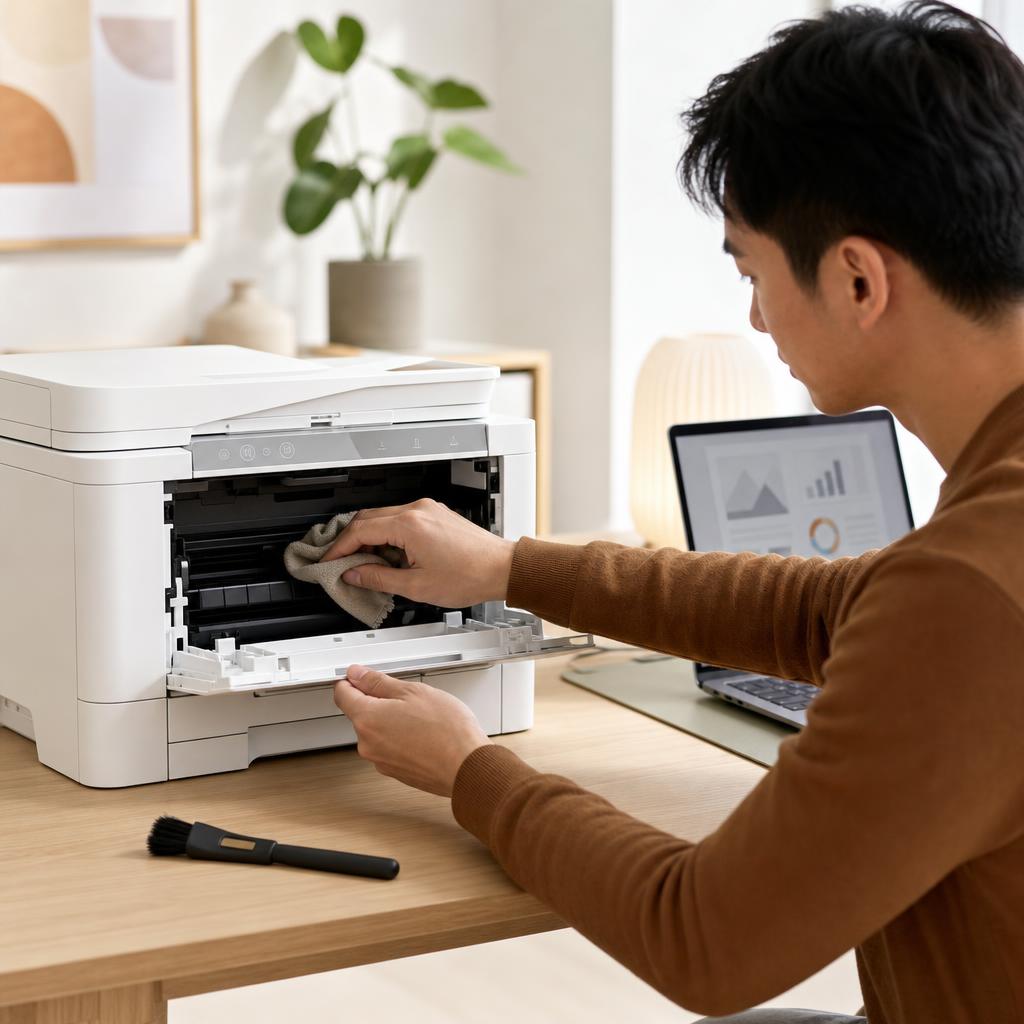
With the printer off and cooled, open the access door and locate the rubber feed rollers.
Wipe each roller with a lint-free cloth — lightly dampened with distilled water for inkjet marks, dry for laser toner — turning the rollers by hand as you go.
Let the rollers dry completely before closing up and switching the printer back on.
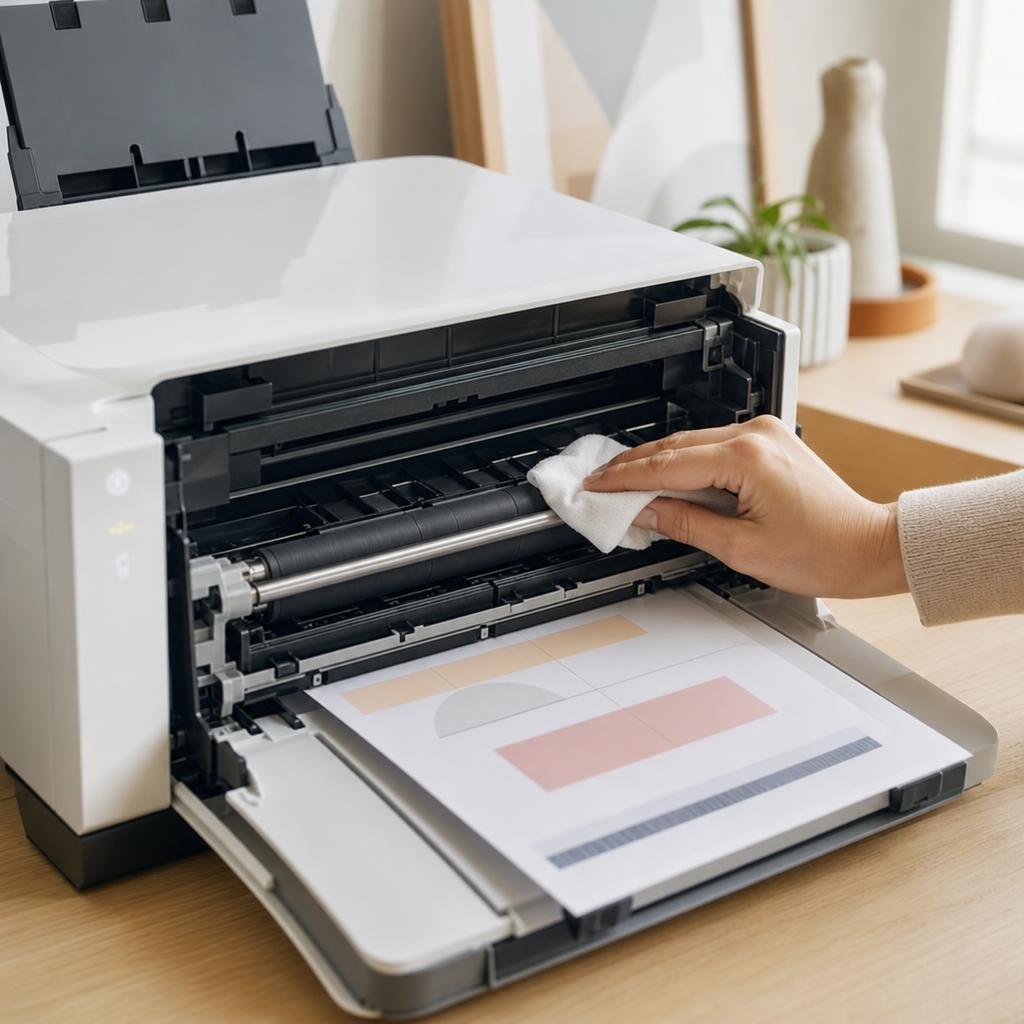
Why this works: Rollers grip and pull every page through the printer, so any dust, paper fibres or stray ink on them transfers straight onto your prints. Cleaning the rollers removes that source of repeating marks.
Expected result: Clean rollers that feed paper without leaving streaks or dirty bands.
The repeating mark in the same spot on every page is gone.
-
Step 7: Clean around the ink cartridges (inkjet)
Open the cartridge door and let the carriage move to the centre, then look for dried or pooled ink around the cartridge seats.
Gently wipe away any ink build-up with a lint-free cloth, taking care never to touch the gold contacts or the nozzle plate.
Reseat each cartridge until it clicks, close the door, and run a short test print.
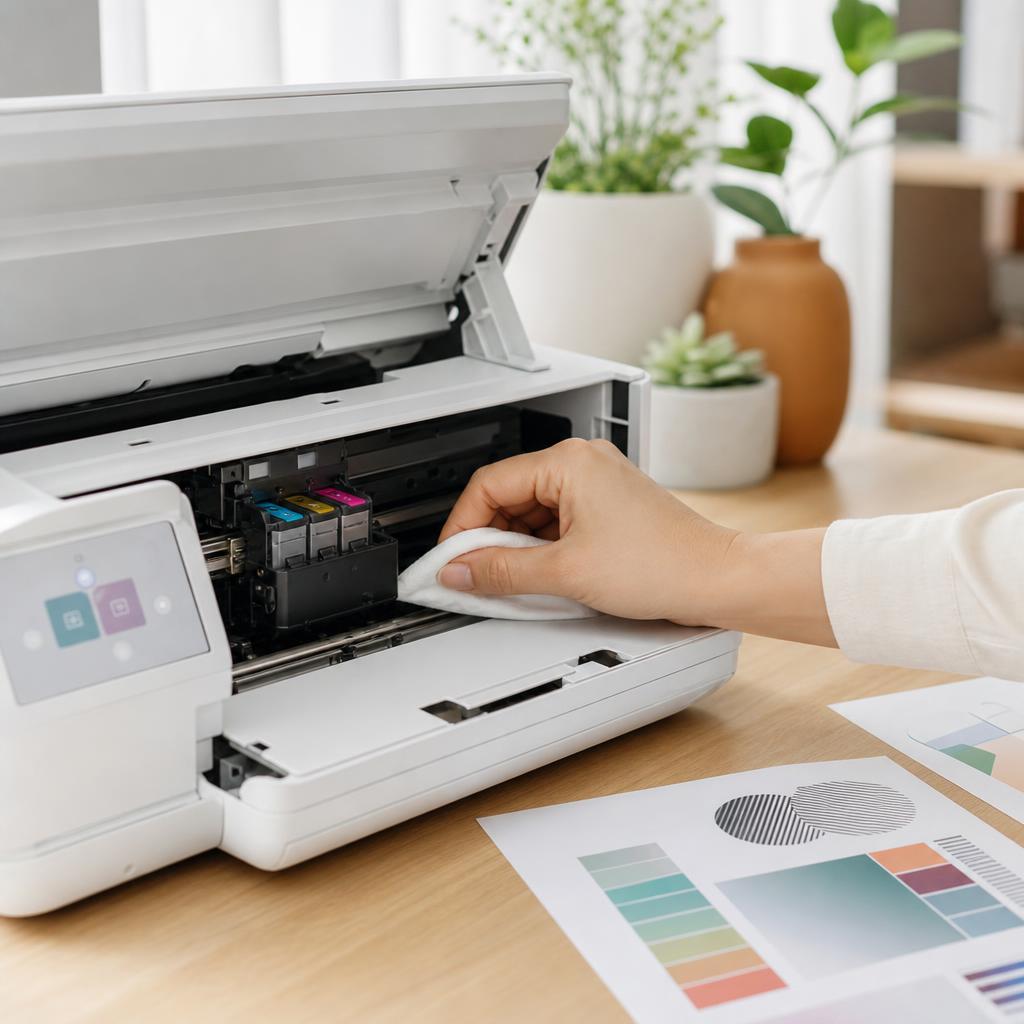
Why this works: Ink that collects around the cartridges and carriage smears onto pages as they pass beneath. Cleaning the area — while avoiding the sensitive contacts — removes those blotches and restores a clean seat.
Expected result: A clean cartridge area with no smearing, and correctly seated cartridges.
Never touch the copper or gold contacts or the nozzle plate with your fingers — skin oils cause connection and quality problems.
-
Step 8: Clear loose toner from a laser printer
With the printer cooled and unplugged, carefully remove the toner cartridge and set it on a sheet of paper.
Wipe any loose toner dust from the cartridge area and rollers with a dry cloth only — never water or a damp cloth.
For spilled powder, use a vacuum designed for toner rather than a household one, then refit the cartridge.
Why this works: Loose toner powder inside the machine leaves grey smudges and shadows on prints. Toner is a fine, dry powder, so it must be cleaned dry — moisture makes it clump, smear and set on surfaces.
Expected result: A toner area free of loose powder, and prints without grey smudges or shading.
A household vacuum blows fine toner straight through its filter into the air. Use a toner-safe vacuum or a dry cloth only.
-
Step 9: Clean the paper path
With the printer off and cooled, open the rear or duplex access door and look along the path the paper travels.
Wipe visible ink or toner from the guides and rollers along the path with a lint-free cloth — dry for toner, lightly damp for ink.
Then print several blank plain pages to carry away any remaining residue before closing up.
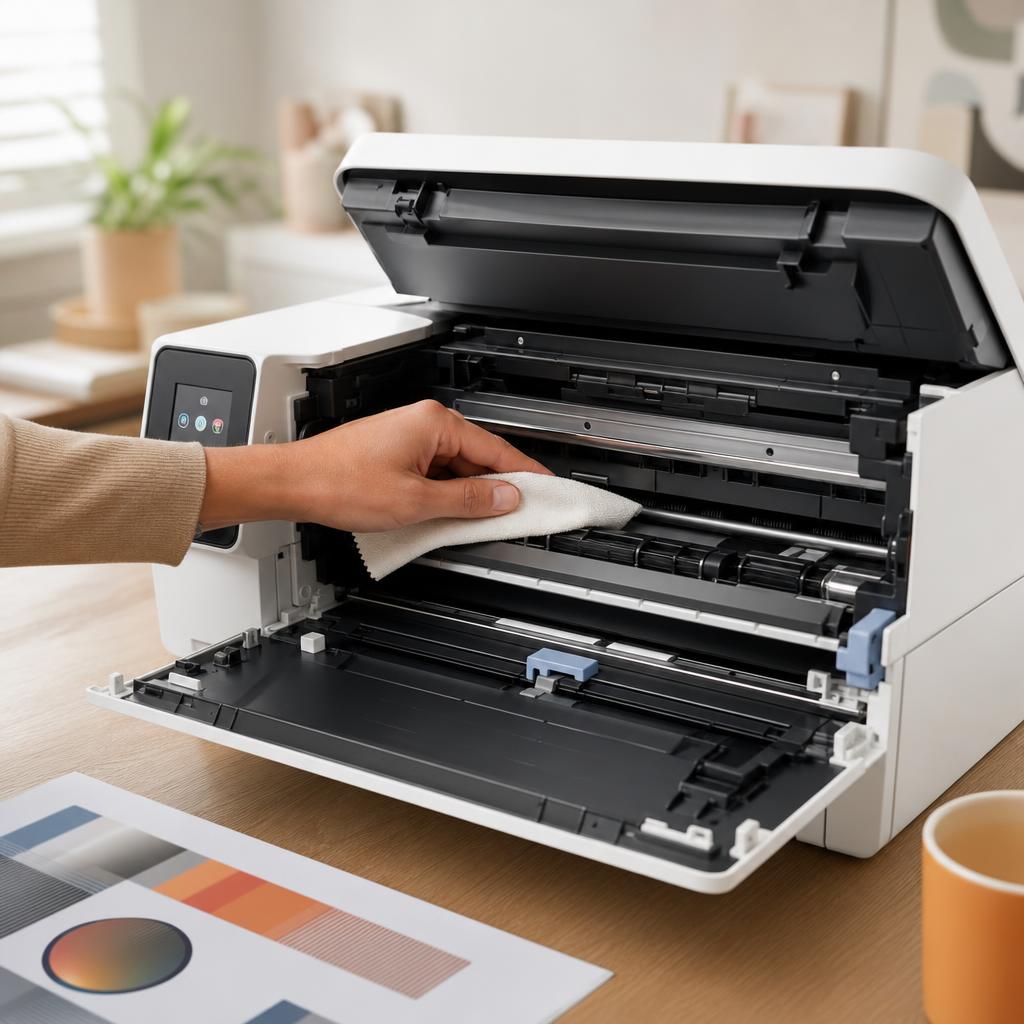
Why this works: Ink or toner smeared inside the paper path rubs onto every sheet that travels through, often in the same place each time. Cleaning the path and running blank pages clears that residue at its source.
Expected result: A clean paper path and blank test pages that come out unmarked.
-
Step 10: Check for a leaking or faulty cartridge
Remove each cartridge and inspect it for cracks, drips, or ink pooled around the base — wear gloves if you can.
Wipe a leaking cartridge clean; if it keeps dripping or a toner cartridge sheds powder, replace it with a genuine part.
Fit the replacement, run a nozzle check or test print, and confirm the blotches have stopped.
Why this works: A cracked, overfilled or poor-quality cartridge drips ink or sheds toner, causing random blotches rather than a neat dragged smear. Replacing a faulty cartridge is often the only lasting fix for that pattern.
Expected result: No further leaks or blotches, and clean coverage across the test print.
Cheap third-party or overfilled refill cartridges leak far more often — genuine or reputable cartridges are the safer choice for smear-free printing.
-
Step 11: Run the built-in cleaning cycle (inkjet)
Open the maintenance or tools menu from the control panel or the printer software on your computer.
Run one printhead cleaning cycle, then print a nozzle-check pattern to see the result.
If marks remain, run at most one more cycle, then rest the printer for a few hours before testing again.
Why this works: A cleaning cycle flushes the printhead and can clear excess or crusted ink that’s smearing onto pages. It uses ink, though, so run it sparingly — over-running the cycle wastes ink and can flood the page.
Expected result: A clean nozzle-check pattern and prints free of smears and blotches.
Don’t run more than two or three cleaning cycles in a row. If quality doesn’t improve, let the printer rest rather than repeating the cycle.
-
Step 12: Print a clean test page to confirm
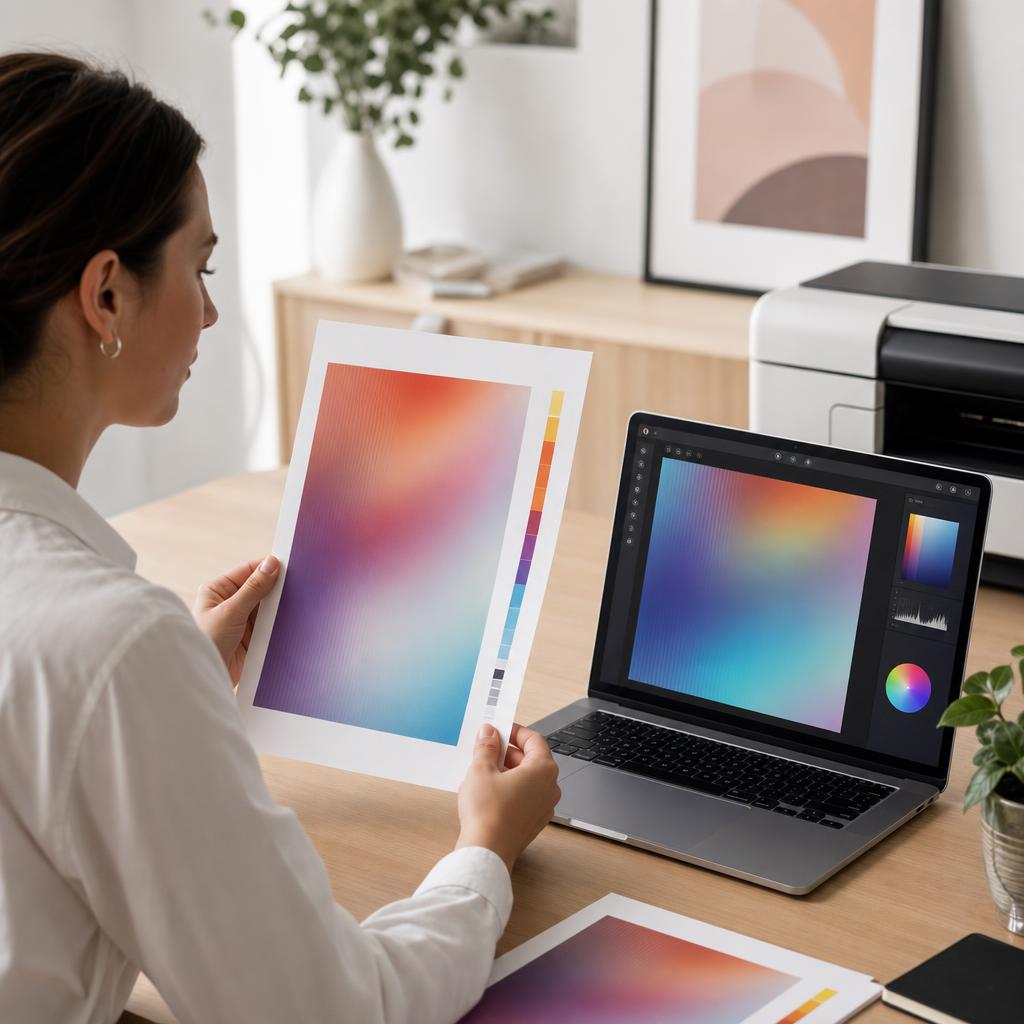
Print a page with both text and a solid colour or grey block, then let it dry before handling.
Check for smears, dragged marks, grey toner shadows or repeating bands across the sheet.
Print a normal document too, to confirm everyday printing comes out clean on both single and two-sided pages.
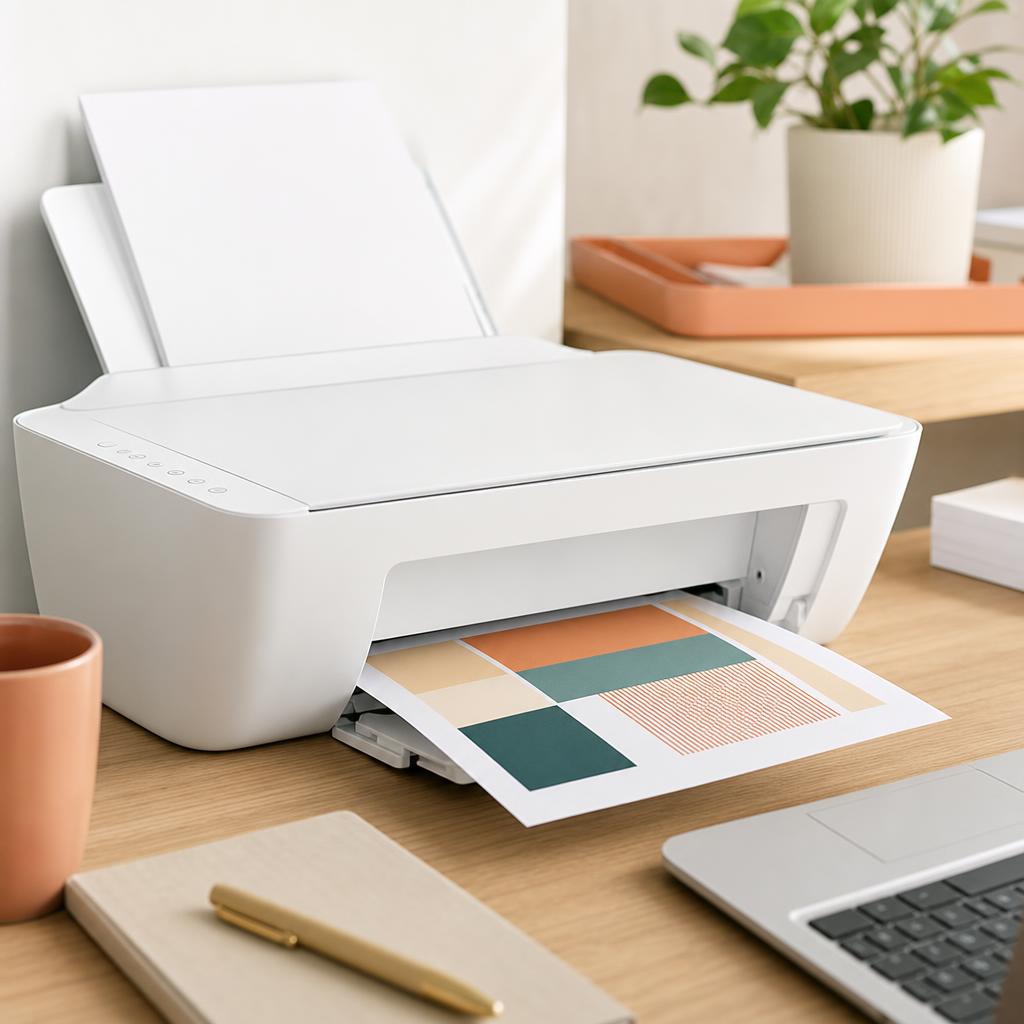
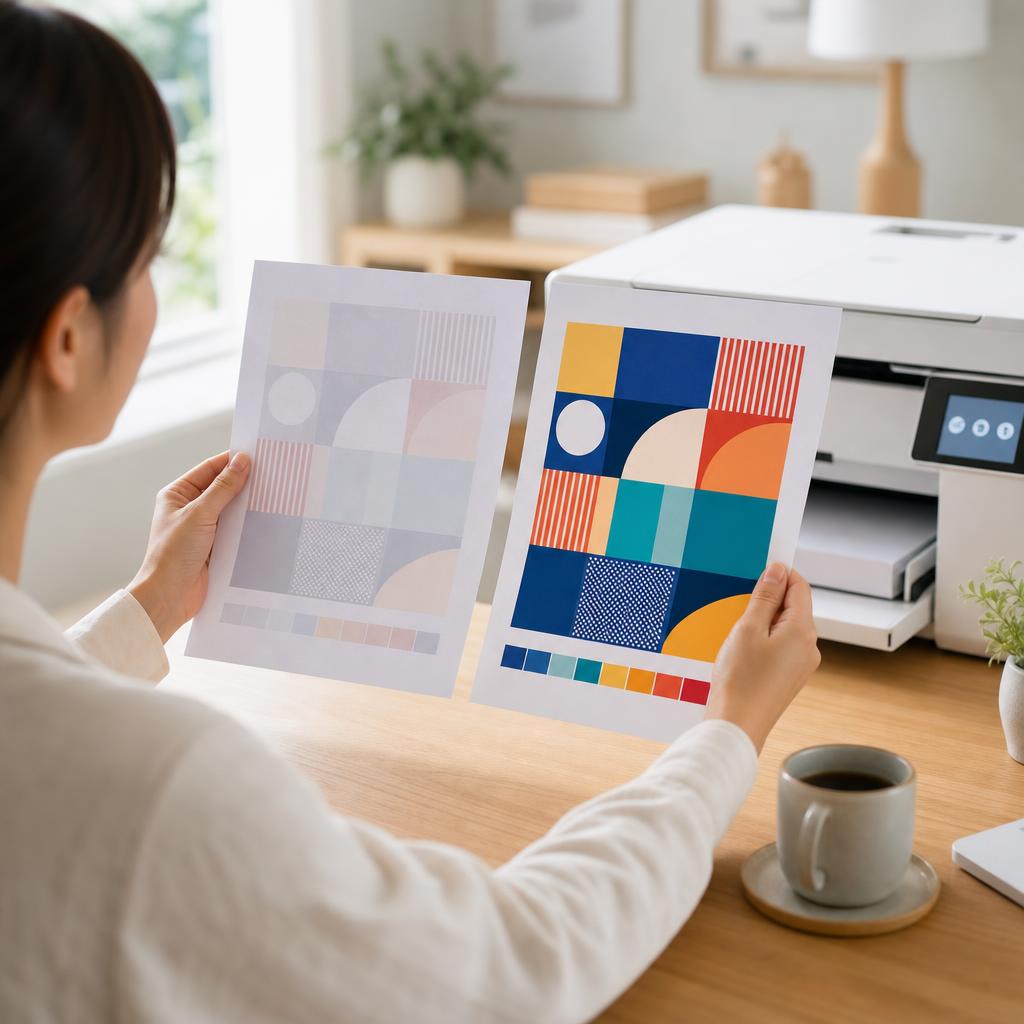
A crisp, smear-free test page confirms the drying, paper and cleaning steps have worked. Why this works: A test page confirms that drying time, paper choice and cleaning have worked together. It’s the simplest way to see the difference and know the printer is producing clean, smear-free pages again.
Expected result: A crisp, clean test page with sharp text, even colour and no smudges or marks.
Both the test page and a normal document print cleanly and stay clean when handled.
Tip
Printer Tip
Give inkjet prints a moment to dry before stacking or handling them, especially on glossy or photo paper.
Other solutions to try
If the steps above didn't do it, these fixes resolve the less common cases.
Inkjet printers
Inkjets use liquid ink, so smearing is almost always about drying time, paper and clean feed parts.
- Give each page time to dry, and allow extra time for glossy paper and heavy colour coverage.
- Match the driver’s paper-type setting to the paper you’ve actually loaded.
- Wipe dried ink from around the cartridges and clean the feed rollers, avoiding the contacts and nozzle plate.
- Run a single printhead cleaning cycle only if marks persist — never repeatedly.
Laser printers
Lasers use dry toner and a hot fuser, so care centres on cooling, dry cleaning and toner handling.
- Let the printer cool for 15–30 minutes before opening it, as the fuser gets very hot.
- Clean loose toner with a dry cloth or a toner-safe vacuum only — never water or a damp cloth.
- If toner rubs off easily even after cleaning, the fuser may be failing and needs a technician or a fuser kit.
- Replace a toner cartridge that sheds powder, and fit the maintenance kit at the recommended interval.
Windows fallback checks
When smears persist on Windows, confirm the settings and driver aren’t sending the wrong instructions.
- In Printing preferences, set the correct paper type and try a higher “best” quality mode.
- Turn off two-sided printing to test whether duplex drying is the cause.
- Reinstall the latest official driver for your exact model from the manufacturer’s website.
macOS fallback checks
On a Mac, the media type and quality live in the print dialog and are easy to overlook.
- In the print dialog, expand the options and set Media Type to match the loaded paper.
- Choose a higher print-quality setting and disable two-sided printing for a test.
- Remove and re-add the printer in System Settings → Printers & Scanners so macOS loads the correct driver.
Confirm it's working
Tick these off to be sure the problem is fully resolved.
Keep it from happening again
A few habits that stop this problem coming back.
- Give inkjet prints a moment to dry before stacking or handling them, especially on glossy or photo paper.
- Always match the driver’s paper-type setting to the paper you load.
- Store paper sealed and flat, away from heat and damp, so it stays dry and feeds cleanly.
- Clean the feed rollers and paper path occasionally to stop dust and stray ink building up.
- Use genuine or reputable cartridges, and replace any that show signs of leaking.
- For a laser printer, keep the toner area dry and let the machine cool before opening it.
Frequently asked questions
Was this guide helpful?
Your feedback helps us keep these steps accurate.
Thanks for your feedback!
Written by
The Guts Guide Editorial Team · Print Quality Specialists
Reviewed by
Daniel Owens · Print & Network Technician
Last updated
Jul 14, 2026
Continue Reading
Pick up where you left off with the next guide in your troubleshooting journey.
Related Guides
More troubleshooting walkthroughs you may find useful.
Buying Guides
Plain-English comparisons and pre-purchase checklists — find the right printer before you buy.


