
How to Clean and Maintain Your Printer (Complete Printer Maintenance Guide)
A little regular cleaning keeps a printer reliable, prints sharp, and paper feeding smoothly. This beginner-friendly guide walks you through safe, routine maintenance for both inkjet and laser printers — from wiping the outside and cleaning the rollers to printhead cleaning, toner care, and a simple upkeep schedule.
Applies to: Inkjet & laser printers, Multifunction (all-in-one) printers, Home & office printers, Windows & macOS
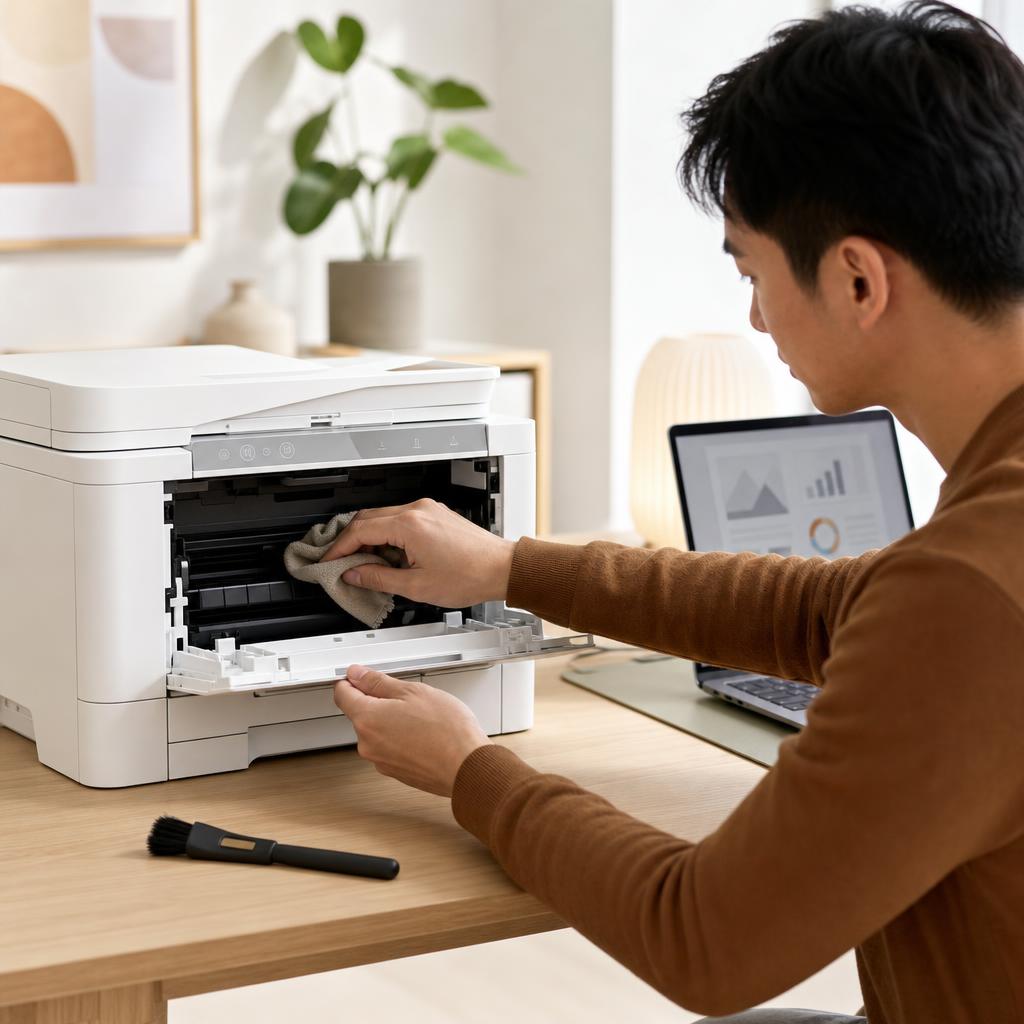
Quick summary
- The problem
- Over time, dust, dried ink, and worn rollers build up inside a printer, causing faded prints, streaks, repeat paper jams, odd noises, and slow, unreliable printing.
- The fix
- Give the printer regular care: wipe the exterior, clean the trays and pickup rollers, clean the scanner glass, run a printhead cleaning and alignment on inkjets, check the toner on lasers, keep the firmware current, and print a test page — then follow a simple weekly, monthly, and occasional schedule.
- Applies to
- Inkjet, laser, multifunction, home, and office printers.
On this page Show
Understanding the problem
A printer is a precise mechanical device, and like any machine it works best with a little regular care. Every page it prints pulls in dust, sheds tiny paper fibres, and leaves traces of ink or toner behind. None of that matters on day one, but over months it builds up on the rollers, sensors, and printhead — the very parts that need to stay clean to move paper and lay down a crisp image.
When maintenance is skipped, that build-up slowly turns into the problems people blame on a "bad printer". Dust and worn rollers cause misfeeds and repeat paper jams; a clogged printhead or dried ink causes faded prints, streaks, and missing colours; a dirty scanner glass marks every scan and copy. The printer also has to work harder, which means more noise, slower printing, and a shorter overall life.
The good news is that most of these problems are preventable with a few simple habits. Regular cleaning keeps paper feeding smoothly, ink and toner laying down evenly, and the moving parts running quietly. This guide covers safe, routine maintenance for both inkjet and laser printers, works from the easiest tasks up to the more involved ones, and finishes with a simple schedule so you know what to do and how often — no tools or technical know-how required.
Tip
Match the paper setting to the paper
Choosing the correct paper type in the print dialog changes how much ink is used and can noticeably improve print quality.
Signs you're in the right place
If you're seeing any of these, this guide is for you.
-
Faded or light prints
Pages come out pale or patchy even though there’s ink or toner left.
-
Streaks or lines
Regular streaks, bands, or lines appear across your printed pages.
-
Frequent paper jams
Paper misfeeds or jams far more often than it used to.
-
Unusual printer noises
Grinding, squeaking, or rattling sounds during printing.
-
Dust build-up
Visible dust on and around the printer, trays, and vents.
-
A dirty scanner glass
Marks, smudges, or lines show up on every scan and copy.
-
Slow printing
Pages take noticeably longer to print than they once did.
-
Colour inconsistencies
Colours look uneven, wrong, or vary from page to page.
What's usually behind it
The most common reasons this happens, so the fix makes sense.
Dust accumulation
Dust settles on rollers, sensors, and moving parts, causing misfeeds, noise, and quality problems.
A dirty or clogged printhead
On inkjets, dried ink blocks the tiny nozzles, leading to streaks, faded areas, and missing colours.
Dirty rollers
Paper-pickup rollers lose grip as they collect dust and paper residue, so pages misfeed or jam.
Worn consumables
Ageing cartridges, toner, drums, and rollers gradually degrade print quality and reliability.
Dried ink
A printer left unused for weeks can let ink dry in the printhead and around the cartridges.
Incorrect paper storage
Paper kept in damp or dusty conditions curls and absorbs moisture, causing jams and poor prints.
A lack of routine cleaning
Without occasional cleaning, small amounts of dust and residue add up into real problems.
Outdated firmware
Old firmware can leave bugs unfixed that affect print quality, feeding, and reliability.
Environmental conditions
Heat, humidity, and dusty rooms all shorten the life of a printer and its supplies.
What you'll need
Have these on hand before you start for a smooth fix.
-
A soft, lint-free or microfiber cloth
For wiping the exterior, glass, and interior surfaces without scratching.
-
Lightly dampened cloth and distilled water
Dampen the cloth itself — never spray liquid directly into the printer.
-
Cotton swabs and glass cleaner
Swabs for tight spots; spray glass cleaner onto the cloth, not the glass.
-
The printer turned off and unplugged
Power down and unplug before cleaning inside, for safety and to protect the electronics.
-
Paper removed from the trays
Take paper out so it doesn’t get dusty or damp while you work.
-
Time for a laser printer to cool
The fuser inside a laser printer gets hot — let it cool before reaching inside.
How to fix it
Work through these in order — they run from the quickest checks to the more advanced fixes.
-
Step 1: Turn off the printer and clean the exterior
Switch the printer off and unplug it from the wall before you start cleaning.
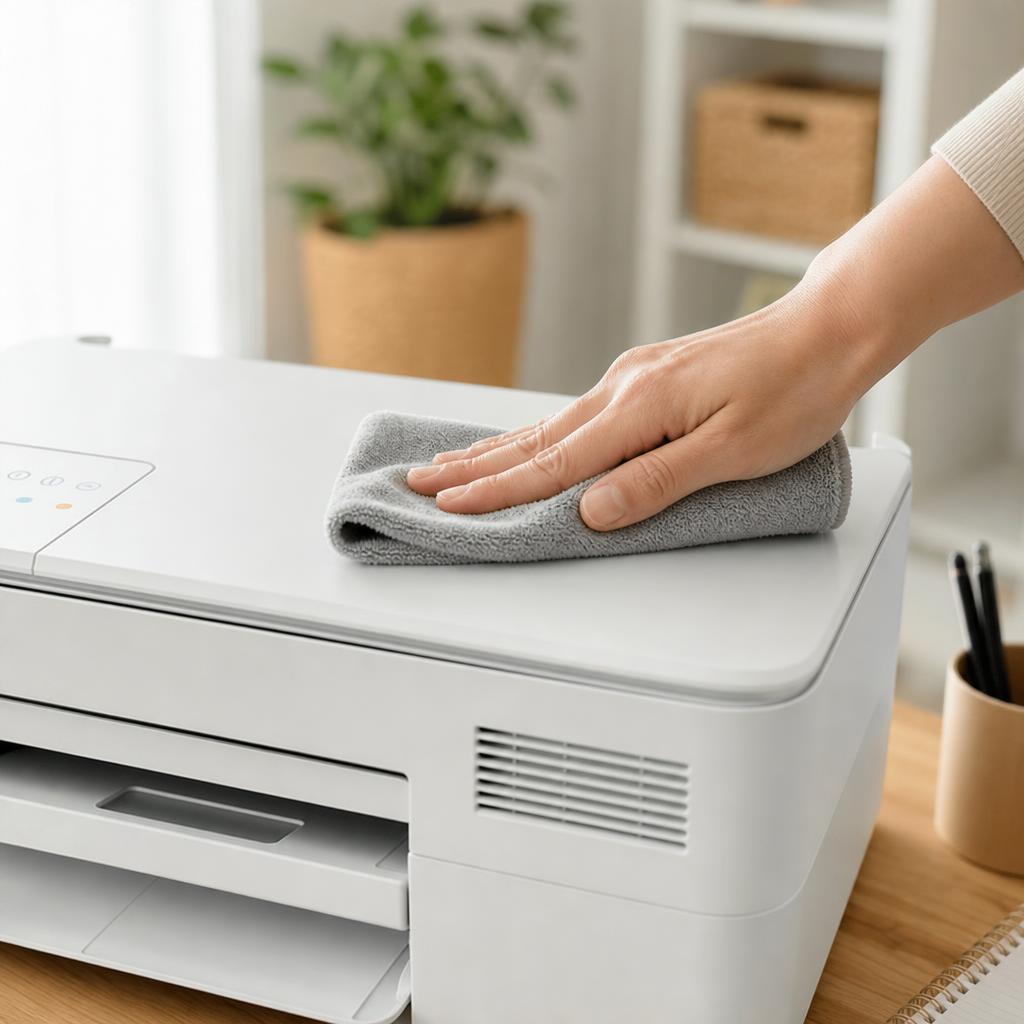
Wipe the outer casing, control panel, and vents with a soft, dry or very lightly dampened lint-free cloth.
Use a cotton swab to lift dust from seams and around buttons, and let any damp areas dry before plugging back in.
Why this works: Dust on the outside is drawn into the printer through its vents, where it settles on the moving parts. Keeping the outside clean is the simplest way to stop dust reaching the mechanism inside.
Expected result: The printer’s exterior is clean and free of dust, with clear vents.
Never spray cleaner directly onto the printer — always dampen the cloth instead, so no liquid gets into the electronics.
-
Step 2: Clean the paper trays and input area
Remove all paper from the trays and pull the trays out where possible.
Wipe away dust and paper debris inside the trays and the input slot with a dry cloth.
Reload a neat, aligned stack of fresh paper and set the guides snugly against its edges.
Why this works: Dust and stray bits of paper in the trays are a common cause of misfeeds. A clean tray and a tidy, well-aligned stack help the printer pick up one sheet at a time.
Expected result: Clean trays with fresh, correctly aligned paper and snug guides.
-
Step 3: Clean the pickup rollers
With the printer off, open the access door to reach the rubber paper-pickup rollers.
Gently wipe each roller with a lint-free cloth lightly dampened with distilled water, rotating the rollers by hand as you go.
Let the rollers dry completely before closing up and switching the printer back on.
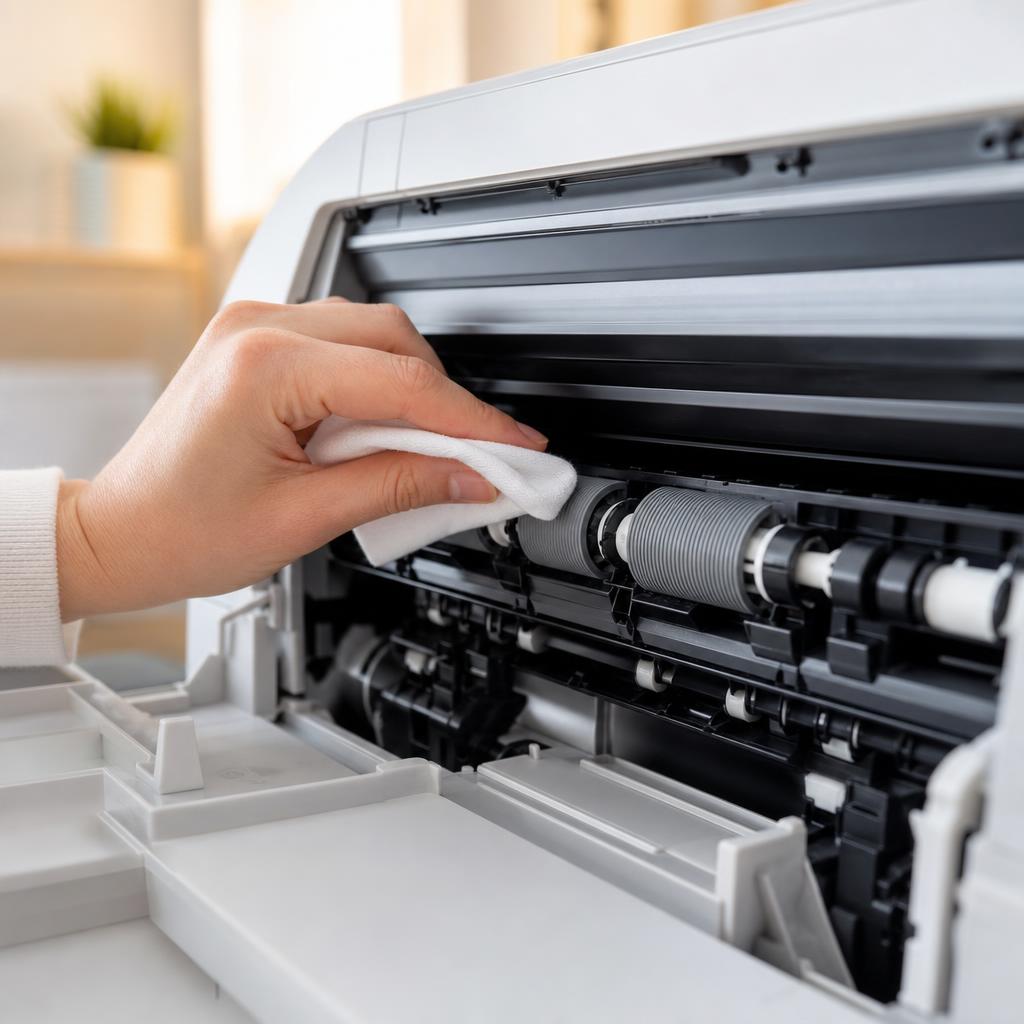
Why this works: Rollers grip and pull paper through the printer. As they collect dust and paper residue they lose grip, causing misfeeds and repeat jams. Cleaning restores that grip so paper feeds smoothly.
Expected result: Clean rollers that grip paper firmly, with fewer misfeeds.
Paper feeds in straight and one sheet at a time.
-
Step 4: Clean the scanner glass
On a multifunction printer, lift the lid and wipe the flatbed glass with a soft, lint-free cloth.
For smudges, spray a little glass cleaner onto the cloth — never directly onto the glass — and wipe evenly.
Wipe the underside of the lid too, then let the glass dry fully before closing it.
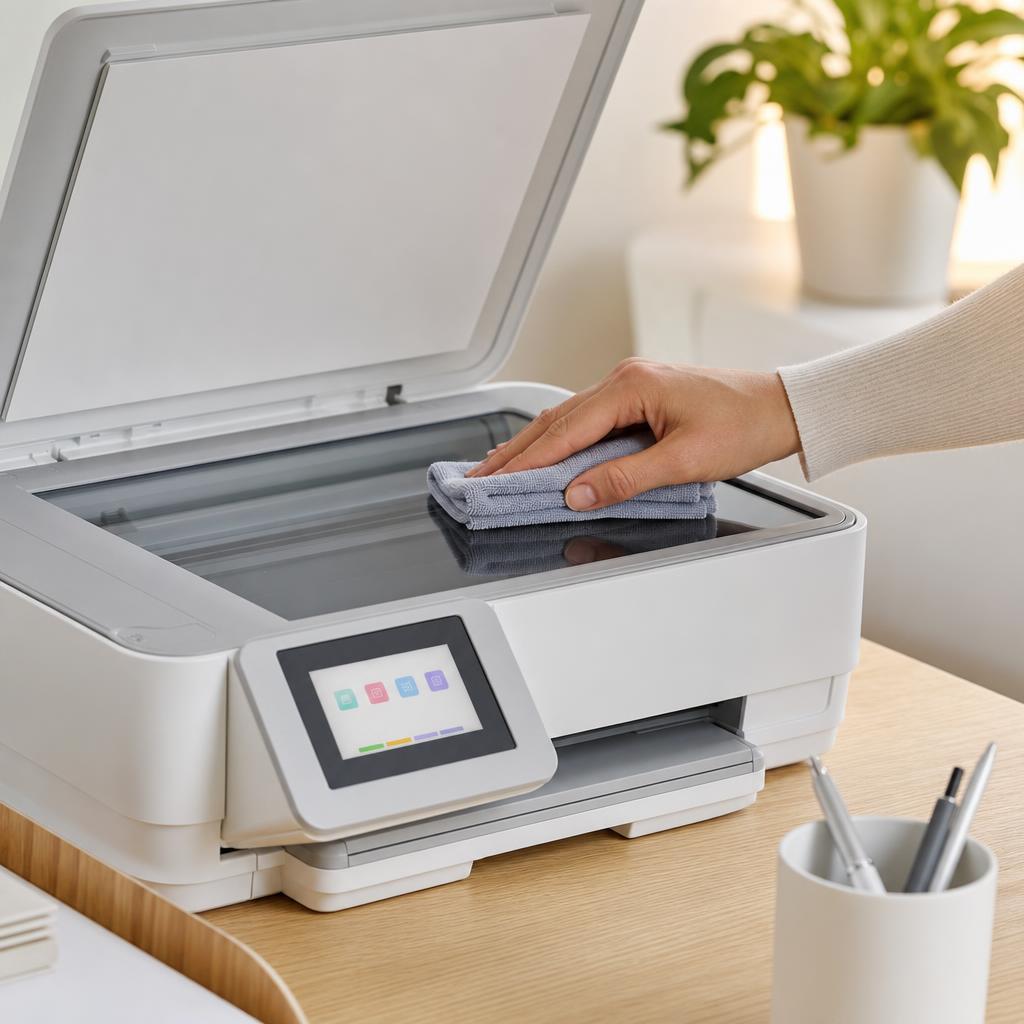
Why this works: The scanner reads whatever is on the glass, so dust and fingerprints show up as marks or lines on every scan and copy. A clean glass keeps scans and copies sharp.
Expected result: Clear, streak-free glass and clean scans and copies.
-
Step 5: Run the printhead cleaning cycle (inkjet)
On an inkjet printer, open the maintenance or tools menu from the printer’s control panel or its software on your computer.
Choose the printhead cleaning (or nozzle clean) option and let the cycle run to completion.
Print a nozzle check afterwards; if gaps remain, run one more cleaning cycle, then rest the printer for a few hours.
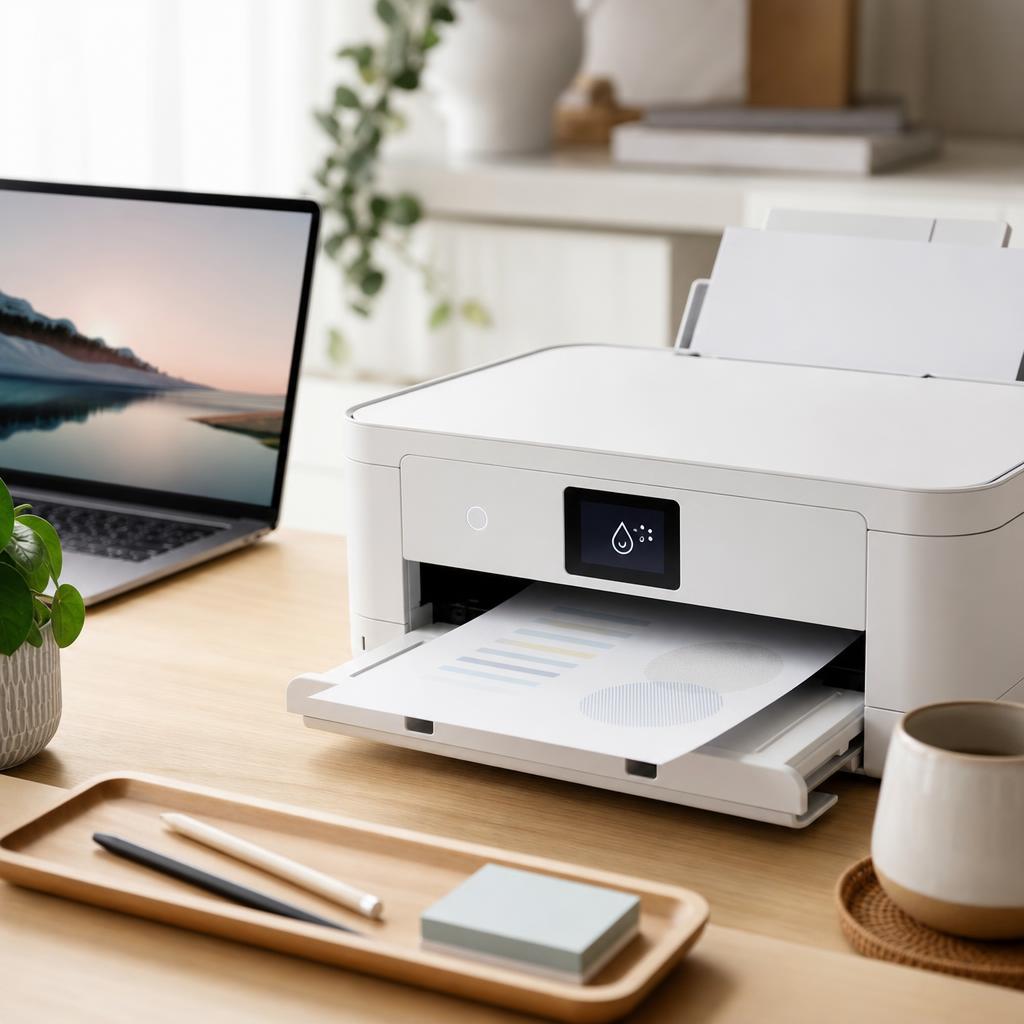
Why this works: Inkjet nozzles are tiny and clog when ink dries in them, causing streaks, faded areas, and missing colours. The built-in cleaning cycle flushes the nozzles clear so ink flows evenly again.
Expected result: A clean nozzle-check pattern with no gaps, and even prints.
Cleaning cycles use ink, so run them only when quality drops — not as a routine. Don’t run more than two or three in a row; let the printer rest instead.
-
Step 6: Align the printhead (inkjet)
From the same maintenance menu, choose the printhead alignment option.
Let the printer print an alignment sheet, then follow the on-screen prompts to confirm the sharpest pattern.
Print a test page to check that lines are crisp and text is sharp.
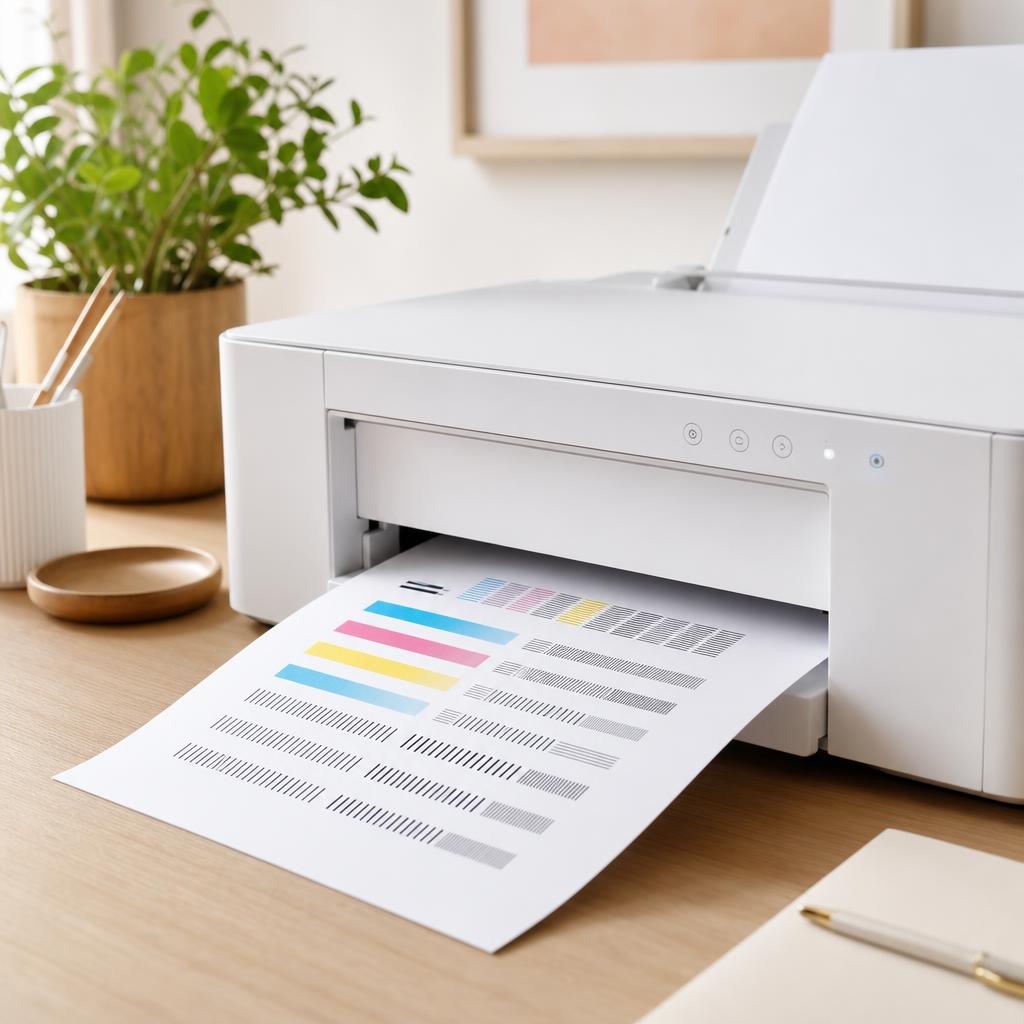
Why this works: Alignment makes sure the printhead lays ink down in exactly the right place. Without it, text can look fuzzy and colours can appear slightly offset, even when the nozzles are clean.
Expected result: Sharp text and clean, correctly aligned lines and colours.
-
Step 7: Clean around the ink cartridges (inkjet)
Open the cartridge access door and let the carriage move to the centre, then switch the printer off if the cartridges stay accessible.
Gently wipe away any dried ink around the cartridge seats and carriage with a lint-free cloth — avoid touching the gold contacts or nozzles.
Reseat each cartridge until it clicks, close the door, and run a quick test print.
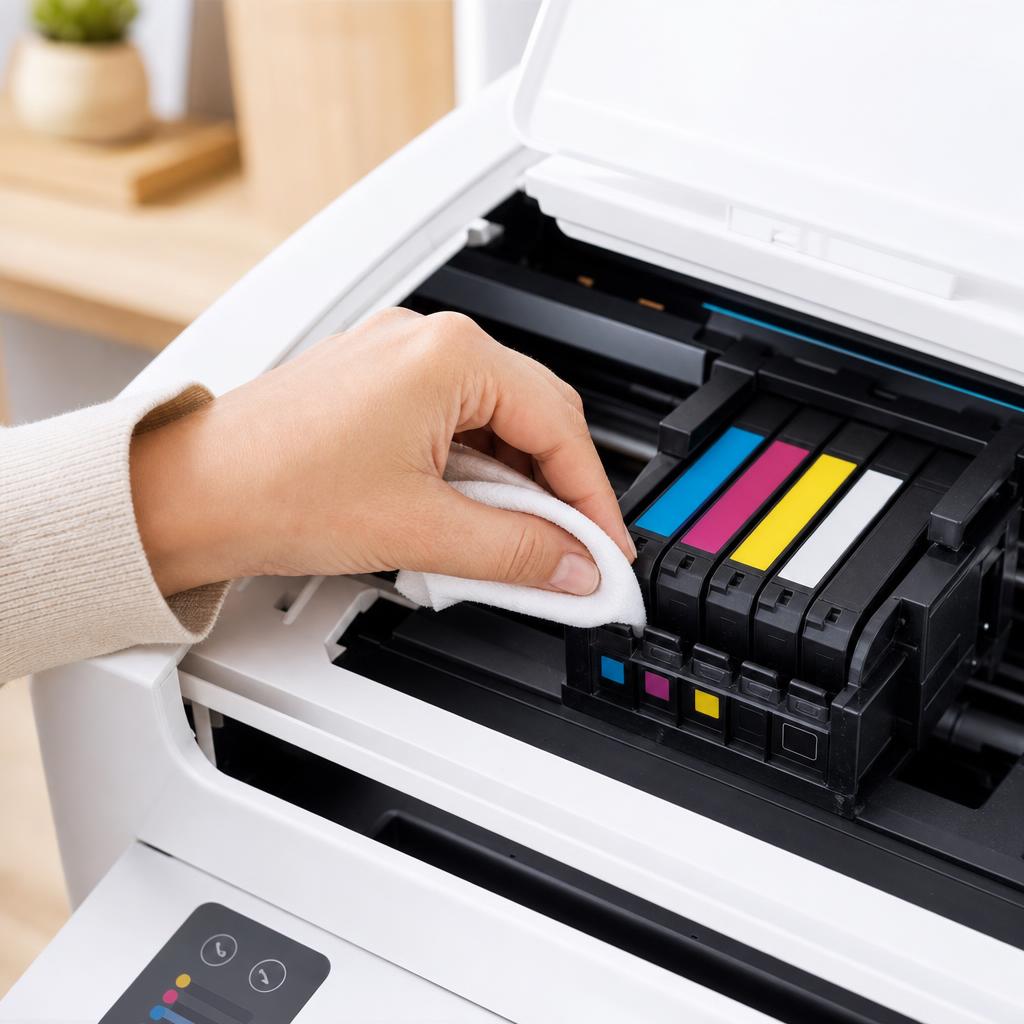
Why this works: Dried ink and debris around the cartridges can stop them seating properly or making a good electrical contact, which shows up as missing colours or "cartridge" errors. A gentle clean restores a reliable connection.
Expected result: Cartridges seat cleanly and all colours print correctly.
Never touch the copper or gold contacts or the nozzle plate with your fingers — skin oils can cause connection and quality problems.
-
Step 8: Check and maintain the toner cartridges (laser)
On a laser printer, let it cool, then open the front and carefully remove the toner cartridge.
If prints look faded or streaky, gently rock the cartridge side to side a few times to redistribute the toner, then reinsert it.
Wipe loose toner dust from the cartridge area with a dry cloth only — never use water or a damp cloth on toner.
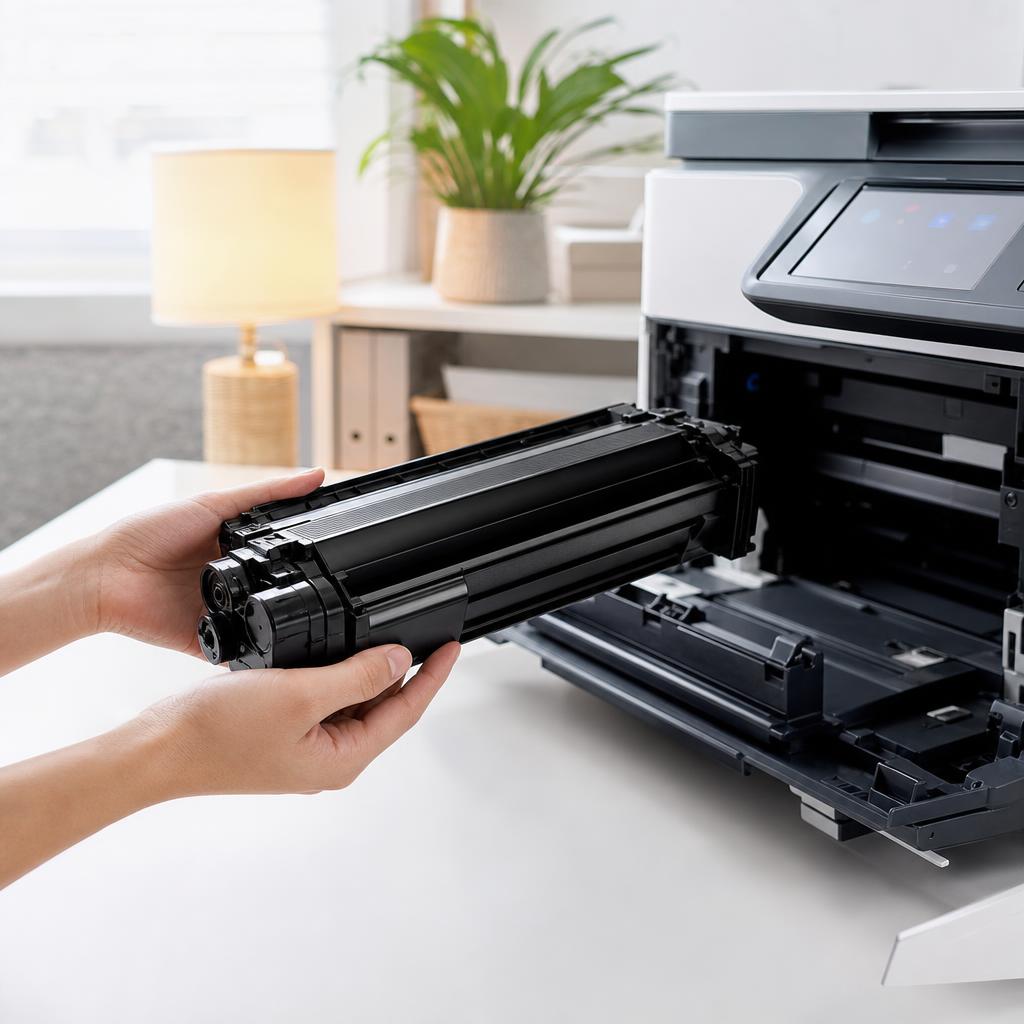
Why this works: Laser printers use toner powder rather than liquid ink. Rocking the cartridge spreads the remaining toner evenly for smoother prints, and keeping the area free of loose toner prevents smudges and marks.
Expected result: Even, consistent prints with no toner streaks or smudges.
Toner is a fine powder — keep it dry, and if any spills, wipe it with a dry cloth or vacuum designed for toner, never a damp cloth.
-
Step 9: Check user-accessible waste and maintenance areas
Check your printer’s control panel or software for any maintenance-box, waste-ink, or maintenance-kit warnings.
If your model has a user-replaceable maintenance box or waste-ink pad, replace it with the correct part when it’s full.
Only open panels the manual says are user-serviceable — leave sealed internal areas to a technician.
Why this works: Many printers collect waste ink or toner in a small box or pad that fills over time. Replacing it when prompted prevents leaks and stops the printer refusing to work once it’s full.
Expected result: No outstanding waste or maintenance warnings on the printer.
Not every printer has a user-accessible waste area — if yours doesn’t, skip this step rather than forcing anything open.
-
Step 10: Store paper correctly
Keep paper sealed in its wrapper or in a closed drawer, away from dust, heat, and damp.
Store the ream flat rather than standing on edge, so sheets stay smooth and don’t curl.
Only load as much paper as you’ll use soon, and keep the rest sealed until you need it.
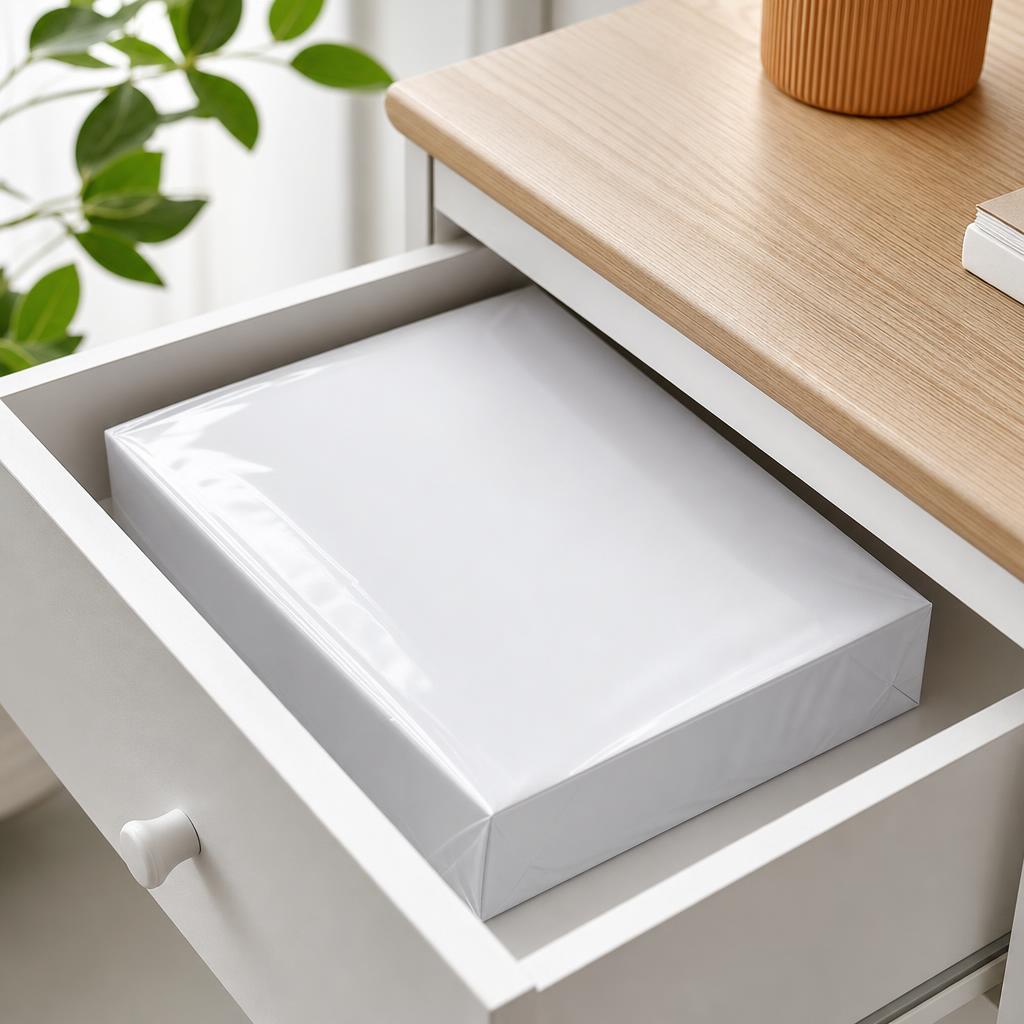
Why this works: Paper readily absorbs moisture and dust. Damp or curled sheets are a leading cause of jams and poor prints, so storing paper well prevents problems before they reach the printer.
Expected result: Flat, dry, dust-free paper that feeds cleanly.
-
Step 11: Update the printer firmware
Check the manufacturer’s support page or the printer’s app for a firmware update for your exact model.
Install it with the printer powered on and connected, and don’t interrupt the update while it runs.
Let the printer restart on its own once the update finishes.
Why this works: Firmware is the software built into the printer. Keeping it current fixes bugs that can affect print quality, paper feeding, and connectivity, and often improves reliability.
Expected result: The printer runs the latest firmware and operates more reliably.
Only install firmware from the manufacturer’s official source, and never switch the printer off mid-update.
-
Step 12: Print a maintenance test page
From the printer’s settings or maintenance menu, print a test or diagnostic page.
Check that colours are even, lines are sharp, text is crisp, and there are no streaks or gaps.
Print a normal document too, to confirm everyday printing looks clean and feeds smoothly.
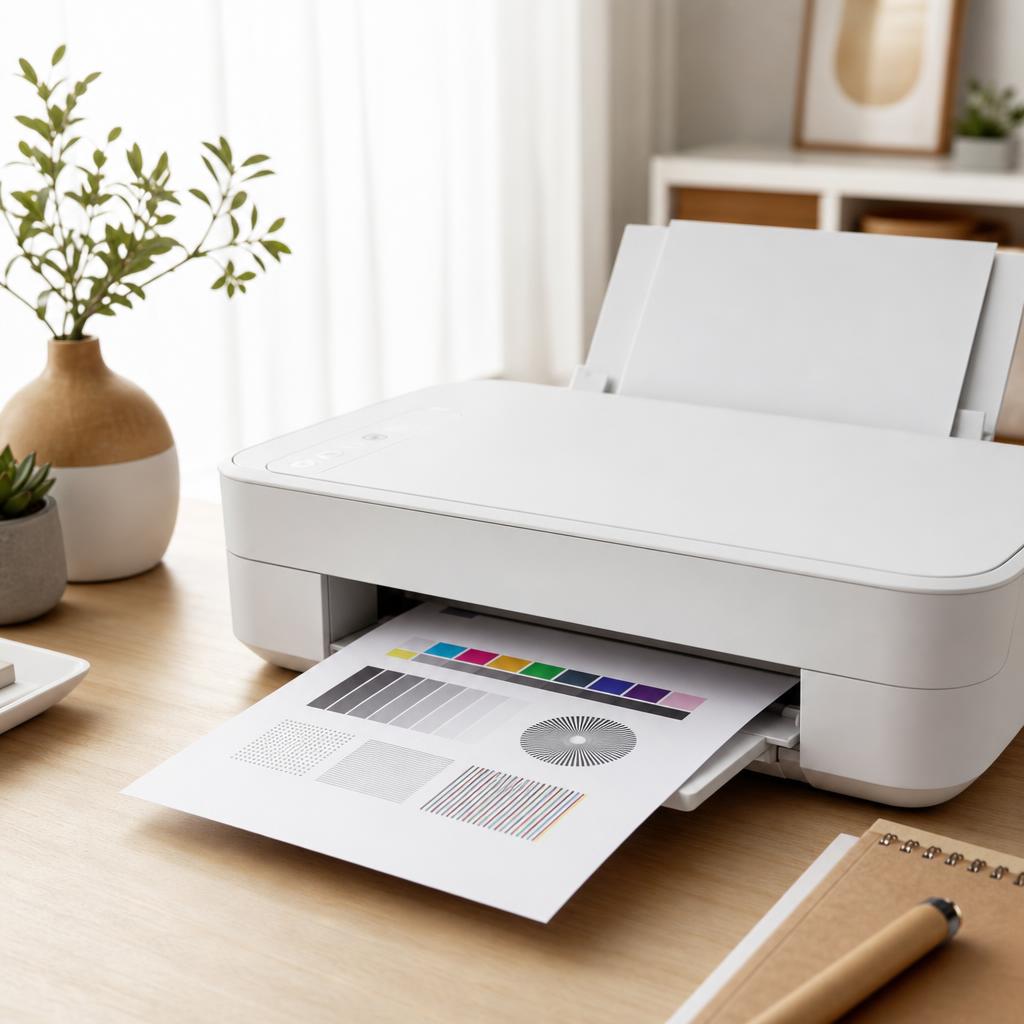
A clean test page with even colour and sharp patterns confirms your maintenance worked. Why this works: A test page confirms all your maintenance worked together — clean nozzles, correct alignment, and smooth feeding. It’s the simplest way to see the difference and know the printer is running well.
Expected result: A clean, sharp test page with even colour and no streaks or gaps.
The test page and a normal document both print cleanly and feed without jams.
Tip
Printer Tip
Weekly: print a page or two on an inkjet to keep the nozzles from drying out, and give the exterior a quick dust.
Other solutions to try
If the steps above didn't do it, these fixes resolve the less common cases.
Inkjet printers
Inkjets use liquid ink through a fine printhead, so cleaning focuses on keeping ink flowing.
- Run a printhead cleaning cycle only when quality drops, then a nozzle check to confirm the result.
- Align the printhead after cleaning or after fitting a new cartridge for sharp text and colour.
- Print at least a page every week or two so ink doesn’t dry in the nozzles.
- Gently wipe dried ink from around the cartridges, avoiding the contacts and nozzle plate.
Laser printers
Lasers use dry toner powder and a hot fuser, so care centres on toner and dust — and staying dry.
- Let the printer cool before opening it, as the fuser inside gets hot.
- Rock the toner cartridge gently to redistribute toner when prints fade.
- Clean loose toner and dust with a dry cloth only — never water — and use a toner-safe vacuum for spills.
- Replace the drum or maintenance kit at the intervals your model recommends.
Multifunction printers
All-in-ones print, scan, and copy, so they need scanner care on top of the usual printer maintenance.
- Clean the scanner glass and the underside of the lid regularly for clear scans and copies.
- If your model has an automatic document feeder, wipe its feed rollers and glass strip too.
- Keep the firmware current, since it affects printing, scanning, and connectivity together.
Home printers
Home printers often sit unused for stretches, so the goal is preventing dried ink and dust.
- Print a colour page every week or two to keep inkjet nozzles from drying out.
- Keep the printer covered or in a low-dust spot, away from windows and damp.
- Do a quick exterior wipe and glass clean monthly — light, regular care is enough.
Office printers
Office machines print in high volume, so wear and dust build up faster and need more frequent care.
- Clean the rollers and paper path more often, as heavy use collects dust and paper residue quickly.
- Track consumables — toner, drums, and maintenance kits — and replace them before quality drops.
- Schedule regular maintenance so upkeep doesn’t get forgotten during busy periods.
Confirm it's working
Tick these off to be sure the problem is fully resolved.
Keep it from happening again
A few habits that stop this problem coming back.
- Weekly: print a page or two on an inkjet to keep the nozzles from drying out, and give the exterior a quick dust.
- Monthly: wipe the exterior and vents, clean the scanner glass, and tidy the paper trays.
- Every few months: clean the pickup rollers, run an inkjet nozzle check, and check toner or ink levels.
- As needed: run a printhead cleaning when quality drops, and replace worn cartridges, drums, or maintenance kits.
- Keep paper sealed, flat, and stored away from dust, heat, and damp.
- Install firmware updates when they’re available to keep the printer running reliably.
Frequently asked questions
Was this guide helpful?
Your feedback helps us keep these steps accurate.
Thanks for your feedback!
Written by
The Guts Guide Editorial Team · Printer Maintenance & Hardware Specialists
Reviewed by
Daniel Owens · Print & Network Technician
Last updated
July 2026
Continue Reading
Pick up where you left off with the next guide in your troubleshooting journey.
Related Guides
More troubleshooting walkthroughs you may find useful.
Buying Guides
Plain-English comparisons and pre-purchase checklists — find the right printer before you buy.


