
How to Fix a Printer Printing Blank Pages
Your printer feeds the paper, hums through the motions, and hands you a completely blank sheet. This guide walks you from the quickest checks — ink levels and protective tape — through nozzle cleaning, driver settings, and laser toner faults, so pages come out with ink on them again.
Applies to: Inkjet & laser printers, All-in-one & multifunction printers, Windows & macOS, Home & small-office printers, HP, Canon, Epson, Brother & more

Quick summary
- The problem
- The printer goes through the full print motion but every page comes out completely blank — no text, no images, nothing.
- The fix
- Check ink or toner levels, remove any protective tape from new cartridges, run a nozzle check and printhead clean on inkjets, and confirm the paper size and driver settings match the document.
- Applies to
- Inkjet and laser printers on Windows and macOS, including all-in-one models. Works whether the blank pages started suddenly or after new cartridges.
On this page Show
Understanding the problem
Every printer works by placing something onto paper as it feeds through — an inkjet sprays microscopic droplets of liquid ink through a printhead, while a laser printer fuses fine toner powder onto the page with heat. When a printer feeds a sheet, whirs and clicks exactly as it should, and then delivers a spotless white page, it means the paper handling is fine but nothing is reaching the paper. That is actually good news: the mechanical side is healthy, so the fault is almost always something small and fixable in the ink, the cartridge, or the settings.
Blank pages happen for a handful of common reasons. On inkjets, the ink may have dried in the nozzles after the printer sat unused, or a brand-new cartridge may still have its protective tape and orange clip fitted, sealing the ink inside. On lasers, the toner may be empty or a light-sensitive drum may need attention. Just as often the printer is working perfectly and the blank page came from the document or app itself — a stray empty page at the end of a file — or from a mismatch between the paper size the printer expects and what is actually loaded. Wrong or corrupted drivers can also send the printer a page with no content on it.
The reassuring part is that you very rarely need a repair for this. In this guide we start with the fastest, no-tools checks — supply levels and cartridge tape — then move through nozzle checks and printhead cleaning for inkjets, paper size and driver settings that catch out both platforms, and finally the toner and drum checks that matter on laser printers. Follow the steps in order and stop as soon as your pages come out with ink on them; most people are printing normally again well within half an hour.
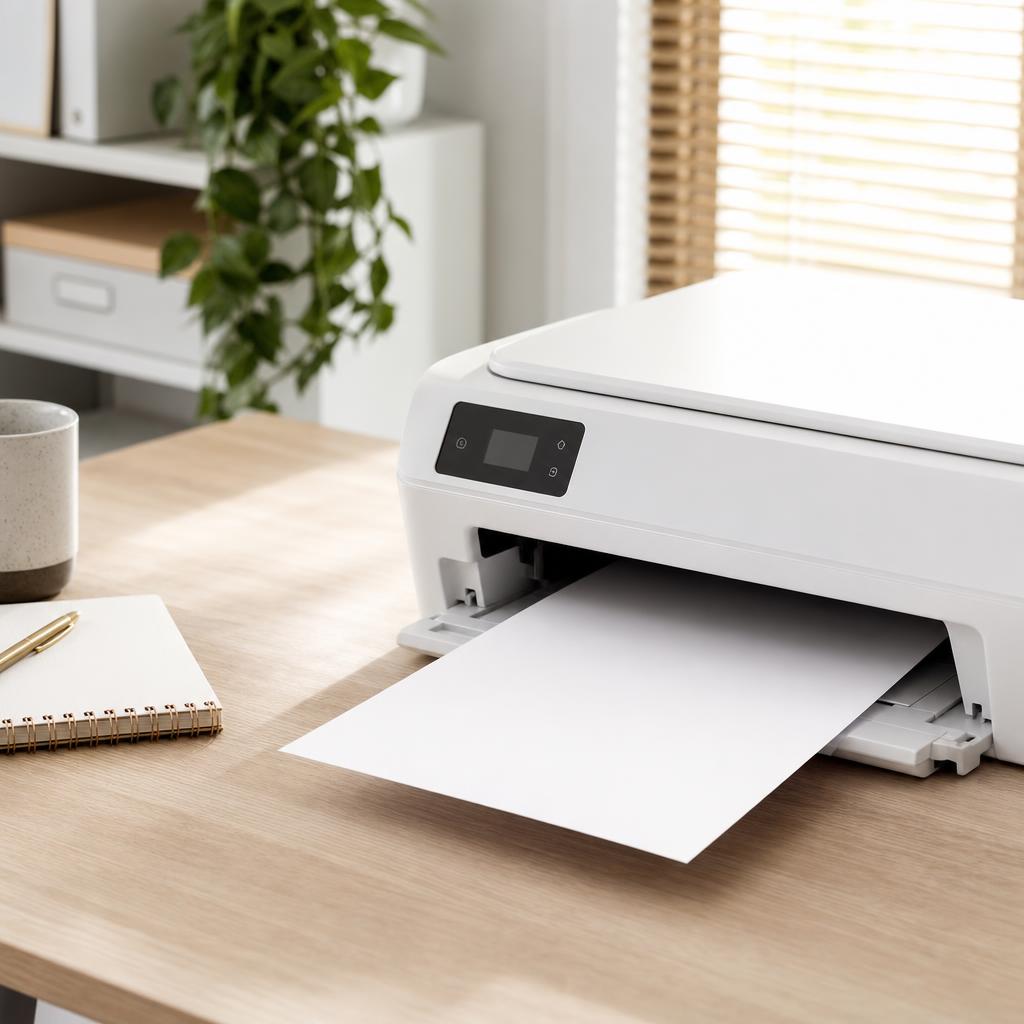
Did you know?
Laser printers use no liquid ink
Laser printers fuse a fine plastic powder called toner onto the page with heat, which is why prints come out dry and smudge-resistant.
Signs you're in the right place
If you're seeing any of these, this guide is for you.
-
Completely blank pages
Sheets come out with no text or images at all, even though the file clearly has content on screen.
-
The printer goes through the motions
It feeds paper, hums, and ejects the sheet as normal — it simply doesn’t put any ink or toner down.
-
Started after fitting new cartridges
Pages went blank right after installing new ink or toner, a classic sign of protective tape left in place.
-
Faint or partial content then nothing
Prints faded over a few pages and then dropped to fully blank, hinting at empty supplies or dried nozzles.
-
Only certain colours are missing
Black prints but colour doesn’t (or the reverse), suggesting a clogged or empty cartridge rather than a total failure.
-
A blank page between good ones
Most pages print fine but the odd blank sheet slips out, often an empty page carried inside the document itself.
-
Blank pages on every application
The problem shows up in every program and even from the printer’s own menu, pointing at the printer or driver, not one file.
-
Nozzle check prints blank or broken
An inkjet test pattern comes out empty or full of gaps, confirming the printhead nozzles are clogged or starved of ink.
What's usually behind it
The most common reasons this happens, so the fix makes sense.
Empty or nearly empty ink or toner
The most common cause — supplies have run out, so there’s simply nothing left to place on the page.
Protective tape left on a new cartridge
New ink and toner cartridges ship with tape, film, or an orange clip that must be removed, or the ink stays sealed inside.
Clogged or dried printhead nozzles
On inkjets left unused, ink dries in the tiny nozzles and blocks the flow, so pages come out blank or streaky.
An air-locked or unprimed cartridge
A fresh cartridge or a refilled tank can trap air, stopping ink reaching the printhead until it is primed.
Wrong paper size or type in settings
If the driver expects a size the printer isn’t loaded with, it may feed and eject a page without printing on it.
A corrupted or wrong printer driver
A damaged, mismatched, or outdated driver can send the printer a page with no printable content.
Blank pages inside the document
An extra empty page at the end of a file, or a stray page break, prints as a genuine blank sheet.
Laser toner or drum problems
Empty toner, a cartridge with its seal intact, or a failing imaging drum leaves nothing fused to the paper.
Dirty or unseated cartridge contacts
If the metal contacts are dirty or the cartridge isn’t clicked fully home, the printer can’t sense or use it.
Print-in-greyscale or draft settings gone wrong
Occasionally a colour-only document set to a disabled ink channel, or a misfired setting, produces empty output.
What you'll need
Have these on hand before you start for a smooth fix.
-
A few sheets of plain A4 or Letter paper
For test prints — use fresh, flat paper of the size your printer is set to.
-
Your ink or toner cartridges
Have spares to hand if levels are low, and keep new ones sealed until you fit them.
-
A soft, lint-free cloth
For gently wiping cartridge contacts and around the printhead if needed — dry, not wet.
-
Access to the printer’s control panel or app
You’ll check supply levels and run cleaning cycles from here or from the desktop software.
-
The printer powered on and connected
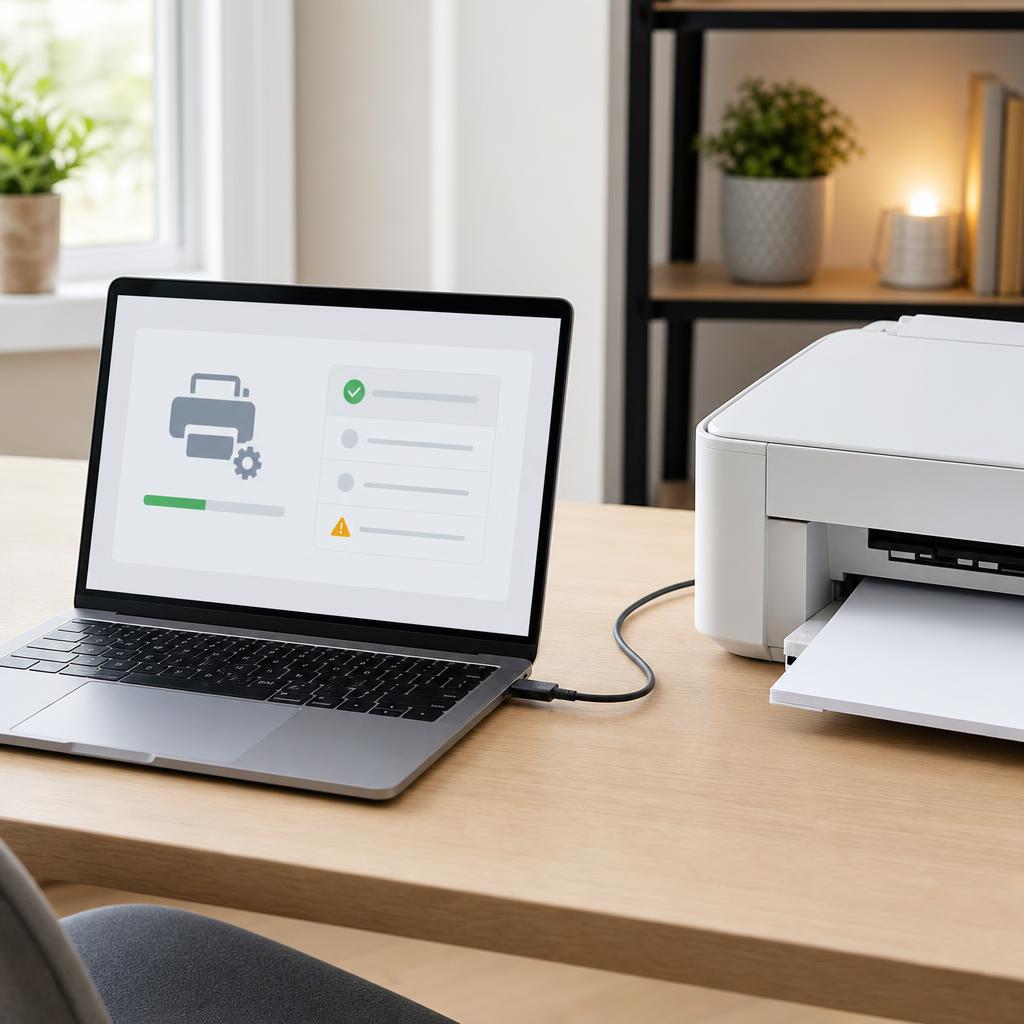
Left on and linked to your computer by USB or Wi-Fi so you can send test pages.
-
A little patience for inkjet cleaning
Cleaning cycles take a few minutes and use some ink, so allow time and don’t rush repeats.
How to fix it
Work through these in order — they run from the quickest checks to the more advanced fixes.
-
Step 1: Check the ink or toner levels
Open your printer’s control-panel menu or its desktop app and look at the estimated ink or toner levels.
On Windows, open Settings → Bluetooth & devices → Printers & scanners, select your printer, then open its app or preferences to see levels; on macOS, open the manufacturer’s utility (such as HP Utility or Canon’s tool) from Applications.
Replace any cartridge that shows empty or nearly empty with a genuine or reputable replacement.
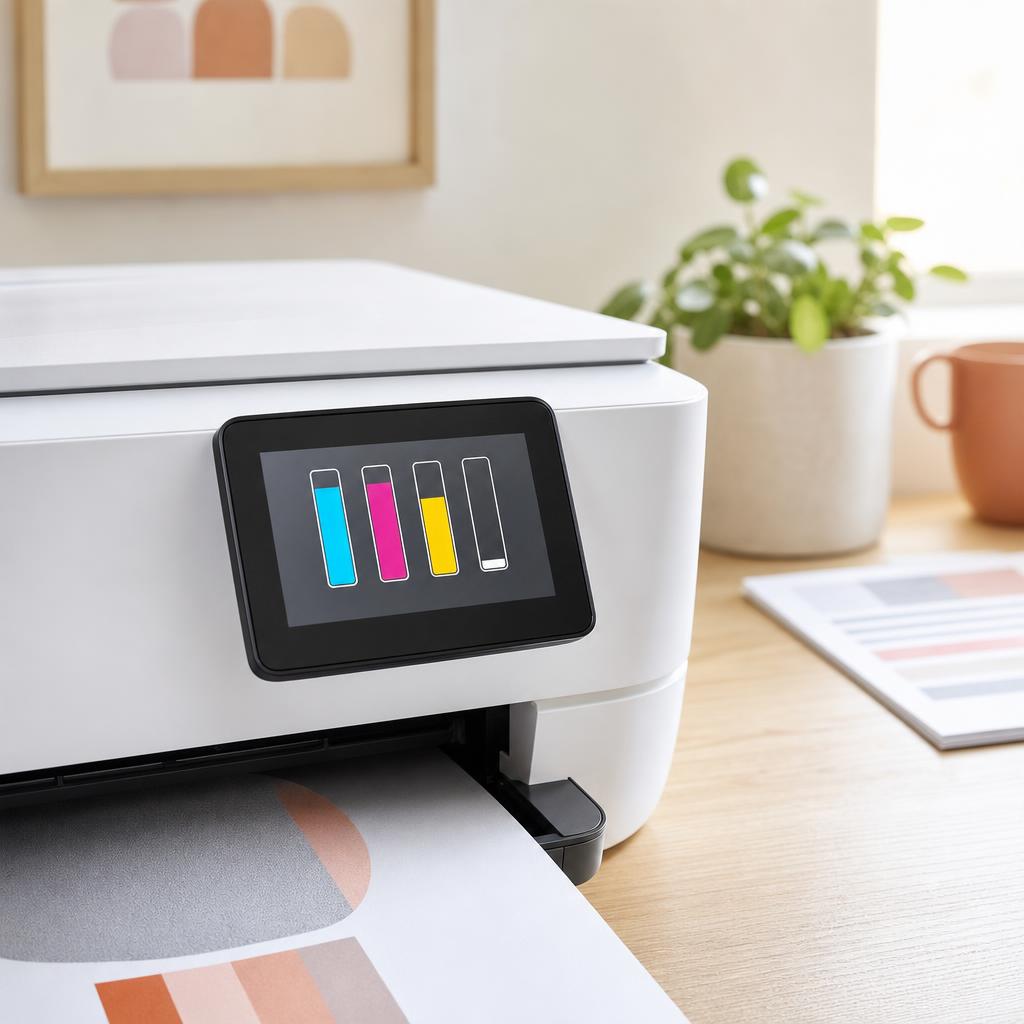
Why this works: A blank page with no warning is very often simply an empty cartridge, and levels are the fastest thing to rule out. Checking first means you don’t spend time cleaning nozzles that have no ink to work with.
Expected result: You can see whether a cartridge is empty, and you’ve replaced any that have run out.
Level readings are estimates and can lag behind reality, so treat a “low” reading as a strong hint rather than an exact figure.
-
Step 2: Remove protective tape from new cartridges
If the blank pages started right after fitting new ink or toner, take each new cartridge back out.
Peel away every strip of plastic tape, protective film, and any orange plug or clip — check the underside where the ink or toner comes out and the metal contacts.
Reseat each cartridge firmly until it clicks into place, then close the cover and try a print.
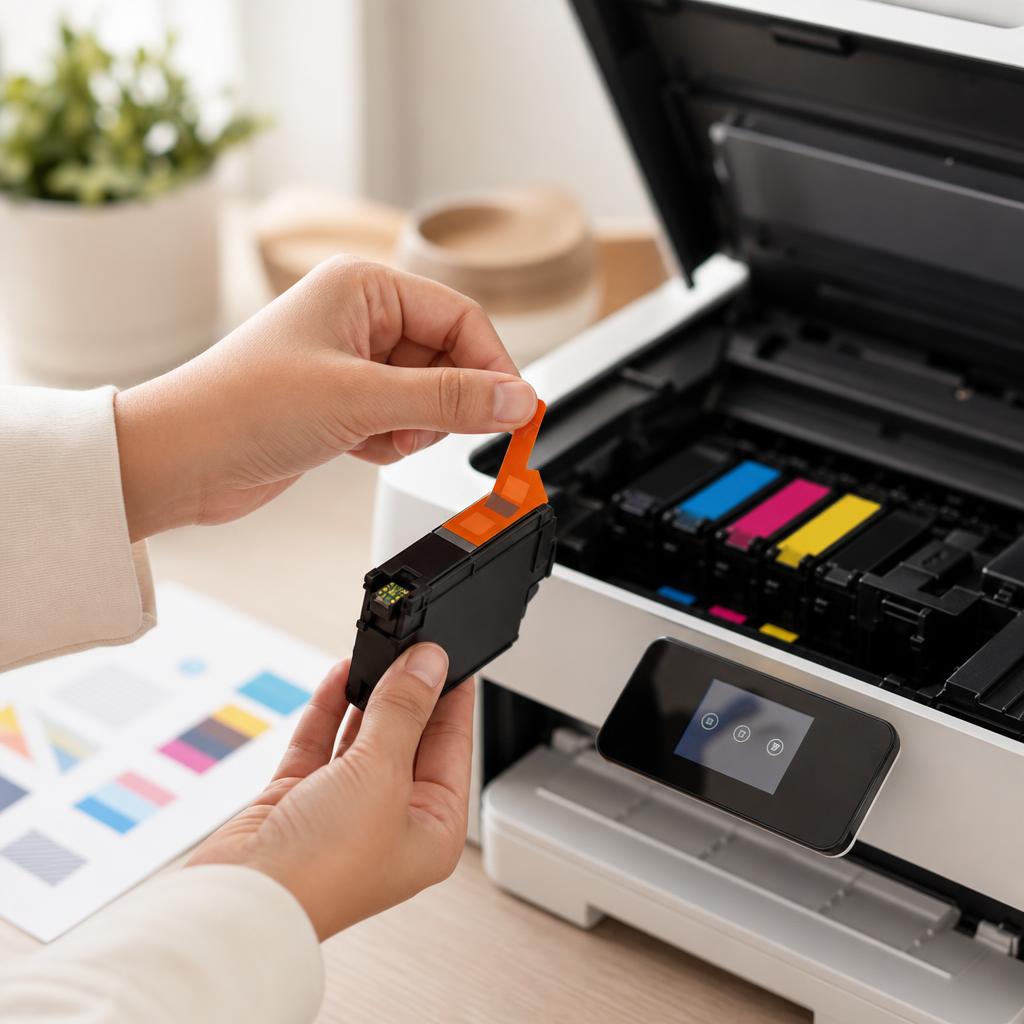
Why this works: Cartridges are sealed for shipping so they don’t leak or dry out, and it’s easy to miss a strip of tape over the outlet or contacts. With the seal still on, ink or toner can’t reach the paper no matter how well everything else works.
Expected result: All tape and clips are removed, cartridges click home, and prints begin to show ink.
The first page after reseating shows content instead of coming out blank.
-
Step 3: Restart the printer and try a single test page
Turn the printer off using its power button, wait about 30 seconds, then switch it back on.
From the printer’s own menu, print a built-in test or configuration page so the result doesn’t depend on your computer or a document.
Check whether that page has any content on it before moving on.
Why this works: A restart clears temporary glitches and lets the printer re-prime its ink system. Printing the printer’s own test page separates a printer or cartridge fault from a computer, driver, or document problem.
Expected result: The self-test page prints with visible content, or stays blank to tell you the fault is inside the printer.
If the printer’s own test page prints fine but your documents don’t, the cause is on the computer side — jump ahead to the driver and settings steps.
-
Step 4: Print a nozzle check (inkjet)
On an inkjet, open the maintenance or tools menu from the control panel or the desktop software.
Choose “Nozzle Check” (sometimes called “Print Quality Check”) and let the printer print the test pattern.
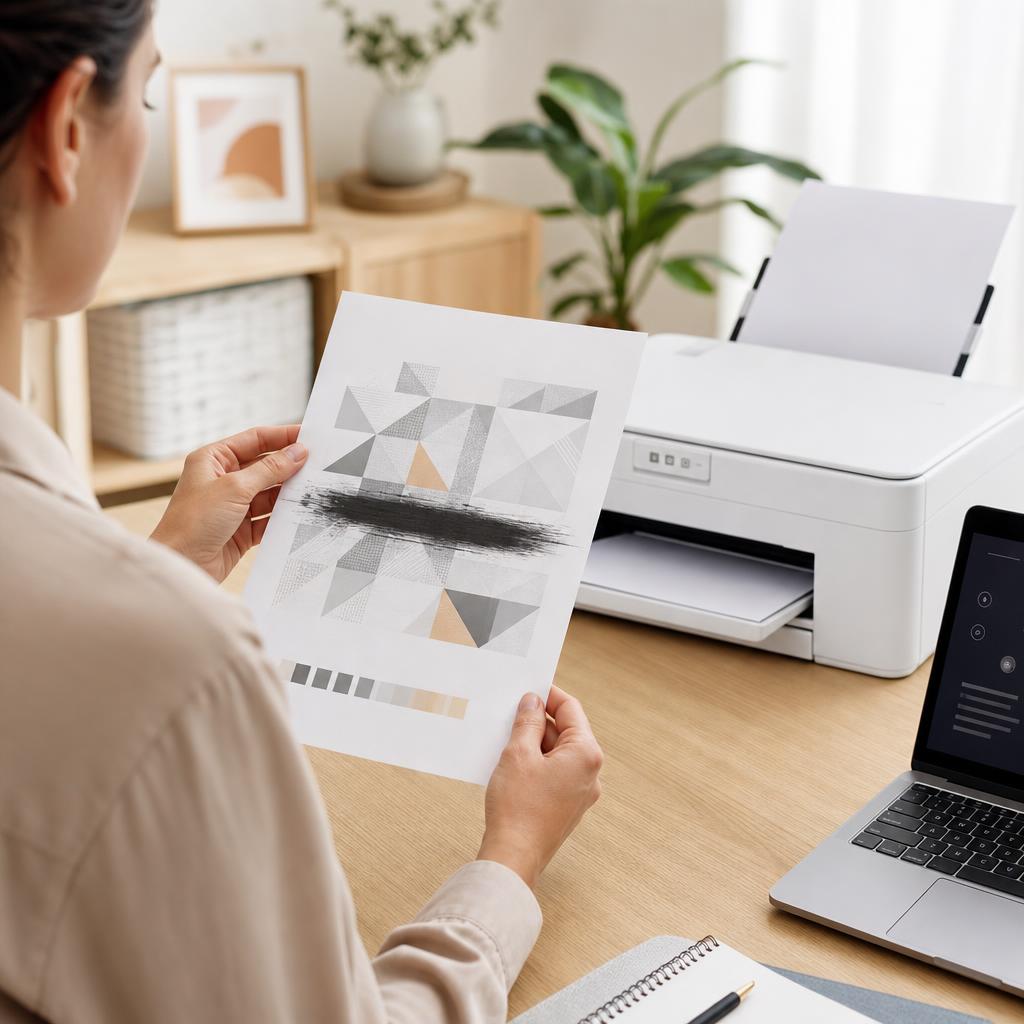
Compare the printed grid against the on-screen example — look for missing blocks, broken lines, or an entirely blank pattern.
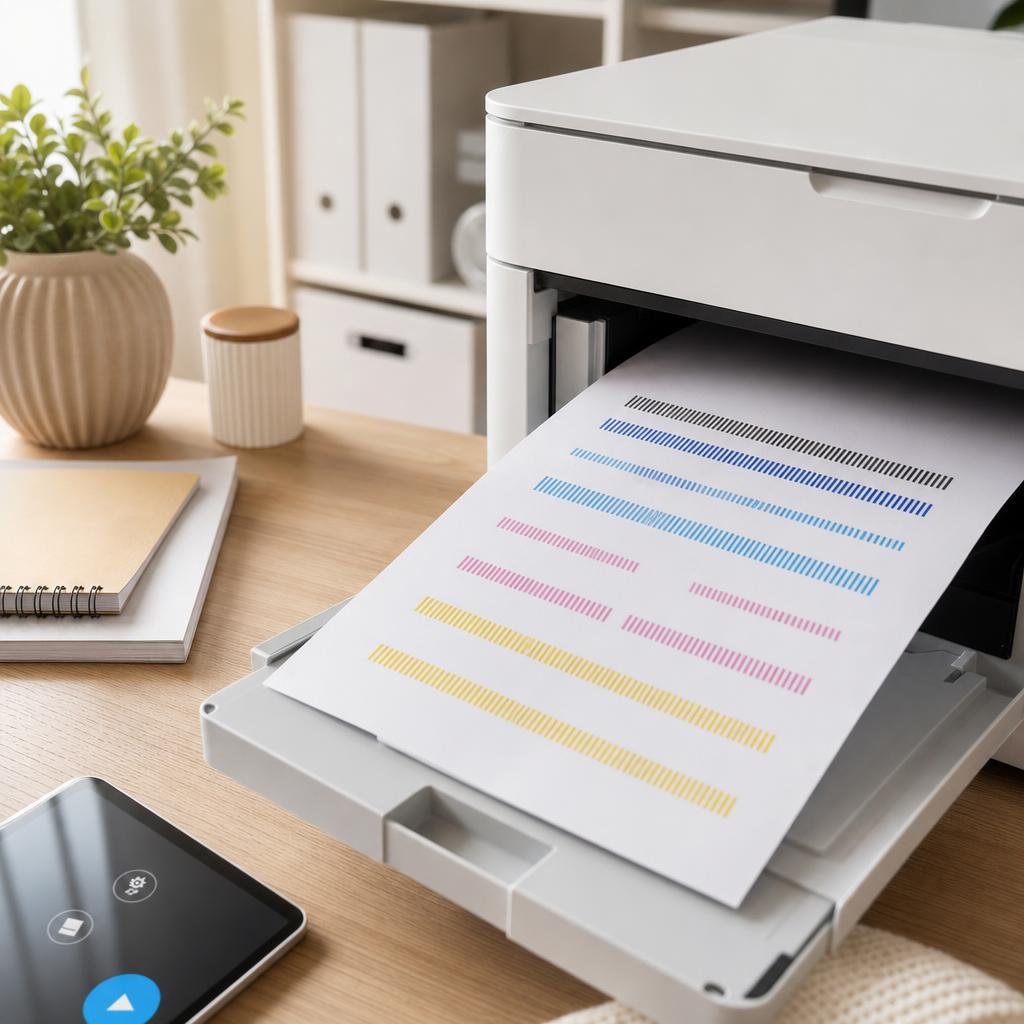
Why this works: The nozzle check shows exactly which colours are flowing and which are blocked, turning a vague “blank page” into a clear diagnosis. A blank or broken pattern confirms the nozzles are clogged and points to cleaning as the next step.
Expected result: A printed grid whose gaps tell you which nozzles are clogged, or a full, solid pattern if the nozzles are clear.
-
Step 5: Run a printhead cleaning cycle (inkjet)
From the same maintenance menu, select “Clean Printhead” (or “Head Cleaning”) and let the cycle finish.
Print another nozzle check to see if the gaps have filled in.
If some gaps remain, run one more cleaning cycle, then leave the printer to rest for a few hours before checking again.
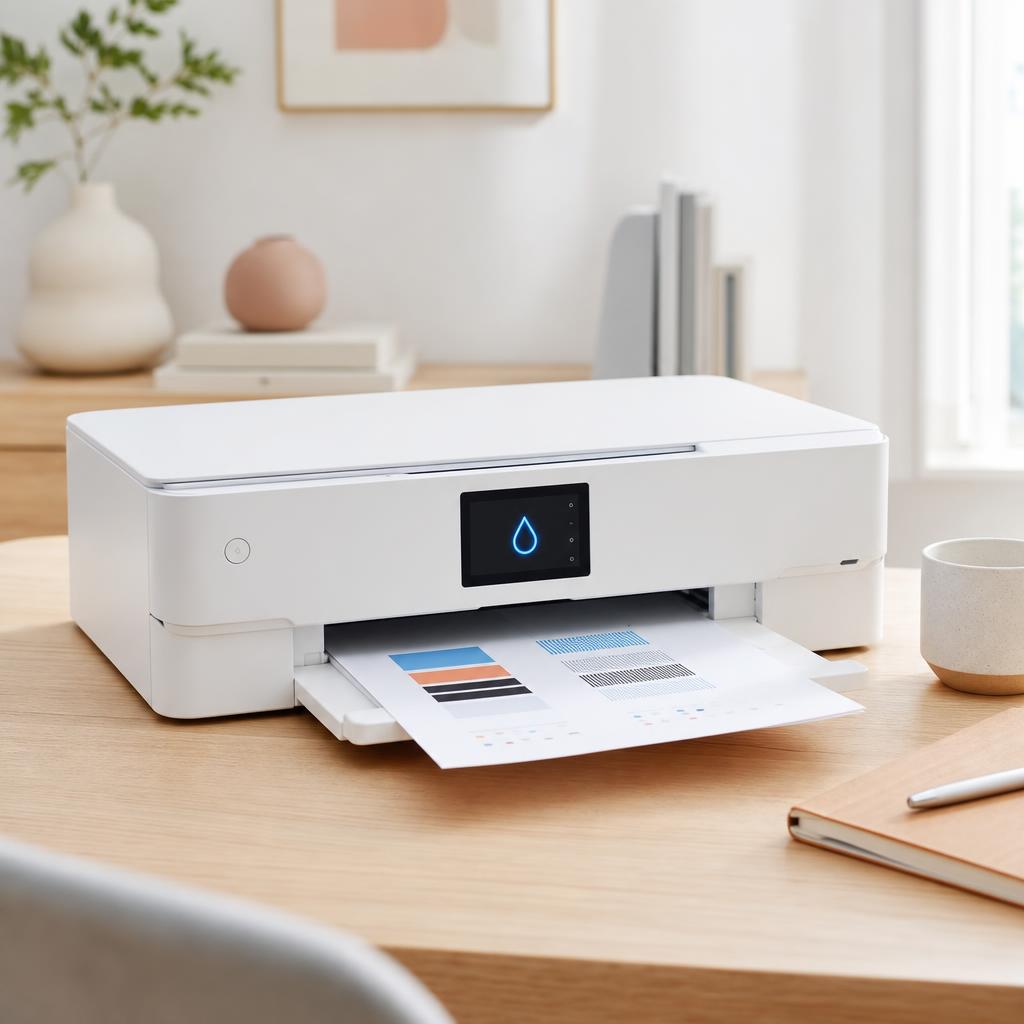
Why this works: A cleaning cycle forces ink through the nozzles to clear the dried plugs that block them. Resting between cycles lets stubborn dried ink soften, which often works better than repeating cleans back to back.
Expected result: The nozzle check improves and pages begin printing with full, even colour.
Cleaning cycles use ink, so run no more than two or three in a row. If quality still doesn’t improve after resting, the cartridge or printhead may need replacing rather than more cleaning.
-
Step 6: Check and clean the cartridge contacts
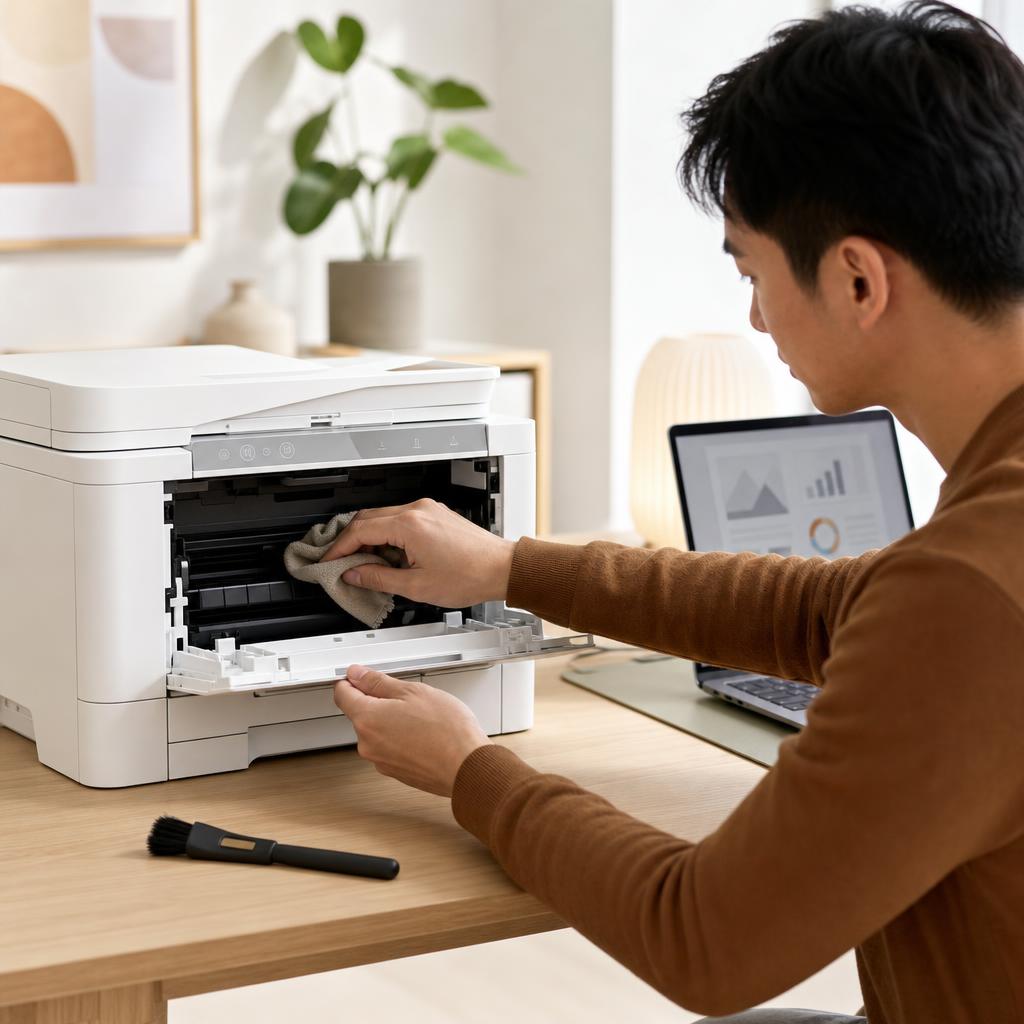
Turn the printer off, open the cartridge cover, and remove each cartridge.
Gently wipe the copper or gold-coloured contacts with a dry, lint-free cloth — never touch the nozzle plate or contacts with your fingers.
Reseat each cartridge until it clicks, close up, switch on, and print a test page.
Why this works: Dirty or lightly oxidised contacts stop the printer communicating with the cartridge, so it may behave as if the cartridge is missing or empty and print nothing. A gentle dry clean restores a reliable connection.
Expected result: Cartridges are recognised again and pages print with ink.
Use a dry cloth only — moisture around ink contacts can cause more problems than it solves.
-
Step 7: Confirm the paper size matches the document
Check what size paper is actually loaded in the tray (A4, Letter, and so on).
In the print dialog, make sure the selected paper size and the tray source match the loaded paper before you print.
On the printer itself, confirm the tray is set to the same size in its paper settings if it asks.
Why this works: When the driver expects one paper size and the printer holds another, some models feed and eject a sheet without printing on it. Matching the sizes tells the printer to lay content exactly where the paper is.
Expected result: The paper size in the dialog, the loaded paper, and the tray setting all agree, and the page prints correctly.
-
Step 8: Check the print settings and driver
Open the print dialog and check you’re sending the job to the right printer — not a “Microsoft Print to PDF”, “Save as PDF”, or an old duplicate device.
On Windows, open Settings → Bluetooth & devices → Printers & scanners, select the printer, and set it as default; remove any greyed-out or duplicate copies of it.
On macOS, open System Settings → Printers & Scanners, confirm the correct printer is chosen, and remove stale duplicates with the minus (–) button.

Why this works: It’s surprisingly easy to print to a virtual or duplicate device that produces nothing on paper, or to a driver that’s out of date. Selecting the right, current printer makes sure the job actually reaches the machine with your paper in it.
Expected result: Jobs go to the correct, active printer and print with content.
-
Step 9: Reinstall or update the printer driver
If pages are still blank from the computer only, remove the printer from Printers & scanners (Windows) or Printers & Scanners (macOS).
Download the latest full driver for your exact model from the manufacturer’s official support site — avoid third-party driver sites.
Install it, add the printer back, and print a test page.
Why this works: A corrupted or mismatched driver can hand the printer a page with no printable content on it. A clean install of the current, model-specific driver replaces any damaged files and restores normal output.
Expected result: A freshly installed driver sends complete jobs and the test page prints with content.
Only use drivers from the manufacturer’s official website — third-party “driver updater” tools can install the wrong software.
-
Step 10: Rule out blank pages in the document
Open the file and look for an extra empty page at the end or a stray page break — turn on formatting marks in your word processor to see them.
Delete the empty page or extra breaks, or in the print dialog set a page range that skips the blank sheet.
Try printing a different, simple document to confirm the printer itself is fine.
Why this works: Sometimes the printer is behaving perfectly and the blank sheet is genuinely part of the file. Checking a second document quickly proves whether the fault lies with the printer or with one particular page.
Expected result: The document prints without the unwanted blank page, and a different file prints normally too.
-
Step 11: Check toner and the drum (laser)
Let the printer cool, open the front cover, and remove the toner cartridge — and the drum unit if it’s separate.
Confirm any sealing tape or strip has been pulled out of a new toner cartridge, then gently rock the cartridge side to side to redistribute the powder.
Reinsert everything, and if prints are still blank, fit a fresh toner cartridge (or drum) as your model recommends.
Why this works: Laser printers place dry toner rather than liquid ink, so blank pages usually mean empty toner, a seal still in place, or a worn imaging drum. Reseating and rocking often revives a near-empty cartridge, while a failed drum needs replacing to fuse anything to the page.
Expected result: Pages come out with sharp, even text and no blank areas.
Handle toner with care: keep it dry, avoid touching the shiny drum surface or exposing it to bright light, and clean spills only with a dry cloth or a toner-safe vacuum.
-
Step 12: Print a final test page to confirm
Once your pages show ink, print the printer’s built-in test page and then a normal document.
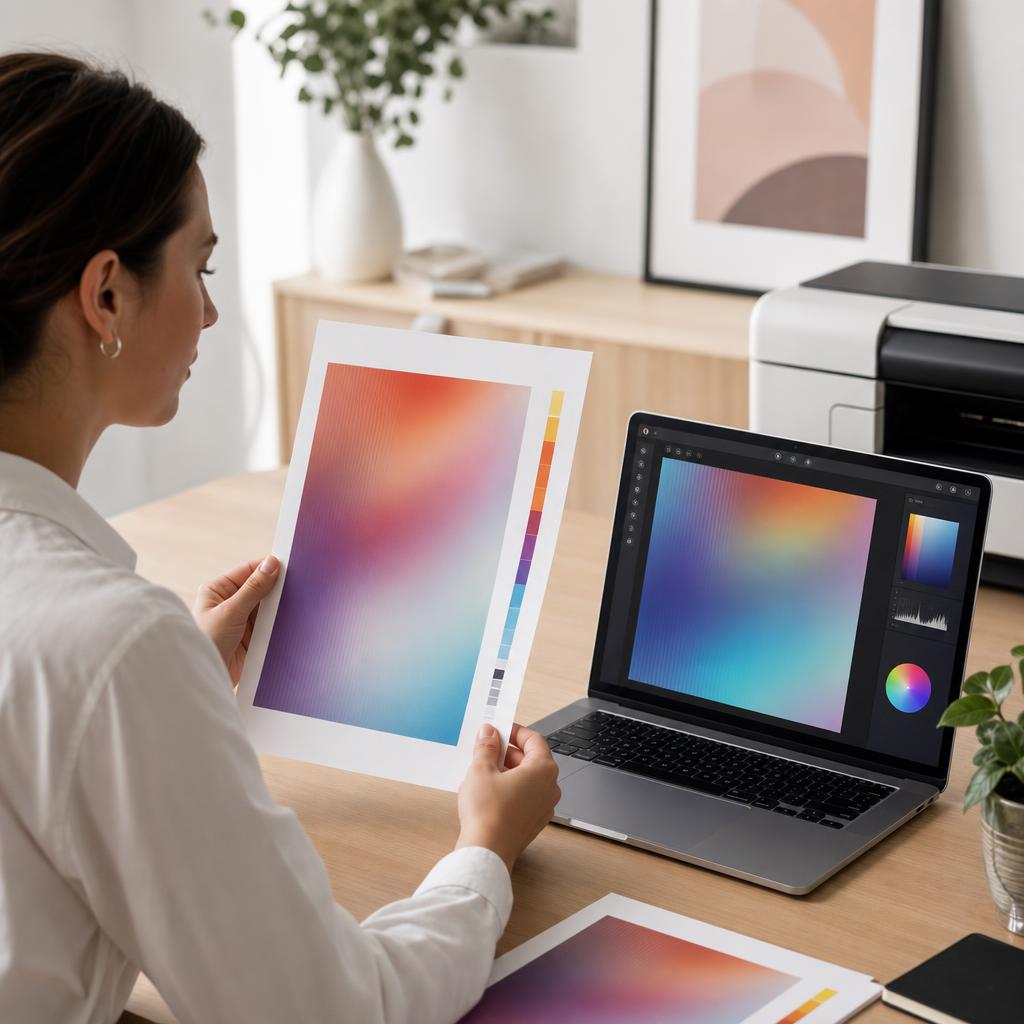
Check that text is crisp, colours are even, and nothing comes out blank or streaky.
Print a couple of extra pages to make sure the result holds up rather than being a one-off.
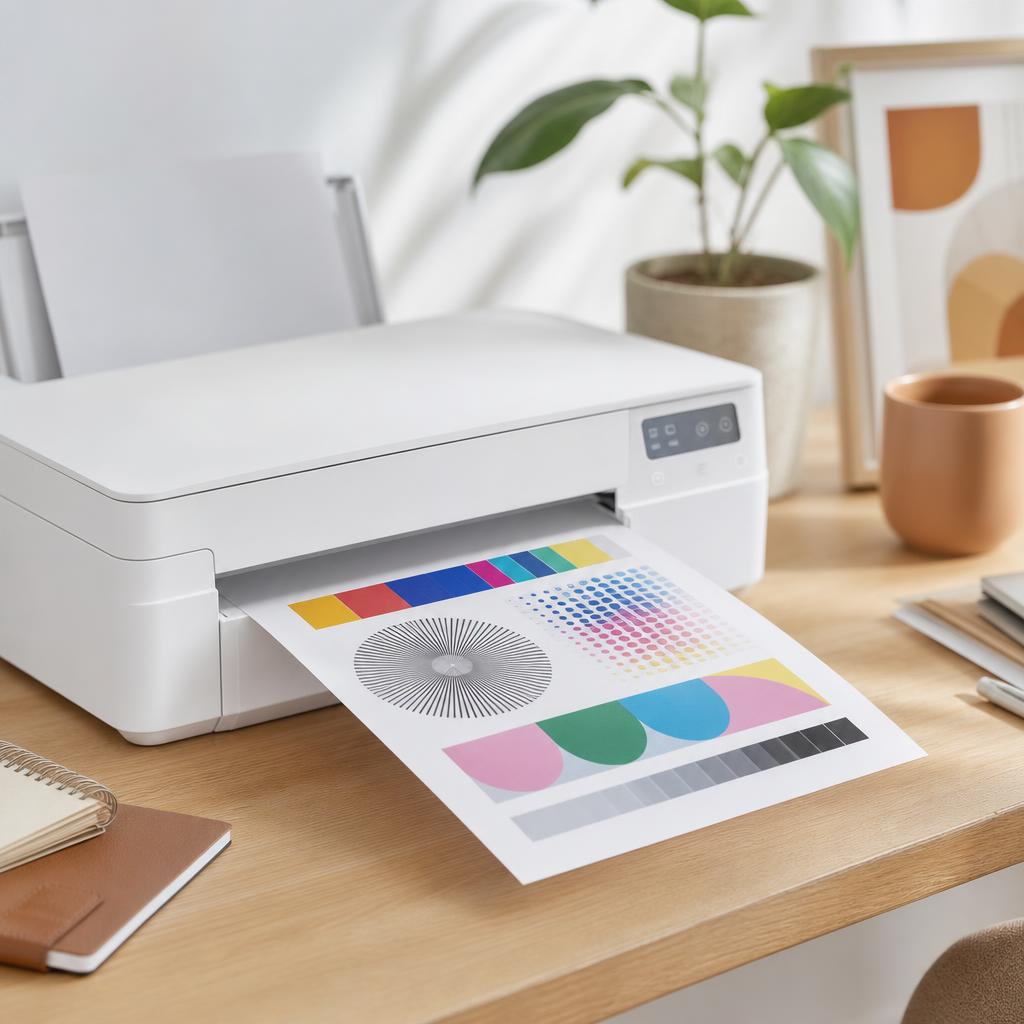
A test page with crisp text and full colour confirms the blank-page problem is fixed. Why this works: A final test confirms that whatever you fixed — supplies, tape, nozzles, or settings — is genuinely resolved. Printing more than one page proves the fix is stable and not just a lucky single sheet.
Expected result: Clean, complete pages every time, with no blank sheets.
Both the test page and a real document print fully, several times in a row.
Tip
Printer Tip
Print a page every week or two on an inkjet so ink doesn’t dry in the nozzles.
Other solutions to try
If the steps above didn't do it, these fixes resolve the less common cases.
Inkjet printers
Inkjets place liquid ink through a fine printhead, so blank pages nearly always come back to ink flow.
- Run a nozzle check, then one or two cleaning cycles with a rest in between if colours are missing.
- Reseat cartridges and wipe their contacts with a dry cloth to fix recognition problems.
- Print a page every week or two so ink doesn’t dry in the nozzles and cause blank output later.
- If cleaning doesn’t restore flow after resting, replace the cartridge or printhead rather than running more cycles.
Laser printers
Lasers fuse dry toner with heat, so focus on toner, the seal, and the imaging drum.
- Let the printer cool before opening it, as the fuser gets hot.
- Check the toner seal is fully removed and rock the cartridge to redistribute powder.
- Fit fresh toner if levels are exhausted, and replace the drum unit at the interval your model recommends.
- Keep toner and the drum dry, and clean spills only with a dry cloth or a toner-safe vacuum.
Windows fallbacks
When only computer prints come out blank, work through the Windows print stack.
- Set the correct printer as default and remove any duplicate or virtual copies.
- Run the built-in Printer troubleshooter from Settings → System → Troubleshoot.
- Reinstall the full driver from the manufacturer’s official site rather than the basic Windows one.
macOS fallbacks
On a Mac, a stale queue or driver is the usual culprit for blank computer prints.
- Open System Settings → Printers & Scanners and remove any duplicate printers.
- Reset the printing system (right-click the printer list) and add the printer back fresh.
- Install the manufacturer’s current driver, then print a test page from Preview or TextEdit.
Confirm it's working
Tick these off to be sure the problem is fully resolved.
Keep it from happening again
A few habits that stop this problem coming back.
- Print a page every week or two on an inkjet so ink doesn’t dry in the nozzles.
- Keep a spare set of cartridges so you can swap in a full one the moment levels run low.
- Always remove every strip of tape and each clip before fitting a new cartridge.
- Store ink and toner sealed, cool, and dry until you’re ready to install them.
- Keep your printer driver up to date from the manufacturer’s official site.
- Preview documents before printing and delete stray empty pages or page breaks.
Frequently asked questions
Was this guide helpful?
Your feedback helps us keep these steps accurate.
Thanks for your feedback!
Written by
The Guts Guide Editorial Team · Print Quality Specialists
Reviewed by
Daniel Owens · Print & Network Technician
Last updated
Jul 14, 2026
Continue Reading
Pick up where you left off with the next guide in your troubleshooting journey.
Related Guides
More troubleshooting walkthroughs you may find useful.
Buying Guides
Plain-English comparisons and pre-purchase checklists — find the right printer before you buy.


