
How to Fix Printer Colour Problems
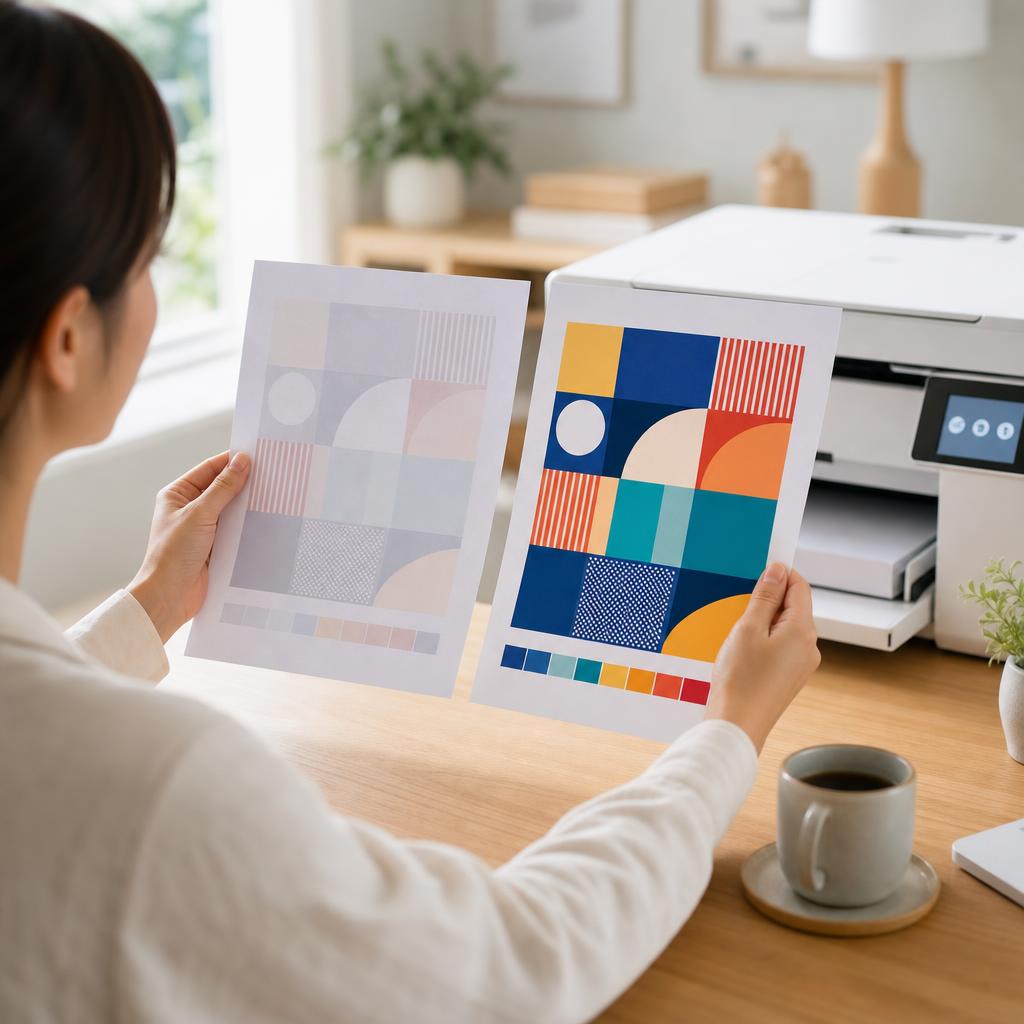
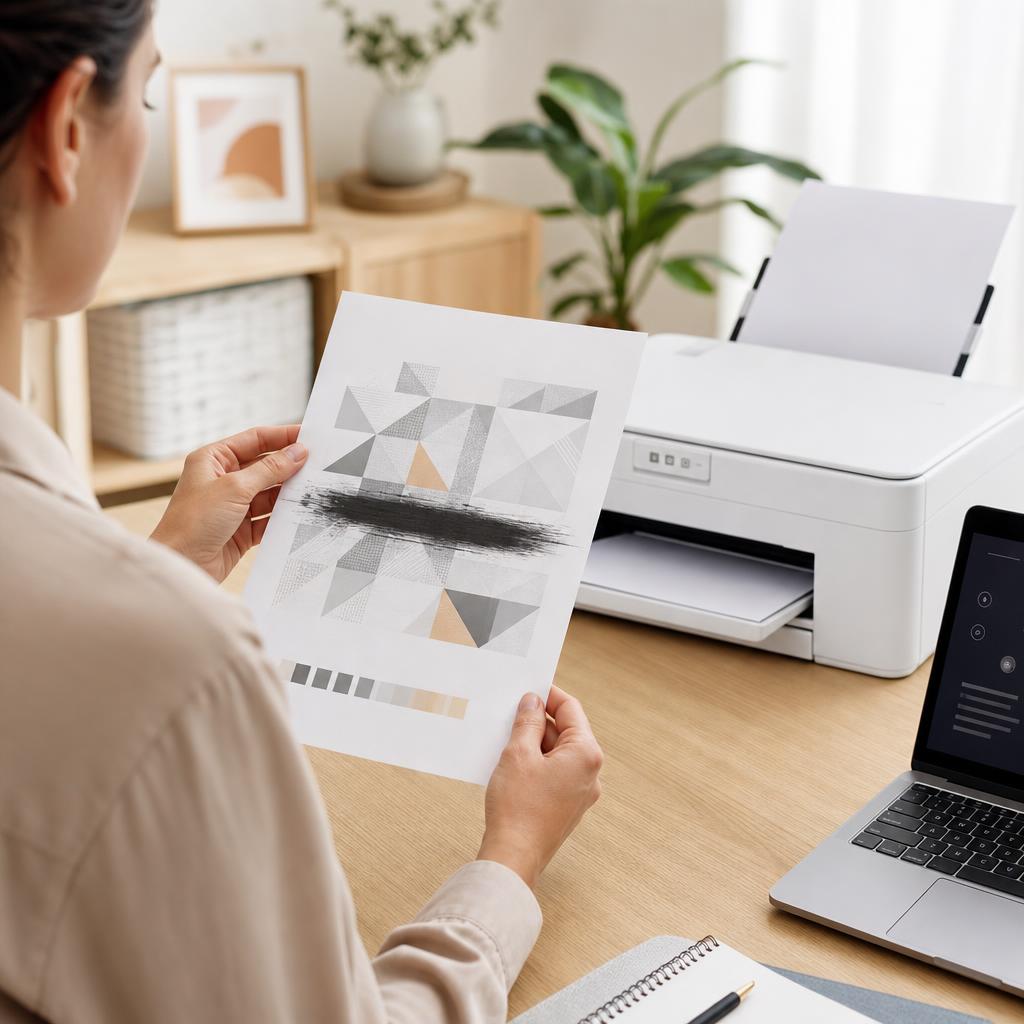
When your prints come out with the wrong colours, a missing colour, or a shade that doesn’t match what’s on screen, the cause is usually simple — a low cartridge, a clogged nozzle, or a driver setting. This guide walks you through every check in plain language, from ink levels to colour calibration and alignment, so your prints look the way you expect.
Applies to: Inkjet & laser printers, All-in-one & photo printers, Windows & macOS, HP, Canon, Epson, Brother & more
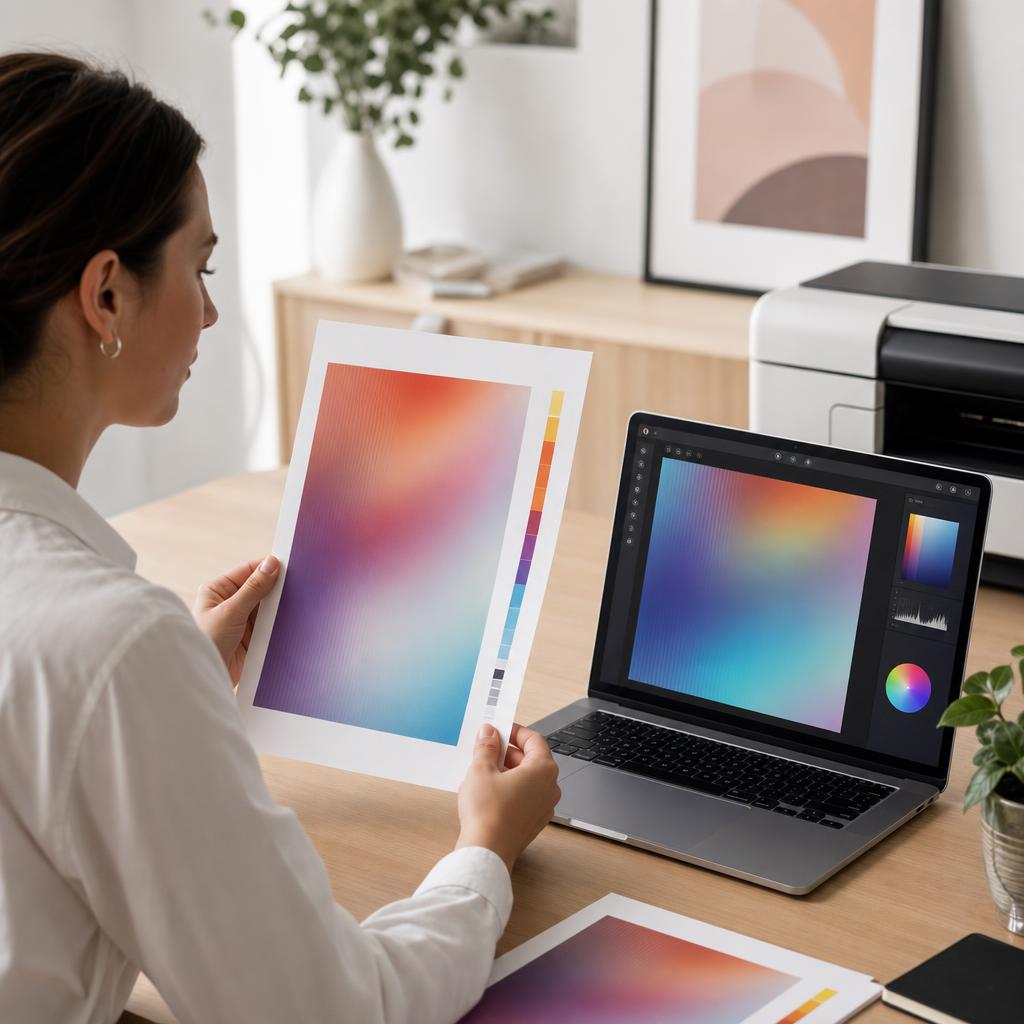
Quick summary
- The problem
- Prints show incorrect or missing colours, or the colours don’t match what you see on your screen.
- The fix
- Check colour ink levels, turn off greyscale mode, run a nozzle check and cleaning, then calibrate and align — and set the correct paper type in the driver.
- Applies to
- Inkjet, laser, and all-in-one printers on Windows and macOS, printing photos, graphics, or coloured documents.
On this page Show
Understanding the problem
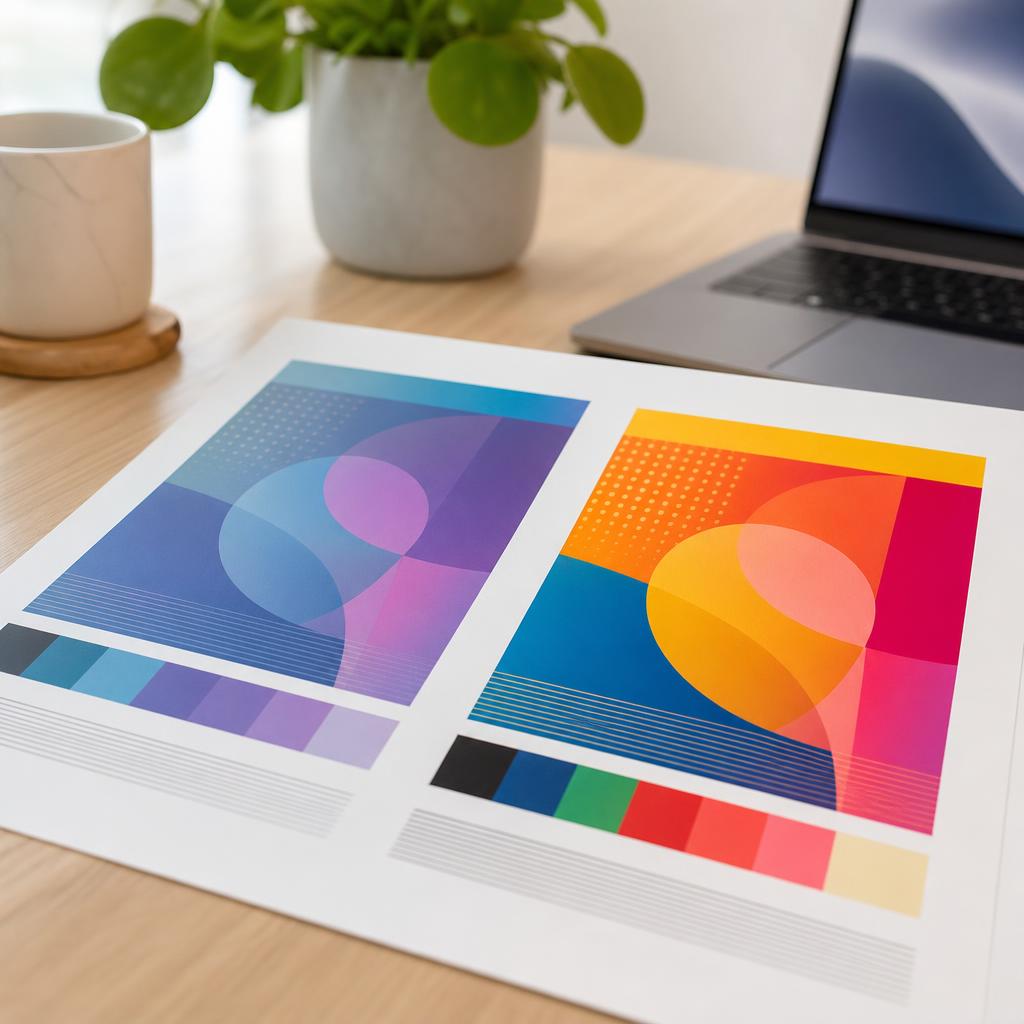
Colour printers build every shade from a small set of inks or toners — usually cyan, magenta, yellow, and black (often shortened to CMYK). The printer mixes tiny dots of these four to create the thousands of colours you see on a page. Your screen, by contrast, makes colour from red, green, and blue light (RGB). Because these two systems create colour in completely different ways, a print will never look identical to a glowing screen — but it should still look right, natural, and close.
Colour problems appear when one part of that mixing process goes wrong. If a colour cartridge is empty or clogged, its dots go missing and everything shifts — skin tones turn green, blues look purple, or a photo prints far too dark. A driver set to greyscale or “black only” drops colour entirely. And a printhead that has drifted out of alignment lays its coloured dots slightly off from one another, giving prints a fuzzy or tinted look even when every cartridge is full.
The good news is that colour faults are among the most fixable print-quality problems, and almost none of them need a technician. This guide starts with the quick, no-risk checks — ink levels and driver settings — then moves through nozzle cleaning, colour calibration, and alignment, and finishes with how paper choice and screen-versus-print expectations affect what you get. Work through the steps in order and stop as soon as your colours look right.
Terminology
PPM measures speed
PPM stands for pages per minute. Real-world speed is often a little lower than the rated figure because the first page takes longer to start.
Signs you're in the right place
If you're seeing any of these, this guide is for you.
-
Colours look wrong or tinted
Skin tones look green or orange, blues turn purple, or the whole page carries an unnatural colour cast.
-
A colour is missing entirely
One colour disappears from prints — reds vanish, greens go flat, or photos print with a strong single-colour bias.
-
Prints come out in black and white
A colour document prints only in greyscale, even though the file itself is in full colour.
-
The print doesn’t match the screen
Colours look noticeably different on paper than they do on your monitor — often darker, duller, or shifted in hue.
-
Faded or washed-out colour
Colours print pale and weak rather than rich and saturated, suggesting low ink or a partial clog.
-
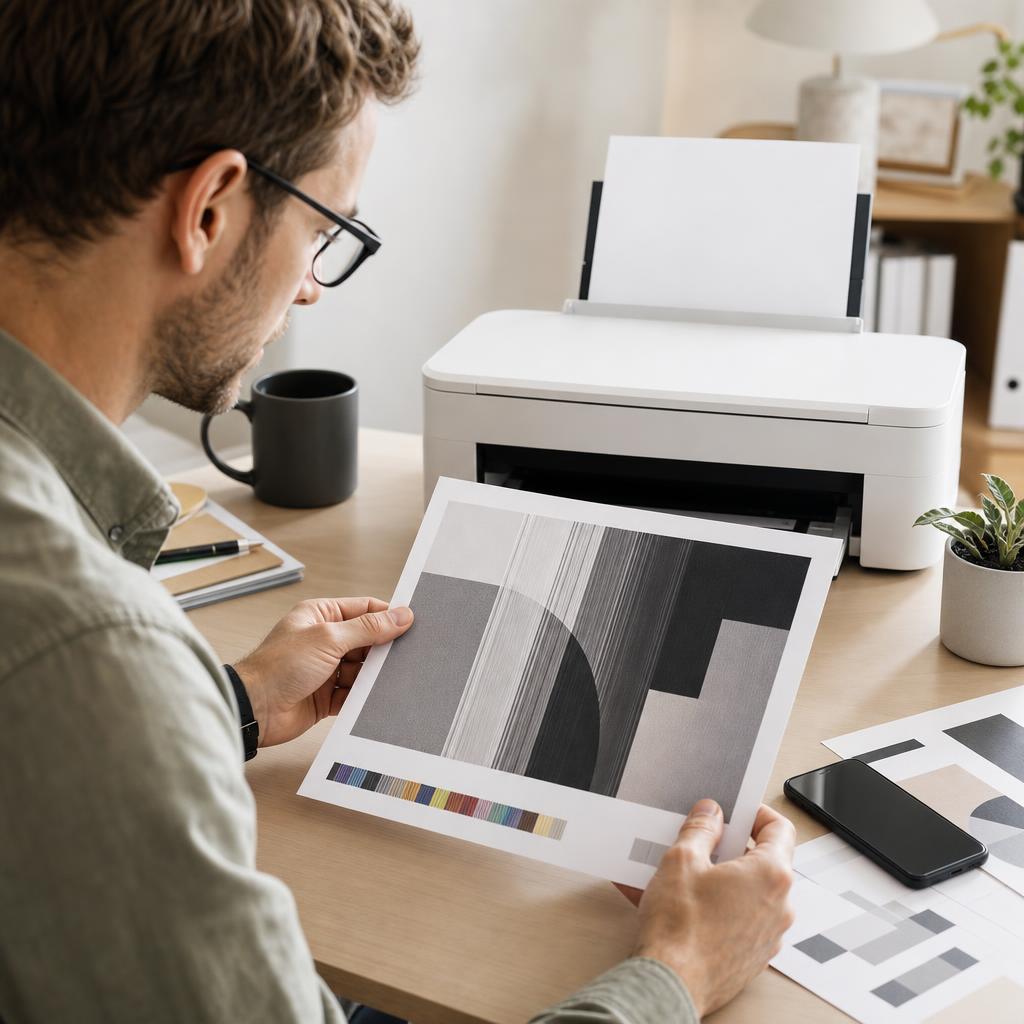
Streaky or banded colour
Horizontal gaps or lighter stripes run through coloured areas, a classic sign of clogged nozzles.
-
Colours seem misaligned
Coloured edges look fuzzy or slightly doubled, as though one colour is printed a fraction out of place.
-
Colour changed after a refill or new paper
Prints looked fine until you swapped cartridges, used a refilled one, or switched to a different paper.
What's usually behind it
The most common reasons this happens, so the fix makes sense.
An empty or very low colour cartridge
When one colour runs low, the printer can’t mix shades correctly, so prints take on a cast or drop a colour completely.
A clogged or dried printhead nozzle
On inkjets, dried ink blocks the tiny nozzles for one colour, leaving streaks, gaps, or a missing colour in prints.
Greyscale or “black only” mode is switched on
A driver or app setting for greyscale, monochrome, or “print in black only” makes colour pages come out in shades of grey.
Wrong driver colour settings
Options like colour management, saturation, or a photo-versus-document preset can push colours too warm, too cool, or too dark.
Screen-versus-print expectations (RGB vs CMYK)
Screens glow with red-green-blue light while printers mix cyan-magenta-yellow-black inks, so some on-screen colours simply can’t be matched exactly.
The printhead needs alignment
If the coloured passes of the printhead drift out of alignment, colours print slightly offset and edges look fuzzy or tinted.
The printer needs colour calibration
Over time a printer’s colour output drifts; a built-in calibration routine re-balances the colours back to their reference.
The wrong paper type is selected
Plain-paper settings on glossy photo paper — or the reverse — change how much ink is laid down and how colours look.
A refilled or third-party cartridge
Refilled and non-genuine cartridges can hold ink of a different formula or density, shifting colours away from what you expect.
Outdated printer firmware or driver
Old firmware or a corrupted driver can mishandle colour data, so keeping both current can quietly fix odd colour behaviour.
What you'll need
Have these on hand before you start for a smooth fix.
-
A few sheets of the paper you normally print on
Test with the same paper you’ll actually use, since paper type strongly affects colour.
-
Spare colour cartridges or toner
Genuine cartridges for your exact model, in case one turns out to be empty or faulty.
-
Access to the printer’s control panel
Most nozzle-check, cleaning, calibration, and alignment routines start from the panel or its app.
-
A computer signed in to Windows or macOS
You’ll check the driver’s colour and greyscale settings from your printer’s preferences.
-
A colourful test image or photo
A photo with skin tones, sky, and greens makes colour problems easy to spot.
-
A little patience for cleaning cycles
Inkjet cleaning cycles use ink and need short rest periods between runs, so don’t rush them.
How to fix it
Work through these in order — they run from the quickest checks to the more advanced fixes.
-
Step 1: Print a colour test page to see the problem clearly
Open a colourful photo or document and print one copy on your normal paper.
Look closely at what’s wrong — is a whole colour missing, is everything tinted, or is the page in black and white?
Keep this print beside you as a reference so you can tell whether each step actually helps.
Why this works: A clear test print tells you which kind of colour problem you have, which decides what to fix first. A page that’s entirely grey points to a driver setting, while a tinted or streaky page points to ink or the printhead.
Expected result: A single reference print that shows the exact colour fault you’re trying to solve.
Choose an image with people, sky, and greenery — these show colour shifts far more clearly than plain text or logos.
-
Step 2: Check your colour ink or toner levels
Open your printer’s control panel or its companion app on your computer and find the ink or toner levels screen.
On Windows, open Settings → Bluetooth & devices → Printers & scanners, select your printer, and open its app or preferences to view levels.
On macOS, open System Settings → Printers & Scanners, select your printer, choose Options & Supplies, and check the Supply Levels tab.
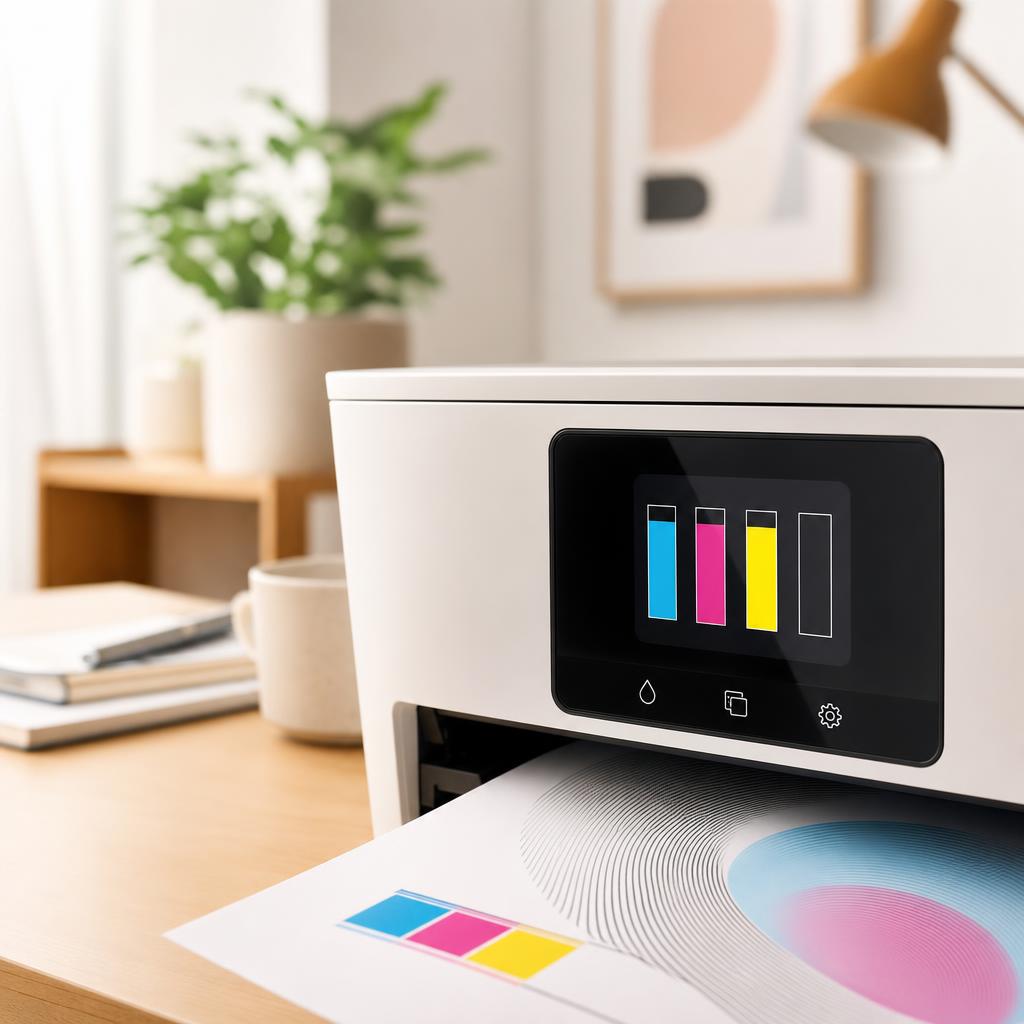
Why this works: A single low or empty colour is the most common reason prints look tinted or drop a colour. Seeing the levels tells you at a glance whether a cartridge is the culprit before you try anything more involved.
Expected result: A clear view of each colour’s level, so you can spot any that are low or empty.
You can see cyan, magenta, yellow, and black levels for your printer.
-
Step 3: Turn off greyscale or “black only” mode
On Windows, go to Settings → Printers & scanners → your printer → Printing preferences, and make sure “Print in Greyscale”, “Monochrome”, or “Black only” is unticked.
On macOS, open the Print dialog, expand the options, find the printer’s feature or paper/quality menu, and confirm Colour is selected rather than Greyscale.
Check the app you’re printing from too — programs like your PDF reader or browser sometimes have their own “print in black and white” option.
Why this works: If a colour document prints entirely in grey, a greyscale setting is almost always the reason rather than any hardware fault. Switching it back to colour is an instant fix that costs nothing.
Expected result: The driver and app are set to full colour, so colour documents print in colour.
Greyscale can get switched on to save ink and then forgotten — it’s worth checking even if you don’t remember changing it.
-
Step 4: Run a nozzle check to find missing colours
From the printer’s maintenance or tools menu, choose “Nozzle Check” (inkjets) and print the test pattern.
Examine each coloured block or grid — every colour should print as a solid, unbroken pattern.
Note any block that shows gaps, faint stripes, or is missing entirely, as that’s the colour that’s clogged.
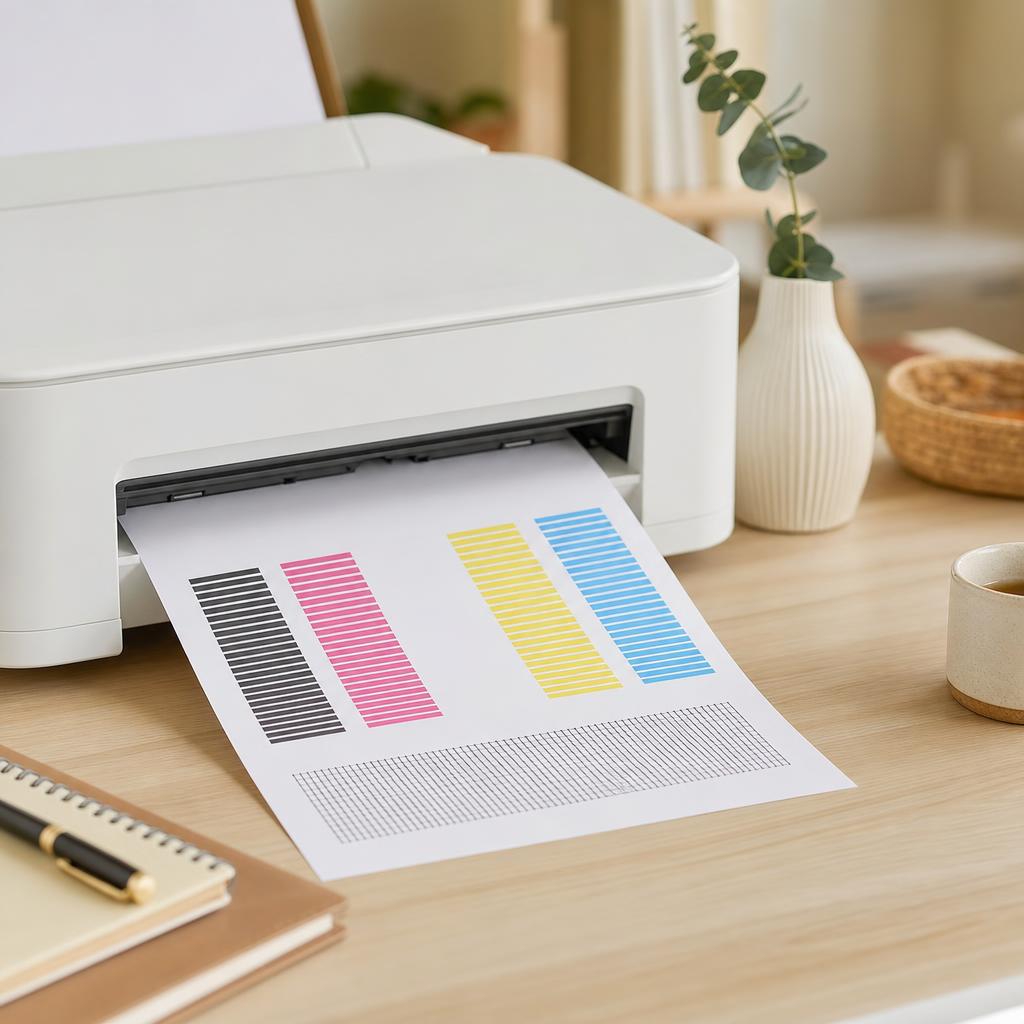
Why this works: A nozzle check shows exactly which colour’s nozzles aren’t firing, so you clean or replace the right thing instead of guessing. Gaps or a blank block confirm a clog rather than an empty cartridge.
Expected result: A printed pattern that reveals which colours are clean and which have gaps.
Laser printers don’t have nozzles — if you have a laser, skip this and the cleaning step and move to calibration and cartridge checks.
-
Step 5: Run one printhead cleaning cycle (inkjet)
From the maintenance menu, select “Printhead Cleaning” or “Clean” and let the cycle finish.
Print another nozzle check to see whether the gaps have filled in.
If a colour still has gaps, run one more cleaning cycle, then let the printer rest for a few hours before trying again.
Why this works: Cleaning cycles push ink through the nozzles to clear the dried ink that causes a missing or streaky colour. Restoring flow to a clogged colour usually brings prints straight back to normal.
Expected result: A follow-up nozzle check with solid, gap-free colour blocks.
Cleaning cycles use ink, so don’t run more than two or three in a row — repeated cycles waste ink and can flood the printhead. Rest the printer instead.
-
Step 6: Replace an empty or faulty colour cartridge
Open the cartridge door and wait for the carriage to move to the centre where you can reach it.
Lift out the low, empty, or suspect colour cartridge and fit a genuine replacement until it clicks into place.
Close the door, then print your reference image again to check the colour has returned.
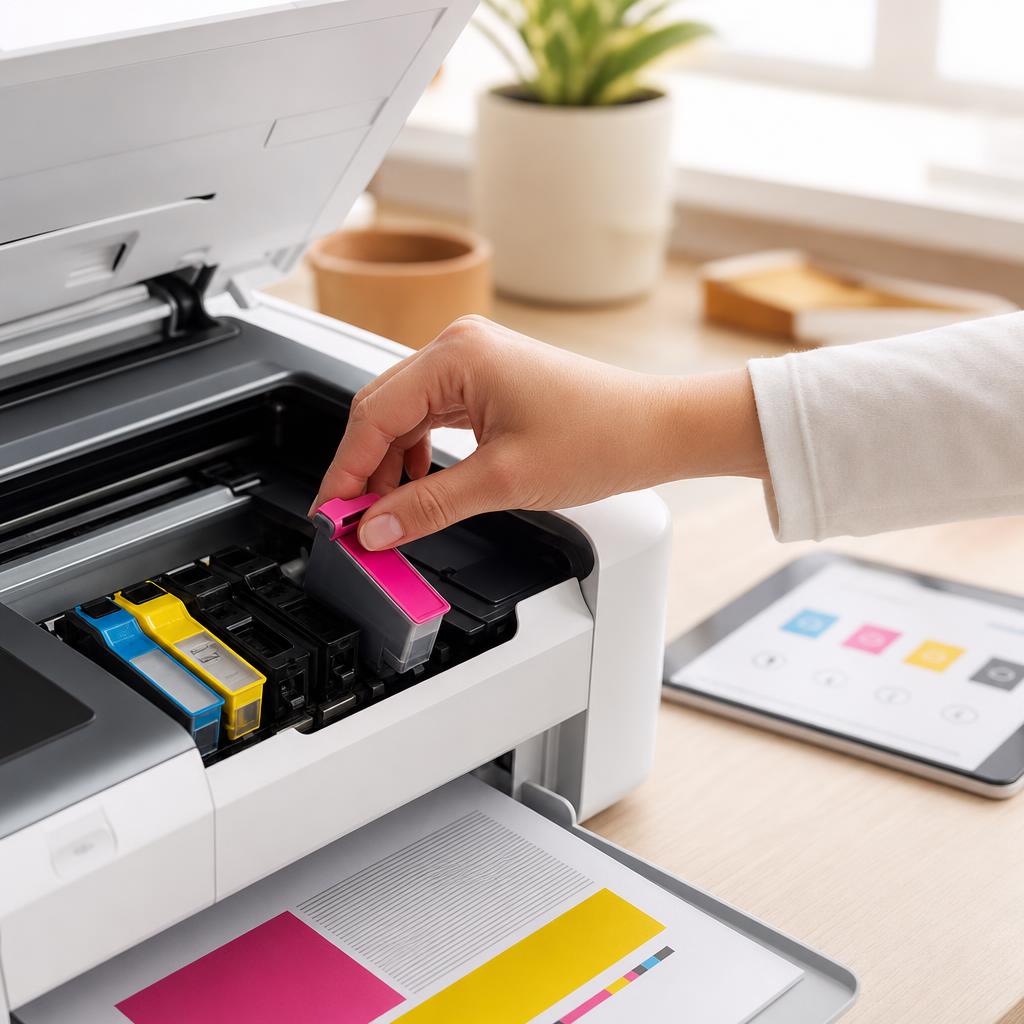
Why this works: If a colour is empty, or cleaning didn’t clear a clog, a fresh genuine cartridge is the reliable fix. Genuine ink also matches the colour profile your printer expects, so shades come out as intended.
Expected result: The missing or weak colour prints strongly and correctly again.
Avoid touching the gold contacts or the nozzle plate on the cartridge — skin oils there can cause colour and connection faults.
-
Step 7: Set the correct paper type in the driver
Open Printing preferences (Windows) or the Print dialog’s paper/quality menu (macOS).
Set the Media or Paper Type to exactly match what’s loaded — Plain, Photo, Glossy, Matte, and so on.
Choose the matching quality setting (for example “Best” or “Photo”) when you’re printing images.
Why this works: The printer lays down a different amount of ink for each paper type, so the wrong setting makes colours look dull, dark, or oversaturated. Matching the setting to the real paper lets colours land as designed.
Expected result: Colours look richer and more accurate because the ink volume suits your paper.
The paper type in the driver matches the paper in the tray.
-
Step 8: Check the driver’s colour settings
In Printing preferences (Windows) or the Print dialog’s colour options (macOS), find the colour or colour-management section.
Reset any custom saturation, brightness, or colour-balance sliders to their defaults, and pick “Automatic” or “Standard” colour handling.
If there’s a colour-mode choice, select the one that suits your job — a photo or vivid mode for images, a standard mode for documents.
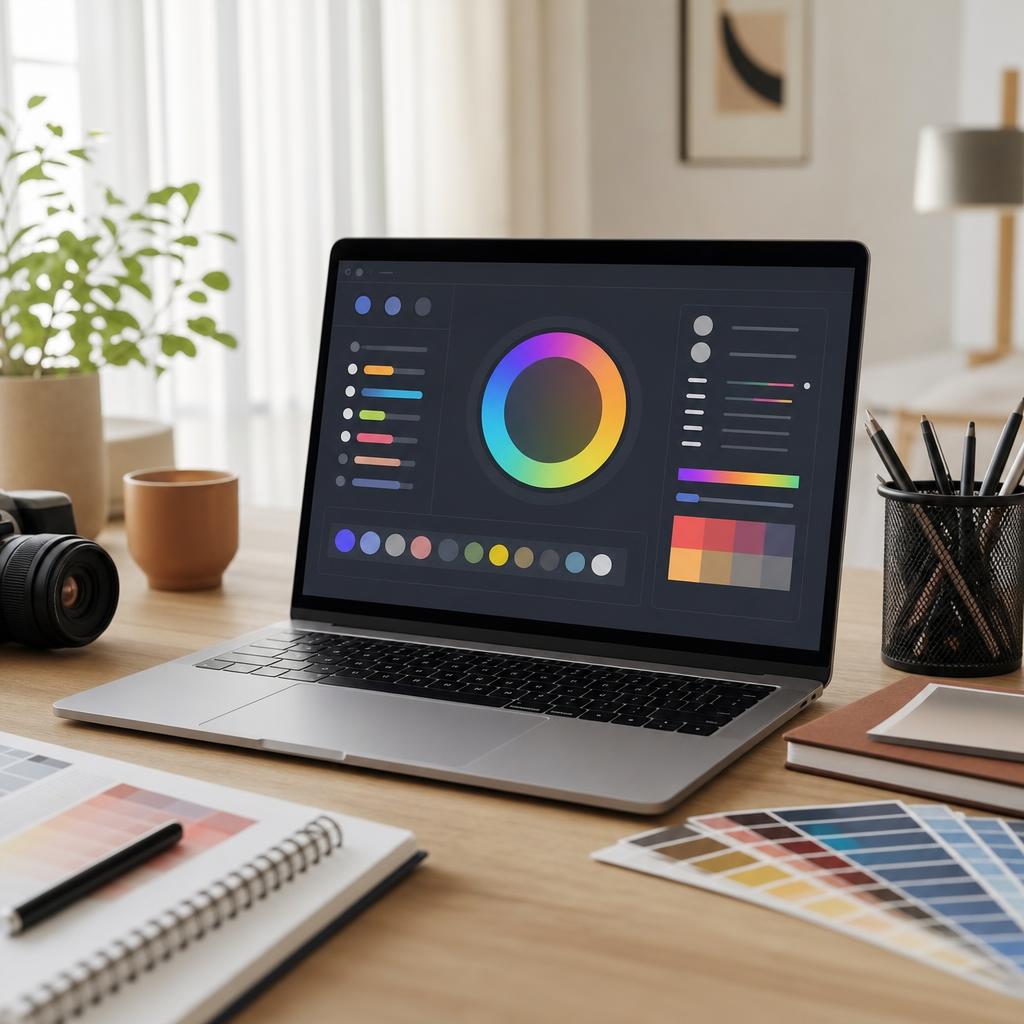
Why this works: Adjusted colour sliders or an aggressive preset can push every print too warm, too cool, or too dark. Returning to sensible defaults gives you a neutral starting point before fine-tuning.
Expected result: Balanced colour output without an obvious cast or over-saturation.
-
Step 9: Run the printer’s colour calibration
From the printer’s maintenance or setup menu, choose “Colour Calibration” or “Calibrate” (on laser printers this is often called colour registration).
Let the printer print and, if asked, scan its own calibration sheet, following any on-screen prompts.
Print your reference image once more to see whether the colours are now better balanced.
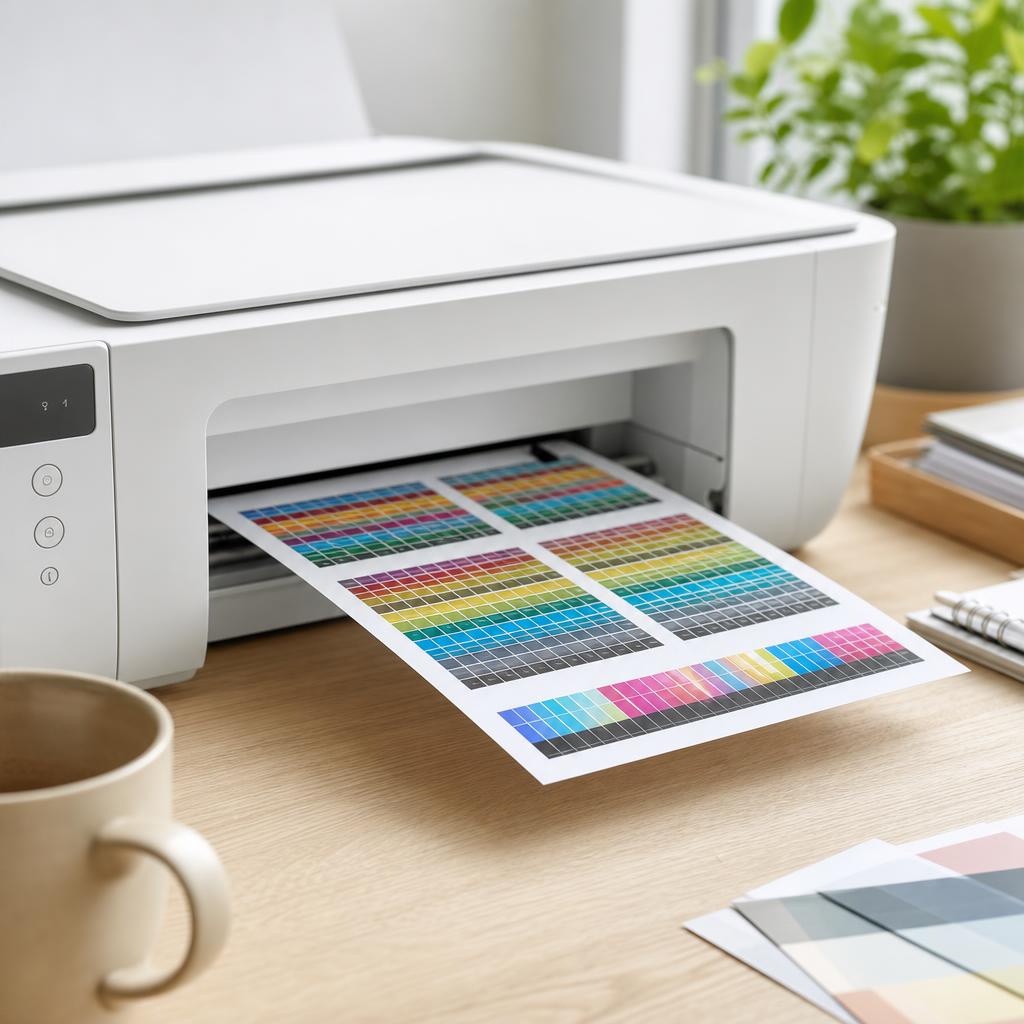
Why this works: A printer’s colour output slowly drifts as inks, toner, and hardware age. Calibration re-balances the colours against the printer’s internal reference, correcting a general cast that cleaning alone won’t fix.
Expected result: More neutral, natural colour with no overall tint across the page.
-
Step 10: Align the printhead
From the maintenance menu, choose “Printhead Alignment” or “Align”.
Let the printer print an alignment sheet, then follow the prompts to pick the sharpest, cleanest pattern.
Print a page with fine detail and coloured edges to confirm they now look crisp rather than fuzzy or doubled.
Why this works: Alignment makes sure each coloured pass of the printhead lands in exactly the right place. When it drifts, colours print slightly offset, giving edges a fuzzy or tinted halo even when the cartridges are healthy.
Expected result: Sharp edges and clean, correctly registered colours with no fringing.
Coloured lines and text edges look crisp, not doubled or haloed.
-
Step 11: Set expectations between screen and print
Compare your print to the screen in natural daylight rather than under warm indoor lighting, which tints how colours look.
Turn your monitor’s brightness down a little — screens glow far brighter than paper, which makes prints look darker by comparison.
For important work, use your app’s soft-proofing or “print preview” to see a closer estimate of the printed colours before committing.
Why this works: Screens create colour from red, green, and blue light while printers mix cyan, magenta, yellow, and black inks, so a perfect match is impossible — some vivid on-screen colours simply fall outside what ink can reproduce. Knowing this stops you chasing a match that can’t exist and helps you judge prints fairly.
Expected result: Prints that look natural and close to the screen, judged under fair lighting.
A calibrated monitor and a matching paper profile get you closest, but a small difference between screen and print is normal and expected.
-
Step 12: Update firmware and the driver, then reprint
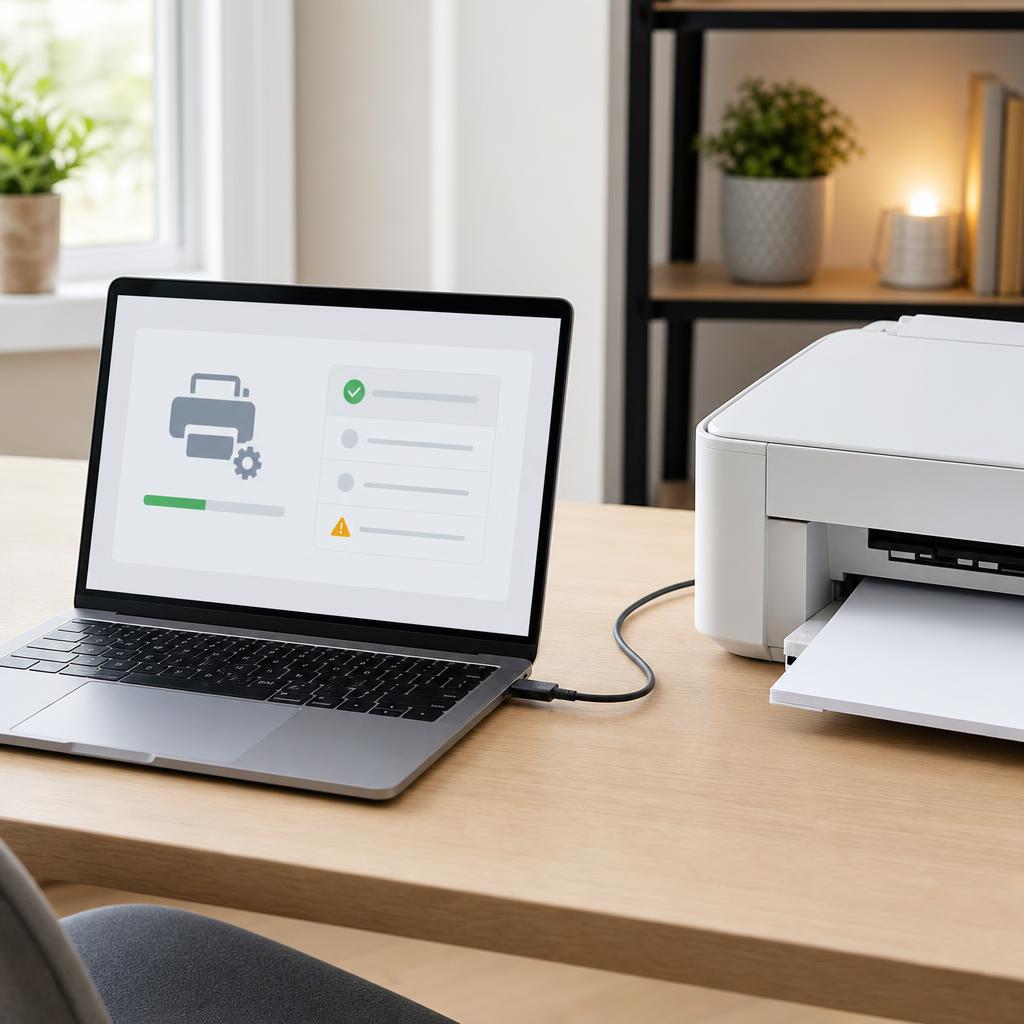
Check the manufacturer’s official support page or app for a firmware update for your exact model and install it without interrupting it.
Reinstall or update the printer driver from the same official source on Windows or macOS.
Print your colourful reference image one final time to confirm the colours now look right.
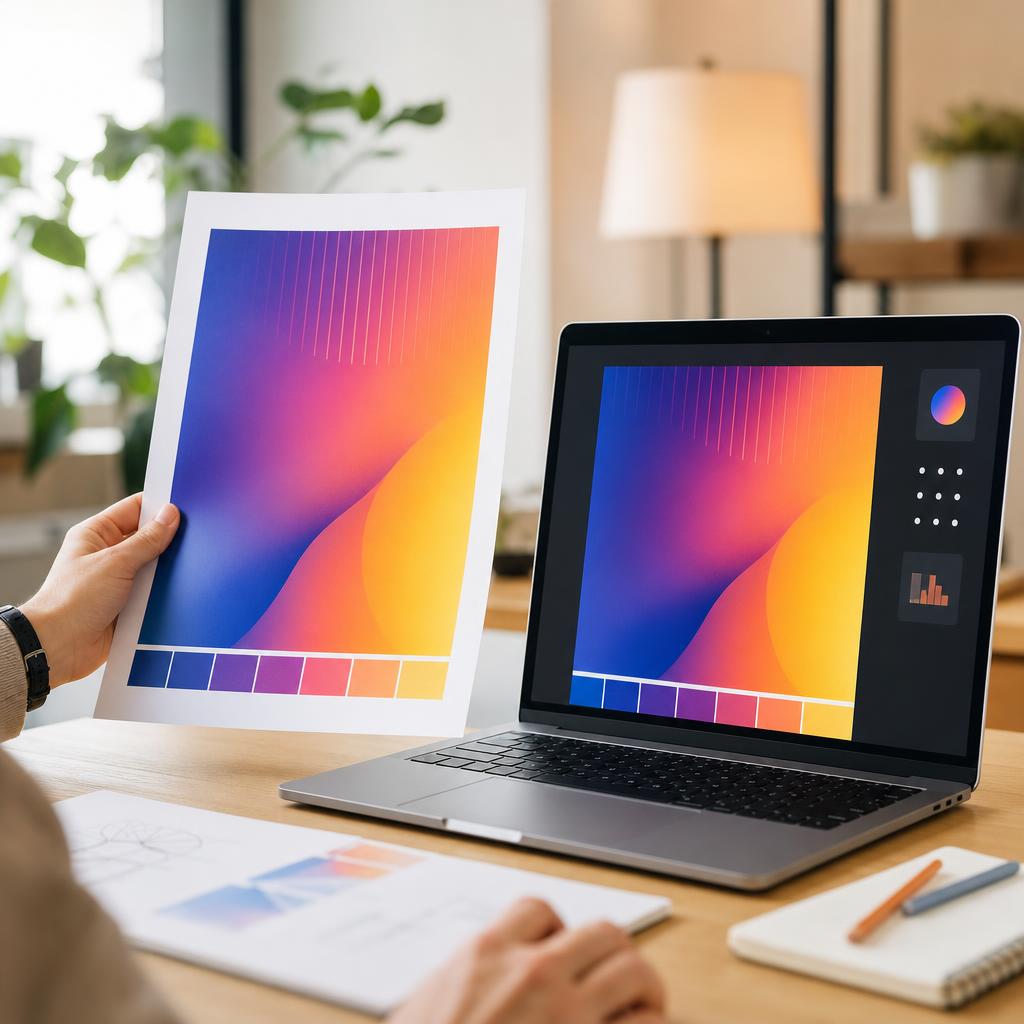
When ink, driver settings, calibration, and paper all agree, your print closely matches what’s on screen. Why this works: Old firmware or a corrupted driver can mishandle colour data, and manufacturers regularly release fixes for colour-handling bugs. Using only official updates avoids introducing new problems.
Expected result: A final print with accurate, balanced colour that matches your expectations.
Your reference photo prints with natural colour and no missing shades.
Tip
Printer Tip
Print a colour page every week or two so inkjet nozzles don’t dry out and clog a colour.
Other solutions to try
If the steps above didn't do it, these fixes resolve the less common cases.
Inkjet printers
Inkjets create colour from liquid ink through a fine printhead, so most colour faults trace back to ink flow.
- Run a nozzle check first to see which colour is affected, then clean only if there are gaps.
- Replace a low or refilled cartridge with a genuine one, as ink density directly affects colour.
- Align the printhead after any cartridge change so colours register correctly.
- Print a colour page every week or two so ink doesn’t dry and clog a colour.
Laser printers
Colour lasers use four toner cartridges and a colour-registration routine rather than nozzles.
- Run the colour calibration or registration routine, which corrects most laser colour casts.
- Check each toner level and replace any that’s low with the correct cartridge for your model.
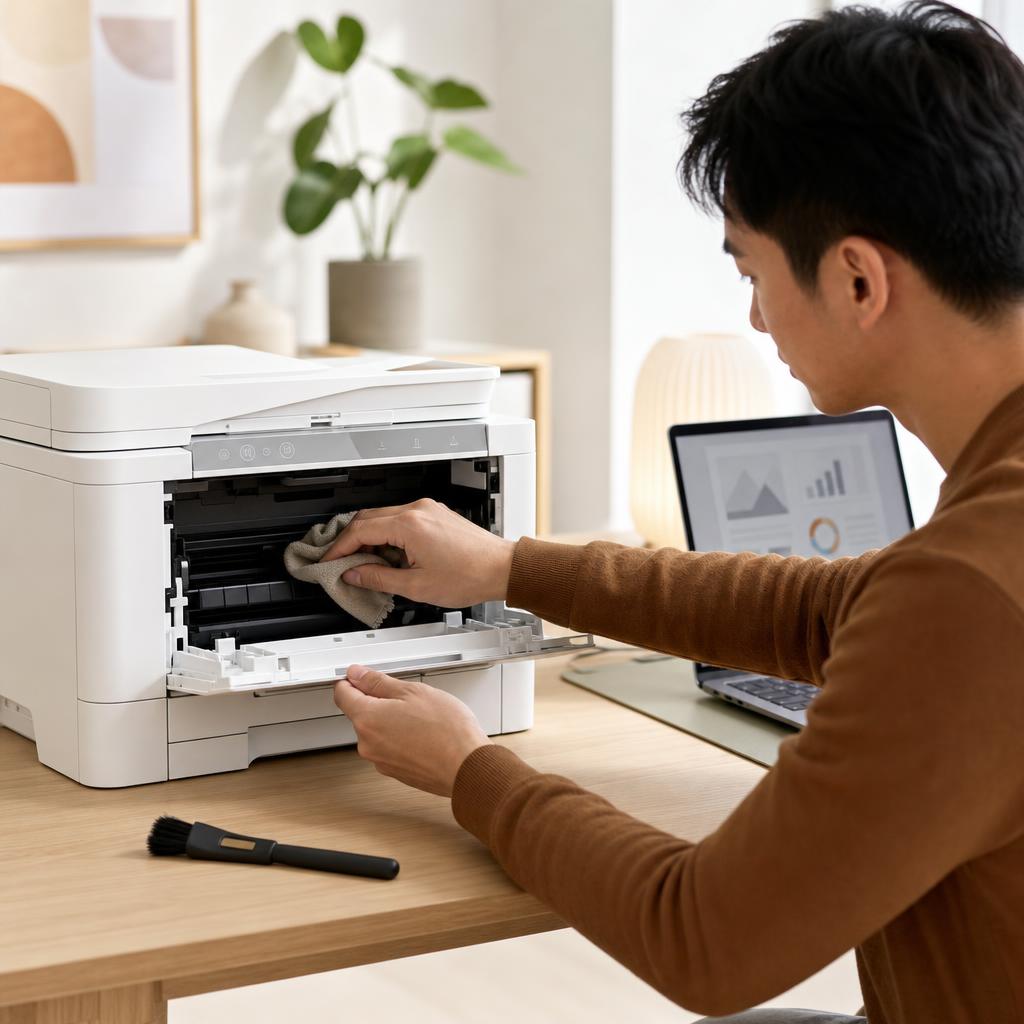
- Clean loose toner from the cartridge area with a dry cloth only — never water.
- Let the printer cool before opening it, as the fuser inside gets hot.
Windows colour-management fallback
If colours still look off on Windows, the printer’s colour profile may be misconfigured.
- Open Printing preferences → Colour, and switch colour management back to “Automatic” or the printer default.
- Remove and reinstall the printer to restore its default colour profile.
- Confirm the app you print from isn’t applying its own colour profile on top of the driver’s.
macOS colour-matching fallback
On macOS, ColorSync or an app’s own colour handling can override the printer’s settings.
- In the Print dialog, open Colour Matching and choose “In printer” to let the printer manage colour.
- Reset the printing system (right-click the printer list in Printers & Scanners) if colours stay wrong across every app.
- Reinstall the latest driver from the manufacturer so macOS uses the correct paper and colour profiles.
Confirm it's working
Tick these off to be sure the problem is fully resolved.
Keep it from happening again
A few habits that stop this problem coming back.
- Print a colour page every week or two so inkjet nozzles don’t dry out and clog a colour.
- Use genuine cartridges and toner so ink density and colour profiles match your printer.
- Always set the driver’s paper type to match the paper you’ve actually loaded.
- Run calibration and alignment after fitting new cartridges or when colours start to drift.
- Keep the printer firmware and driver up to date from the manufacturer’s official source.
- Judge prints in daylight and keep expectations realistic — screens and prints will never match perfectly.
Frequently asked questions
Was this guide helpful?
Your feedback helps us keep these steps accurate.
Thanks for your feedback!
Written by
The Guts Guide Editorial Team · Print Quality Specialists
Reviewed by
Daniel Owens · Print & Network Technician
Last updated
Jul 14, 2026
Continue Reading
Pick up where you left off with the next guide in your troubleshooting journey.
Related Guides
More troubleshooting walkthroughs you may find useful.

Buying Guides
Plain-English comparisons and pre-purchase checklists — find the right printer before you buy.


