
How to Fix Printer Streaks, Lines and Banding
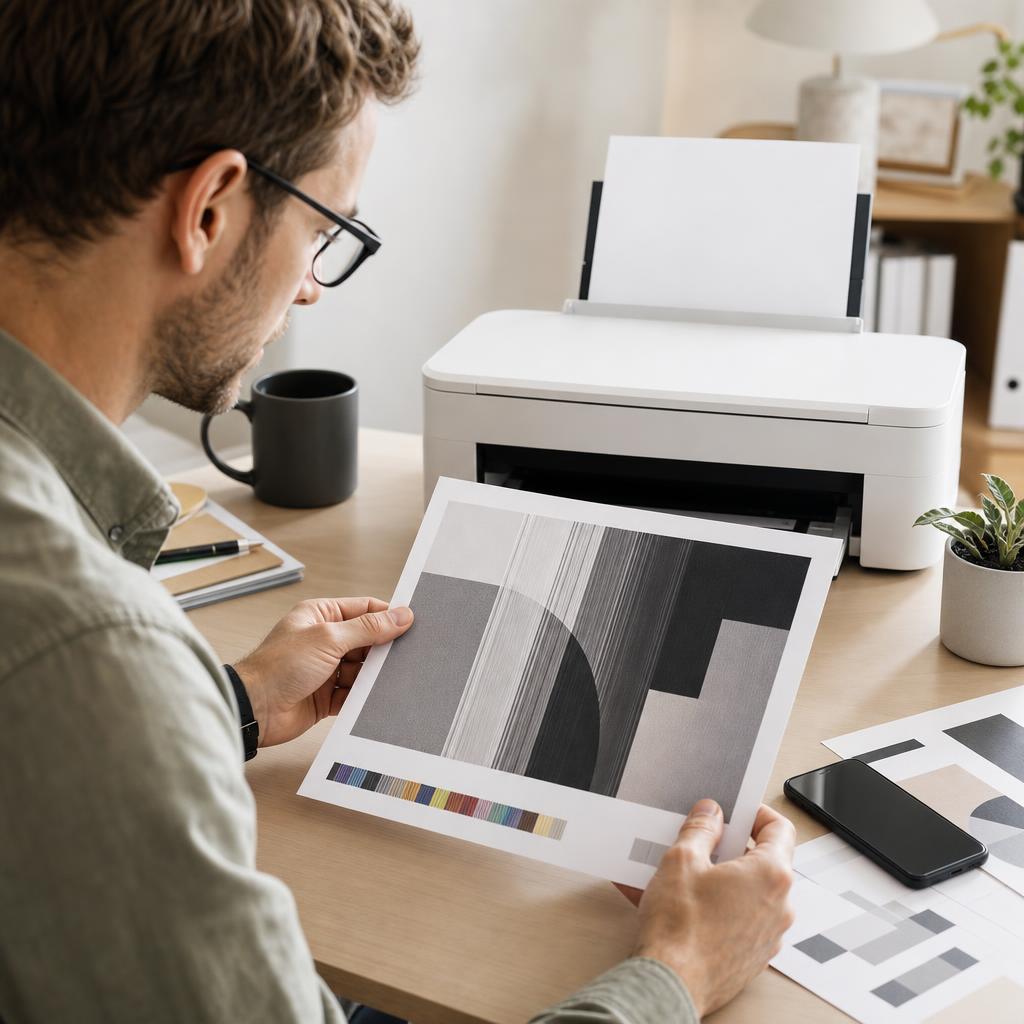
Streaks, lines and banding across your prints almost always point to a clogged nozzle, a dirty paper path, or a worn drum — not a broken printer. This guide helps you read the pattern, clean the right part, and get back to crisp, even pages.
Applies to: Inkjet & laser printers, All-in-one & multifunction models, Windows & macOS, HP, Canon, Epson, Brother & more
Quick summary
- The problem
- Your prints come out with vertical or horizontal lines, thin white or dark streaks, or repeating bands of lighter and darker shading.
- The fix
- Identify the pattern, then run a printhead cleaning on an inkjet or inspect the toner and drum on a laser, clean the paper path, and realign the printhead before reprinting a test page.
- Applies to
- Inkjet and laser printers on Windows and macOS, including all-in-one models. Most fixes are done from the printer itself or its driver software.
On this page Show
Understanding the problem
A printer builds every page from thousands of tiny dots laid down in neat rows. An inkjet fires microscopic droplets through nozzles in a moving printhead, while a laser paints an image onto a rotating drum with static charge and then fuses toner powder onto the paper with heat. When each part is clean and lined up, those rows blend into smooth text and even shading. When something interrupts one row — a blocked nozzle, a scratch on the drum, a speck of dried ink on a strip the printer uses to read its position — the gap shows up as a line, a streak, or a repeating band.
That is why streaks are so common and rarely a sign of real damage. The moving parts inside a printer collect dust, dried ink, and toner residue over time, and the pattern you see is simply the printer telling you which part needs attention. Vertical lines that run down the page usually trace back to a dirty strip, a scratched drum, or a clogged nozzle. Horizontal lines and banding tend to come from the printhead skipping rows or the paper not advancing evenly. Thin white lines often mean a nozzle is clogged or the toner is running low, while dark or black lines point to a damaged drum or a dirty paper path.
The good news is that almost all of this is fixable at home with a soft cloth, a cleaning cycle, and a few minutes of careful inspection — no tools and no technician required. This guide walks you through reading the pattern first, then cleaning the exact part responsible, in a safe order from the gentlest fix to the most thorough. You will learn how to run cleaning cycles without wasting ink, how to inspect a drum without scratching it, and how to keep the streaks from coming back.

Did you know?
Laser printers use no liquid ink
Laser printers fuse a fine plastic powder called toner onto the page with heat, which is why prints come out dry and smudge-resistant.
Signs you're in the right place
If you're seeing any of these, this guide is for you.
-
Vertical lines down the page
One or more lines run from top to bottom in the same place on every page, often tracing back to a dirty strip, a scratched drum, or a blocked nozzle.
-
Horizontal lines across the page
Lines run left to right, usually because the printhead is skipping rows or the paper is not advancing smoothly through the printer.
-
Thin white lines or gaps
Pale streaks with no ink or toner appear within text or images — a classic sign of a clogged inkjet nozzle or a laser cartridge running low.
-
Dark or black lines
Solid dark streaks appear where they should not, often caused by a scratched or worn drum on a laser, or debris on the paper path.
-
Banding — repeating light and dark stripes
Even areas print as regular bands of lighter and darker shading, typically from uneven paper feed or a printhead needing alignment.
-
Missing or faded colours
One colour looks weak or absent while others print normally, pointing to a single clogged nozzle channel or a low cartridge.
-
Smeared or repeating marks
The same mark or smudge repeats at a set distance down the page, matching the circumference of a roller or drum that needs cleaning.
-
Streaks only on scans or copies
Lines appear on copies and scans but not on documents printed from your computer, which points at the scanner glass rather than the printhead.
What's usually behind it
The most common reasons this happens, so the fix makes sense.
Clogged inkjet nozzles
Ink dries in the tiny nozzles when a printer sits unused, blocking one or more channels and leaving thin white lines or missing colours.
Low or uneven toner
A laser cartridge running low prints faded streaks or vertical gaps, especially down one side of the page as the toner settles unevenly.
A dirty timing or encoder strip
Inkjets read their position from a thin transparent strip; a speck of ink or dust on it confuses the printhead and produces sudden vertical lines.
A scratched or worn drum
On a laser printer, a scratch or worn patch on the imaging drum repeats as a dark or light vertical line in exactly the same spot on every page.
A misaligned printhead
When the printhead lays ink down slightly out of position, forward and reverse passes no longer meet cleanly, showing up as banding and fuzzy lines.
Uneven paper feed
Worn or dusty rollers advance the paper in small jerks rather than smoothly, so shading prints as regular horizontal bands.
Debris on the paper path
Dried ink, toner dust, or a scrap of label on a roller or guide drags across each sheet, leaving a repeating streak or smear.
A dirty scanner glass
On an all-in-one, dust or a mark on the flatbed glass or document-feeder strip shows up as a line on every copy and scan, but never on prints from a computer.
Ageing or third-party cartridges
Cartridges past their best, or some refilled and third-party units, can feed ink or toner unevenly and produce streaks that genuine, fresh supplies do not.
Outdated firmware or driver
Old printer firmware or a corrupted driver can send data incorrectly, occasionally causing banding or lines that no amount of cleaning will clear.
What you'll need
Have these on hand before you start for a smooth fix.
-
A soft, lint-free or microfibre cloth
For wiping the glass, strip, and interior surfaces without leaving fibres or scratches.
-
Cotton swabs and distilled water
Swabs reach tight spots; dampen them lightly with distilled water — never soak anything or spray inside.
-
A few sheets of fresh, flat paper
For nozzle checks and test pages; damp or curled paper can cause banding of its own.
-
The printer turned off and unplugged for interior work
Power down and unplug before reaching inside, and let a laser fuser cool first — it gets hot.
-
Your printer’s driver software or app
The maintenance menus for cleaning and alignment live in the driver on Windows and macOS, or the printer’s app.
-
A genuine spare cartridge or toner, if you have one
Useful for confirming whether a worn or low supply is the real cause of the streaks.
How to fix it
Work through these in order — they run from the quickest checks to the more advanced fixes.
-
Step 1: Read the pattern before you touch anything
Print a full-page document that mixes black text with a block of colour or grey shading, so every part of the printhead and path is used.
Look closely at the streaks: note whether the lines run vertically (down) or horizontally (across), and whether they are white and empty or dark and solid.
Check whether the same mark repeats at a regular distance, and whether it appears on every page or only some.
Why this works: The direction and colour of a streak tell you which part is at fault, so you clean the right thing first instead of guessing. A vertical white line means something quite different from a horizontal dark band, and reading it now saves time and ink later.
Expected result: A clear idea of the pattern — for example, “thin white vertical lines” or “repeating horizontal bands”.
If the lines appear only on copies and scans, skip ahead and clean the scanner glass — the printhead is not the problem.
-
Step 2: Check ink or toner levels
Open your printer’s app or, in Windows, go to Settings › Bluetooth & devices › Printers & scanners and open your printer to view supply levels; on macOS, check the printer’s utility or the manufacturer’s app.
Note any colour or the black cartridge showing low — low toner often prints as faint vertical streaks down one side.
If a cartridge is nearly empty, replace it with a genuine one and reprint your test page before going further.
Why this works: A low or nearly empty cartridge is one of the most common and easily missed causes of streaking, and no amount of cleaning will fix it. Ruling it out first stops you running cleaning cycles that waste ink on a supply that simply needs replacing.
Expected result: You know your ink or toner is not the cause, or you have fitted a fresh cartridge and improved the print.
Streaks clear after fitting a fresh, genuine cartridge or toner.
-
Step 3: Inspect and reseat the cartridges
On an inkjet, open the cartridge door and let the carriage move to the centre; on a laser, let the printer cool, then open the front and slide the toner cartridge out.
Look for dried ink around the nozzle plate of an inkjet cartridge, or an uneven coating of toner along a laser cartridge — gently rock a laser cartridge side to side to even the toner out.
Reseat each cartridge firmly until it clicks, close up, and reprint the test page.
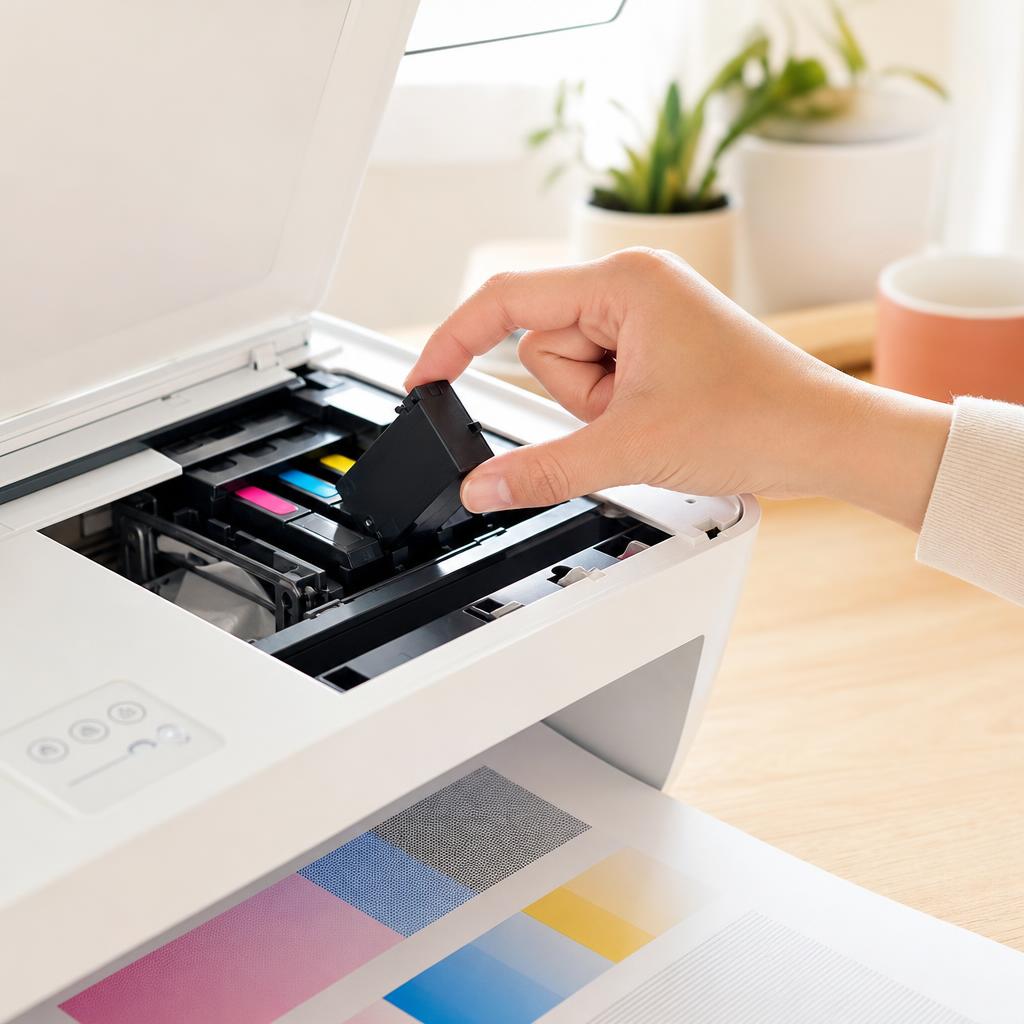
Why this works: A cartridge that is not seated squarely, or one with dried ink at the nozzles, cannot lay down an even row and shows as lines or gaps. Reseating restores a clean contact, and rocking a laser cartridge spreads settled toner so faded vertical streaks even out.
Expected result: Cartridges sit squarely and click into place, and the streaks lessen or clear.
Never touch the gold contacts or the nozzle plate with your fingers — skin oils cause connection and quality faults.
-
Step 4: Print a nozzle check (inkjet)
Open the maintenance or tools menu from the printer’s control panel, or from the driver on Windows (Printer properties › Maintenance) or macOS (the printer utility).
Choose “nozzle check” or “print quality diagnostic” and let the printer print its test pattern.
Examine the pattern for broken, missing, or stepped lines — each gap corresponds to a blocked nozzle channel.
Why this works: A nozzle check is a precise map of which colours and nozzles are clogged, so you clean only what needs it. It also gives you a before-and-after reference to confirm whether a cleaning cycle actually worked.
Expected result: A printed grid or ladder pattern that clearly shows which colour channels have gaps.
Laser printers have no nozzles — if yours is a laser, skip this and the cleaning cycle and move to the drum inspection.
-
Step 5: Run a printhead cleaning cycle (inkjet)
From the same maintenance menu, choose “clean printhead” or “clean nozzles” and let the cycle run fully — it takes a minute or two and is noisier than printing.
Print a fresh nozzle check straight afterwards to see whether the gaps have closed.
If gaps remain, run one more cleaning cycle, then let the printer rest for a few hours before trying again.
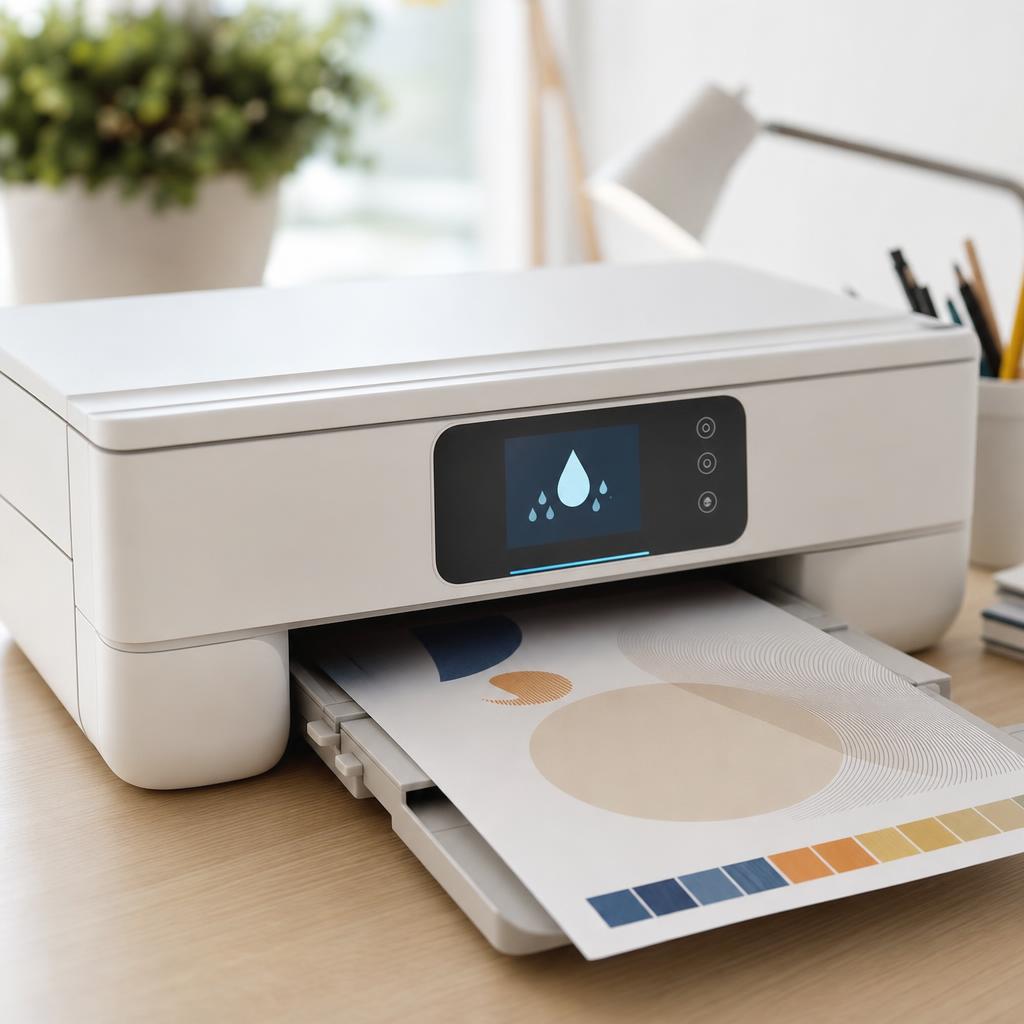
Why this works: The cleaning cycle pushes ink through the nozzles under pressure to flush out the dried ink causing white lines and missing colours. Resting between attempts lets stubborn clogs soften so a later cycle can clear them.
Expected result: A clean nozzle-check pattern with no gaps, and even, streak-free prints.
Cleaning cycles use a surprising amount of ink, so run them only when quality drops — not routinely — and never more than two or three in a row.
-
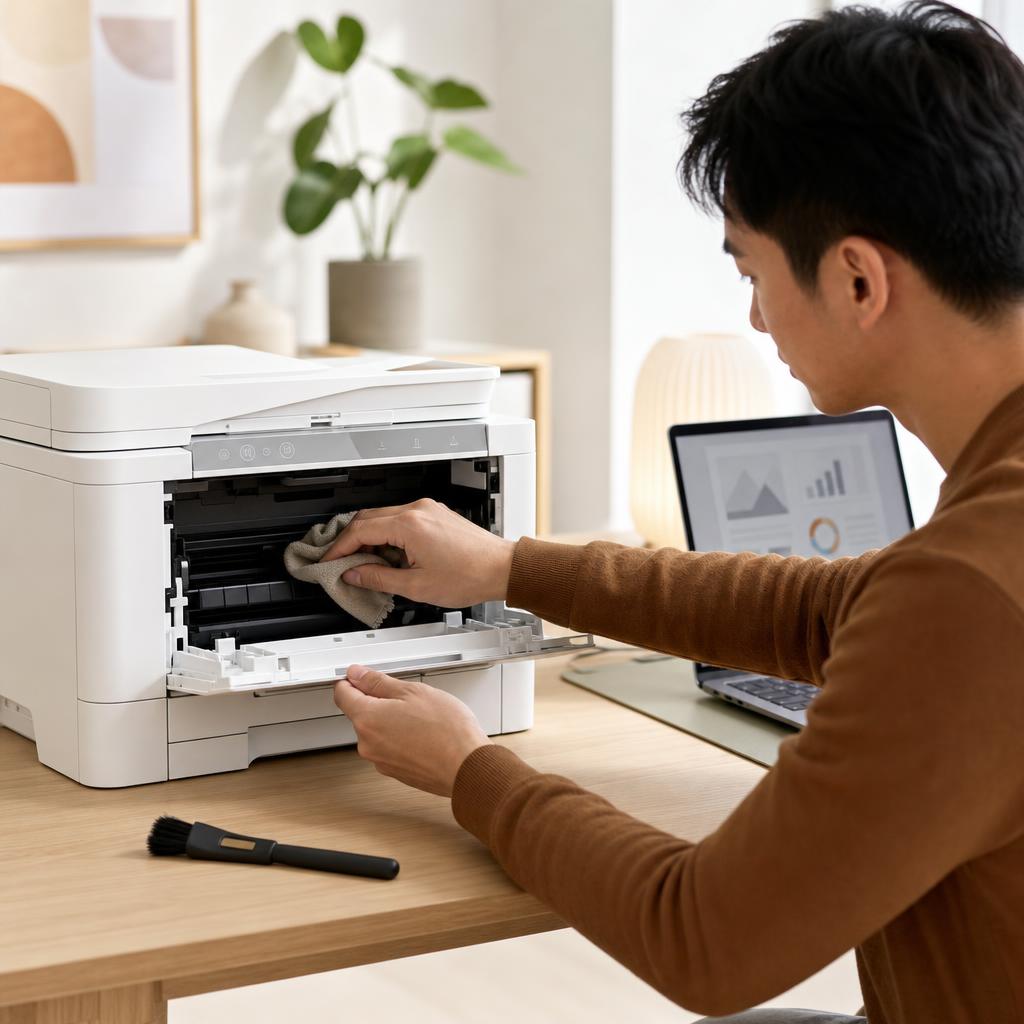
Step 6: Clean the interior strip and carriage rail (inkjet)
Turn the printer off and unplug it, then open the cartridge door so the carriage is accessible.
Find the thin, clear plastic timing strip that runs behind the carriage, and wipe it gently along its length with a soft, dry, lint-free cloth to lift any ink specks.
Wipe the metal carriage rail lightly too, then close up, plug back in, and reprint the test page.
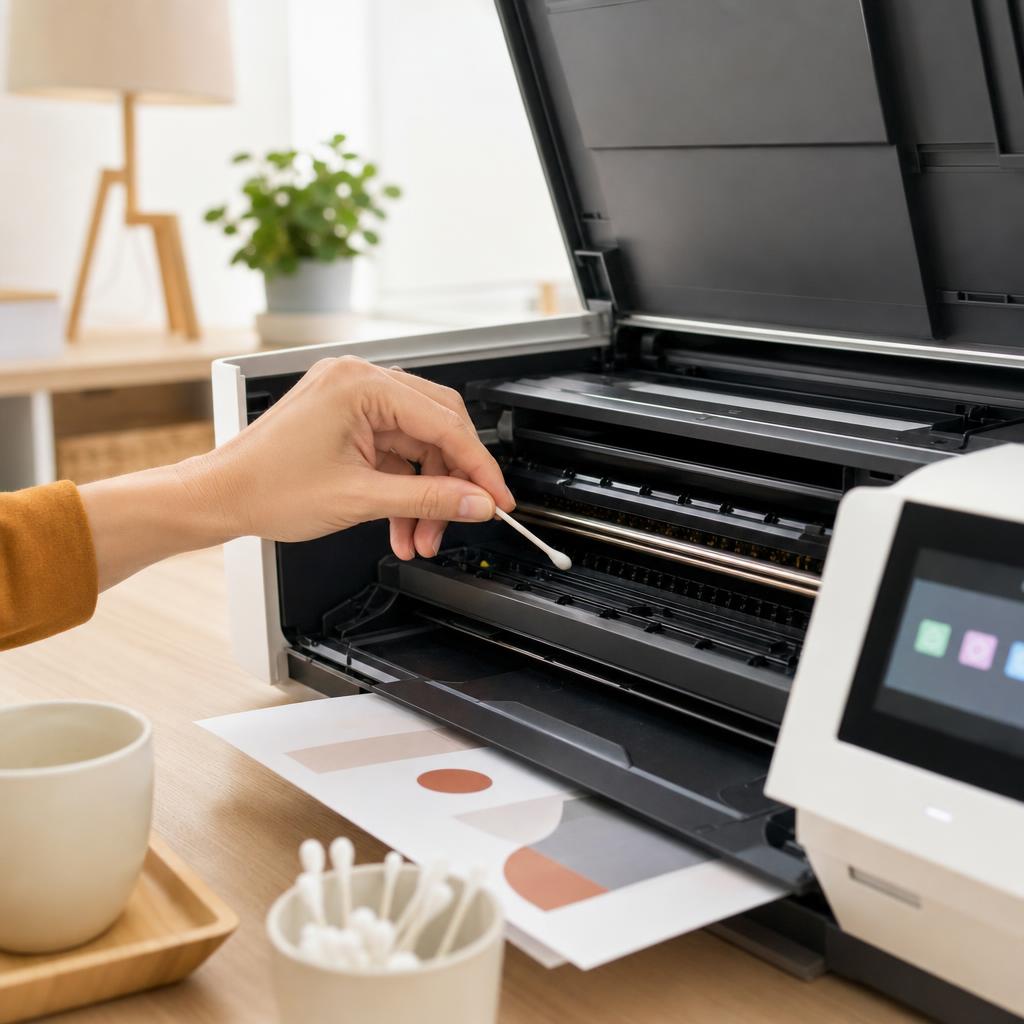
Why this works: The printer reads its exact horizontal position from that transparent strip; a single speck of ink on it makes the printhead misfire and produce sudden vertical lines. A gentle, dry wipe restores an accurate reading without damaging the delicate strip.
Expected result: The clear strip is spotless and the sudden vertical lines have gone.
Use a dry or barely damp cloth on the strip — solvents or heavy pressure can rub off the markings the printer relies on.
-
Step 7: Inspect the drum and clean the paper path (laser)
Let the printer cool, switch it off, and open the front to remove the toner or drum unit — keep it out of bright light and never touch the shiny green or blue drum surface.
Look across the drum for scratches, worn patches, or specks that line up with the streak on your page; wipe only loose toner dust from around it with a dry cloth.
Check the paper path and rollers for dried toner or debris, lift any away, then refit the unit and reprint.
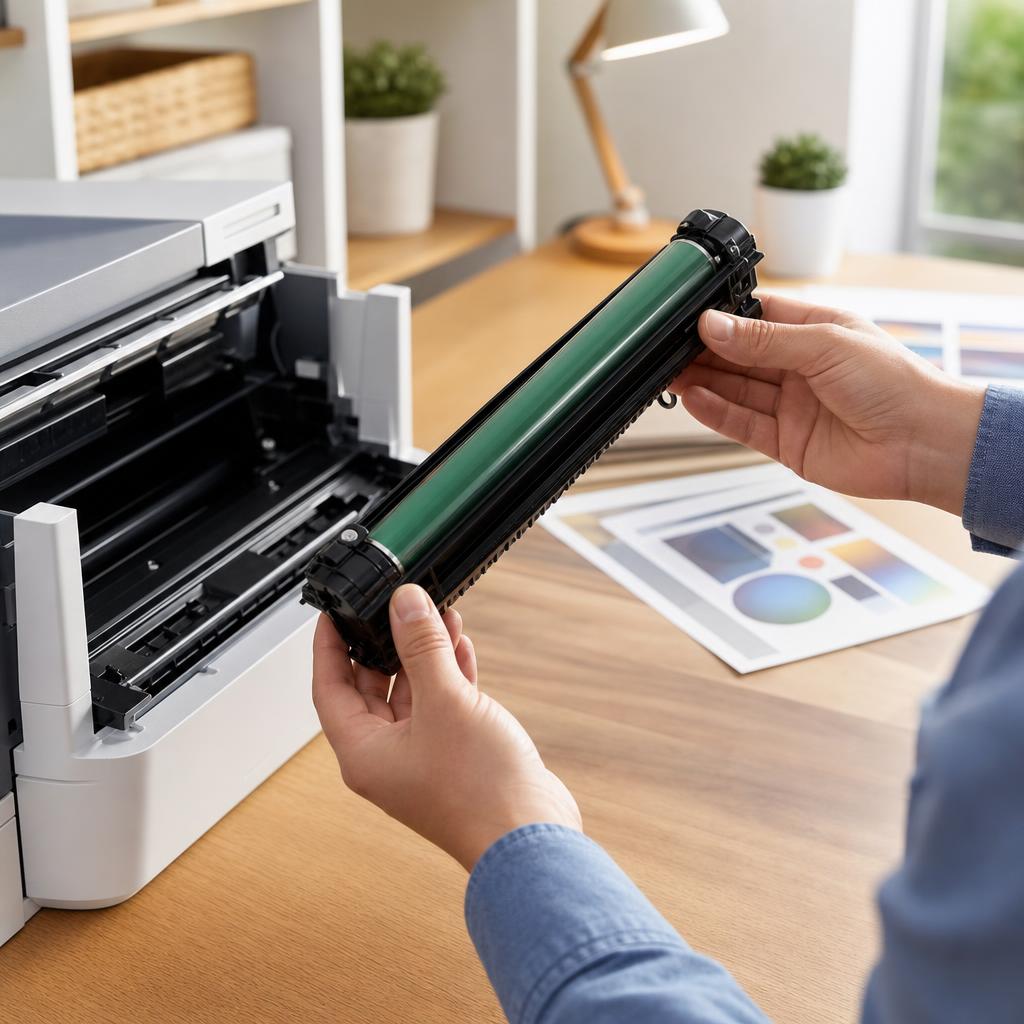
Why this works: A scratch or mark on the drum transfers to the page as a repeating vertical line, and debris on the path drags a streak across each sheet. Inspecting both tells you whether a clean will do or whether the drum needs replacing.
Expected result: A clean, undamaged drum and a clear path, with the dark or repeating line gone.
Handle toner and drums dry only — never use water on toner — and if the drum is visibly scratched, replacing it is the reliable fix.
-
Step 8: Clean the scanner glass (all-in-one)
On a multifunction printer, lift the lid and wipe the flatbed glass with a soft, lint-free cloth; for marks, spray a little glass cleaner onto the cloth, never onto the glass.
If your model has an automatic document feeder, clean the narrow glass strip it scans through, as a single mark there streaks every fed page.
Let the glass dry fully, then make a copy to check the lines are gone.
Why this works: Copies and scans are built from whatever the scanner reads, so dust or a smudge on the glass prints as a line on every copy while computer prints stay clean. Cleaning the glass fixes streaks that no printhead or drum work ever could.
Expected result: Streak-free copies and scans from clean, clear glass.
-
Step 9: Align the printhead
From the maintenance menu, choose “align printhead” and let the printer print an alignment sheet covered in line patterns and bars.
Follow the on-screen prompts to pick the sharpest, most even pattern, or let an automatic alignment scan the sheet itself.
Print a test page afterwards to confirm lines are crisp and banding has cleared.
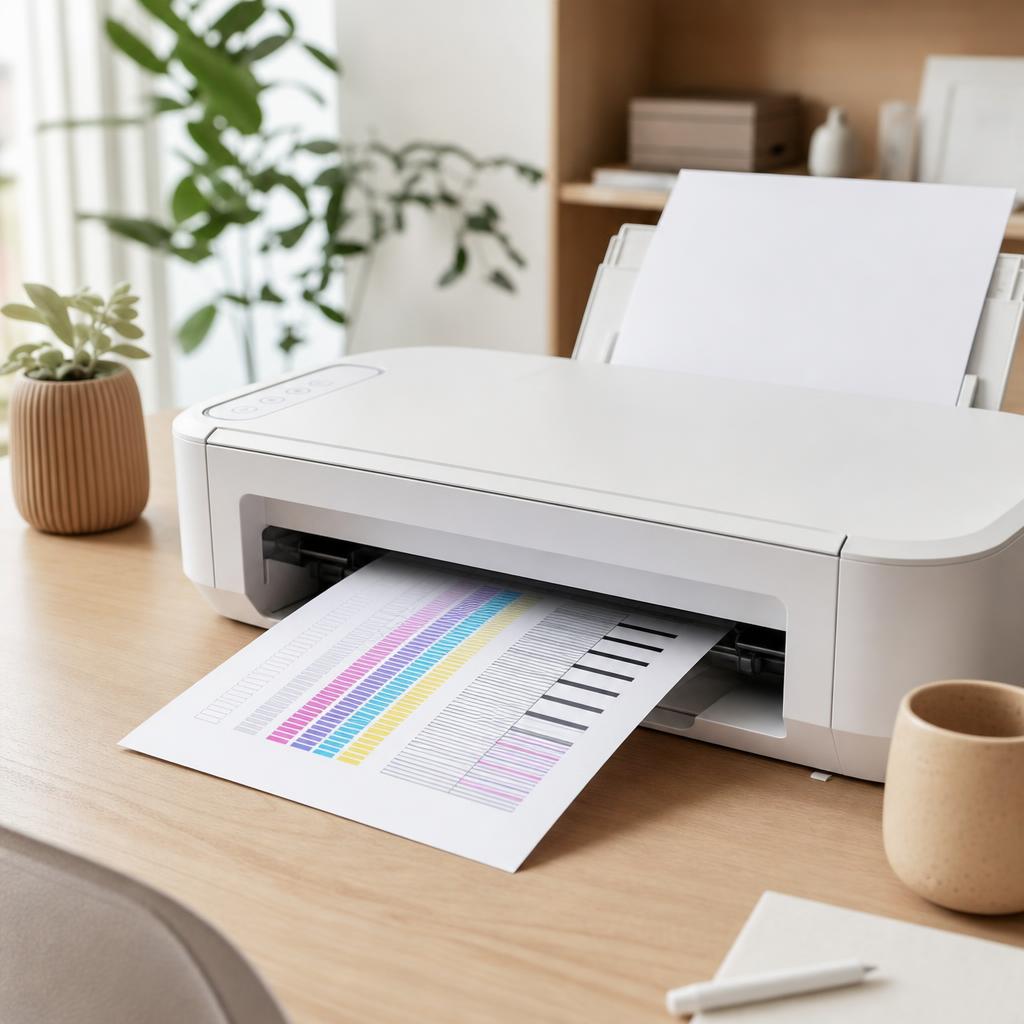
Why this works: Alignment sets the printhead to lay ink down in exactly the right place on both its forward and reverse passes. When it drifts, those passes no longer meet cleanly, which shows up as fine banding and slightly fuzzy lines even when the nozzles are clear.
Expected result: Sharp text and evenly shaded areas with no banding.
-
Step 10: Check the paper and print settings
Load fresh, flat paper from a sealed ream, as damp or curled sheets feed unevenly and cause horizontal banding.
In the print dialog, set the paper type to match what is loaded and choose “best” or “high” quality for the document that matters.
Reprint and compare — higher quality lays down more, finer rows and often hides faint banding.
Why this works: The printer adjusts how it feeds and lays ink based on the paper type you select, so a mismatch or damp paper produces uneven bands. Fresh paper and the right settings give the mechanism the best chance of a smooth, even page.
Expected result: Even shading and smooth feeding with fresh paper and matched settings.
-
Step 11: Update the firmware and driver
Check the manufacturer’s official support page or the printer’s app for a firmware update for your exact model, and install it with the printer on and connected.
On Windows, reinstall or update the driver from the manufacturer’s site; on macOS, remove and re-add the printer so it picks up the current AirPrint or manufacturer driver.
Restart the printer and computer, then reprint your test page.
Why this works: A corrupted driver or old firmware can send image data incorrectly, causing banding or lines that cleaning never clears. Updating from the official source rules this out and often fixes bugs that affect print quality.
Expected result: The printer runs current firmware and a clean driver, and prints without software-caused lines.
Only ever install firmware from the manufacturer’s official source, and never switch the printer off part-way through an update.
-
Step 12: Print a final test page to confirm
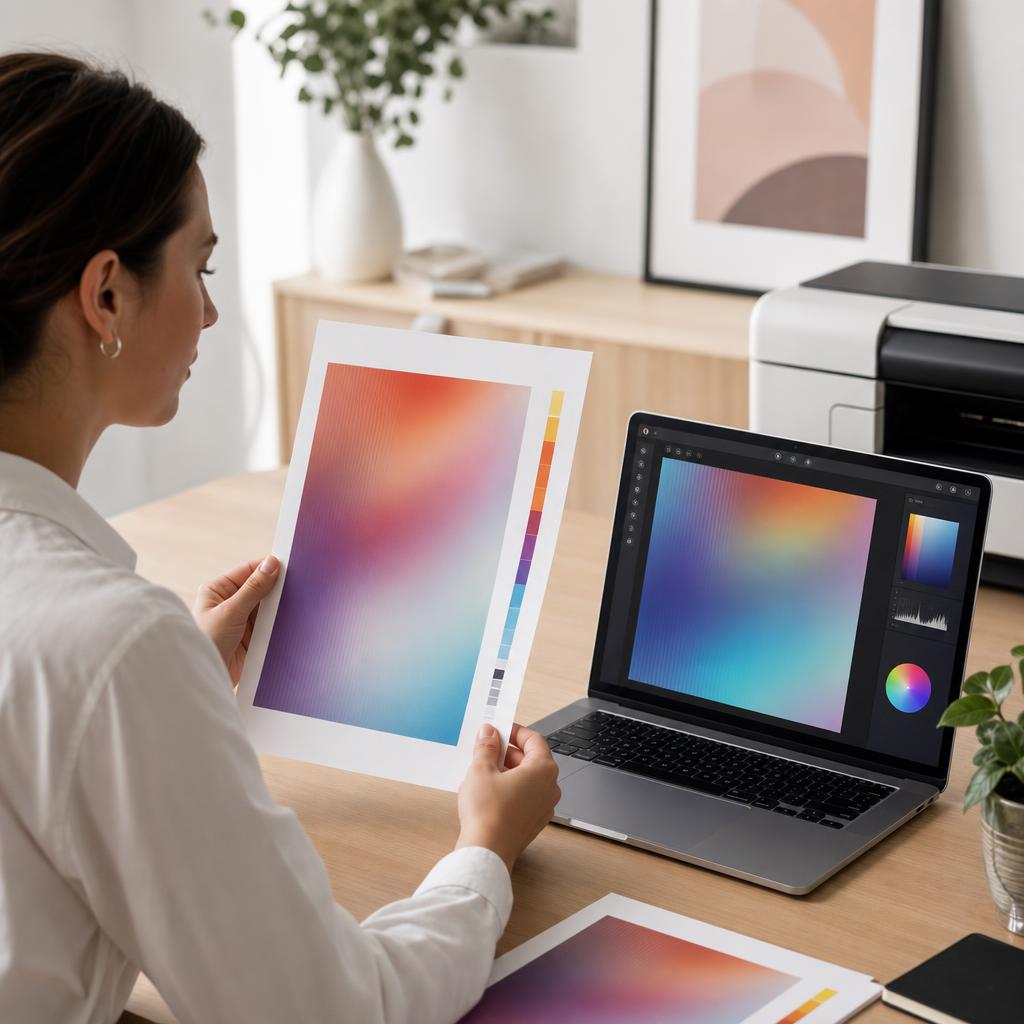
Print a page mixing black text, colour, and a block of even grey shading — the same kind of page you started with.
Check that text is crisp, colours are solid, and shaded areas are smooth with no lines or bands.
Print a normal everyday document too, to be sure real work looks clean.

A clean, evenly shaded test page confirms the streaks are gone for good. Why this works: A final test confirms that all your cleaning, alignment, and settings changes worked together. It gives you a clear before-and-after so you know the streaks are genuinely gone rather than just fainter.
Expected result: A clean, sharp page with even shading and no streaks, lines, or banding.
Both the test page and a normal document print cleanly with no lines or bands.
Tip
Printer Tip
Print a colour page every week or two on an inkjet so ink does not dry in the nozzles.
Other solutions to try
If the steps above didn't do it, these fixes resolve the less common cases.
Inkjet printers
Inkjets streak mainly from dried ink in the nozzles or specks on the timing strip, so cleaning centres on keeping ink flowing.
- Run a nozzle check, then one cleaning cycle, and re-check — rest the printer between attempts rather than cleaning repeatedly.
- Gently wipe the clear timing strip and carriage rail with a dry cloth to clear sudden vertical lines.
- Align the printhead after cleaning or fitting a new cartridge to remove banding.
- Print a colour page every week or two so ink does not dry in the nozzles again.
Laser printers
Lasers streak from low or uneven toner, a scratched drum, or debris on the path — all handled dry, with the fuser cooled first.
- Rock the toner cartridge gently side to side to even out settled toner when streaks are faint.
- Inspect the drum for scratches that line up with the streak, and replace it if it is marked — never touch its surface.
- Clear dried toner and debris from the rollers and paper path with a dry cloth only.
- Fit a genuine replacement toner or drum if streaks persist after cleaning.
When only copies or scans streak
If lines appear on copies and scans but not on prints from your computer, the scanner — not the printer — is at fault.
- Wipe the flatbed glass with glass cleaner sprayed onto a cloth, never onto the glass itself.
- Clean the narrow scanning strip used by the automatic document feeder, where one mark streaks every page.
- Make a copy of a blank sheet to spot any remaining marks against the white background.
Windows and macOS software fallbacks
When cleaning does not help, a driver or spooler fault can be the hidden cause of lines and banding.
- On Windows, remove the printer, reinstall the latest driver from the manufacturer, then clear and restart the print spooler.
- On macOS, delete the printer from Settings › Printers & Scanners and add it back so it loads a fresh driver.
- Print from a different app or a plain PDF to rule out one document or program as the source.
Confirm it's working
Tick these off to be sure the problem is fully resolved.
Keep it from happening again
A few habits that stop this problem coming back.
- Print a colour page every week or two on an inkjet so ink does not dry in the nozzles.
- Use genuine cartridges and toner, and replace them before they run right down.
- Keep paper sealed, flat, and away from damp so it feeds evenly.
- Wipe the scanner glass and clear the paper path during routine cleaning.
- Run cleaning cycles only when quality drops — not as a habit — to avoid wasting ink.
- Install official firmware updates when they appear to keep print quality reliable.
Frequently asked questions
Was this guide helpful?
Your feedback helps us keep these steps accurate.
Thanks for your feedback!
Written by
The Guts Guide Editorial Team · Print Quality Specialists
Reviewed by
Daniel Owens · Print & Network Technician
Last updated
Jul 14, 2026
Continue Reading
Pick up where you left off with the next guide in your troubleshooting journey.
Related Guides
More troubleshooting walkthroughs you may find useful.

Buying Guides
Plain-English comparisons and pre-purchase checklists — find the right printer before you buy.


