
How to Fix a Printer Printing Faded or Light Pages
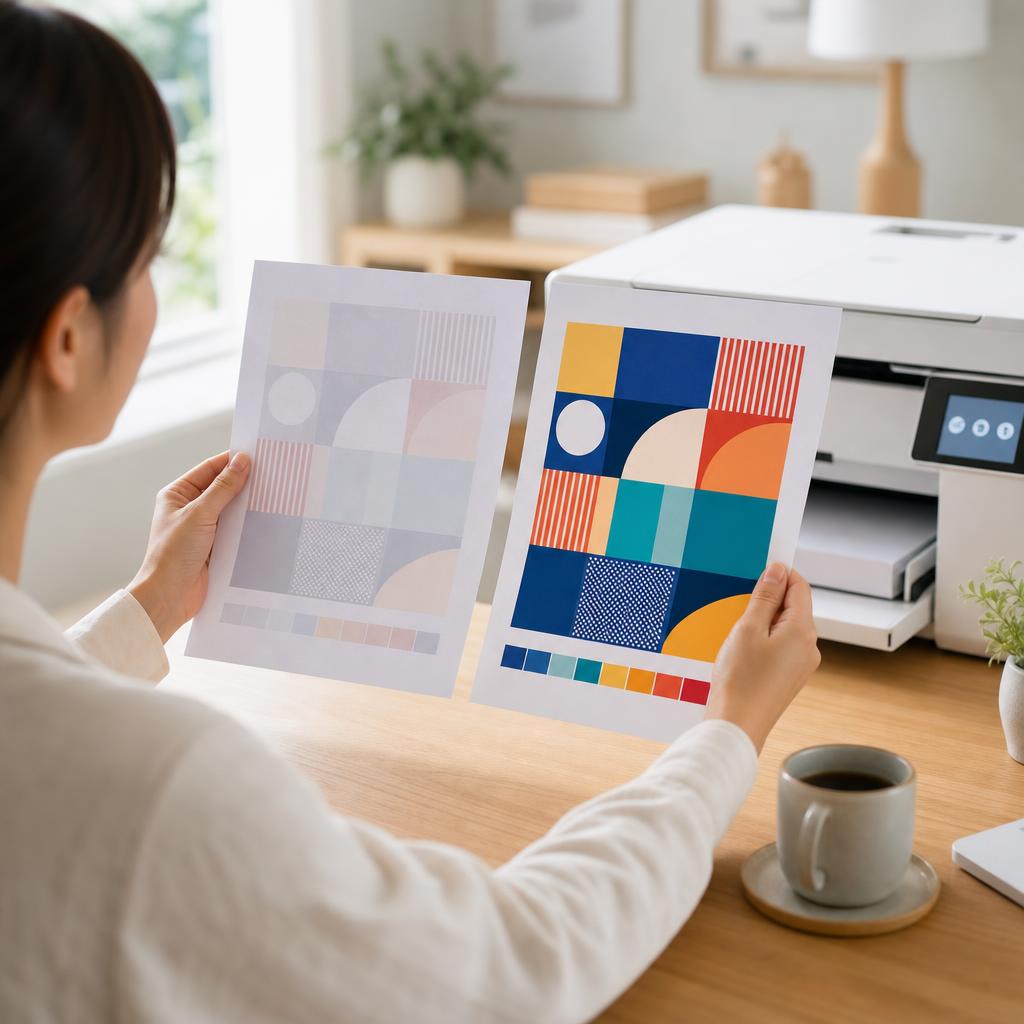
Pale, washed-out prints usually come down to low ink or toner, an economy print setting, a clogged printhead, or damp paper. This guide walks you through each cause in plain language, from the quickest checks to the deeper fixes, so your pages come out crisp and dark again.
Applies to: Inkjet & laser printers, Windows & macOS, Home & office printers, Ink tank & toner-based models, Multifunction (all-in-one) printers
Quick summary
- The problem
- Pages print pale, grey, or washed-out instead of crisp and dark, even though the printer otherwise works.
- The fix
- Redistribute or replace low ink or toner, turn off draft/economy mode and raise the print density, load fresh dry paper, then clean the printhead if needed.
- Applies to
- Inkjet and laser printers on Windows and macOS — home and office models alike.
On this page Show
Understanding the problem
A printer builds every page from a huge number of tiny dots — an inkjet sprays microscopic droplets of liquid ink through a printhead, while a laser fuses fine toner powder onto the paper with heat. When everything is working, those dots land densely and evenly, so text looks solid black and photos look rich. Faded printing simply means fewer dots are reaching the page, or they’re landing too lightly, so the whole print looks pale and washed-out.
There are only a handful of reasons that happens, and most are reassuringly simple. The ink or toner may be running low; the printer may be set to a fast, ink-saving draft mode; the density or contrast setting may be turned down; the nozzles on an inkjet may be partly clogged with dried ink; or the paper may be the wrong type or have absorbed moisture from a damp room. On laser printers, an ageing drum can also let prints fade over time. Each of these leaves prints looking light in a slightly different way.
The good news is that faded printing is one of the most fixable print-quality problems, and you rarely need any tools or technical know-how. This guide starts with the fastest, no-cost checks — settings and paper — then moves through redistributing and replacing supplies, cleaning the printhead, and finally the deeper causes like a worn drum. Work through the steps in order and stop as soon as your prints come out dark and sharp again.

Common mistake
Installing several drivers at once
Adding multiple drivers for the same printer can cause conflicts and duplicate entries. Remove old drivers before installing a fresh one.
Signs you're in the right place
If you're seeing any of these, this guide is for you.
-
Text looks grey instead of black
Black text prints in a weak, pale grey that’s hard to read, rather than a solid, crisp black.
-
Whole pages look washed-out
The entire print is uniformly pale and lacking contrast, as if the brightness has been turned right up.
-
Colours print weak and pale
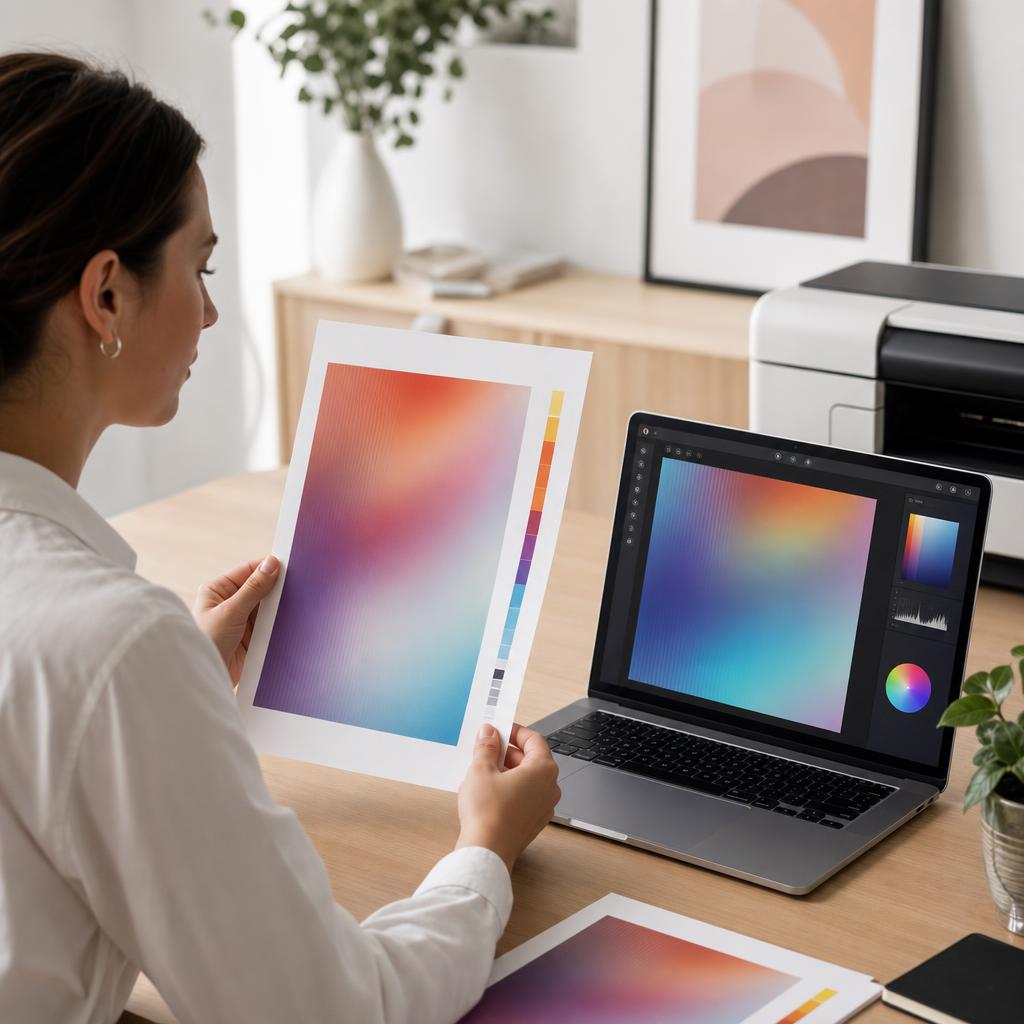
Photos and graphics come out muted and lifeless, with colours far lighter than they appear on screen.
-
Faint or patchy areas
Parts of the page are noticeably lighter than others, with faded patches or ghostly, half-formed text.
-
Fading gets worse over time
Prints started out fine but have grown steadily paler with each job as a supply runs down.
-
A low ink or toner warning
The printer or its software shows a low-level alert, and prints have turned light around the same time.
-
Light, thin-looking print
Letters and lines look thin and starved of ink, as though the printer is rationing what it lays down.
-
Fading only on certain paper
Prints look pale on one batch of paper but fine on another, or worse after the paper has sat out in a damp room.
What's usually behind it
The most common reasons this happens, so the fix makes sense.
Low ink or toner
The most common cause — as a cartridge or toner runs down, there simply isn’t enough left to cover the page fully, so prints fade.
Draft or economy mode is on
Fast, ink-saving modes lay down far less ink or toner on purpose, which is ideal for rough copies but leaves everyday prints looking pale.
Print density turned down
A low density, contrast, or "toner save" setting tells the printer to use less ink or toner than normal, lightening every print.
Toner settled to one side
In a part-used laser cartridge, toner powder can settle unevenly, causing faded or patchy prints until it’s redistributed.
Clogged or partly blocked nozzles
On an inkjet left unused, dried ink can partly block the printhead nozzles, so less ink reaches the page and prints look faint.
Dried-out or old ink
Ink that has thickened or dried in an old or rarely used cartridge flows poorly, printing weak and streaky rather than solid.
The wrong paper type
Very absorbent, textured, or low-quality paper soaks up or scatters ink and toner, dulling the print even when supplies are full.
Humidity-damaged paper
Paper that has absorbed moisture from a damp room holds toner poorly and blurs inkjet ink, leaving prints pale and soft.
A worn drum (laser)
The imaging drum in a laser printer wears out over time; as it ages it transfers less toner, so prints gradually lighten.
Wrong or generic driver settings
A mismatched paper-type setting or a basic generic driver can print at the wrong density, making pages come out light.
What you'll need
Have these on hand before you start for a smooth fix.
-
The printer, powered on and connected
You’ll print test pages as you go, so keep it switched on and linked to your computer.
-
A spare ink cartridge or toner
Having the correct replacement on hand lets you rule out a low supply straight away.
-
A fresh, sealed ream of paper
A fresh pack rules out damp or poor-quality paper as the cause of the fading.
-
A soft, lint-free cloth
For wiping around cartridges or a laser drum area — dry only for toner, never damp.
-
Access to the printer settings
On the control panel or in the print dialog on Windows or macOS, to check draft mode and density.
-
A few minutes for a laser fuser to cool
If you open a laser printer, let the hot fuser inside cool first, for safety.
How to fix it
Work through these in order — they run from the quickest checks to the more advanced fixes.
-
Step 1: Print a test page and check the ink or toner levels
Print a simple test page or a page of black text so you can see the fading clearly and compare later.
Check the ink or toner levels on the printer’s control-panel screen, or in its companion app or the print dialog on your computer.
Note which colour or cartridge looks low — all-round fading points to black or toner, while pale colours point to a colour cartridge.
Why this works: A quick test page gives you a baseline to measure every later fix against. Checking supply levels first tells you whether the simplest cause — a low cartridge — is likely before you change anything.
Expected result: A clear sample of the faded print and a reading of which supply is running low.
On-screen ink gauges are estimates, not exact readings — treat a "low" warning as a strong hint rather than proof.
-
Step 2: Turn off draft or economy mode
On Windows, open Settings → Bluetooth & devices → Printers & scanners, select your printer, open Printing preferences, and set the quality to Normal or Best rather than Draft or Fast.
On macOS, choose File → Print in your app, and under the quality or media options set it to Normal or Best instead of Draft or Economy.
Look for any "Toner Save", "Eco", or "Ink Saver" tick-box and switch it off, then reprint your test page.

Why this works: Draft and economy modes deliberately lay down much less ink or toner to print faster and save supplies. Left switched on, they make every page look pale even when the printer is working perfectly.
Expected result: The reprinted page looks noticeably darker and more solid than the draft version.
Text prints in a solid, readable black once draft mode is off.
-
Step 3: Raise the print density or darkness setting
In the same printing preferences or print dialog, look for a "Density", "Darkness", "Contrast", or "Toner density" slider or number.
Increase it a step or two above its current setting — raise it gradually rather than jumping to maximum.
Reprint the test page and repeat in small steps until the print looks solid without smudging or bleeding.
Why this works: The density setting controls how much ink or toner the printer uses per page. A setting that has drifted low, or was reduced to save supplies, leaves prints looking faint until you nudge it back up.
Expected result: Prints darken evenly with each increase, reaching a crisp, solid finish.
Don’t set density to maximum straight away — too much ink can smear on an inkjet or make a laser page look muddy.
-
Step 4: Load fresh, dry paper of the right type
Remove the paper from the tray and open a fresh, sealed ream if the current stack has been sitting out in a damp or humid room.
Load a neat, aligned stack of standard, good-quality paper and set the guides snugly against its edges.
Check that the paper-type setting in the print dialog matches what you’ve loaded — for example Plain Paper for everyday printing.
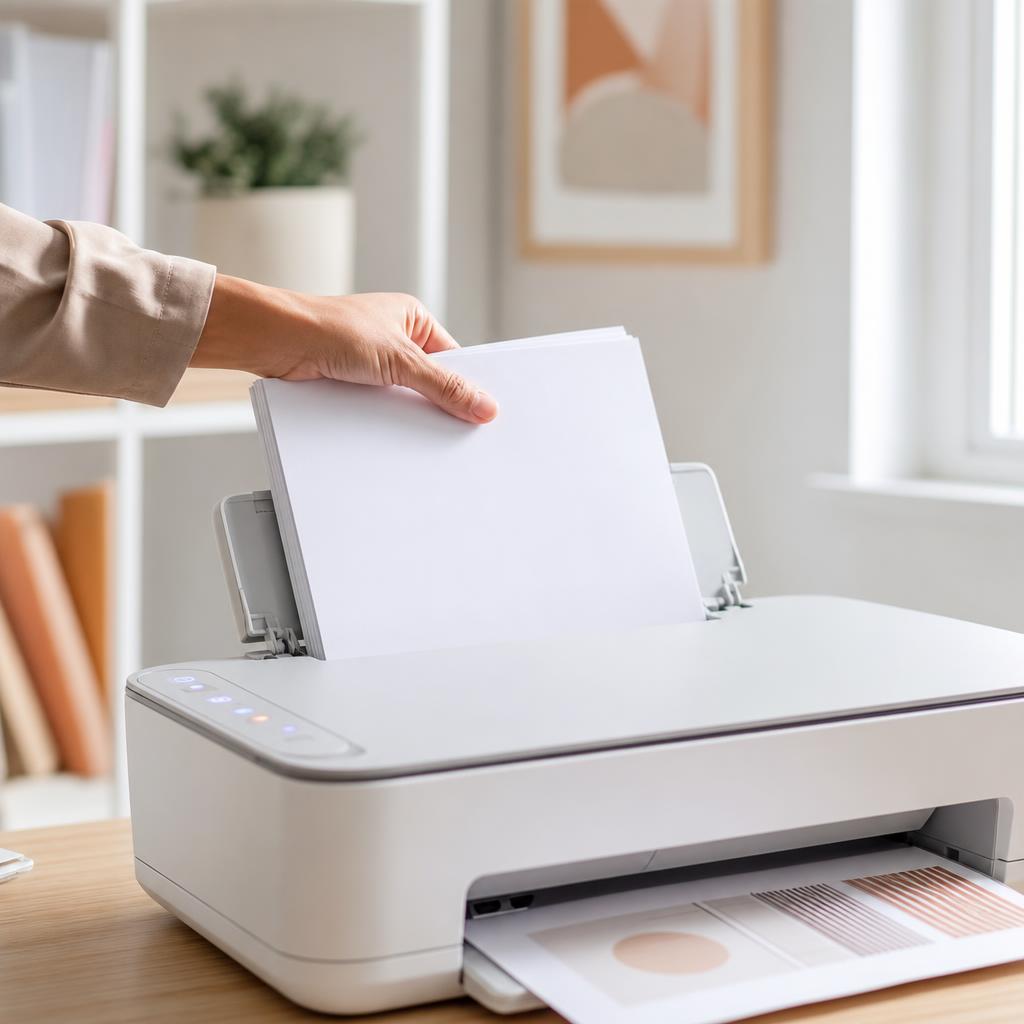
Why this works: Paper that has absorbed moisture holds toner poorly and lets inkjet ink spread, so prints look pale and soft. Very absorbent or textured paper, or a mismatched paper-type setting, has the same washing-out effect.
Expected result: Prints look sharper and darker on fresh, correctly matched paper.
The same document prints crisper on the fresh ream than on the old paper.
-
Step 5: Rock the toner cartridge to redistribute it (laser)
Switch the laser printer off, let it cool for a few minutes, then open the front and carefully slide out the toner cartridge.
Hold it level and rock it gently side to side and front to back a few times to spread the toner powder evenly inside.
Slide the cartridge firmly back until it clicks, close the printer, and reprint your test page.
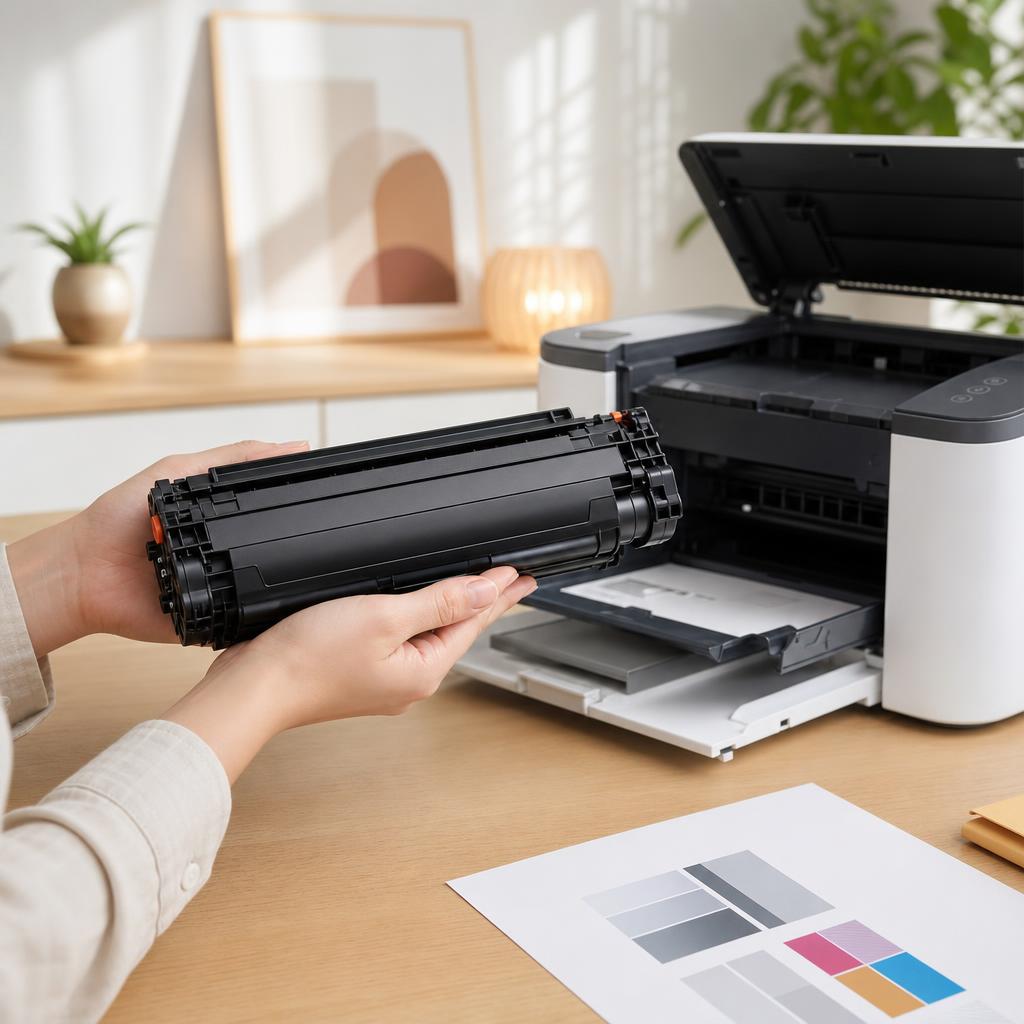
Why this works: Toner is a fine powder that can settle to one side in a part-used cartridge, leaving prints faded or patchy. Gently rocking it redistributes the powder so it feeds evenly again, which often revives a fading laser print.
Expected result: Prints come out even and darker across the whole page.
Keep the cartridge level and away from clothing — loose toner is messy. Wipe any spills with a dry cloth only, never water, and never on an inkjet.
-
Step 6: Run a printhead cleaning cycle (inkjet)
On an inkjet, open the maintenance or tools menu on the printer’s control panel, or in its software on your computer.
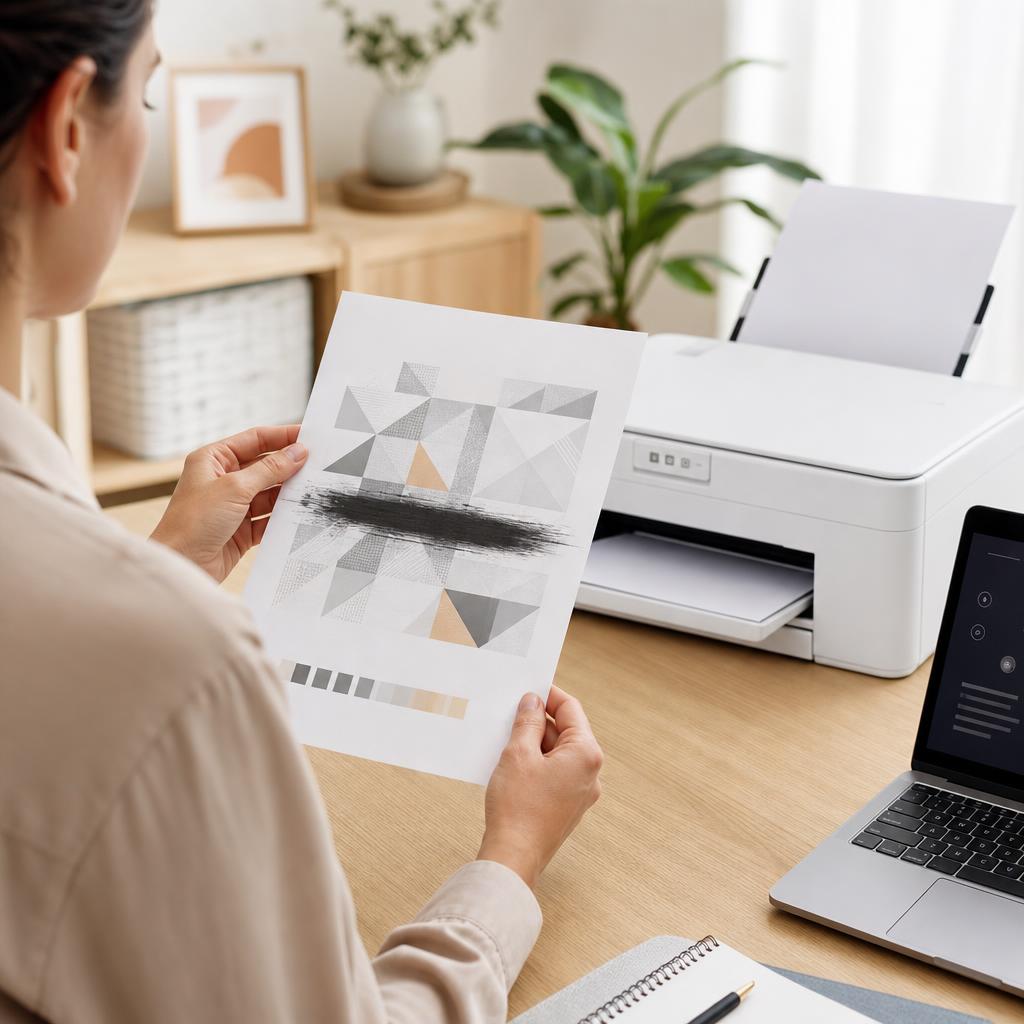
Choose the printhead cleaning (or nozzle clean) option and let the cycle finish, then print the nozzle-check pattern it offers.
If gaps or faint bands remain, run one more cleaning cycle, then let the printer rest for a few hours before checking again.
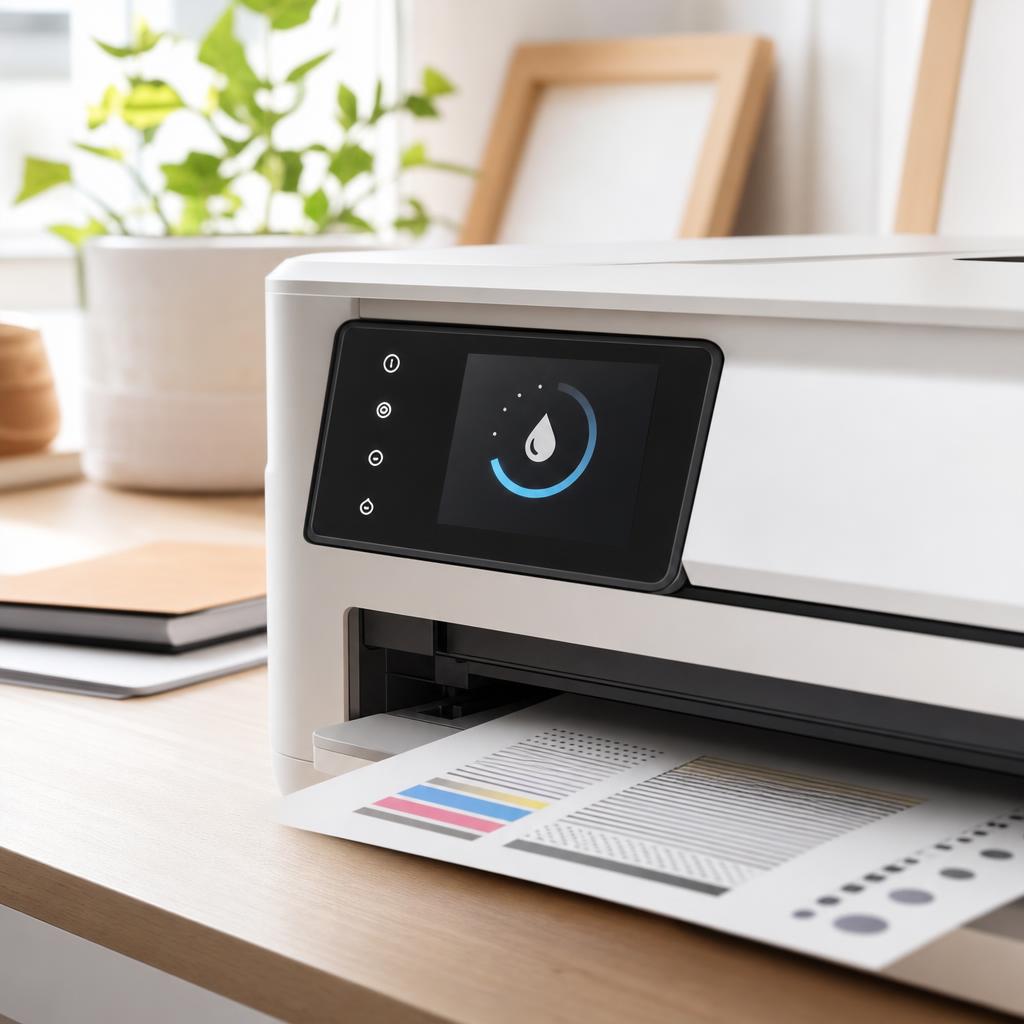
Why this works: When an inkjet sits unused, ink dries and partly blocks the fine nozzles, so less ink reaches the page and prints look faint. The built-in cleaning cycle flushes the nozzles clear so ink flows fully again.
Expected result: A complete nozzle-check pattern with no gaps, and darker, even prints.
Cleaning cycles use ink, so run only when needed. Don’t run more than two or three in a row — let the printer rest instead, or you’ll waste ink for little gain.
-
Step 7: Reseat the cartridge and check the contacts (inkjet)
Open the cartridge access door, let the carriage move to the centre, and gently lift out the faded colour’s cartridge.
Check that the protective tape has been fully removed, then wipe any dried ink from around the seat with a lint-free cloth, avoiding the gold contacts.
Press the cartridge back until it clicks, close the door, and print a test page.
Why this works: A cartridge that isn’t seated properly, or has a dirty contact, can print weakly or miss a colour entirely. Reseating it restores a firm electrical connection so it prints at full strength.
Expected result: The cartridge clicks in cleanly and prints its colour solidly again.
Never touch the copper or gold contacts or the nozzles with your fingers — skin oils can cause connection and quality problems.
-
Step 8: Replace a low or dried-out ink cartridge
If levels are low or cleaning didn’t help, fit a fresh, genuine cartridge for the faded colour — remove the protective tape before installing.
Press it in until it clicks, close the door, and let the printer recognise the new cartridge.
Print a test page, and run a printhead alignment from the maintenance menu if the printer prompts for one.
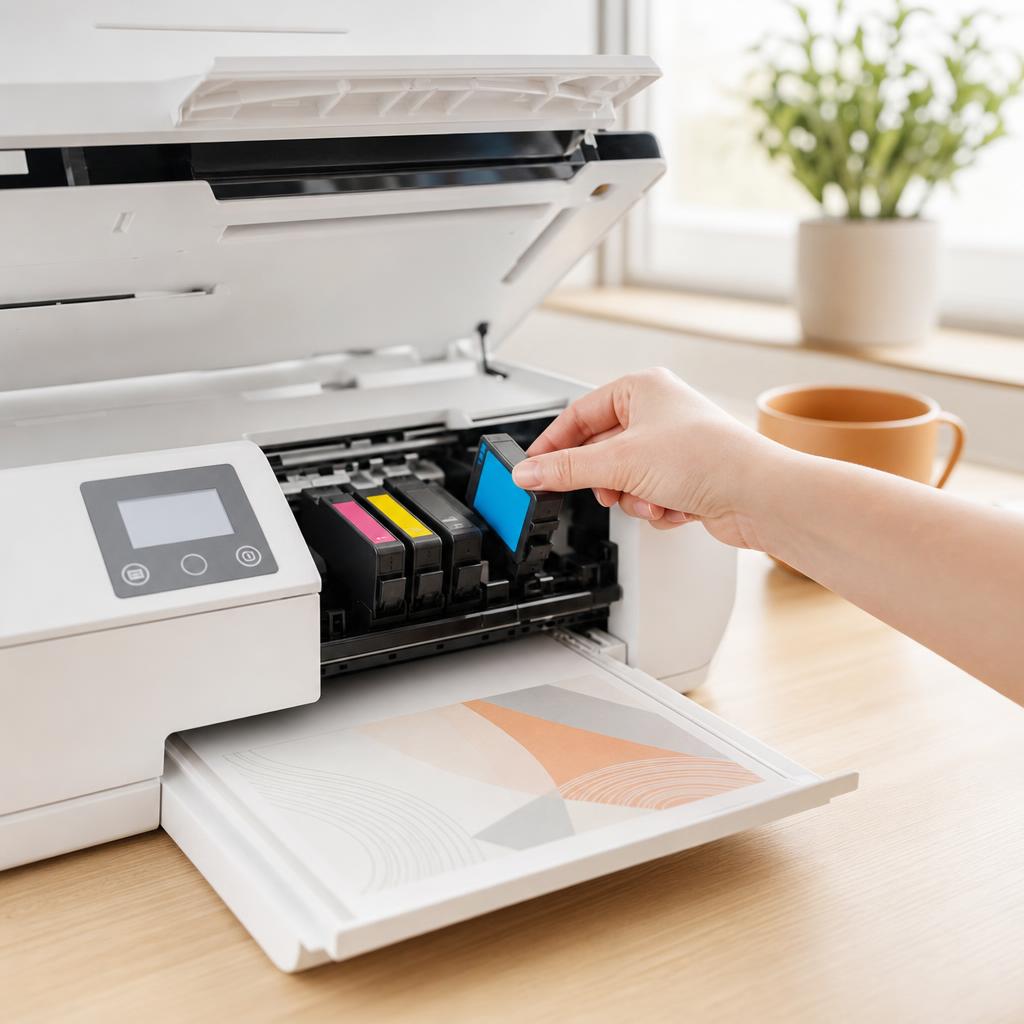
Why this works: Ink that has run low or dried out in an old cartridge simply can’t cover the page fully, and no setting will bring it back. A fresh cartridge restores a full, even flow of ink so prints look solid again.
Expected result: Rich, even prints with no faded or missing areas.
The test page prints dark and consistent across the whole sheet.
-
Step 9: Replace a low toner cartridge (laser)
If rocking the toner only helped briefly, or levels are genuinely low, fit a new toner cartridge for your exact model.
Remove any protective seal or tab as the instructions show, then slide the cartridge in until it clicks and close the printer.
Print a test page to confirm the fading has cleared across the whole sheet.
Why this works: Rocking a cartridge only spreads the toner that’s left; once it’s genuinely running out, prints stay faint. A fresh toner cartridge gives the printer a full supply of powder to lay down evenly.
Expected result: Solid, uniform black across the page with no faded bands.
Use toner made for your exact model — the wrong cartridge may not fit, seal, or feed correctly.
-
Step 10: Reinstall or update the printer driver
Download the full driver for your exact model from the manufacturer’s official support site, rather than using a basic generic driver.
On Windows, remove the printer from Settings → Printers & scanners first, then install the downloaded driver; on macOS, remove it in System Settings → Printers & Scanners and re-add it.
Reprint your test page and check the quality and paper-type settings are correct in the new driver.
Why this works: A basic or mismatched driver can print at the wrong density or ignore quality settings, leaving pages light. The full manufacturer driver gives the printer the correct instructions and the proper quality controls.
Expected result: The printer prints at the right density with the correct quality options available.
Only download drivers and firmware from the manufacturer’s official website — third-party download sites can bundle unwanted or unsafe software.
-
Step 11: Consider a worn drum or ageing supplies (laser)
If prints across the whole page have faded gradually despite fresh toner, check whether your laser uses a separate imaging drum or drum unit.
Look on the control panel or in the software for a drum-life warning, and replace the drum with the correct part for your model if it’s worn.
For a combined toner-and-drum cartridge, a fresh cartridge replaces both at once, so fit a new one.
Why this works: The drum transfers toner onto the paper, and it wears out over the printer’s life. As it ages it transfers less toner, so prints slowly lighten even with a full toner cartridge.
Expected result: A new drum restores dark, even prints across the whole page.
Let the printer cool before opening it, and handle a drum by its ends — its green surface is delicate and shouldn’t be touched or exposed to bright light for long.
-
Step 12: Print a final test to confirm the fix
Print a page mixing black text, a photo, and some colour so you can judge density, sharpness, and colour together.
Check that text is a solid black, colours are rich, and there are no pale patches, gaps, or ghosting.
Print a normal everyday document too, to confirm ordinary printing looks crisp and consistent.
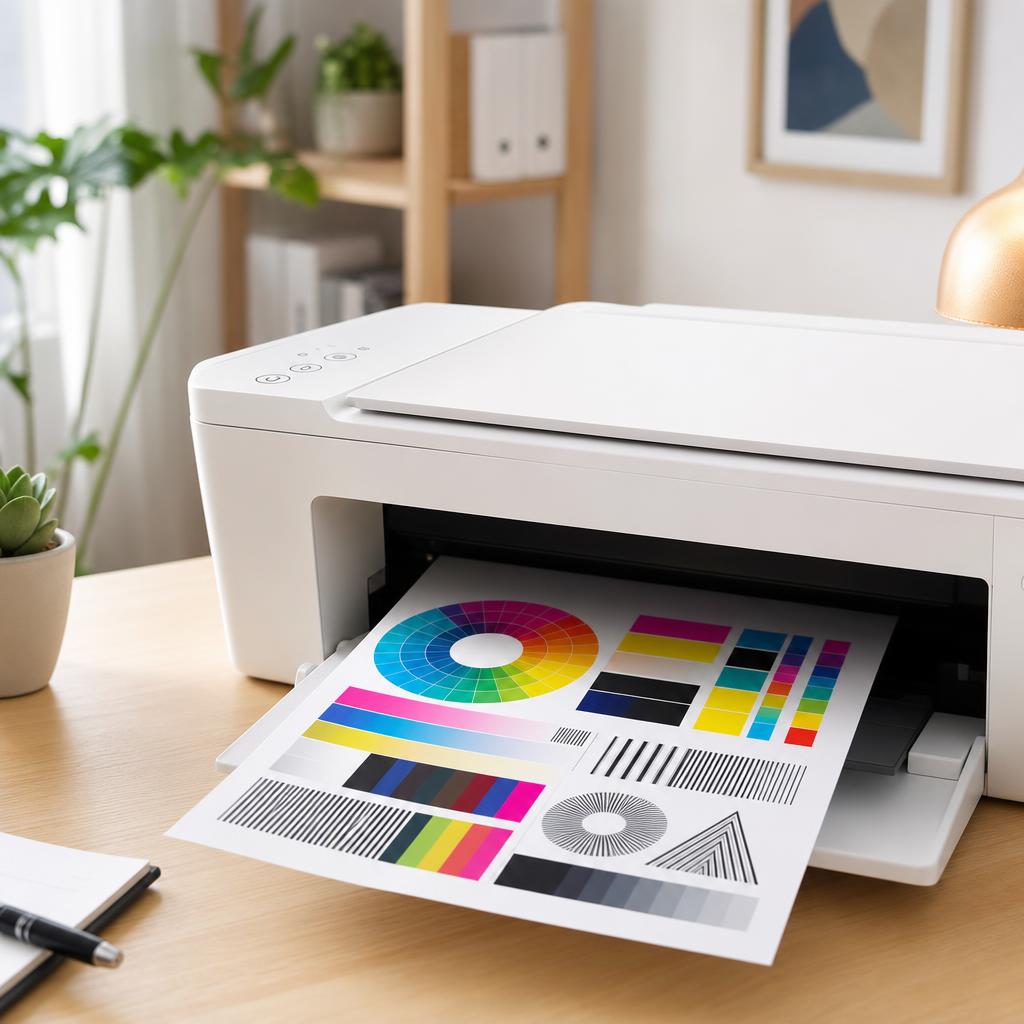
A sharp, dark test page with rich colour confirms the fading is fixed. Why this works: A mixed test page confirms every fix has worked together — correct settings, good paper, and a healthy supply. It’s the clearest way to see the difference and be sure the fading is gone.
Expected result: A crisp, dark, evenly printed page with rich colour and no fading.
Both the test page and a normal document print sharp and dark from edge to edge.
Tip
Printer Tip
Keep a spare cartridge or toner on hand and replace supplies before they run right down.
Other solutions to try
If the steps above didn't do it, these fixes resolve the less common cases.
Inkjet printers
Inkjets fade when ink runs low, dries in the nozzles, or the wrong quality setting is used.
- Run a printhead cleaning and nozzle check when prints turn faint, then rest the printer between cycles.
- Reseat cartridges and check the protective tape is off; replace any that are low or dried out.
- Print at least a page every week or two so ink doesn’t dry in the nozzles.
- Use Normal or Best quality on plain paper for everyday documents rather than Draft.
Laser printers
Lasers fade as toner settles or runs down, or as the imaging drum wears with age.
- Let the printer cool, then rock the toner cartridge gently to redistribute the powder.
- Turn off "Toner Save" and nudge the toner-density setting up a step if prints are light.
- Replace the toner when it’s genuinely low, and the drum or drum unit at its recommended interval.
- Clean loose toner with a dry cloth only — never water — and use a toner-safe vacuum for spills.
Windows fallback checks
If settings look right but prints stay light on Windows, work through the driver and defaults.
- Open Printers & scanners, remove the printer, and reinstall the full driver from the manufacturer.
- In Printing preferences, set quality to Normal or Best and confirm the paper type matches the tray.
- Print a test page from the printer’s Properties to check the printer itself, separate from the app.
macOS fallback checks
On a Mac, a generic AirPrint profile can limit quality and density controls.
- In System Settings → Printers & Scanners, remove the printer and re-add it using the manufacturer’s driver if offered.
- In the Print dialog, expand the options and set the media type and quality explicitly rather than leaving defaults.
- Use Reset printing system as a last resort, then re-add the printer to rebuild a clean setup.
Confirm it's working
Tick these off to be sure the problem is fully resolved.
Keep it from happening again
A few habits that stop this problem coming back.
- Keep a spare cartridge or toner on hand and replace supplies before they run right down.
- Leave everyday printing on Normal quality — save Draft mode for rough internal copies only.
- Print a page every week or two on an inkjet so ink doesn’t dry in the nozzles.
- Store paper sealed, flat, and away from damp so it doesn’t absorb moisture.
- Match the paper-type setting in the driver to the paper you actually load.
- Install official firmware and driver updates so quality settings behave correctly.
Frequently asked questions
Was this guide helpful?
Your feedback helps us keep these steps accurate.
Thanks for your feedback!
Written by
The Guts Guide Editorial Team · Print Quality Specialists
Reviewed by
Daniel Owens · Print & Network Technician
Last updated
Jul 14, 2026
Continue Reading
Pick up where you left off with the next guide in your troubleshooting journey.

Related Guides
More troubleshooting walkthroughs you may find useful.
Buying Guides
Plain-English comparisons and pre-purchase checklists — find the right printer before you buy.


