
How to Fix Low Ink or Low Toner Warnings
That “low ink” or “low toner” message is an estimate, not a fuel gauge — and it often appears long before your cartridge is genuinely empty. This guide explains how printers really work out those levels, how to check what’s actually left, and how to keep printing safely without wasting a cartridge that still has plenty of pages in it.
Applies to: Inkjet & laser printers, All-in-one (print/scan/copy) models, Genuine & third-party cartridges, Windows & macOS, HP, Canon, Epson, Brother & more
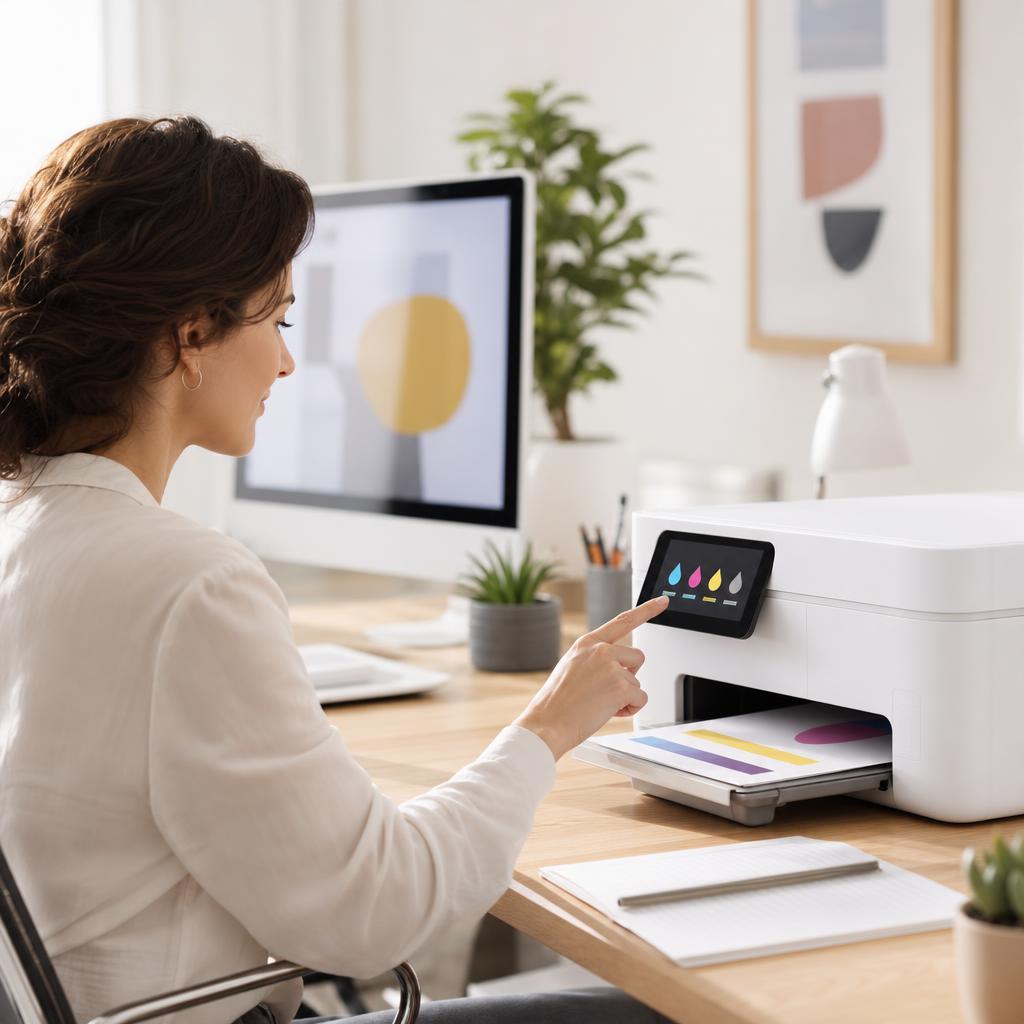
Quick summary
- The problem
- Your printer keeps warning that ink or toner is low — sometimes far too early, sometimes stubbornly even after you’ve fitted a new cartridge.
- The fix
- Treat the warning as an estimate: check the real level on the panel or app, keep printing until quality actually drops, shake a laser toner to reclaim pages, and reseat or power-cycle after a swap so the printer re-reads the level.
- Applies to
- Inkjet and laser printers on Windows and macOS, using genuine or third-party cartridges.
On this page Show
Understanding the problem
A “low ink” or “low toner” warning feels like the dashboard light in a car, but it works nothing like a float bobbing in a fuel tank. Most printers don’t actually measure the liquid or powder left inside a cartridge. Instead they estimate: an inkjet quietly counts every drop it fires and every cleaning cycle it runs, then subtracts that from the cartridge’s rated capacity, while a laser tracks how many pages it has printed and how much of each page was covered in toner. Some models add a simple sensor — an optical window or a small float — but even those give a rough reading rather than a precise one. The warning, in other words, is the printer’s best guess that you’re getting close, not proof that you’re about to run dry.
Because it’s an estimate, it drifts. If you print a lot of dense photos or heavy black pages, the counter runs down faster than the ink really does; if you print light text, the opposite happens and you often get far more out of a cartridge than the warning suggests. Refilled or third-party cartridges throw the maths off even more, since the chip may report the original capacity or none at all, which is why they so often read “low” or “empty” the moment they’re fitted. This is where people get caught out: they see the warning, assume the cartridge is finished, and bin something that still holds hundreds of usable pages.
The good news is that a low warning almost never means “stop” — it means “start thinking about a spare.” This guide shows you how ink and toner levels are really calculated, how to read the true level from the printer panel, the printer driver, and the manufacturer’s app, and how to carry on printing safely. You’ll learn the one signal that genuinely matters on an inkjet, the simple shake that revives a laser toner for another few hundred pages, why a brand-new cartridge sometimes still cries “low,” and how to decide when it’s honestly time to replace. Nothing here is drastic, and you’ll waste far less ink by the end of it.

Quick fact
Most offline errors are connection issues
A printer that shows offline is usually still working — the computer has simply lost track of it. Reconnecting and setting it as default often fixes it.
Signs you're in the right place
If you're seeing any of these, this guide is for you.
-
A pop-up warns before you print
A message on your computer or the printer panel announces low ink or toner, sometimes every single time you send a job.
-
A level bar shows nearly empty
The on-screen gauge for one colour or the black cartridge has dropped to a sliver, though pages still print perfectly well.
-
The warning appears very early
You fitted the cartridge only recently, or it’s a high-capacity “XL”, yet the printer already claims it’s running low.
-
A new cartridge still reads low
You’ve just replaced it, but the printer stubbornly reports the same colour as low or even empty.
-
One colour looks faint or streaky
Text or images show banding, patchy colour, or a washed-out tint where one ink is genuinely starting to run out.
-
Laser prints turn pale on one side
Fading, light patches, or a vertical streak appears across the page as toner stops spreading evenly inside the cartridge.
-
The printer refuses to print
Some models block printing at the warning until you acknowledge it, change a setting, or fit a fresh cartridge.
-
A third-party cartridge triggers alerts
A refilled or compatible cartridge shows an unknown-level, question-mark, or persistent low warning that a genuine one wouldn’t.
What's usually behind it
The most common reasons this happens, so the fix makes sense.
The level is an estimate, not a measurement
The printer counts drops or pages against a rated capacity rather than measuring what’s physically left, so the reading is only ever approximate.
An early-warning safety margin
Manufacturers set the warning to trigger with a comfortable reserve still inside, so you rarely run out mid-page — often 10–20% remains.
Heavy or dense printing skews the count
Photos, full-colour graphics, and pages of solid black use the counter up quickly, making the estimate drop faster than the ink or toner truly does.
Toner has settled or bunched to one side
In a laser cartridge the powder can pile unevenly as it depletes, so part of the drum starves and the printer reports low before the toner is really spent.
A refilled or third-party cartridge chip
A reused or compatible chip may report the original full capacity, no data at all, or an unknown level, which the printer often treats as low or empty.
A new cartridge hasn’t been re-read yet
If the printer didn’t register the swap — because the cartridge wasn’t seated fully or the printer wasn’t restarted — it keeps showing the old level.
Dirty or poor chip contacts
The small metal or gold contacts that let the printer read the cartridge can be smeared or misaligned, producing a false or missing level reading.
Firmware that scrutinises cartridges
A firmware update can change how strictly the printer checks a cartridge, sometimes flagging third-party supplies that previously worked fine.
Frequent cleaning cycles on an inkjet
Automatic head cleaning consumes ink you never see on paper, so a printer used in short bursts can hit the low warning surprisingly soon.
A cartridge that is genuinely near the end
Sometimes the warning is simply right — the ink or toner really is close to spent, and fading on the page will confirm it.
What you'll need
Have these on hand before you start for a smooth fix.
-
A few sheets of plain paper
For a quick test print so you can judge the real print quality rather than trusting the level bar alone.
-
The manufacturer’s app or driver installed
The HP Smart, Canon, Epson, or Brother app — or the printer driver on your computer — shows the level and often more detail than the panel.
-
A soft, lint-free cloth
Lightly dampened with cool water only, for gently wiping cartridge chip contacts if a level reads wrong after a swap.
-
One correct spare cartridge (ideally)
Buy the exact model number for your printer and keep it sealed, so a genuine empty never leaves you stranded mid-job.
-
A little patience for a power cycle
Some level and false-alert fixes only take effect after the printer is switched fully off and on again.
-
Your printer’s model number to hand
Needed to look up the right cartridge and to find the correct level menu, which varies between brands and models.
How to fix it
Work through these in order — they run from the quickest checks to the more advanced fixes.
-
Step 1: Don’t panic — the warning is an estimate
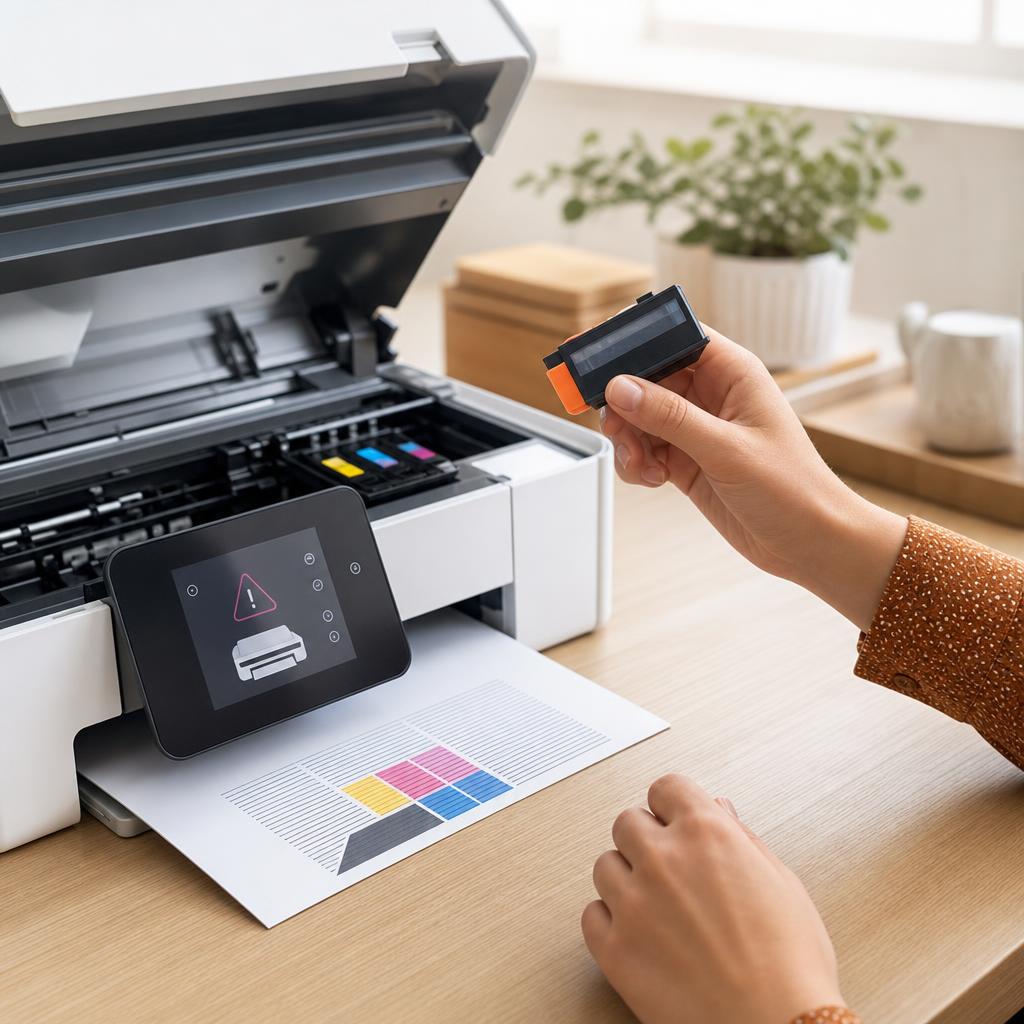
Read the message carefully: “low” means the printer thinks you’re getting close, not that the cartridge is empty.
Note which cartridge it names — a specific colour, black, or toner — so you check the right one.
Carry on with your current print job if you have one; a low warning almost never stops the page you’re on.
Why this works: The level a printer shows is calculated from counted drops or pages, not measured from the cartridge, so it routinely appears while plenty of ink or toner remains. Understanding this stops you from replacing a cartridge that still has hundreds of good pages left.
Expected result: You know exactly which supply is flagged and that there’s no need to act in a hurry.
If your printer blocks printing entirely at the warning, that’s a policy set by the maker, not a sign the cartridge is truly empty — the later steps cover carrying on.
-
Step 2: Check the real level on the printer panel
On the control panel, open the ink or toner menu — often under Setup, Tools, Ink/Toner Levels, or the drop icon on the home screen.
Read the bars or percentages for each cartridge and note which are low, rather than relying on the pop-up alone.
On a screen-less printer, print the built-in status or supplies report from the menu to see the same information on paper.
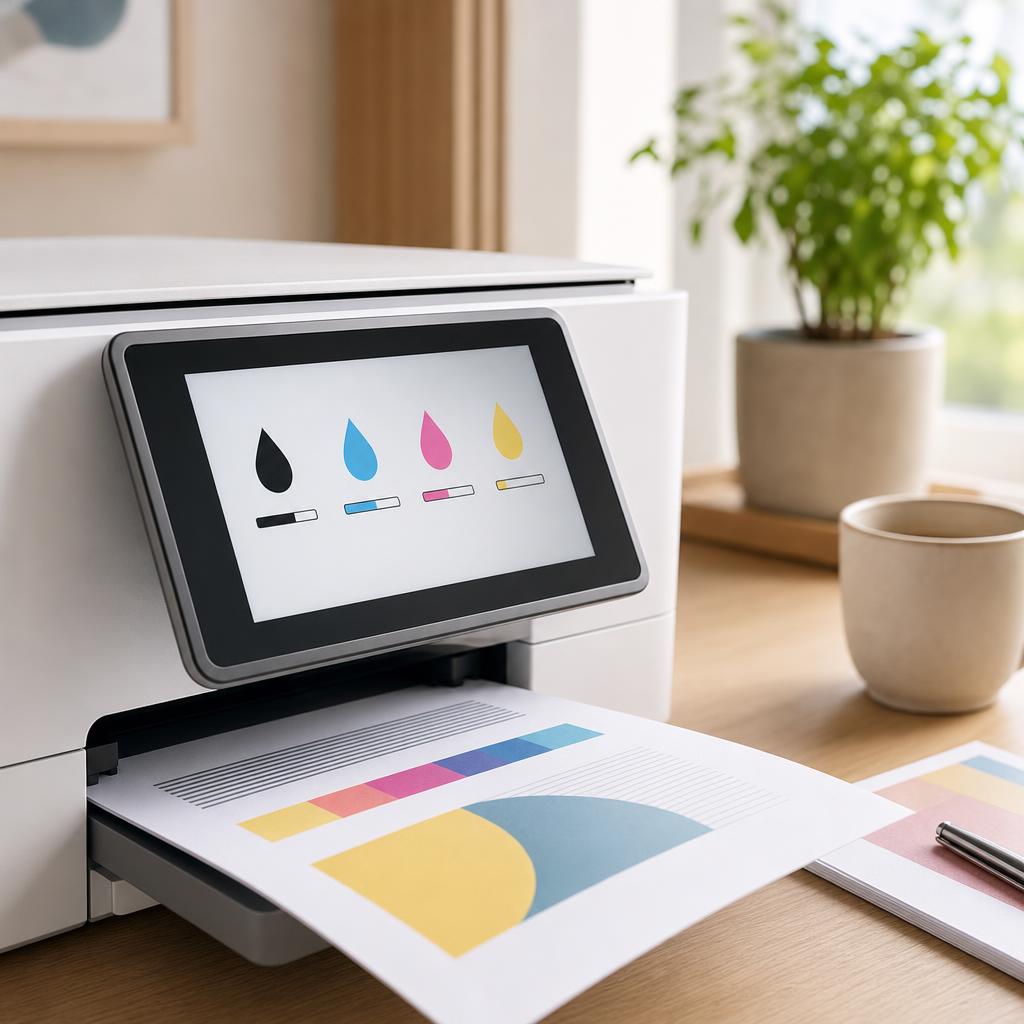
Why this works: The panel shows the printer’s own estimate for every cartridge in one place, which is more useful than a single warning that only names the first one to trip. Seeing all levels together helps you plan which spares you actually need.
Expected result: You can see the estimated level of every cartridge and confirm which are genuinely getting low.
The panel lists each cartridge with a level bar or percentage.
-
Step 3: Cross-check the level in the app or driver
Open the manufacturer’s app (such as HP Smart, Canon PRINT, Epson Smart Panel, or Brother iPrint&Scan) and find the supplies or ink-level screen.
Alternatively, on your computer open the printer’s properties or maintenance page, where estimated levels and page counts are often shown.
Compare the reading with the panel — they draw on the same estimate, so a big mismatch usually points to a cartridge that hasn’t been re-read.
Why this works: The app and driver often show extra detail, such as estimated pages remaining or the exact cartridge part number to reorder. Checking a second source also confirms the level and makes ordering the right replacement far easier.
Expected result: You have a clear, second-source reading of your ink or toner levels and the correct cartridge numbers.
Levels for refilled or third-party cartridges may show as a question mark or “unknown” here — that’s normal and doesn’t mean the cartridge is faulty.
-
Step 4: Print a test page and judge by the output
Print a page that uses the flagged colour — a photo for colour inks, or a full page of text for black or toner.
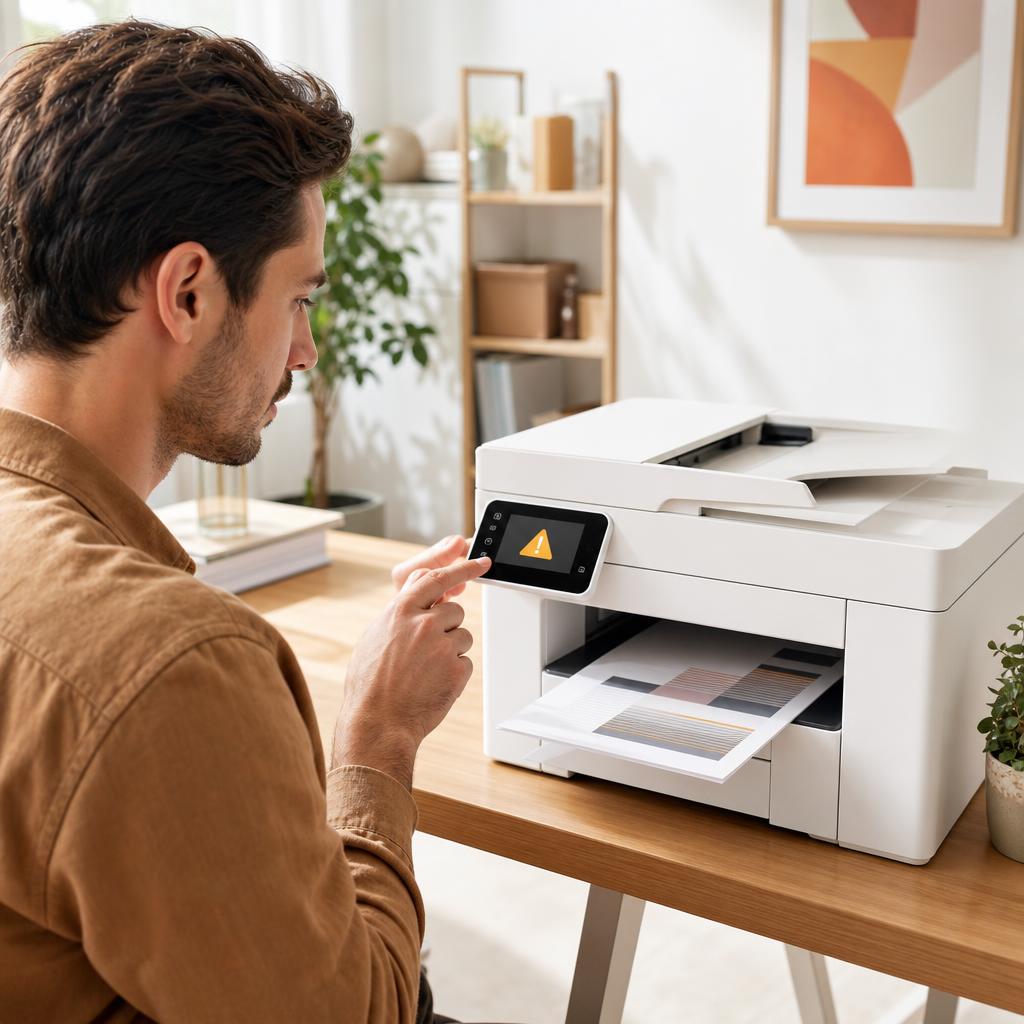
Hold it to good light and look for fading, banding, patchy colour, or a pale streak down one side.
If the page looks crisp and even, the cartridge is fine to keep using regardless of what the level bar claims.

Why this works: Print quality is the honest measure of a cartridge; the level estimate can be wrong in either direction. A clean test page proves you can keep printing, while visible fading is the real signal that a change is coming.
Expected result: You know whether the cartridge still prints well or is genuinely starting to fail.
The test page prints evenly with no fading, banding, or pale streaks.
-
Step 5: Carry on printing past the warning
When the warning appears, choose Continue, OK, or Dismiss on the panel or the on-screen message to keep printing.
If a setting blocks you, look in the printer’s menu for “Low Ink Options”, “Continue Printing”, or a toggle to allow printing when low.
Keep a spare cartridge nearby so you can carry on confidently until the print quality itself tells you to stop.
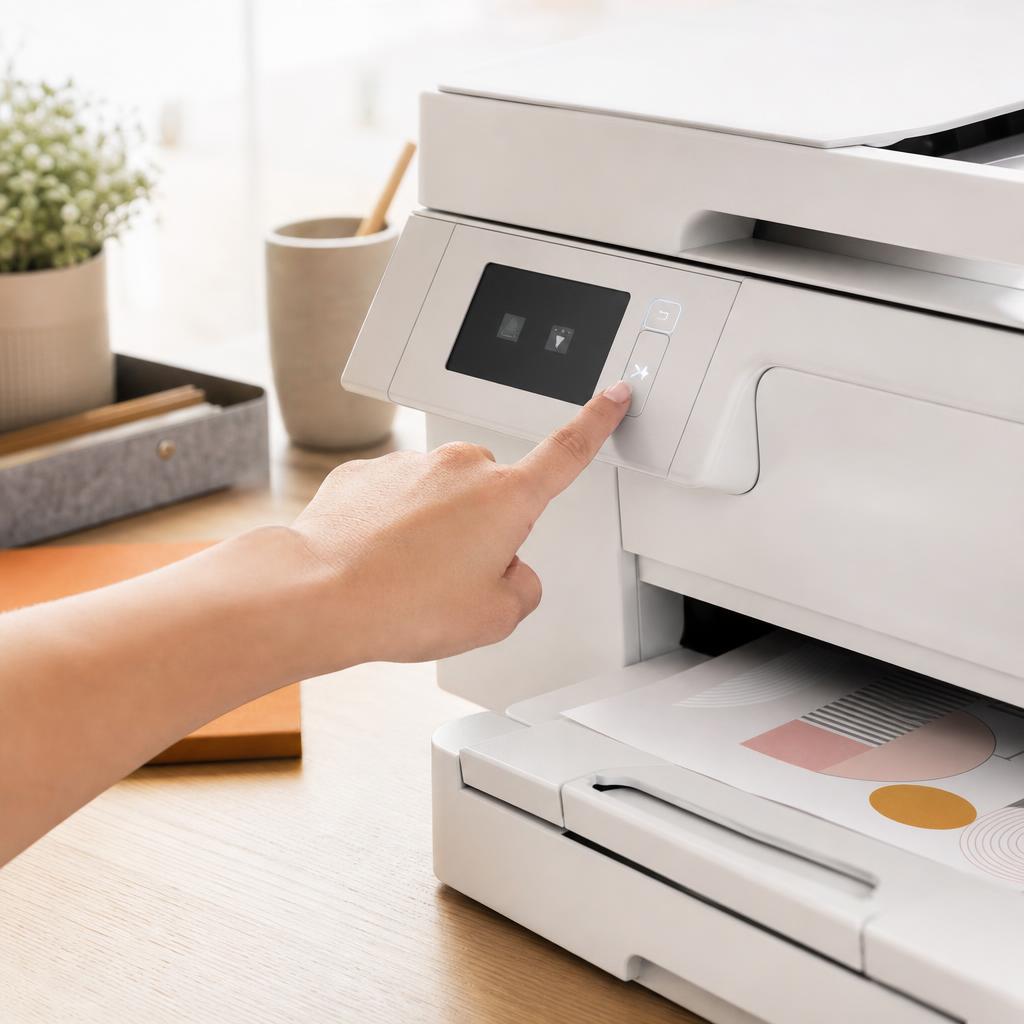
Why this works: Most printers are designed to keep working well past the first low warning, so acknowledging it lets you use the reserve you’ve paid for. Waiting for a genuine drop in quality, rather than the alert, gets the most from every cartridge.
Expected result: The printer keeps producing good pages after you dismiss the warning.
On an inkjet, don’t deliberately print a genuinely dry colour cartridge — running a printhead with no ink can dry out or clog the nozzles. Colour banding or a missing colour is your cue to stop and replace.
-
Step 6: Reclaim pages by redistributing laser toner
Switch the laser printer off and open the front, then slide the toner cartridge out — it lifts free with a handle.
Hold it level and gently rock it side to side several times to spread the remaining powder evenly, keeping it away from your face and clothes.
Slide it back in until it clicks, close the cover, and print again — you’ll often gain hundreds more good pages.
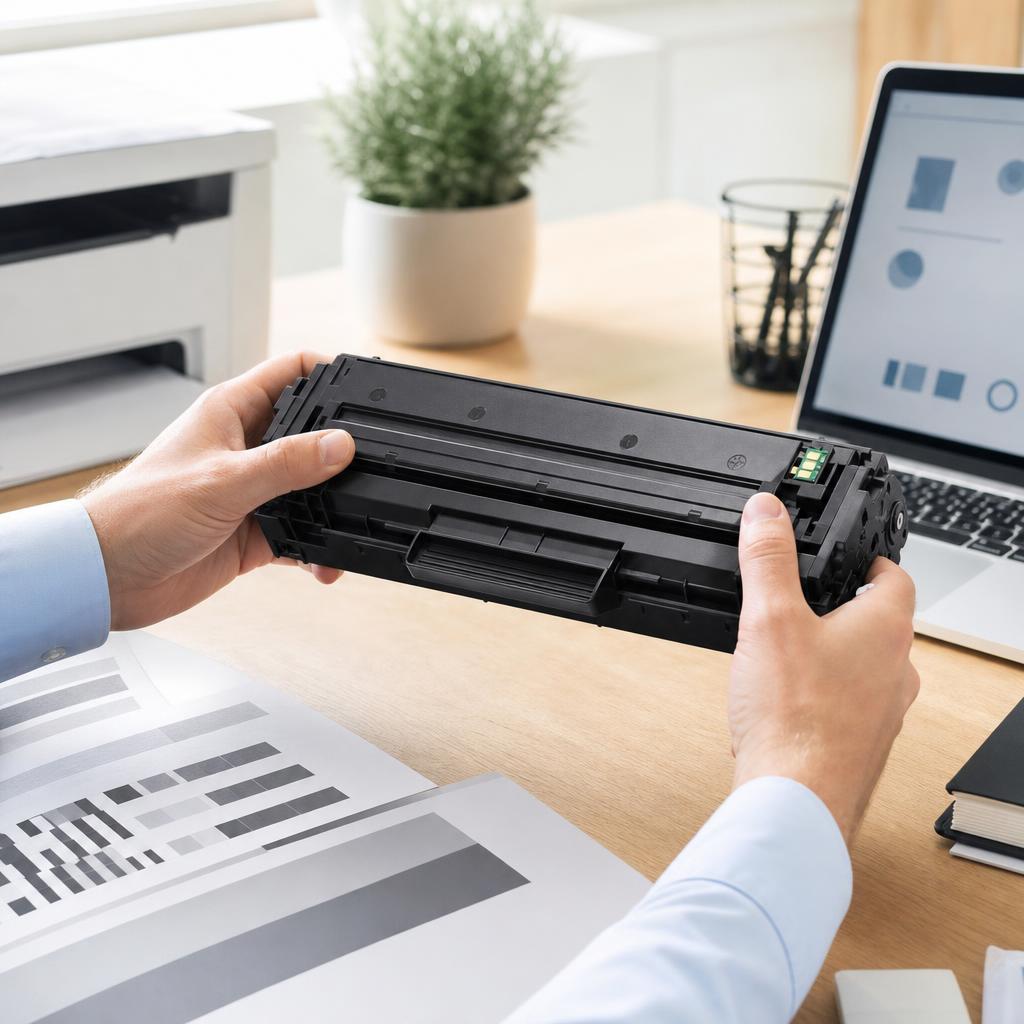
Why this works: As a laser cartridge empties, the fine powder settles unevenly and starves part of the drum, which shows up as fading or a pale streak. Rocking the cartridge spreads it out again so it prints evenly for a good while longer.
Expected result: Fading and pale streaks clear up and printing returns to an even, solid black.
Toner is a very fine powder — never vacuum a spill with a household vacuum, and never touch the shiny green drum surface on the cartridge. Wipe stray toner with a dry cloth or a cloth dampened with cool water, as warm water sets it.
The next page prints solid and even after redistributing the toner.
-
Step 7: Fix a false low alert on a just-fitted cartridge
Open the cartridge door, lift the flagged cartridge out, and check the coloured protective tape and clip have been fully removed.
Push it firmly back into its slot until it clicks positively into place, making sure it isn’t sitting proud of the others.
Close the door and let the printer run its short check, watching whether the level reading updates.
Why this works: A cartridge that isn’t fully seated, or one still wearing a scrap of tape, can’t make proper contact for the printer to read it. Reseating it firmly is the quickest cure for a new cartridge that still reports low or empty.
Expected result: The printer registers the cartridge and the false low warning clears.
The level for that cartridge jumps back up after reseating.
-
Step 8: Clean the chip contacts if the level still reads wrong
Switch the printer off, remove the cartridge, and find the small metal or gold contacts on the cartridge and inside the slot.
Wipe them gently with a soft, lint-free cloth lightly dampened with cool water only — no alcohol, solvents, or abrasives.
Let them dry completely, refit the cartridge until it clicks, and switch the printer back on to re-read the level.
Why this works: The contacts are how the printer talks to the cartridge chip, so a smear of ink, dust, or a fingerprint can produce a false or missing reading. A gentle clean restores that connection and lets the printer read the true level.
Expected result: The printer reads the cartridge correctly and shows a sensible level.
Handle a cartridge by its body, not the contacts or the copper printhead strip, and never touch an inkjet’s nozzle plate — skin oils and scratches there cause their own quality faults.
-
Step 9: Power-cycle so the printer re-reads levels
Turn the printer off with its own power button and unplug it from the wall for about 30 seconds.
Plug it back in, switch it on, and let it finish its warm-up and cartridge check completely.
Open the ink or toner menu again to see whether the level and any stuck warning have updated.
Why this works: A full power cycle forces the printer to re-scan every cartridge from scratch, which often clears a level that got stuck after a swap. It’s the simplest way to make the printer trust what’s actually installed.
Expected result: The printer restarts, re-reads the cartridges, and shows corrected levels.
The stuck low or empty warning is gone after the restart.
-
Step 10: Keep the right spare on hand
Note the exact cartridge model numbers from the app, driver, or the old cartridge, and buy those specific ones.
Keep one sealed spare of each colour you use often, stored upright in its packaging, away from heat and direct sunlight.
Only open a cartridge when you’re ready to fit it, as ink can dry and toner can clump once the seal is broken.

Why this works: A low warning is really a prompt to make sure you have a replacement ready, not to swap immediately. Keeping one correct spare means a genuine empty never interrupts an urgent job, while unopened stock stays fresh.
Expected result: You have the correct spare ready so you can replace calmly, only when you need to.
Buy just one or two spares rather than stockpiling — cartridges have a shelf life, and ink especially degrades over a year or two.
-
Step 11: Replace only when quality genuinely drops
Wait until a test print shows persistent fading, banding, or a missing colour that redistributing toner or a clean can’t fix.
Fit the fresh cartridge, following your printer’s replace procedure, and remove all protective tape before seating it.
Print a test page to confirm full, even colour, then recycle the empty through the maker’s or a retailer’s return scheme.
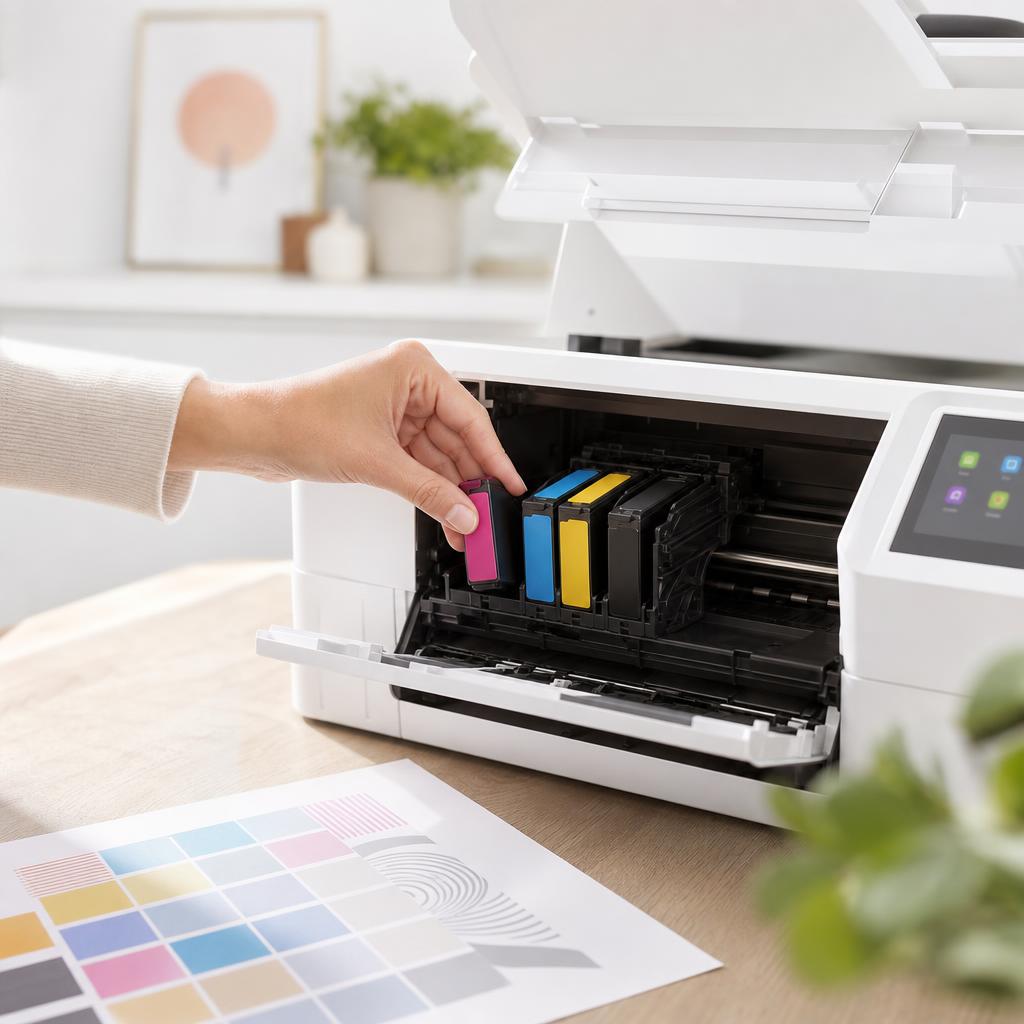
Replace when the printed page shows real fading — not simply because the level bar looks low. Why this works: Replacing on quality decline rather than on the first warning squeezes every usable page from a cartridge and cuts your running costs. Swapping only when the page itself shows it is the surest way to avoid waste.
Expected result: A crisp, even test page confirms the new cartridge is working and the fault is gone.
Prints return to full, even colour or solid black.
Tip
Printer Tip
Judge cartridges by print quality, not the level bar — keep printing until fading or banding actually appears.
Other solutions to try
If the steps above didn't do it, these fixes resolve the less common cases.
Genuine versus third-party cartridges
Both are valid choices — here’s an even-handed view so you can decide what suits your printing.
- Genuine cartridges give the most reliable level readings and consistent quality, but cost more per page.
- Compatible and refilled cartridges are cheaper and often print well, though their chips may report levels inaccurately or as “unknown”.
- Be aware that some firmware updates change how a printer treats third-party cartridges, occasionally flagging ones that worked before — a fair trade-off to weigh, not a fault.
A cartridge the printer won’t accept at all
If a swap leads to a “cartridge not recognised” error rather than a level warning, treat it as a recognition problem.
- Reseat the cartridge and clean the chip contacts as covered above, then power-cycle the printer.
- Confirm the cartridge is the exact model for your printer and region, as the wrong number won’t be accepted.
- If it persists, see our dedicated guide on fixing a “cartridge not recognised” error for the full procedure.
The warning returns immediately after every clean
Repeated low alerts on an inkjet used in short bursts often trace back to automatic head cleaning eating ink.
- Avoid switching the printer off at the wall between jobs — let it sleep so it runs fewer full cleaning cycles.
- Group your printing where you can, so a single clean serves several documents rather than one each time.
- Only run a manual head clean when a nozzle check shows gaps, not as a routine habit.
Turning down the frequency of low-ink pop-ups
If the constant reminders are the real annoyance, you can usually quieten them without ignoring genuine problems.
- In the printer software on your computer, look for status-monitor or notification settings and reduce or disable the low-ink alerts.
- On the panel, some models let you dismiss or snooze the warning until the level drops further.
- Keep judging by print quality instead, so a quieter alert never leaves you caught out mid-job.
Confirm it's working
Tick these off to be sure the problem is fully resolved.
Keep it from happening again
A few habits that stop this problem coming back.
- Judge cartridges by print quality, not the level bar — keep printing until fading or banding actually appears.
- Keep one correct sealed spare of each colour you use, stored upright, cool, and out of direct sunlight.
- Let an inkjet sleep rather than powering it off at the wall, to reduce ink-hungry cleaning cycles.
- Note your exact cartridge model numbers so you always reorder the right supply.
- Fully reseat every new cartridge and power-cycle the printer so levels are read correctly from the start.
- Only install firmware from the manufacturer’s official source, and read the notes if you rely on third-party cartridges.
Frequently asked questions
Was this guide helpful?
Your feedback helps us keep these steps accurate.
Thanks for your feedback!
Written by
The Guts Guide Editorial Team · Cartridge & Supplies Specialists
Reviewed by
Daniel Owens · Print & Network Technician
Last updated
Jul 14, 2026
Continue Reading
Pick up where you left off with the next guide in your troubleshooting journey.

Related Guides
More troubleshooting walkthroughs you may find useful.

Buying Guides
Plain-English comparisons and pre-purchase checklists — find the right printer before you buy.


