
How to Fix a Printer That Says “Cartridge Not Recognized”
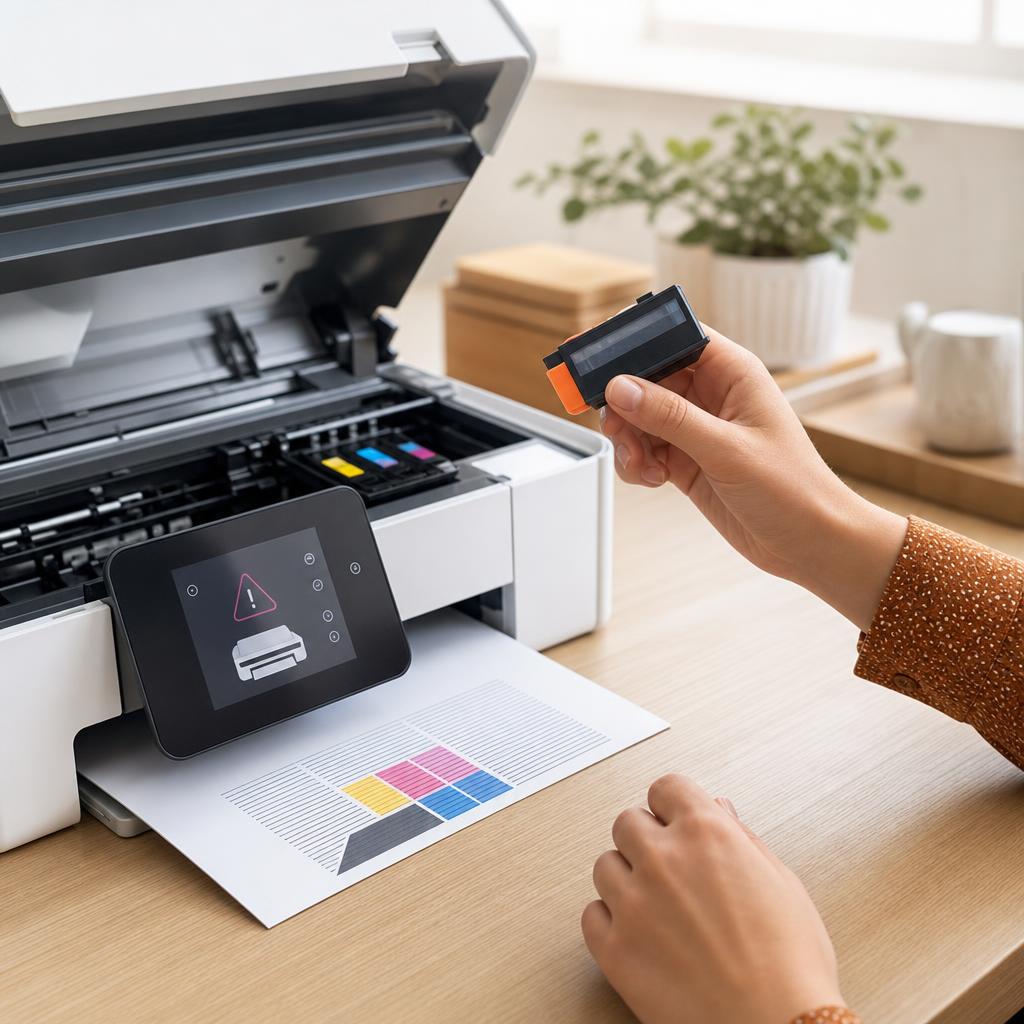
A “Cartridge Not Recognized” message means your printer can’t read a cartridge it should accept — usually because of a bit of protective tape left on, dirty electrical contacts, or a cartridge that hasn’t clicked fully into place. This guide walks you through inspecting, cleaning, and reseating both ink and toner cartridges safely, covers the firmware and compatibility catches that trip people up, and helps you tell the difference between a fixable fault and a genuinely dead cartridge.
Applies to: Inkjet & laser printers, All-in-one (print/scan/copy) models, Genuine & third-party cartridges, HP, Canon, Epson, Brother, Xerox & more, Windows & macOS
Quick summary
- The problem
- Your printer displays “Cartridge Not Recognized” (or a similar error), flags a cartridge as missing or faulty, and refuses to print even though a cartridge is fitted.
- The fix
- Remove the cartridge, peel off any leftover tape, gently clean the gold contacts or chip window with a dry lint-free cloth, then reseat it firmly until it clicks and close the latch fully. Reboot the printer and, if needed, check firmware and cartridge compatibility.
- Applies to
- Inkjet and laser printers using genuine or third-party cartridges, on Windows and macOS.
On this page Show
Understanding the problem
Modern cartridges are not just tanks of ink or toner — each one carries a tiny electronic chip and a set of small metal contacts that the printer reads the moment you close the lid. Through those contacts the printer checks that a cartridge is present, which colour it holds, and roughly how much is left. When it sees a message like “Cartridge Not Recognized”, it’s really saying it tried to have that conversation and couldn’t — either it heard nothing back, or what it heard didn’t make sense. Until it can read the cartridge properly, it holds off printing to protect the print mechanism.
Most of the time the cause is wonderfully ordinary. A strip of protective tape or an orange clip left on a new cartridge blocks the contacts; a smear of ink, dust, or the natural oil from your fingers dulls the little gold pads; or the cartridge simply hasn’t clicked all the way home, so it sits a fraction out of line with the reader. Less often the printer has recently updated its firmware and now treats a third-party cartridge differently, or the chip on the cartridge has genuinely failed. People tend to assume the worst — a broken printer or a dud cartridge — when a thirty-second clean and a firm reseat fixes the great majority of cases.
This guide takes it in sensible order, starting with the quick, no-risk checks that solve most of these errors and only later reaching the rarer causes. You’ll learn how to remove and inspect a cartridge safely, clean the contacts without damaging anything delicate, reseat both ink and toner cartridges correctly, and understand the firmware and compatibility questions honestly. By the end you’ll either be printing again or know with confidence that the cartridge itself needs replacing under warranty.
Terminology
PPM measures speed
PPM stands for pages per minute. Real-world speed is often a little lower than the rated figure because the first page takes longer to start.
Signs you're in the right place
If you're seeing any of these, this guide is for you.
-
“Cartridge Not Recognized” on the panel
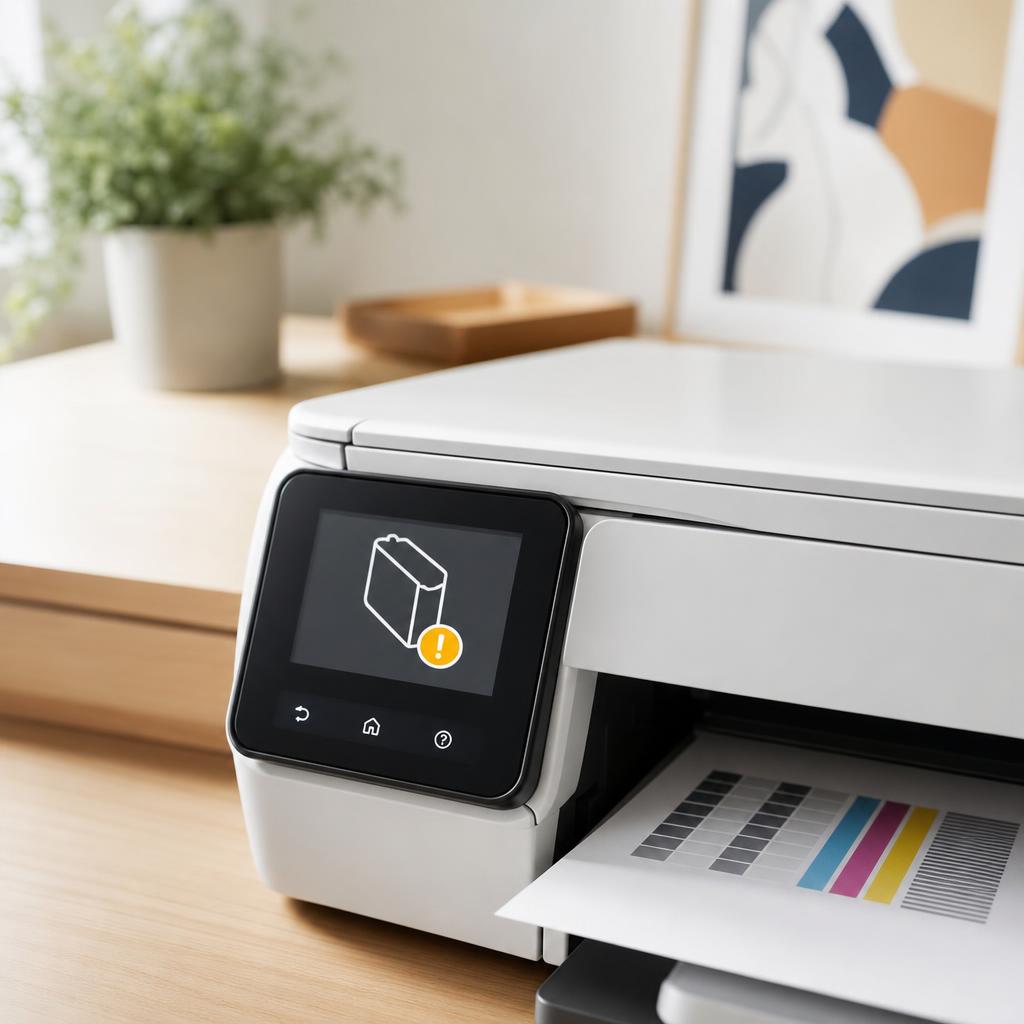
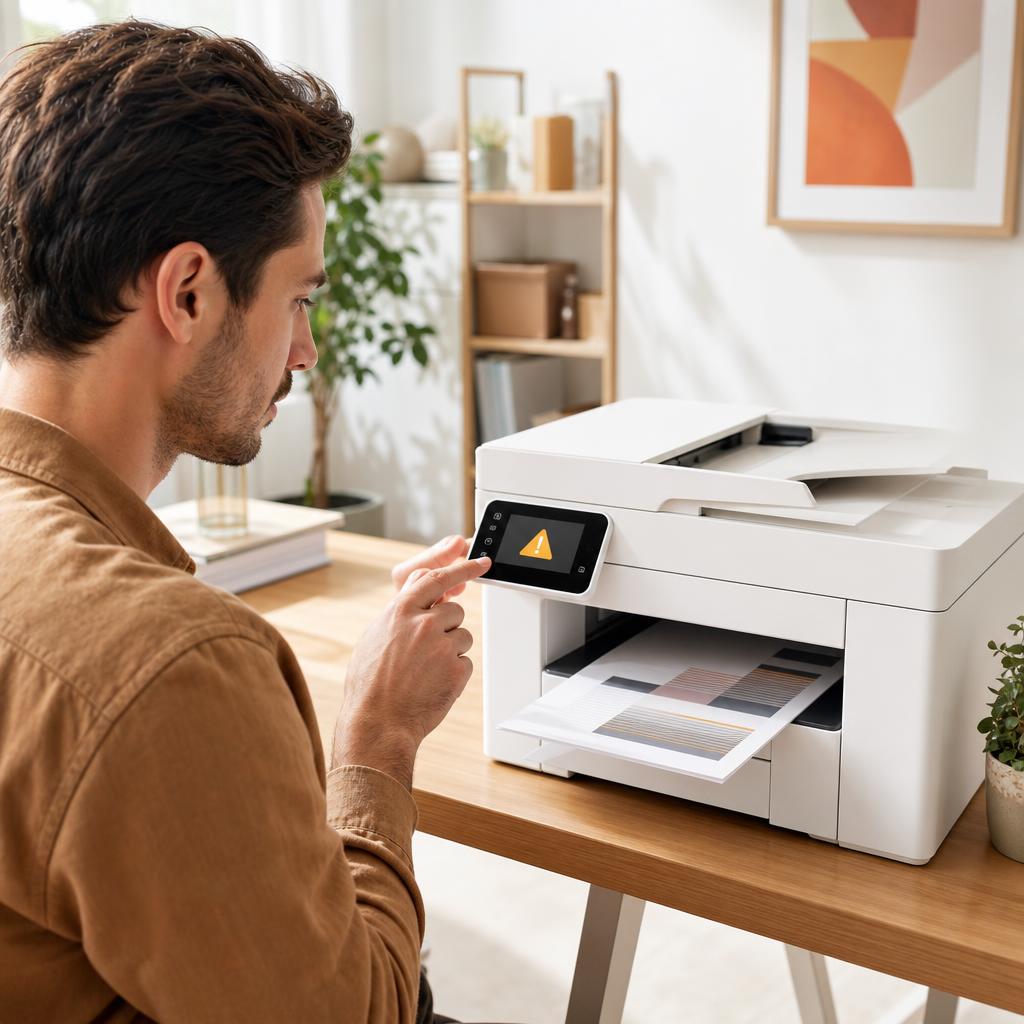
The control-panel screen shows the message directly, often with an exclamation icon and the affected colour or slot highlighted.
-
Printer reports a cartridge as missing
A cartridge is clearly fitted, yet the printer insists a slot is empty and won’t let you carry on printing.
-
Error right after fitting a new cartridge
The trouble begins the instant you install a fresh cartridge, which usually points to packaging or seating rather than the printer itself.
-
“Incompatible” or “non-genuine” warning
The printer accepts the cartridge is there but flags it as the wrong type, non-genuine, or not for your region.
-
One colour rejected, the rest fine
Only a single cartridge triggers the error while the others read normally, hinting at that one cartridge’s contacts or chip.
-
Error clears then returns
The message disappears for a while after you reseat the cartridge but comes back, suggesting a marginal contact or a loose fit.
-
Printer won’t start any job
With the error showing, the whole printer is held up — even black-only or scan-only jobs may refuse to run until it’s cleared.
-
Started after a firmware update
A previously happy third-party cartridge suddenly reads as unrecognised soon after the printer updated its software overnight.
What's usually behind it
The most common reasons this happens, so the fix makes sense.
Protective tape or packaging left on
A strip of tape, an orange clip, or a thin contact film left on a new cartridge blocks the chip and contacts from being read — the single most common cause.
Dirty or oxidised contacts
Ink smears, toner dust, or the natural oil from fingertips dull the small gold contacts, so the printer can’t make a clean electrical connection.
Cartridge not seated fully
If a cartridge hasn’t clicked all the way in, or a latch isn’t fully closed, it sits a fraction out of line and the reader misses it.
Cartridge in the wrong slot
A colour fitted into the wrong position, or a cartridge inserted at a slight angle, causes the printer to read the wrong chip or none at all.
Firmware change affecting third-party cartridges
A firmware update can alter how a printer treats non-genuine cartridges, so a cartridge that worked yesterday is suddenly rejected. This is a known, deliberate behaviour on some models, and it’s worth being honest that it happens.
Wrong cartridge for the model or region
Cartridges are keyed to specific printer families and, in some cases, sales regions — the right-looking cartridge can still be the wrong part number.
A damaged or failed chip
The tiny chip that identifies the cartridge can be scratched, cracked, or simply faulty from manufacture, leaving the printer nothing valid to read.
Condensation or a very cold cartridge
A cartridge brought in from cold storage can carry moisture on its contacts, briefly confusing the reader until it warms and dries.
Bent or dirty contacts inside the printer
Less often the fault is on the printer’s side — the spring contacts or reader in the carriage are dusty, sticky, or knocked out of shape.
A genuinely dead cartridge
Occasionally a cartridge simply arrives faulty or fails in use; when nothing revives it, replacement under the supplier’s warranty is the answer.
What you'll need
Have these on hand before you start for a smooth fix.
-
A clean, lint-free cloth
A microfibre or optical cloth is ideal for wiping contacts — avoid paper towels and tissue, which shed fibres and can scratch.
-
Distilled water (optional)
Only if contacts are visibly grubby: barely dampen the cloth. Never use tap water, and never use alcohol or solvents on inkjet printhead nozzles.
-
The original cartridge packaging
Handy for checking part numbers and, if the cartridge turns out faulty, for returning it under warranty.
-
A genuine cartridge, if you have one
Fitting a known-good genuine cartridge is the quickest way to test whether the problem is the cartridge or the printer.
-
A well-lit, clean surface
Good light helps you spot leftover tape and dull contacts; a clean space keeps ink and toner off your desk and clothes.
-
A sheet of plain paper
Kept in the tray so you can print a test page at the end to confirm the printer recognises the cartridge again.
How to fix it
Work through these in order — they run from the quickest checks to the more advanced fixes.
-
Step 1: Restart the printer first
Turn the printer off with its own power button and wait for it to shut down fully, not just sleep.
Unplug the power cable from the wall, leave it out for a full 60 seconds, then plug back in and switch on.
Let the printer finish warming up and check whether the error has cleared on its own.
Why this works: A cartridge error is sometimes just a one-off misread, and a proper power cycle forces the printer to re-check every cartridge from scratch. It costs nothing and clears a surprising number of these messages before you touch anything inside.
Expected result: The printer restarts and either clears the error or shows it again, telling you the fault is more than a momentary glitch.
If the message vanishes after the restart, print a test page to confirm, and you may be finished here.
The panel returns to its normal home screen with no cartridge warning.
-
Step 2: Open the printer and locate the cartridge
With the printer switched on, open the front cover or top lid so the carriage can move to the access position.
Wait for any moving parts to stop, then identify the cartridge the error names — the affected slot is usually highlighted on the panel.
On a laser printer, follow the manual to reach the toner cartridge; note that the fuser area inside can be hot, so give it time to cool.
Why this works: You need clear, safe access to the right cartridge before doing anything else, and letting the carriage move to its service position protects the mechanism. Knowing exactly which cartridge is at fault saves you handling the ones that are working perfectly well.
Expected result: The cover is open, the carriage has settled, and you can see and reach the cartridge the printer is complaining about.
Never force the carriage by hand — let the printer move it. On a laser printer, the fuser near the toner can be very hot immediately after printing.
-
Step 3: Remove and inspect the cartridge
Press the release tab or lift the latch as your printer requires, then lift the cartridge straight out without touching the underside.
Hold it by the plastic body and look closely at the gold contacts, the chip, and — on inkjets — the printhead nozzles, checking for tape, ink, or damage.
Keep the cartridge upright and set it on a clean sheet of paper so it can’t leak onto your desk.
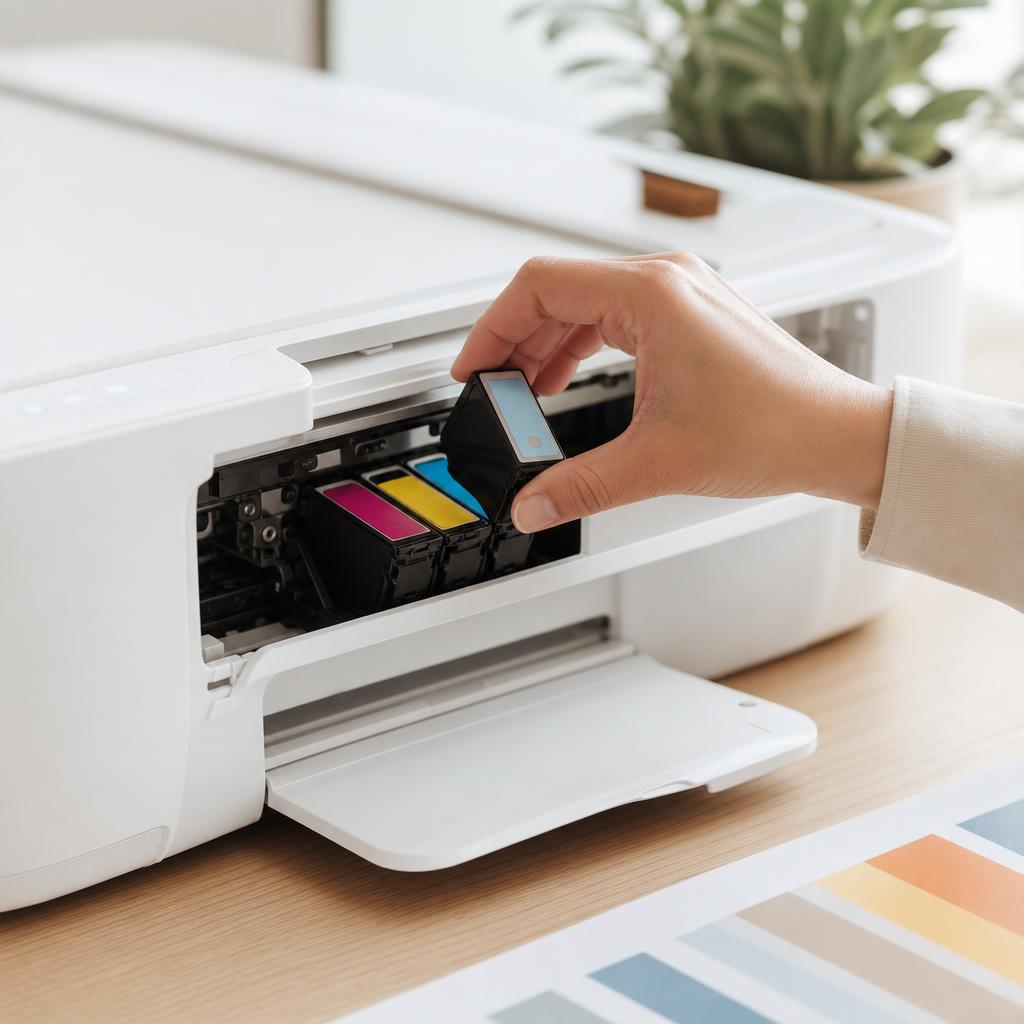
Why this works: Taking the cartridge out lets you see the exact points the printer reads and spot the obvious culprits — leftover packaging, a smear of ink, or a cracked chip. Handling it by the body only keeps your fingers off the very surfaces that need to stay clean.
Expected result: The cartridge is out and you can clearly see its contacts and chip to judge their condition.
Never touch the shiny copper contacts, the chip, or the printhead nozzles with bare fingers — skin oil is exactly what causes misreads. On toner cartridges, never touch the green drum surface.
-
Step 4: Remove any leftover packaging
Look for a strip of protective tape, a coloured pull tab, an orange clip, or a thin plastic film still covering the contacts, chip, or nozzles.
Peel each piece off gently and completely — some cartridges have more than one tab, and a tiny remnant is enough to block a read.
Check the vent and any air-seal sticker too, as an unopened vent can also stop a new cartridge from working properly.
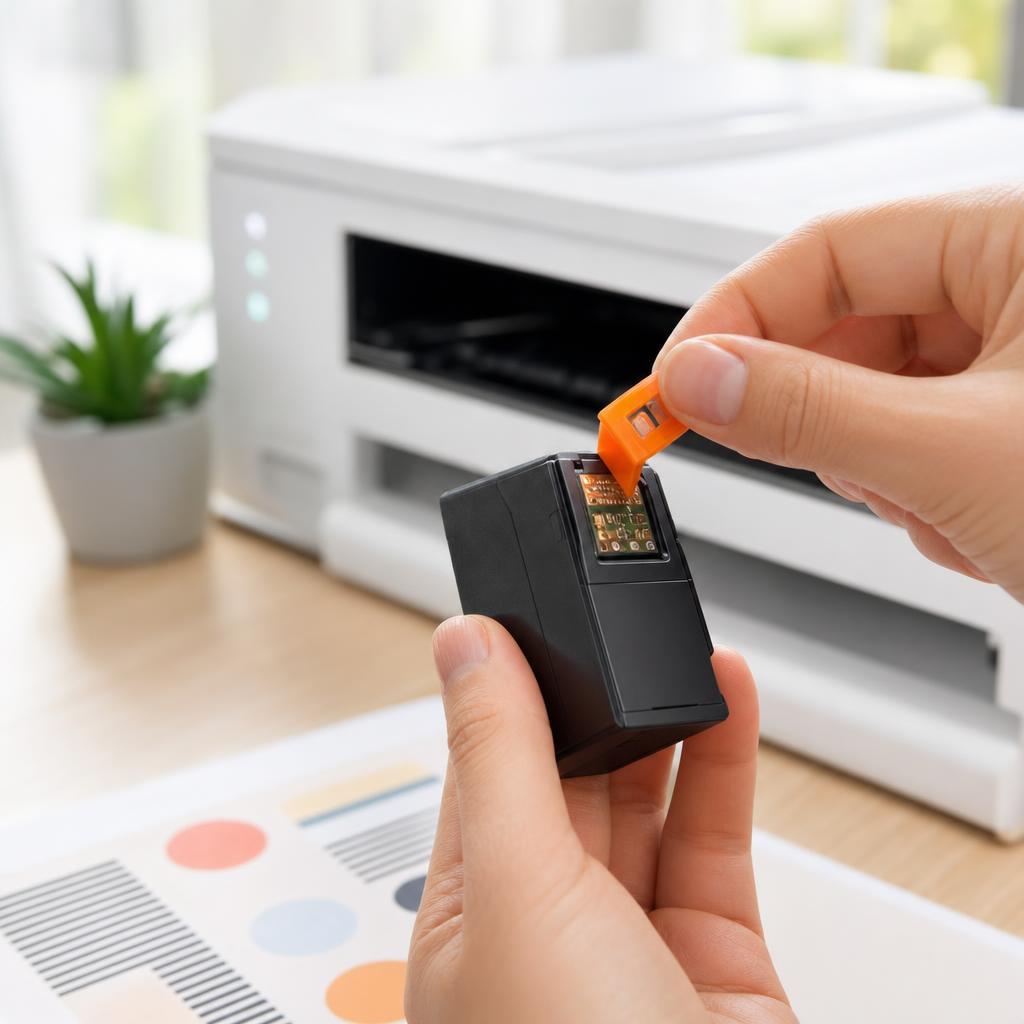
Why this works: On a brand-new cartridge, forgotten packaging is by far the commonest reason a printer says it can’t recognise it, because the tape physically blocks the contacts. Removing every last piece is often the entire fix.
Expected result: All tape, clips, and films are gone, leaving the contacts and nozzles fully exposed and clean.
Only remove protective tape and clips — do not peel off any label that carries the chip itself. If unsure, check the diagram on the cartridge packaging.
No tape, tabs, or film remain anywhere on the cartridge.
-
Step 5: Clean the gold contacts
Wipe the metal contacts gently with a dry, lint-free cloth, using light straight strokes to lift off ink, dust, and finger oil.
If they’re visibly grubby, barely dampen a fresh corner of the cloth with distilled water, wipe again, then dry thoroughly.
Let the contacts air-dry for a minute before refitting, and take care not to smear ink from the printhead onto the contacts.
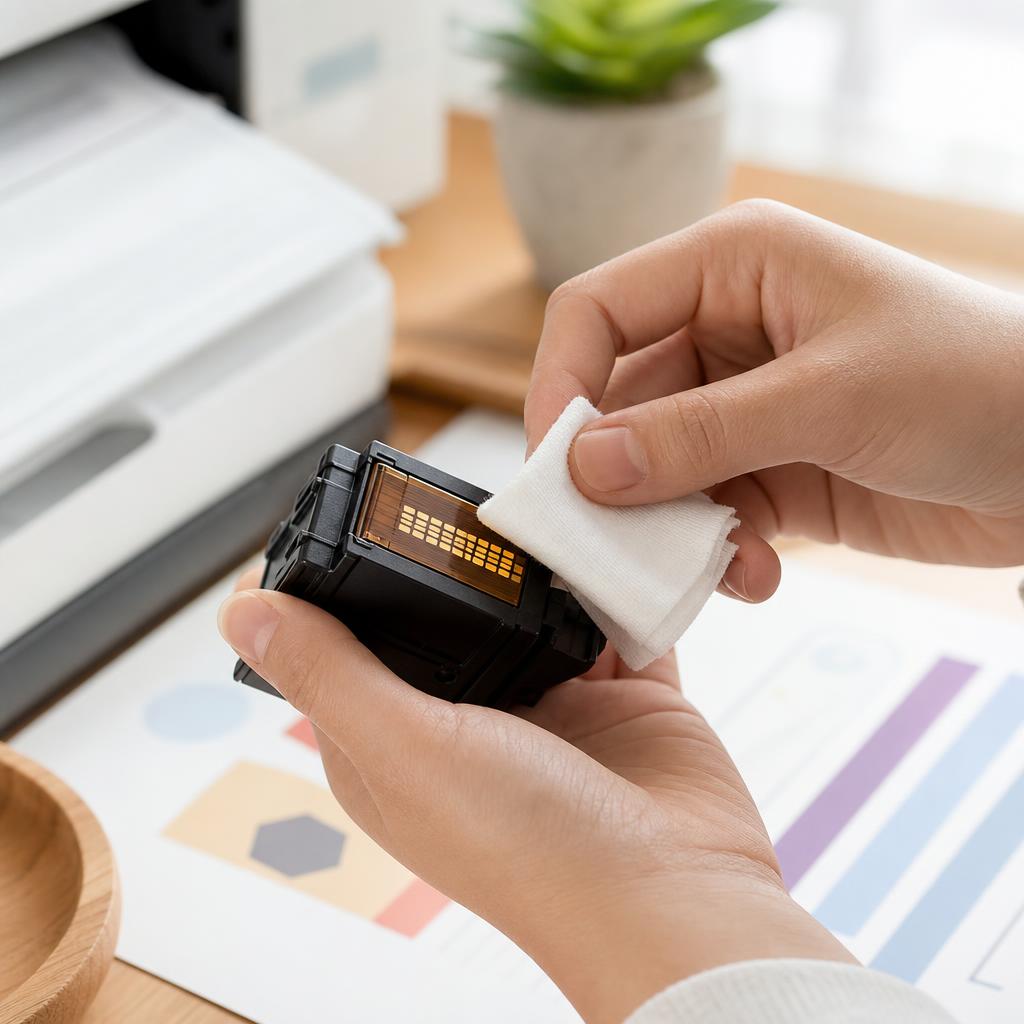
Why this works: A clean, dry electrical connection is what lets the printer read the chip, and even an invisible film of oil can be enough to break that link. Gentle cleaning restores the contact without risking damage to the delicate surfaces.
Expected result: The contacts look clean and bright, with no ink, dust, or fingerprints, and are completely dry.
Never use alcohol, cleaning fluids, or solvents on inkjet printhead nozzles — cool distilled water on a cloth is the only wet cleaner to use here, and only on the contacts. Use a dry cloth on toner chip windows.
The gold contacts are clean, dry, and undamaged.
-
Step 6: Reseat the ink cartridge until it clicks
Line the cartridge up with its slot, matching the colour label, and lower it in at the angle the printer expects.
Press down firmly on the top until you feel and hear a definite click, then close the latch or cover fully.
Give it a gentle tug to confirm it’s locked, and make sure no cartridge in the row is sitting proud of the others.
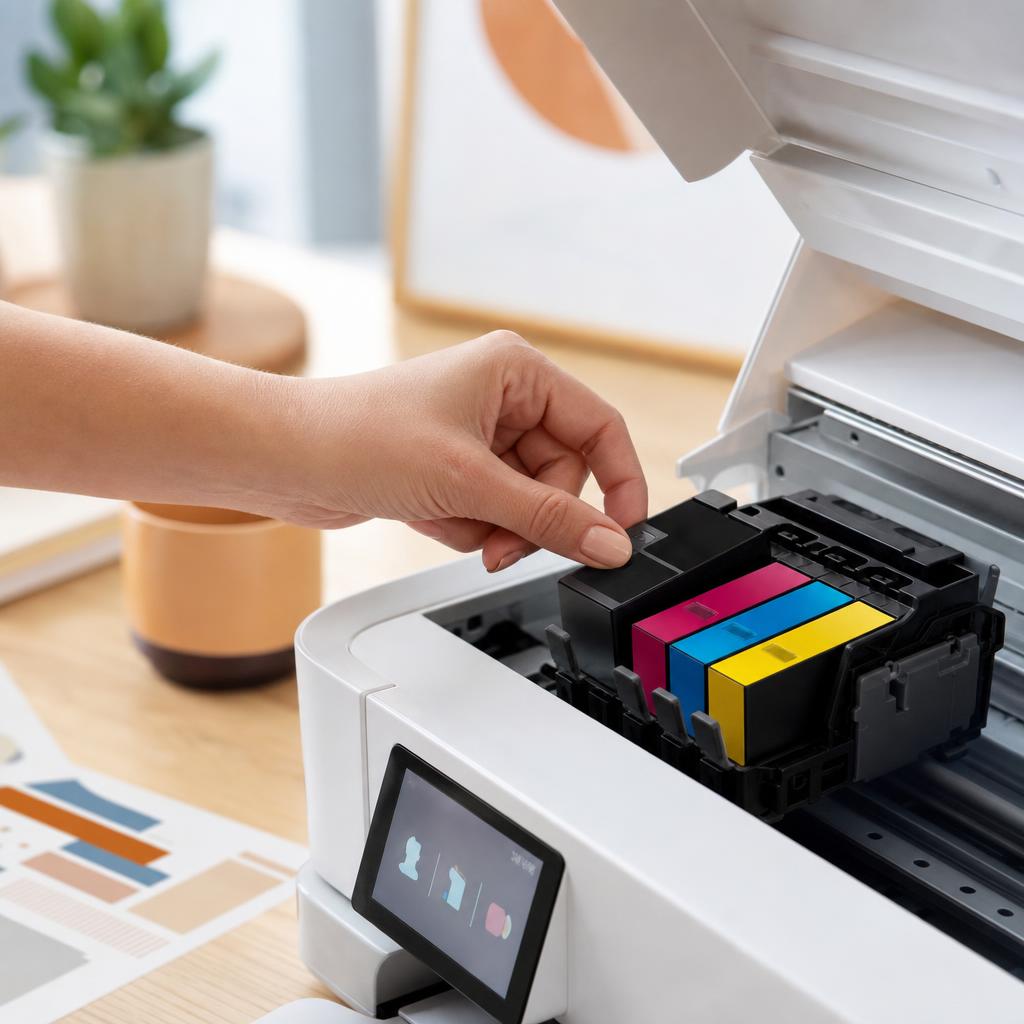
Why this works: A cartridge that only half-seats sits a fraction out of alignment with the reader, which is enough to cause a “not recognised” error even when everything else is perfect. A firm, positive click confirms the contacts are pressed properly against the printer’s reader.
Expected result: The cartridge clicks home, sits level with its neighbours, and the latch closes without force.
If it won’t click in, don’t force it — check nothing is blocking the slot and that you’ve got the right cartridge in the right position.
A clear click and a level, secure cartridge with the latch fully closed.
-
Step 7: Reseat a toner cartridge correctly
For a laser printer, hold the toner cartridge level and slide it straight along the guide rails until it stops.
Check the plastic chip window on the side is clean and unobstructed, and confirm any coloured shipping seal or shutter has been removed.
Push it home until it sits square in its bay, then close the front cover firmly so the cartridge is clamped into position.
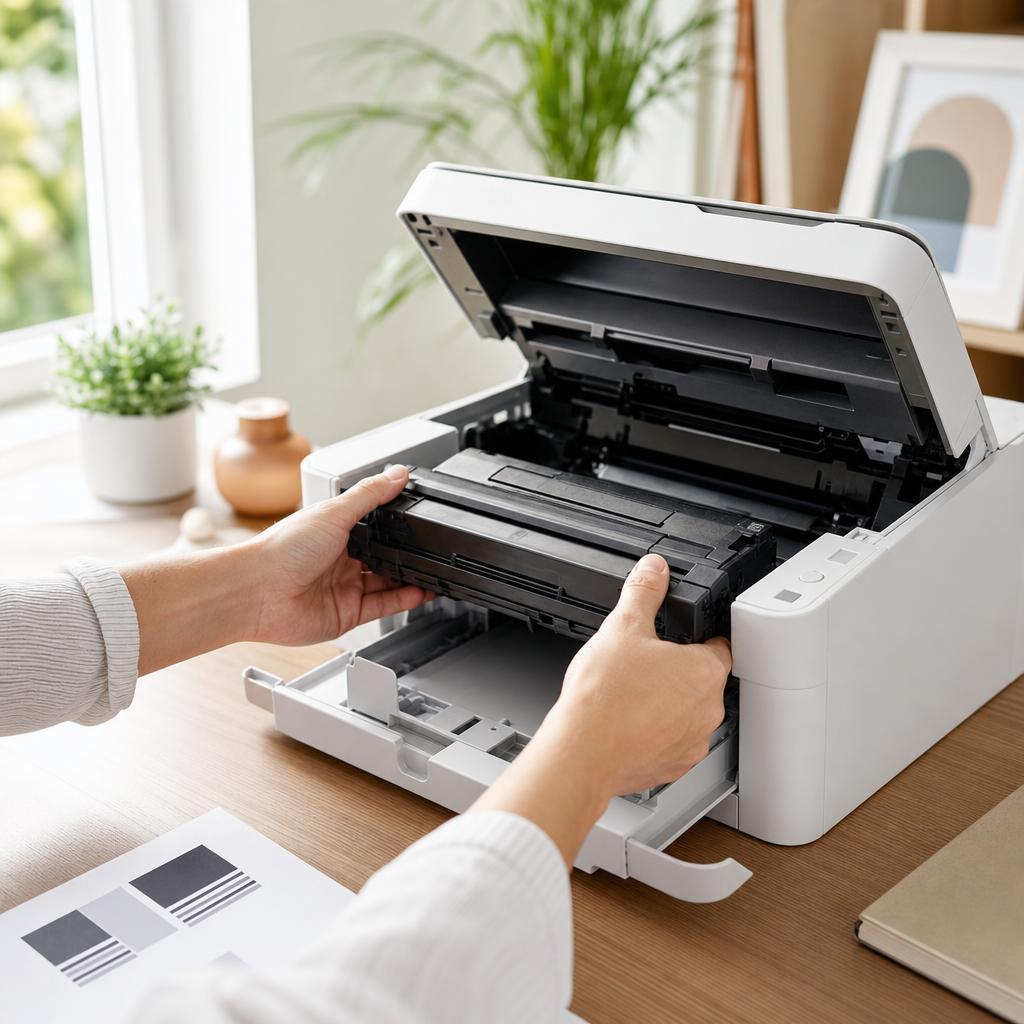
Why this works: Toner cartridges read through a chip window and must sit squarely on their rails for the printer to make contact; a cartridge that’s cocked or not pushed fully in reads as absent. Keeping it level also avoids spilling fine toner powder inside the machine.
Expected result: The toner cartridge slides in level, seats with a solid stop, and the cover closes without resistance.
Never touch the green drum surface or the chip window with your fingers, and don’t tip the cartridge — spilt toner is a fine powder. If any spills, wipe it with a dry or slightly damp cloth using cool water; never use a household vacuum, as the powder passes straight through the filter.
The toner cartridge sits square on its rails and the cover latches shut.
-
Step 8: Close up, restart, and re-check
Close all covers fully and let the printer run its short initialising or aligning routine without interruption.
If the error persists, switch the printer off and on again so it re-reads the cartridge from a clean start.
Watch the panel to see whether the cartridge is now recognised or the same message returns.
Why this works: The printer only re-reads its cartridges when the covers close and it powers up, so this step is what turns your cleaning and reseating into a result. A restart also clears any stale error that was cached before you made your changes.
Expected result: The printer initialises and the cartridge warning has gone, or you’ve confirmed it needs a deeper look.
Give it a moment — some printers take a minute to verify a cartridge after the cover closes, so don’t assume failure too quickly.
-
Step 9: Check firmware and cartridge compatibility
If a third-party cartridge is being rejected, check whether the printer recently updated its firmware, and read the manufacturer’s release notes.
Confirm the cartridge part number matches your exact printer model and, where relevant, your sales region — the packaging lists the compatible models.
As a quick, decisive test, fit a genuine cartridge if you have one; if that’s recognised, the issue is the third-party cartridge, not the printer.
Why this works: Some firmware updates deliberately change how a printer treats non-genuine cartridges, so a cartridge that worked before can suddenly be blocked — it’s fair to be aware of this. Confirming the correct part number rules out simply having bought the wrong cartridge for your machine.
Expected result: You know whether a firmware change or a compatibility mismatch is behind the error, and whether a genuine cartridge is accepted.
Only download firmware from the manufacturer’s official website. Be aware that a future firmware update may again change how third-party cartridges behave; the release notes are the honest place to check before installing.
-
Step 10: Inspect the printer-side contacts
With the printer switched off and unplugged, look into the empty carriage or toner bay for the small spring contacts or reader.
Check they aren’t coated in ink or toner dust, bent, or sticky; wipe gently with a dry lint-free cloth if they’re dirty.
Reconnect power, refit the cartridge, and test again once everything is clean and dry.
Why this works: Occasionally the fault is on the printer’s side rather than the cartridge’s, and dusty or bent reader contacts stop it reading any cartridge in that slot. Cleaning them can restore a connection when the cartridge itself is plainly fine.
Expected result: The printer-side contacts are clean, straight, and dry, giving the cartridge a fair chance to be read.
Always unplug the printer before reaching inside to clean contacts. Don’t bend the springs or use anything wet beyond a barely-damp cloth with distilled water.
-
Step 11: Try a different cartridge to isolate the fault
Fit a known-good cartridge — ideally a genuine one — in the same slot and see whether the printer accepts it.
If the new cartridge is recognised, the original cartridge is the problem; if the same slot still errors, the printer or its reader is the more likely culprit.
Swap the suspect cartridge into a different slot where possible to double-check whether the fault follows the cartridge or stays with the slot.
Why this works: Swapping in a cartridge you trust is the cleanest way to tell a dead cartridge apart from a printer fault. Watching whether the error follows the cartridge or stays with the slot points you straight to the real cause.
Expected result: You can say with confidence whether the cartridge or the printer is at fault.
The error moves with the suspect cartridge, or stays with a single slot, giving a clear verdict.
-
Step 12: Confirm recognition and replace if needed
Once a cartridge is accepted, print a test or diagnostic page and check it feeds cleanly and prints in the right colours.
Print a normal document too, to be sure everyday printing works from your usual apps.
If nothing revives the original cartridge — a cracked or dead chip, say — arrange a replacement under the supplier’s warranty rather than persisting.
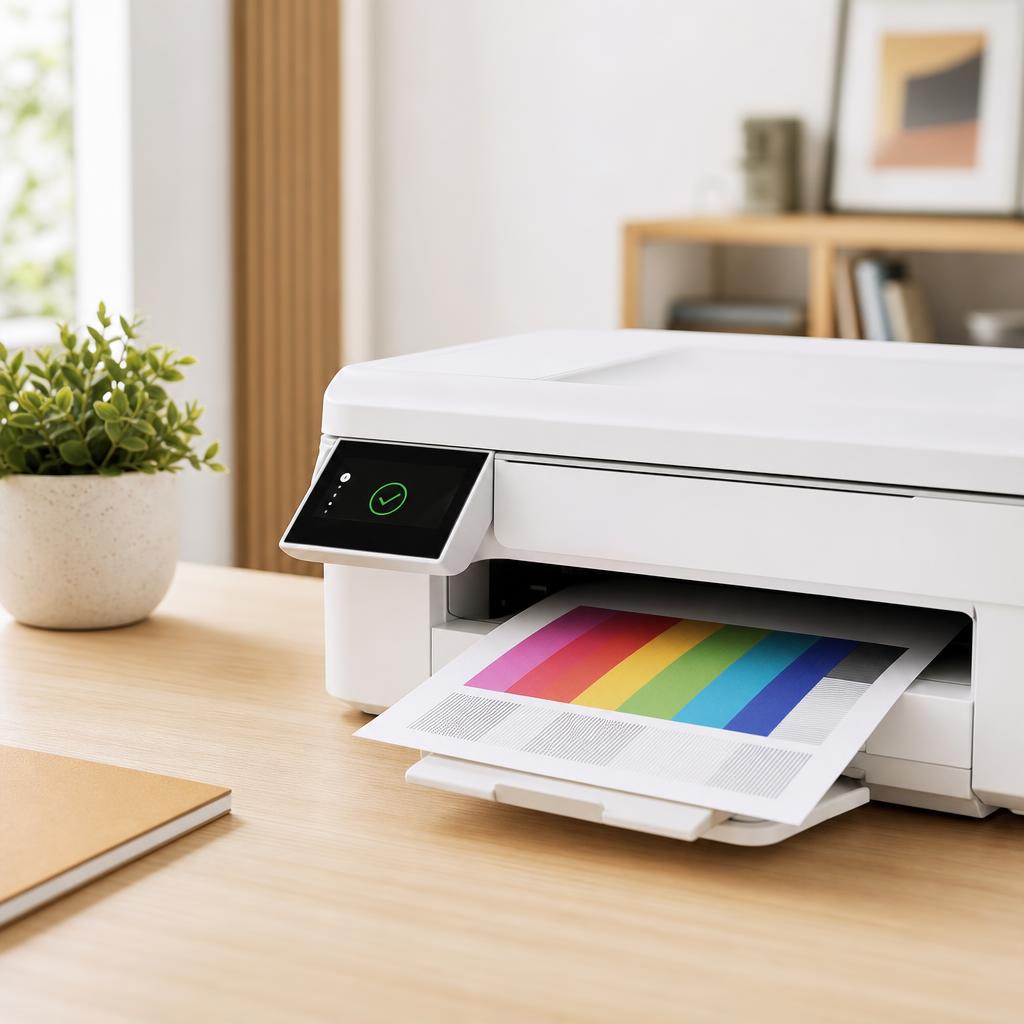
A clean test page and a “ready” panel confirm the cartridge is recognised and printing normally again. Why this works: A test page proves the printer, the cartridge, and the connection are all working together again. Knowing when to stop and claim a warranty replacement saves you hours chasing a cartridge that has genuinely failed.
Expected result: A clean test page prints, the error is gone for good, or you’ve confirmed the cartridge is faulty and needs replacing.
The printer recognises the cartridge and a test page prints correctly.
Tip
Printer Tip
Remove every strip of tape, clip, and film from a new cartridge before fitting it, following the packaging diagram.
Other solutions to try
If the steps above didn't do it, these fixes resolve the less common cases.
When the error only follows one cartridge
If the message sticks to a single cartridge wherever you put it, the fault is almost certainly that cartridge, not the printer.
- Move the suspect cartridge to another compatible slot and confirm the error travels with it.
- Re-clean its contacts and chip once more, checking carefully for a hairline crack in the chip.
- If it still fails, treat it as faulty and claim a replacement from wherever you bought it.
Third-party cartridges after a firmware update
Non-genuine cartridges can be affected by firmware changes, and it’s worth handling this openly rather than assuming a defect.
- Read the manufacturer’s firmware release notes to see whether cartridge handling changed.
- Test with a genuine cartridge to confirm the printer hardware is healthy.
- Decide knowingly whether to keep current firmware, and buy cartridges from a supplier who states compatibility with your model’s firmware.
A cold or newly delivered cartridge
Cartridges stored or shipped in the cold can carry condensation that briefly upsets the read.
- Let a cold cartridge reach room temperature for a couple of hours before fitting it.
- Wipe the contacts dry with a lint-free cloth to remove any moisture.
- Refit and test once it’s warmed and the contacts are completely dry.
If ink smears keep dulling the contacts
Repeated errors on the same cartridge sometimes come from ink creeping onto the contacts.
- Clean both the cartridge contacts and the printer-side reader with a dry lint-free cloth.
- Check the printhead area for pooled or leaking ink and wipe it away carefully.
- If ink keeps reappearing on the contacts, the cartridge may be leaking and should be replaced.
Confirm it's working
Tick these off to be sure the problem is fully resolved.
Keep it from happening again
A few habits that stop this problem coming back.
- Remove every strip of tape, clip, and film from a new cartridge before fitting it, following the packaging diagram.
- Handle cartridges by the plastic body only — keep fingers off the contacts, chip, and printhead nozzles.
- Store spare cartridges upright at room temperature, sealed until you need them, away from cold or damp.
- Buy the exact cartridge part number for your model, and note any region requirement before ordering.
- Read firmware release notes before updating if you rely on third-party cartridges, so nothing surprises you.
- Keep the carriage and slots free of dust, and wipe away any ink you spot on the contacts straight away.
Frequently asked questions
Was this guide helpful?
Your feedback helps us keep these steps accurate.
Thanks for your feedback!
Written by
The Guts Guide Editorial Team · Cartridge & Supplies Specialists
Reviewed by
Daniel Owens · Print & Network Technician
Last updated
Jul 14, 2026
Continue Reading
Pick up where you left off with the next guide in your troubleshooting journey.
Related Guides
More troubleshooting walkthroughs you may find useful.
Buying Guides
Plain-English comparisons and pre-purchase checklists — find the right printer before you buy.


