
How to Fix Printer Error Codes (Complete Troubleshooting Guide)
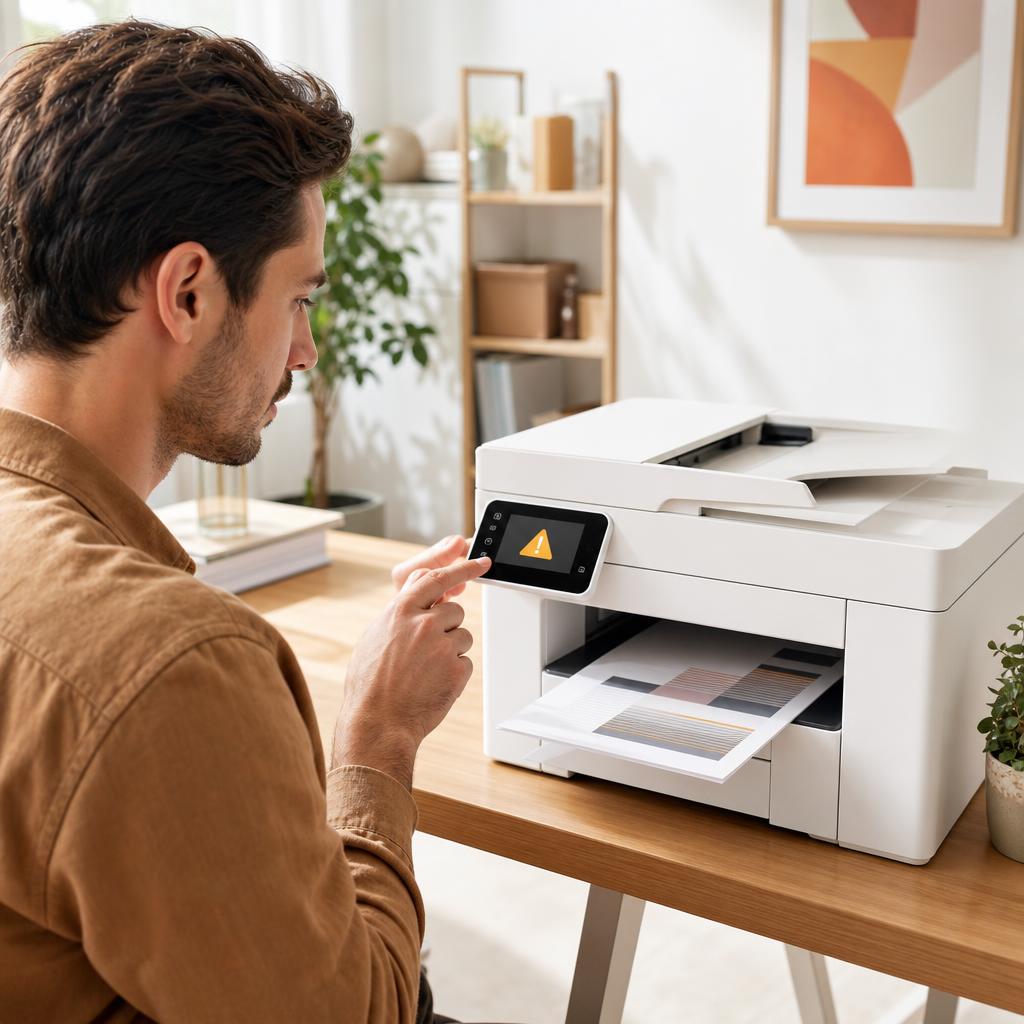
A printer error code is simply your printer’s way of naming a fault it has run into — a jam, a cartridge it can’t read, a lost connection, or something deeper inside. Most codes are far less alarming than they look, and a calm, methodical routine clears the great majority of them. This guide shows you how to identify the exact code, work through a general fix that resolves most errors, and recognise the few codes that genuinely mean a repair is due.
Applies to: Inkjet & laser printers, All-in-one (print/scan/copy/fax) models, Wi-Fi, Ethernet & USB printers, Windows & macOS, HP, Canon, Epson, Brother, Xerox & more
Quick summary
- The problem
- Your printer has stopped and is showing an error code, a warning message, or a pattern of blinking lights, and you’re not sure what it means or how to clear it.
- The fix
- Write the exact code down, do a full 60-second power cycle, then check the paper path, cartridges and covers, clear the print queue, update the firmware and driver, and look the code up in the manufacturer’s official documentation.
- Applies to
- Inkjet and laser printers on Windows and macOS, connected by Wi-Fi, Ethernet, or USB.
On this page Show
Understanding the problem
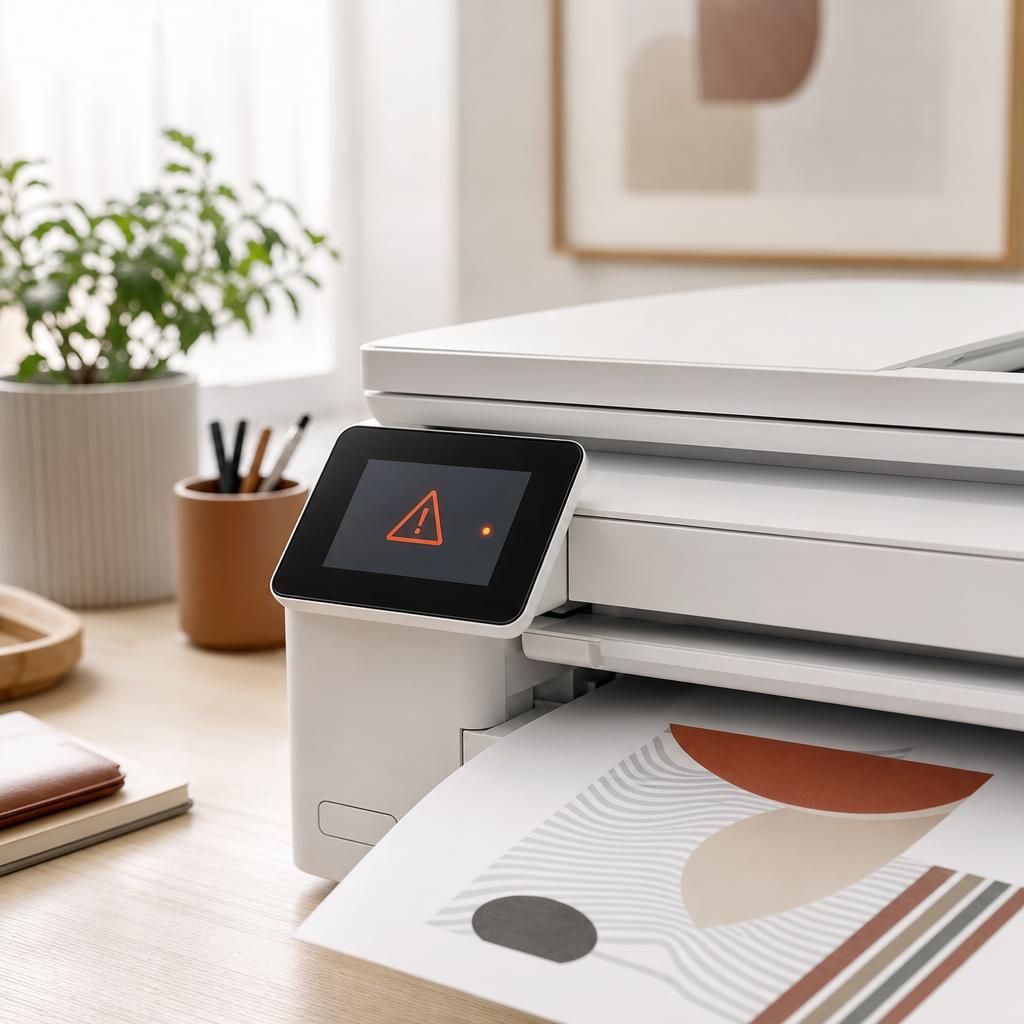
A printer is a small computer with sensors watching almost every moving part — the paper as it feeds, the carriage as it slides, the cartridges, the covers, the temperature of a laser fuser, and the network connection. When one of those sensors reports something wrong, the printer stops and shows an error code: a short number, a letter-and-number combination like E-02 or B200, a plain-language warning, or a pattern of blinking lights on a printer with no screen. The code isn’t the fault itself — it’s a label the printer uses to tell you which part of itself has run into trouble.
What trips people up is that the codes look cryptic and feel serious, so it’s easy to assume the printer is broken. In reality the large majority of codes point at everyday things: a scrap of paper caught in the path, a cover not clicked shut, a cartridge that isn’t seated properly, or a connection that has dropped. The same code can also mean slightly different things on different models, which is why guessing rarely works — and why software pop-ups on your computer sometimes report a code the printer’s own screen words differently.
The good news is that a single, calm routine clears most errors regardless of brand, and this guide walks you through it end to end. You’ll learn how to capture the exact code before it disappears, how a proper power cycle resets the sensors, how to check the paper path, cartridges and covers safely, and how to look the code up in official sources. Just as importantly, you’ll learn to recognise the handful of codes — repeating service errors, mechanical grinding, fuser or printhead failures — that mean it’s time to stop resetting and think about a repair.
Terminology
PPM measures speed
PPM stands for pages per minute. Real-world speed is often a little lower than the rated figure because the first page takes longer to start.
Signs you're in the right place
If you're seeing any of these, this guide is for you.
-
An alphanumeric code on the screen
The panel shows something like E-02, B200, 0x610, or 79.00 — a short code that stops the printer until it’s cleared.
-
A plain-language warning message
The display spells out a fault such as “Carriage jam”, “Cartridge error”, or “Rear cover open” instead of a number.
-
A pop-up error on your computer
A message from the printer software appears on Windows or macOS naming a code the printer’s own screen may word differently.
-
A pattern of blinking lights
A printer with no screen signals the fault by flashing its power, error, or ink lights in a repeating count or rhythm.
-
The printer stops mid-job
A print halts partway, the code appears, and nothing else will print until the reported fault is dealt with.
-
The same code keeps returning
You clear the error and it comes straight back, or reappears after every restart, suggesting a cause that isn’t fixed yet.
-
A code paired with an unusual noise
The error arrives alongside grinding, clunking, or repeated clicking from inside — a sign the fault may be mechanical.
-
A scanner or carriage that won’t move
The code appears while the scan head or ink carriage sits stuck, refusing to travel across the printer as it should.
What's usually behind it
The most common reasons this happens, so the fix makes sense.
Paper jammed or a hidden scrap in the path
The most common trigger by far — a stuck sheet, a torn corner, or a scrap left behind makes a feed sensor report a jam or misfeed code.
A cartridge not seated or not recognised
An ink or toner cartridge that isn’t clicked fully home, still has its tape on, or has dirty contacts throws a cartridge or supply error.
A cover, door, or tray left open
A front cover, scanner lid, rear door, or duplex unit not clicked shut leaves a switch open, which the printer reports as an error.
A stuck or corrupted print job
A malformed document sitting in the queue can confuse the printer and produce an error until the queue is cleared and the memory reset.
A temporary electronic glitch
Like any small computer, a printer can trip a false error that a full power cycle clears, with nothing actually wrong inside.
A lost or confused network connection
Dropped Wi-Fi, an IP conflict, or a stalled data transfer can surface as a connectivity or communication code rather than a print fault.
Out-of-date firmware or a mismatched driver
A firmware bug or a driver that no longer matches the printer can generate errors that only an update — on one side or the other — resolves.
A blocked carriage or feed mechanism
Packing tape left inside, an obstruction, or a worn feed roller can physically stop the carriage or paper and trigger a mechanical code.
A full waste-ink pad or maintenance counter
On many inkjets a counter fills over time and reports a maintenance or service error, asking for a pad reset or replacement.
A genuine hardware or component fault
The least common cause — a failing fuser, printhead, motor, or logic board — shows as a service code that survives every reset.
What you'll need
Have these on hand before you start for a smooth fix.
-
A phone to photograph the exact code
Codes often clear the moment you touch a button, so snap a clear photo of the screen or lights before you do anything else.
-
Your printer’s exact model number
The same code can mean different things on different models — find the model on the front, under the lid, or on the rear label.
-
Access to the printer’s control panel
You’ll read the code here and, on many models, clear it or restore defaults from the on-screen menus.
-
A torch and a sheet of plain paper
The torch helps you spot hidden paper scraps in the path; the paper lets you print a test page once the code is cleared.
-
Your Wi-Fi name and password
Keep these handy in case the code turns out to be connectivity-related and the printer needs reconnecting.
-
The manufacturer’s app or support page
The official HP, Canon, Epson, or Brother resources are where you’ll look the code up accurately — avoid random forums for the final word.
How to fix it
Work through these in order — they run from the quickest checks to the more advanced fixes.
-
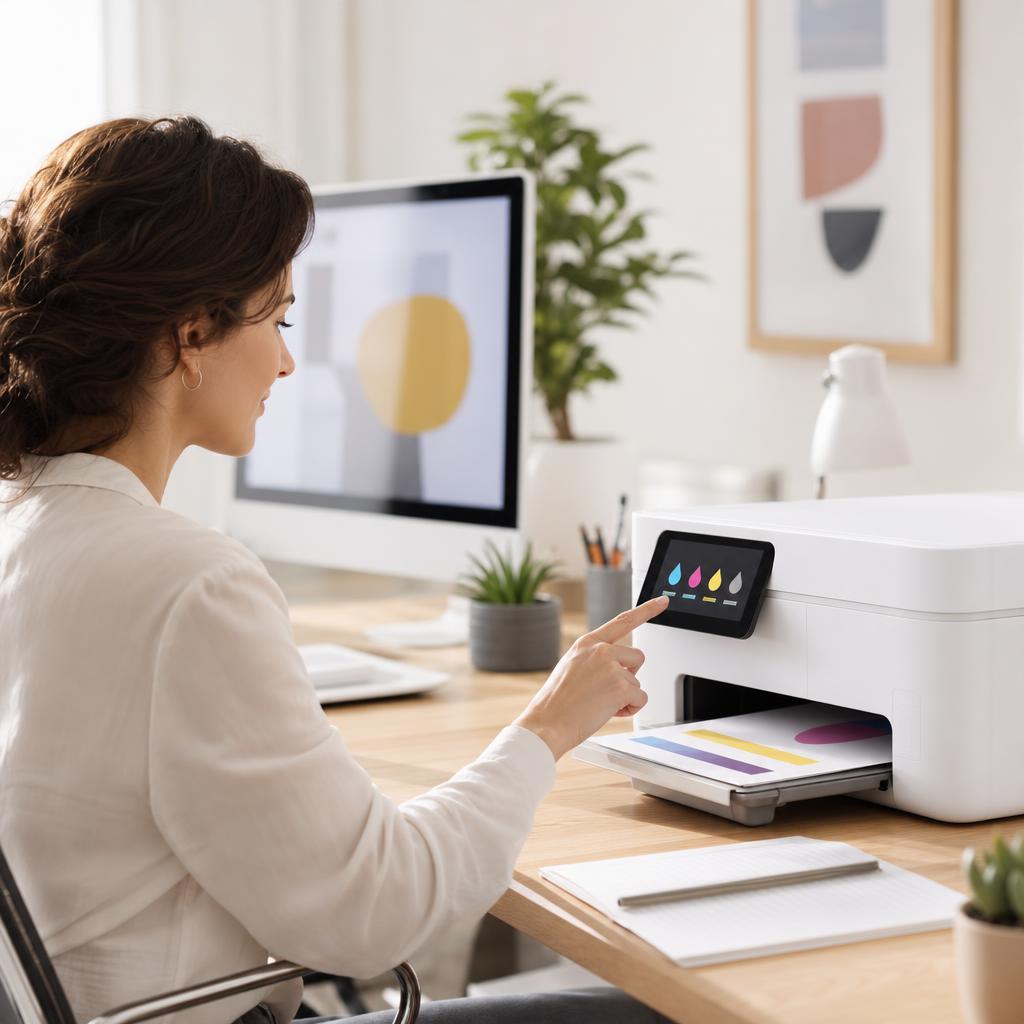
Step 1: Record the exact code before it disappears
Read the code on the panel or note the blink pattern carefully — count the flashes and their rhythm if the printer has no screen.
Photograph the screen or the light pattern with your phone straight away, and jot down any words shown alongside the code.
Note your exact model number too, since the same code can mean different things on different printers.
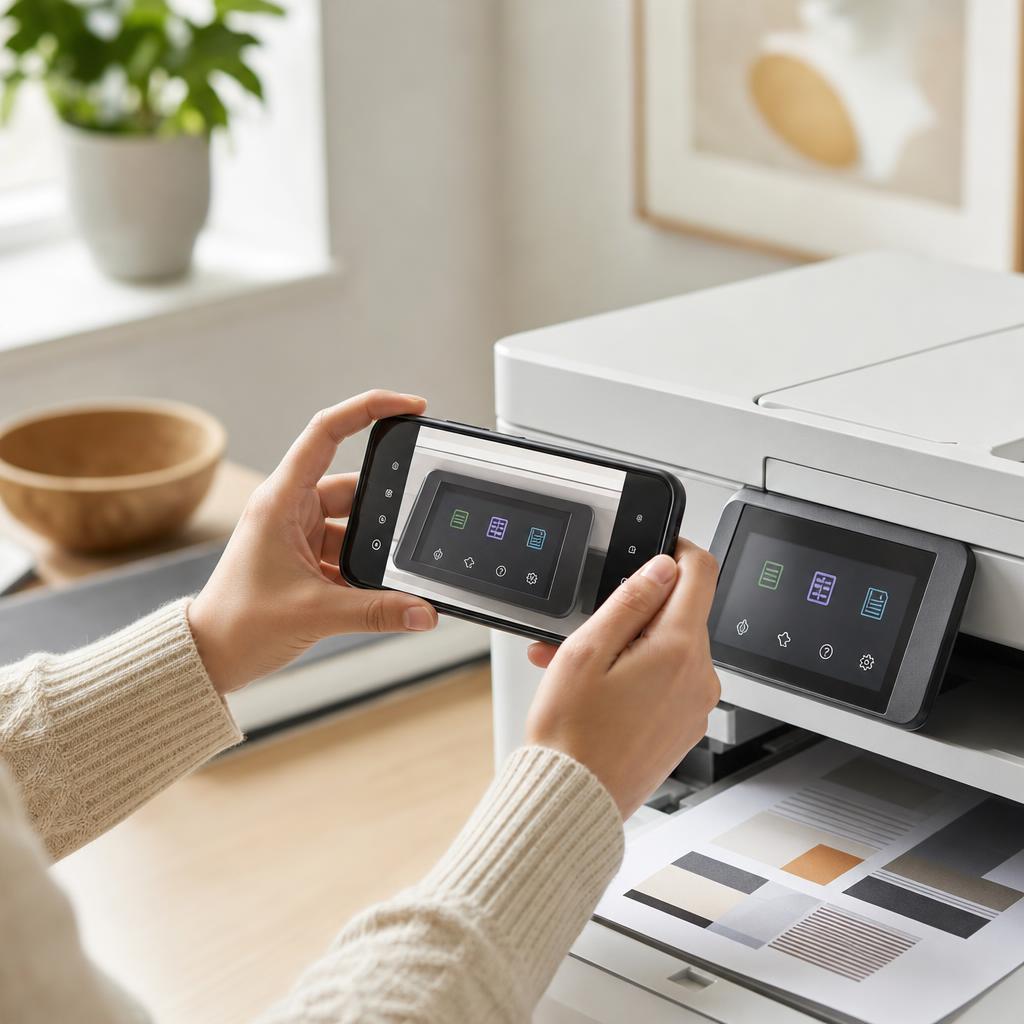
Why this works: Many codes clear the instant you press a button or open a cover, and a half-remembered code sends you looking up the wrong fix. A clear photo and the model number are the two things that make an accurate diagnosis possible.
Expected result: You have a photo or written note of the precise code, any message text, and the printer’s model number.
You could type the exact code and model into a search without guessing.
-
Step 2: Clear the print queue first
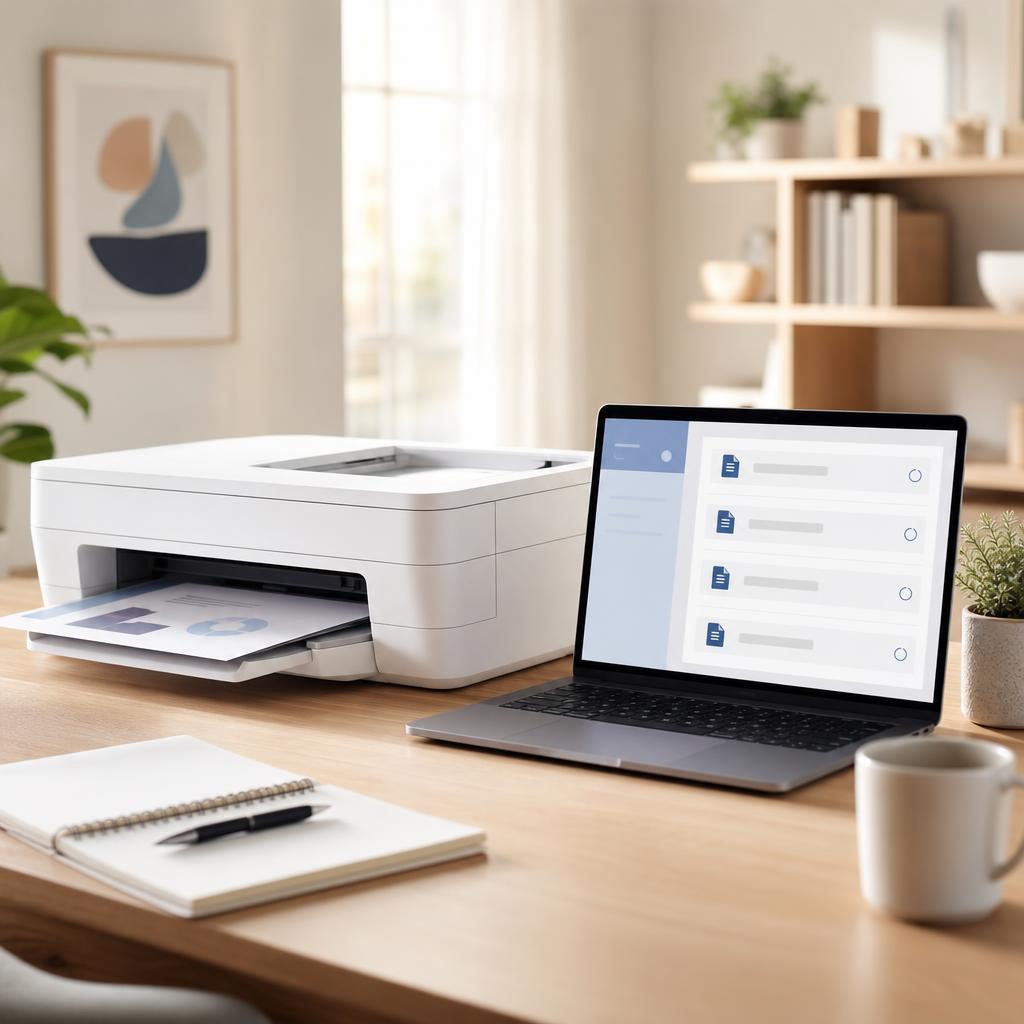
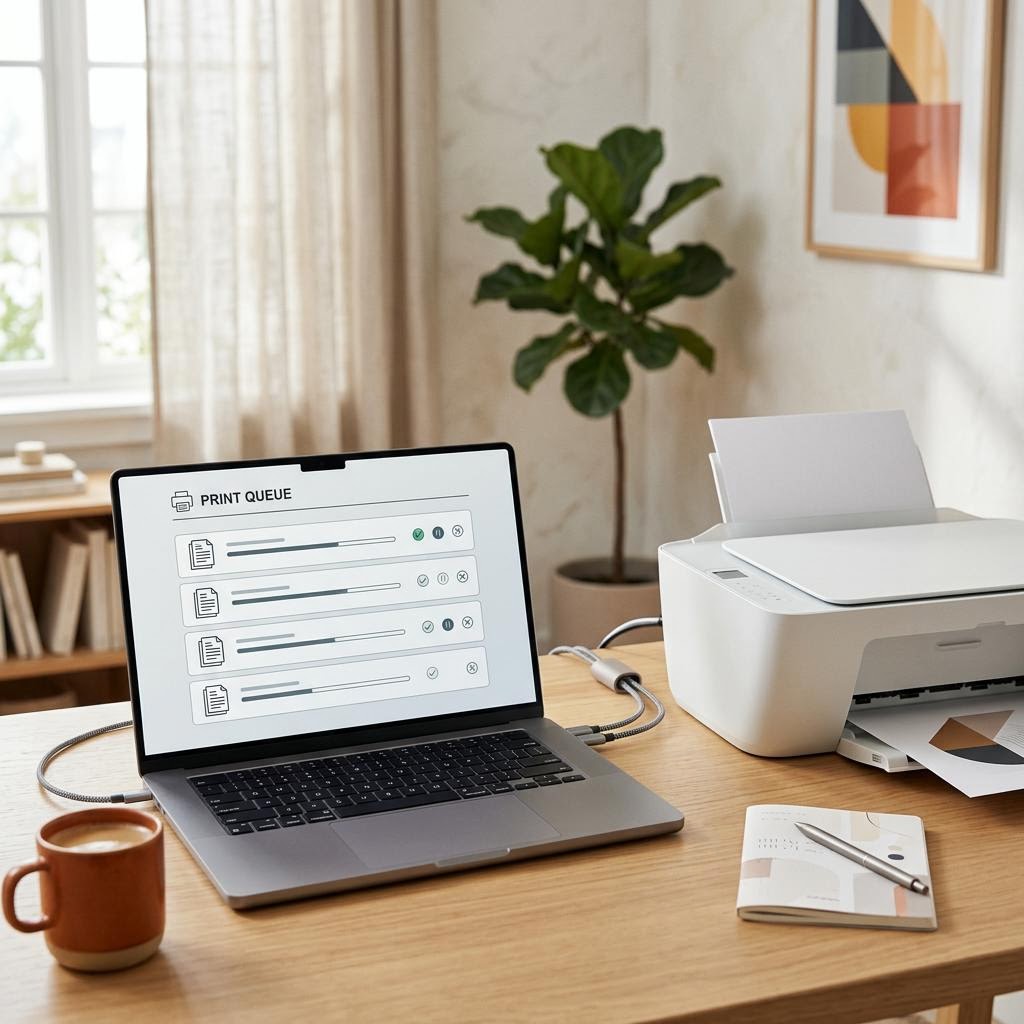
On your computer, open the printer’s queue and cancel or delete any documents waiting or stuck there.
On Windows this is in Settings → Bluetooth & devices → Printers & scanners; on macOS in System Settings → Printers & Scanners → Open Print Queue.
If a job refuses to clear, restart your computer and open the queue again to confirm it’s empty.
Why this works: A single corrupted job can produce an error and block everything behind it, so clearing the queue removes a common and harmless cause before you go further. It also means a leftover job won’t re-trigger the code the moment the printer wakes up.
Expected result: The print queue is empty and no stuck job remains to re-trigger the error.
Cancelling the queue is safe and loses only unprinted jobs — you can simply print them again afterwards.
-
Step 3: Do a full power cycle
Turn the printer off with its own power button and wait for it to shut down fully, not just sleep.
Unplug the power cable from the wall — not just the back of the printer — and leave it out for a full 60 seconds.
Plug it back in, switch it on, let it finish warming up, and see whether the code has cleared.
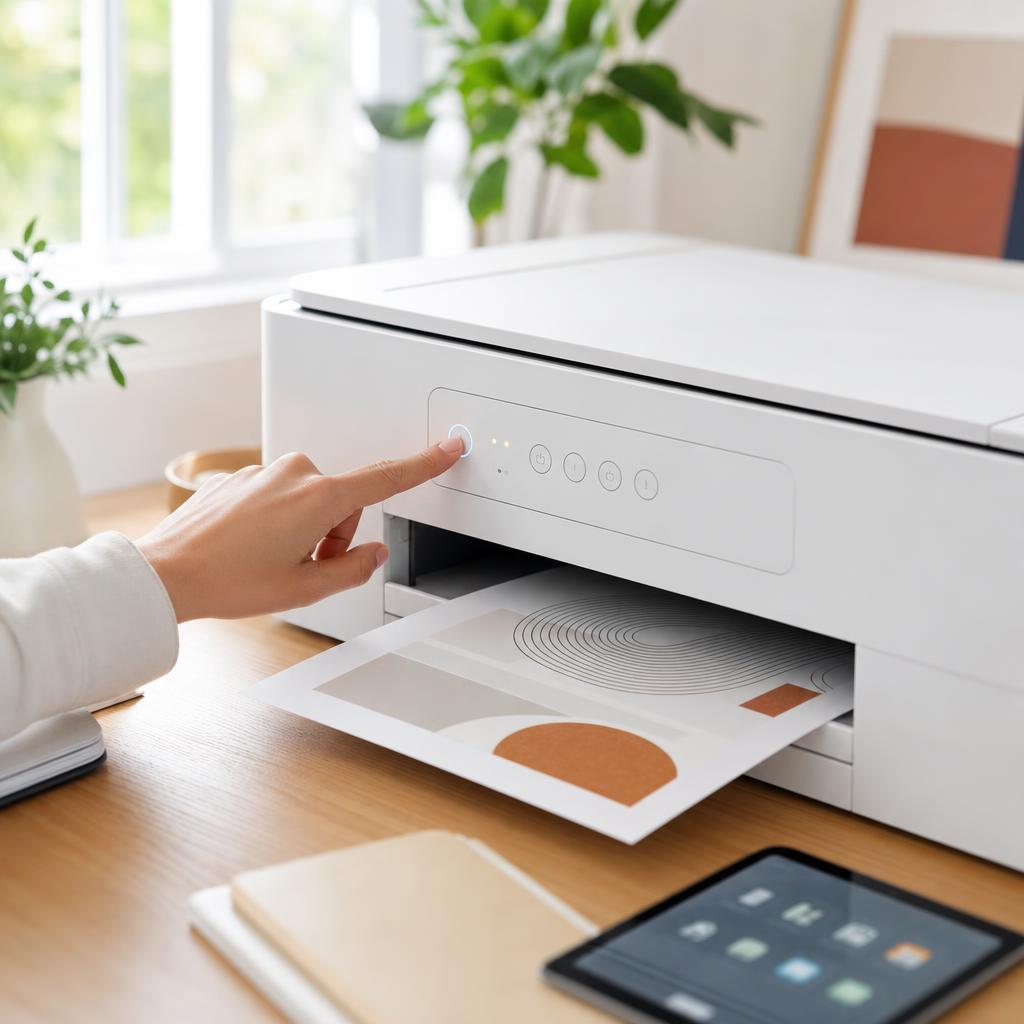
Why this works: Removing power for a full minute lets the printer’s memory and sensors reset completely, which clears the many codes caused by a temporary glitch rather than a real fault. It’s the single most effective step for the widest range of errors and changes none of your settings.
Expected result: The printer restarts to its normal home screen, and a glitch-based code is gone.
Use the power button to switch off first — pulling the plug on a busy printer can, rarely, corrupt a job. The 60-second wait matters; a quick off-and-on often isn’t enough.
The panel wakes to its normal home screen with no error showing.
-
Step 4: Check the paper path, cartridges and covers
Unplug the printer, then open the covers and gently remove any jammed sheet by pulling it slowly in the direction the paper normally travels — never yank it backwards.
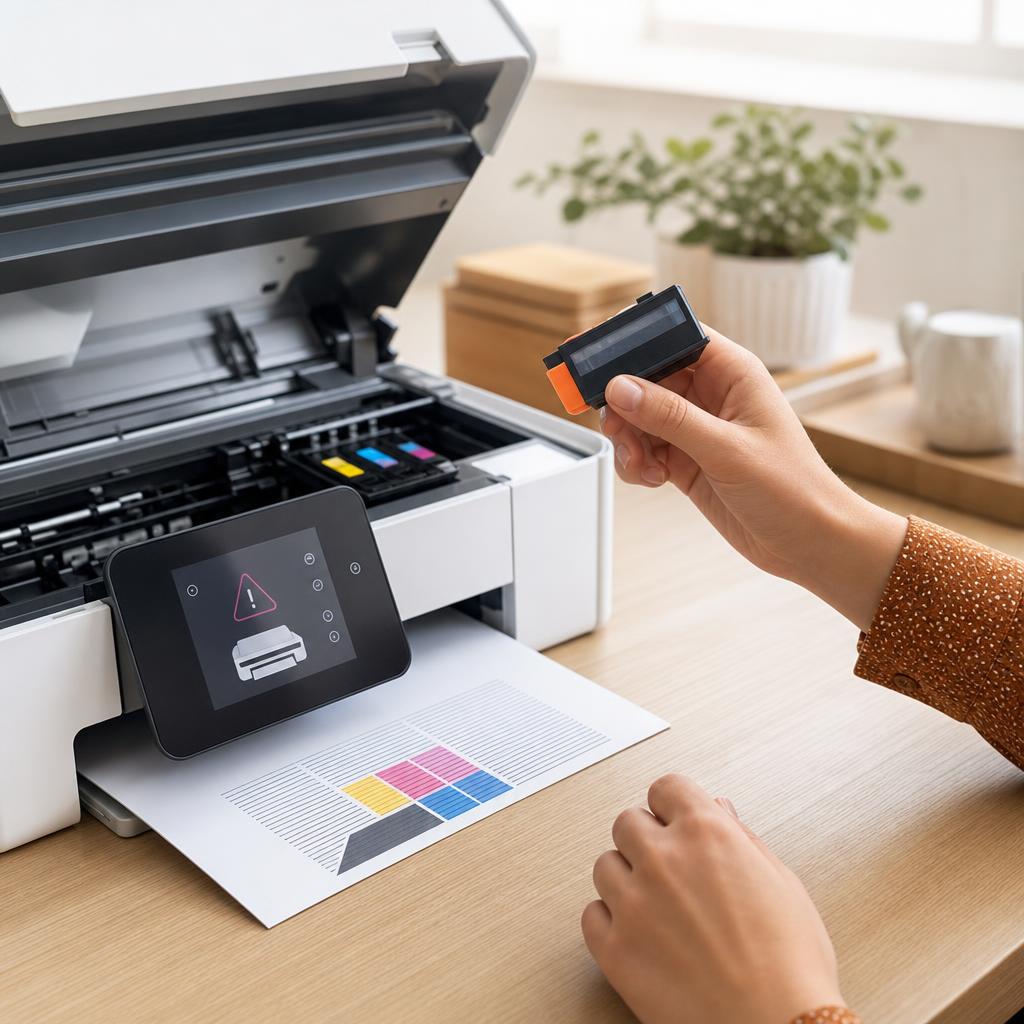
Shine a torch inside and look for small torn scraps, then reseat each ink or toner cartridge until it clicks firmly into place and remove any leftover shipping tape.
Close every cover, door, and tray firmly, and make sure paper sits square and isn’t overfilled, then plug the printer back in.
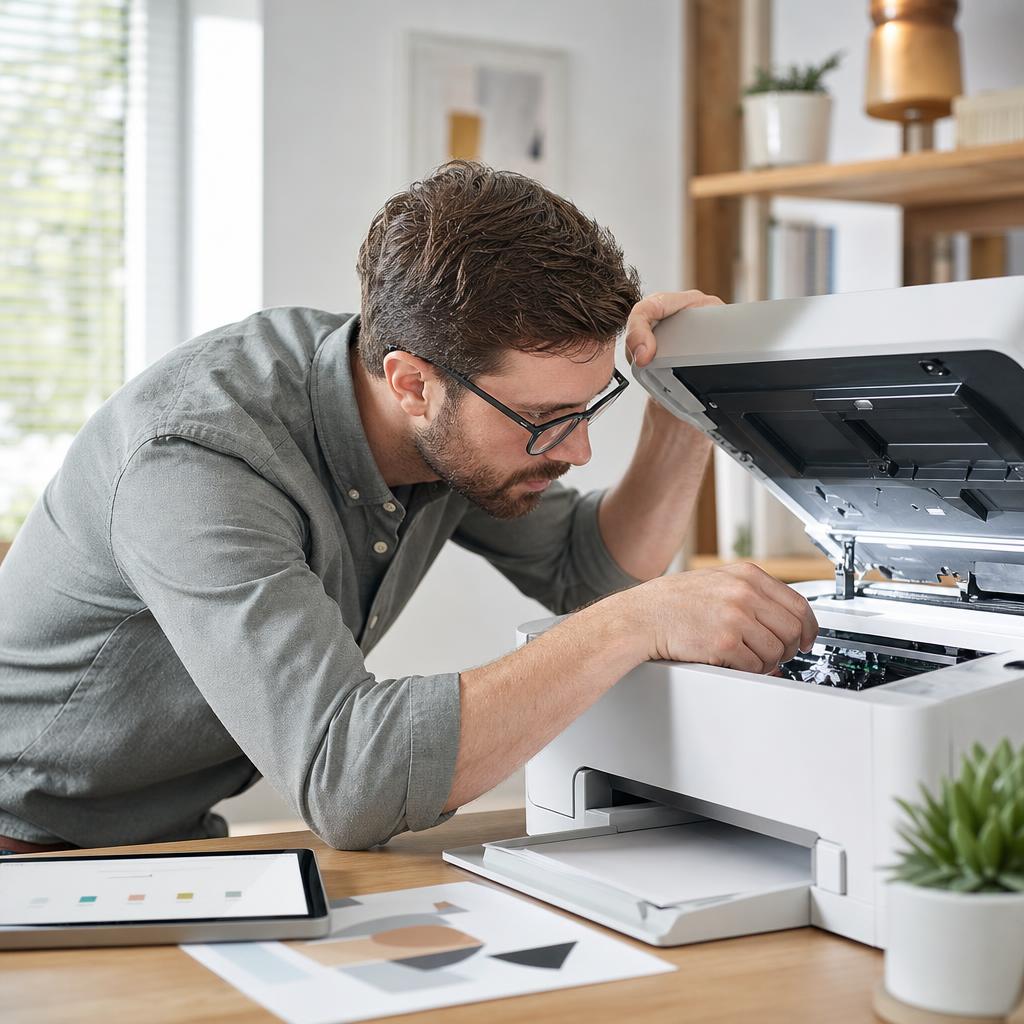
Why this works: Jams, unseated cartridges, and half-open covers cause the majority of everyday codes, and each is fixed by a careful physical check. Working with the printer unplugged keeps you safe around moving parts and the hot fuser inside a laser printer.
Expected result: The paper path is clear, every cartridge is seated, all covers are shut, and the matching code has cleared.
Never touch the shiny green drum surface or an inkjet’s nozzle plate, and avoid the laser fuser area, which stays hot after use. Toner is a fine powder — never use a household vacuum; wipe stray toner with a dry cloth and cool water on skin, never warm.
Covers all click shut, paper feeds cleanly, and the panel returns to normal.
-
Step 5: Recognise the code family you’re dealing with
Match your code to a family in plain words: paper feed and jam codes point at the tray, rollers, or a scrap in the path.
Cartridge and ink-system codes point at a supply that isn’t recognised, seated, or has a full waste-ink counter; connectivity codes point at Wi-Fi, IP, or communication trouble.
Hardware and service codes — often a longer number that keeps returning — point at an internal part such as the fuser, printhead, or a motor.
Why this works: Knowing which family a code belongs to tells you where to look and how worried to be, without needing the manufacturer’s exact wording yet. It also helps you decide whether to keep troubleshooting or start thinking about a repair.
Expected result: You can say roughly what your code is about — paper, cartridge, connection, or hardware — which guides your next move.
-
Step 6: Check the connection if it’s a connectivity code
If the code or message mentions network, communication, or offline, confirm the printer shows a steady Wi-Fi symbol or a connected Ethernet cable.
Restart your router as well as the printer, and make sure the printer and your computer are on the same network.
For a USB printer, reseat the cable at both ends or try a different port, then send a short test print.
Why this works: Connectivity codes usually mean the data never reached the printer rather than anything being wrong inside it, so fixing the link clears the error. Restarting the router alongside the printer resolves the common case where both ends have simply lost track of each other.
Expected result: The printer is back on the network with a steady connection and the communication code has cleared.
If reconnecting is fiddly, a dedicated offline or Wi-Fi guide will walk you through it in more detail than a code lookup can.
-
Step 7: Update the firmware and driver
Open the manufacturer’s official app or support page, enter your exact model, and install any firmware update offered while the printer stays on and connected.
On your computer, update or reinstall the latest driver for your model from the same official source, not from a third-party site.
Let the printer restart on its own after a firmware update — never switch it off part-way through.

Why this works: Some codes are caused by a firmware bug or a driver that no longer matches the printer, and only an update on the right side cures them. Keeping both current also prevents a fixed fault from quietly returning later.
Expected result: The printer runs the latest official firmware and your computer uses a matching, up-to-date driver.
Only use the manufacturer’s official downloads. Be aware that some firmware updates change how third-party or refilled cartridges behave, and may stop recognising them — check the update notes if you rely on non-genuine supplies.
-
Step 8: Look the exact code up in official documentation
Search the manufacturer’s support site for your model number followed by the exact code from your photo.
Read the official explanation and follow any model-specific steps it lists, which may include a particular button sequence or menu option.
Prefer the manufacturer’s own pages and manual over random forum threads, which often mix up codes between models.
Why this works: The same code can mean different things across brands and models, so the manufacturer’s own documentation is the only reliable source for what yours means. Following the official steps for your exact code avoids the wrong fix and the wasted effort that comes with it.
Expected result: You have the manufacturer’s official meaning for your code and any specific steps it recommends.
Keep the manual or support page open for the next steps — some codes have a documented reset that clears the counter or fault.
-
Step 9: Restore the panel defaults if the code persists
If the error keeps returning after the checks above, open Settings (or Setup) → Tools/Maintenance on the panel and look for “Restore Defaults” or “Reset Settings”.
Choose the lightest reset first — restoring general or print settings rather than a full factory wipe — and confirm when prompted.
Let the printer restart, then check whether the code has finally cleared before deciding whether more is needed.
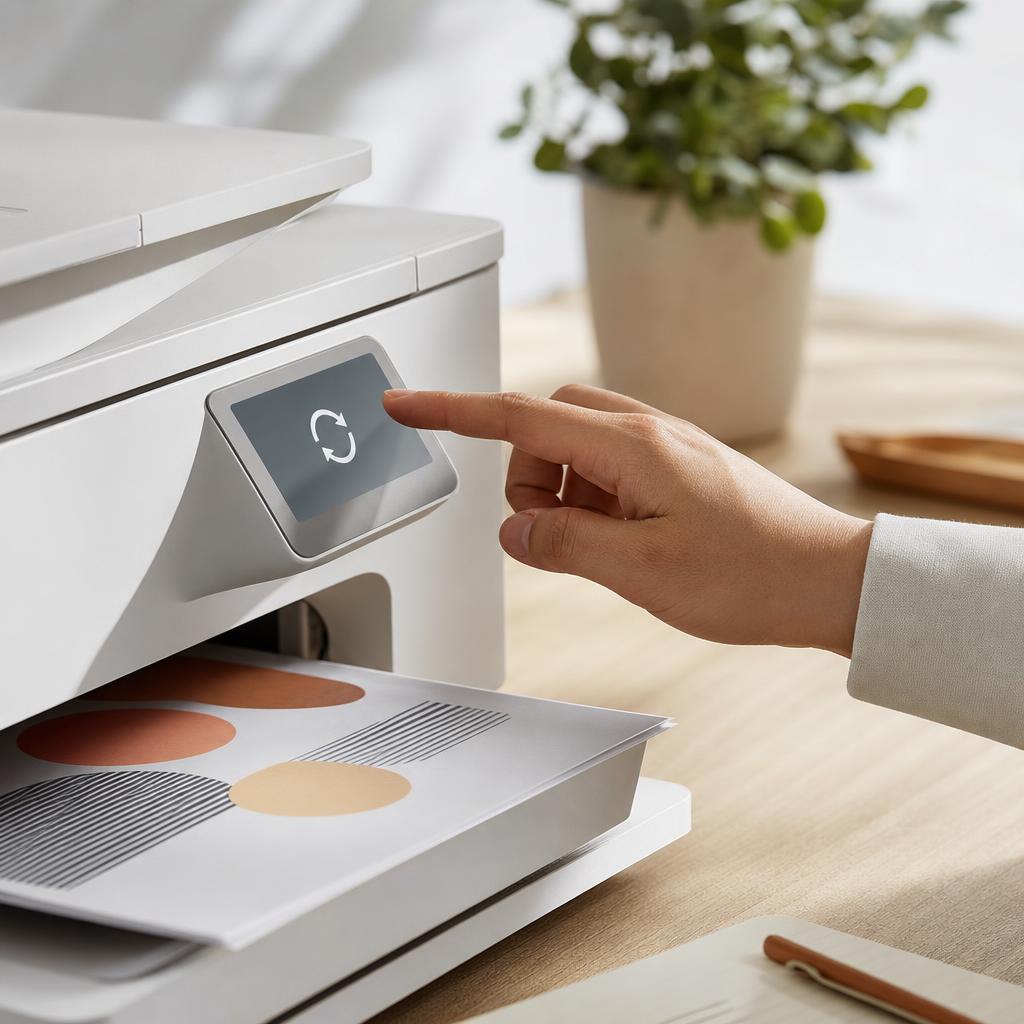
Why this works: A settings reset clears deeper configuration conflicts that a power cycle leaves behind, which can be enough to shift a stubborn code. Starting with the lightest reset avoids needlessly wiping your Wi-Fi and custom setup.
Expected result: The printer restarts with clean settings and the persistent code no longer appears.
A full factory reset wipes your Wi-Fi password, custom trays, and address book — record those details first, and only go that far if lighter resets fail.
-
Step 10: Judge whether it’s a repair, not a reset
Treat a service code that keeps returning after every reset, or won’t let you past the error screen at all, as a sign of a hardware fault.
Stop resetting if you hear grinding, clunking, or repeated clicking, or if the code names the fuser, printhead, laser unit, or a motor.
Note the exact code and what you’ve already tried, ready to explain it clearly to a repairer or the manufacturer.
Why this works: A small number of codes report a genuine internal failure that no amount of resetting can fix, and recognising them saves you from chasing a fault that needs a technician. Knowing when to stop protects both your time and the printer from clumsy repair attempts.
Expected result: You can tell a clearable software or user-fixable error apart from a hardware code that needs professional attention.
Grinding or a burning smell means switch the printer off and unplug it — don’t keep running it. Forcing a jammed mechanism can turn a small fault into an expensive one.
-
Step 11: Approach warranty and service sensibly
Check whether the printer is still in warranty before paying for a repair — the model number and purchase date tell you where you stand.
Contact the manufacturer’s official support with your exact code, model, and the steps you’ve already tried, so they don’t send you round the same loop.
For an out-of-warranty printer, weigh the likely repair cost against the price of replacing it before committing.
Why this works: A hardware code often means a paid repair, and going in with the exact code and your troubleshooting history gets you a faster, more accurate answer. Knowing the warranty position and rough repair cost helps you make a sensible decision rather than a rushed one.
Expected result: You know your warranty status and have a clear, well-documented case to give support or a repairer.
-
Step 12: Confirm the code is cleared and print a test page
With no error on the panel, print a test or diagnostic page from the printer’s own menu or your computer.
Check that it prints promptly, feeds cleanly, and that the code doesn’t reappear during or after the print.
Print a normal everyday document too, to confirm regular printing works from your usual apps.
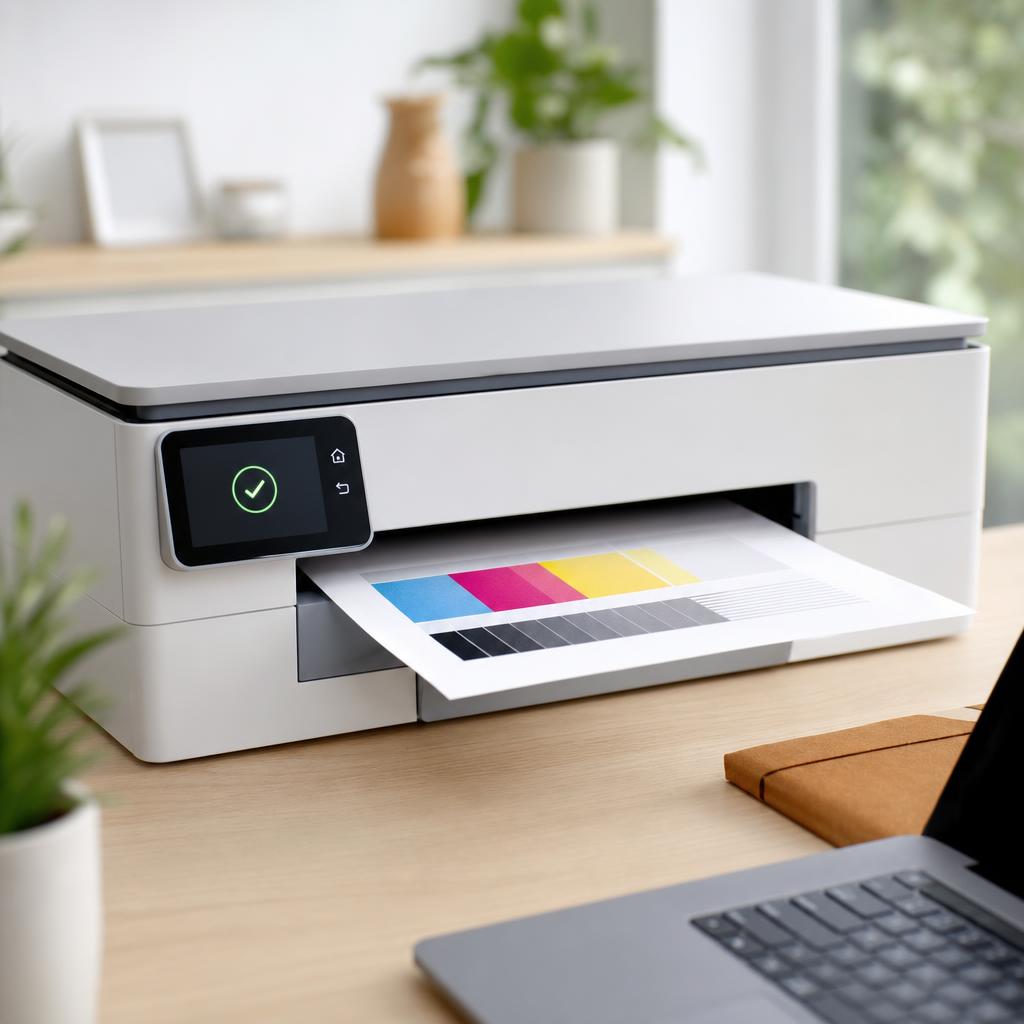
A clean test page with no code on the panel confirms the error is genuinely resolved. Why this works: A clean test page proves the fault is genuinely gone rather than merely hidden, and that the whole chain — printer, connection, and driver — is working again. It’s the clearest sign the code was fixed rather than just dismissed.
Expected result: A clean page prints on the first try, the code stays away, and normal documents print without delay.
The test page and a normal document both print correctly with no error returning.
Tip
Printer Tip
Photograph any code the moment it appears, so you never lose the detail you need to fix it.
Other solutions to try
If the steps above didn't do it, these fixes resolve the less common cases.
Reading blink patterns on a screenless printer
Basic printers with no display signal faults by flashing their lights, and the pattern is the code.
- Count how many times the error or ink light blinks between pauses, and note whether the power light is steady or flashing too.
- Look the blink pattern up in your model’s manual, which lists what each count and combination means.
- Match the pattern exactly — one extra or missing flash points to a different fault entirely.
When a software pop-up and the panel disagree
The code your computer reports and the one on the printer can be worded differently for the same fault.
- Trust the printer’s own panel for the primary code, and note the software wording as a second clue.
- Search the manufacturer’s site using both, as the support page often lists the plain-language and coded versions together.
- Update the driver, since an outdated one can report a stale or generic error the printer has already moved past.
Maintenance and waste-ink counter codes
Some inkjet codes report a full waste-ink pad or a maintenance counter rather than a breakage.
- Check whether the code matches a maintenance or “end of service life” message in the manual.
- Some models allow a counter reset or an owner-replaceable maintenance box; follow the official procedure for yours.
- If the pad genuinely needs replacing, weigh a service visit against the printer’s value before deciding.
If a code appears only when printing certain files
An error tied to one document usually means the file, not the printer, is the problem.
- Try printing a different document to confirm the printer is otherwise fine.
- Re-save or re-export the problem file, or print it from a different app, to rule out a corrupted document.
- Reduce complex graphics or high resolution if the printer runs low on memory on large files.
Confirm it's working
Tick these off to be sure the problem is fully resolved.
Keep it from happening again
A few habits that stop this problem coming back.
- Photograph any code the moment it appears, so you never lose the detail you need to fix it.
- Keep the firmware and driver up to date from official sources to head off bug-related codes.
- Load paper squarely and don’t overfill the tray, which prevents the most common feed and jam codes.
- Use cartridges that seat with a firm click and remove all shipping tape when fitting a new one.
- Clear the print queue when a job stalls rather than sending it repeatedly and confusing the printer.
- Note your printer’s model number and warranty date somewhere handy, ready for any future service call.
Frequently asked questions
Was this guide helpful?
Your feedback helps us keep these steps accurate.
Thanks for your feedback!
Written by
The Guts Guide Editorial Team · Error Diagnostics Specialists
Reviewed by
Daniel Owens · Print & Network Technician
Last updated
Jul 14, 2026
Continue Reading
Pick up where you left off with the next guide in your troubleshooting journey.
Related Guides
More troubleshooting walkthroughs you may find useful.
Buying Guides
Plain-English comparisons and pre-purchase checklists — find the right printer before you buy.


