
How to Clean Printer Rollers: Fix Paper Jams and Misfeeds
Dirty or glazed paper-feed rollers cause most repeat paper jams and misfeeds. This guide shows you how to locate the feed and pickup rollers on your printer, clean them safely without removing parts, and know when cleaning is no longer enough.
Applies to: All inkjet and laser printers with internal paper-feed rollers, HP, Epson, Canon, Brother, and all major brands, Single-function and all-in-one printers, Desktop printers with manual or cassette paper trays
Quick summary
- The problem
- Paper jams repeatedly in the same place, sheets feed at an angle, multiple pages pull through at once, or the paper tray empties but nothing prints — all typical signs of dirty or worn feed rollers.
- The fix
- Turn the printer off, open the relevant access panels, and wipe the rubber rollers with a lint-free cloth lightly dampened with distilled water or isopropyl alcohol. Allow them to dry completely before printing.
- Applies to
- Any inkjet or laser printer that has developed repeat paper jams or feeding problems after extended use.
On this page Show
Understanding the problem
Paper-feed rollers are the rubber wheels inside your printer that grip sheets of paper and pull them through the print path. Over time, paper dust — a fine talc-like powder that coats every sheet — builds up on the roller surface. This accumulation gradually reduces the grip the roller has on paper, leading to the printer struggling to pick up sheets reliably.
A second cause of roller failure is glazing: the rubber surface becomes hard and smooth, either from age or from the heat of laser printers. A glazed roller has even less grip than a dusty one and cannot be restored by cleaning — it needs to be replaced.
The symptoms of dirty rollers are consistent: repeat jams in the same location in the paper path, sheets that feed diagonally, multiple pages being pulled through together, or the paper tray appearing to be loaded but nothing feeding at all. A single jam caused by something stuck in the path is different — roller problems produce repeat failures in normal operation.
Cleaning rollers is straightforward, requires no tools, and takes about 15 minutes. Most manufacturers recommend cleaning every 2,000 to 5,000 pages or when feeding problems begin.
Did you know?
AirPrint and Mopria need no drivers
Apple's AirPrint and Android's Mopria let phones and tablets print over Wi-Fi without installing any manufacturer software.
Signs you're in the right place
If you're seeing any of these, this guide is for you.
-
Paper jams in the same spot repeatedly
Every jam happens at or near the paper entry point. Once cleared, the next sheet jams in exactly the same place — a clear sign of reduced roller grip.
-
Sheets feed at an angle or skew
Pages enter the printer straight but arrive at the print head or output tray at a visible angle. Uneven wear or debris on one roller more than the other causes this.
-
Multiple pages feed at once
Two or three sheets pull through together instead of one. Usually caused by paper dust reducing the separation between sheets, combined with reduced roller grip.
-
Paper tray loaded but nothing feeds
The printer goes through the motion of feeding but fails to grab any paper. The roller is no longer generating enough friction to pick up the first sheet.
What's usually behind it
The most common reasons this happens, so the fix makes sense.
Paper dust accumulation
Every sheet of paper sheds a fine coating of talc and sizing chemicals. After thousands of prints, this builds up on the rubber roller surface and reduces its grip.
Dried ink or toner contamination
Ink mist from inkjet nozzles or toner particles from laser cartridges can settle on rollers not protected by covers. The dried residue reduces friction and causes uneven feeding.
Roller glazing from age or heat
Rubber rollers harden and become smooth over time, especially in laser printers where fuser heat accelerates the process. A glazed roller grips poorly and cannot be cleaned back to a usable state.
Wrong paper type or size
Very smooth, heavy, or glossy paper places more demand on the rollers' grip than standard office paper. Consistent use of non-recommended paper types can accelerate roller wear.
What you'll need
Have these on hand before you start for a smooth fix.
-
Lint-free cloth (microfibre works well)
Do not use paper towels — they shed fibres onto the roller surface.
-
Distilled water or 90%+ isopropyl alcohol
Do not use tap water — minerals in it leave deposits on rubber as the water evaporates.
-
A dry lint-free cloth
To remove excess moisture after cleaning.
How to fix it
Work through these in order — they run from the quickest checks to the more advanced fixes.
-
Step 1: Power off the printer and gather your supplies
Press the printer's power button to switch it off, then unplug the power cable from the wall.
Wait two minutes for the printer to fully cool down — this is especially important for laser printers where the fuser runs at high temperature.
Gather a lint-free cloth (microfibre works well) and either distilled water or 90%+ isopropyl alcohol.
Have a second dry lint-free cloth ready to wipe off any excess moisture.
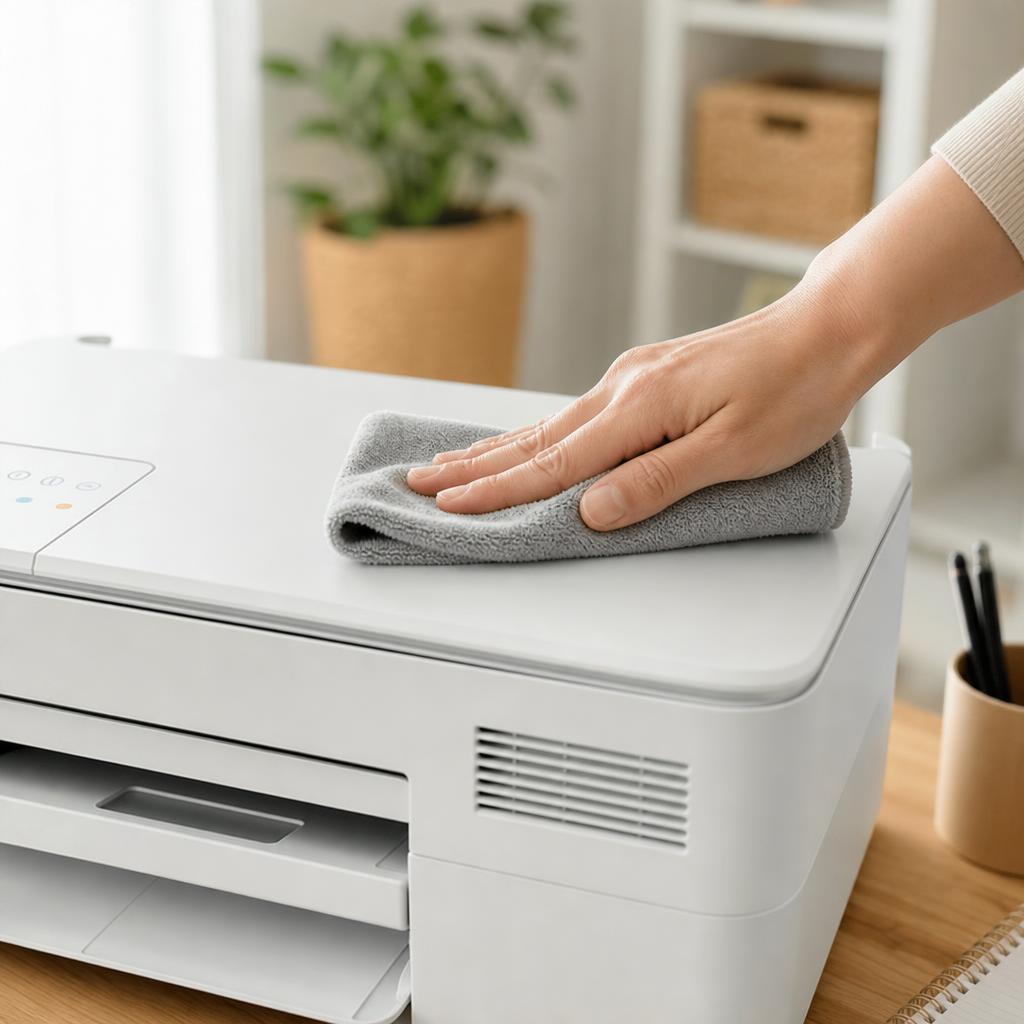
Do not use paper towels, which shed fibres, or cleaning sprays not designed for electronics.
Why this works: Working on a powered printer risks injury from moving parts. Isopropyl alcohol cleans rubber effectively without leaving residue and dries quickly.
Expected result: Printer is powered off and unplugged. Cleaning materials are ready.
-
Step 2: Locate and access the paper-feed rollers
Open the rear access panel if your printer has one — this gives the clearest view of the main feed rollers.
Also check inside the front or top of the paper cassette tray: the pickup roller — the one that lifts paper from the tray — is usually visible from this angle.
On all-in-one printers with an ADF (automatic document feeder), there are also separate rollers inside the ADF for feeding originals. These can be accessed by opening the ADF lid.
Consult your printer's manual or the manufacturer's website for a diagram specific to your model if you cannot locate the rollers.
You are looking for small rubber wheels, approximately 2–4 cm in diameter, usually dark grey or black.
Why this works: Printers have rollers in multiple locations — the pickup roller, the feed roller, and the separation pad. Cleaning only one and missing the others leaves the problem partially fixed.
Expected result: All accessible rollers are located and visible.
-
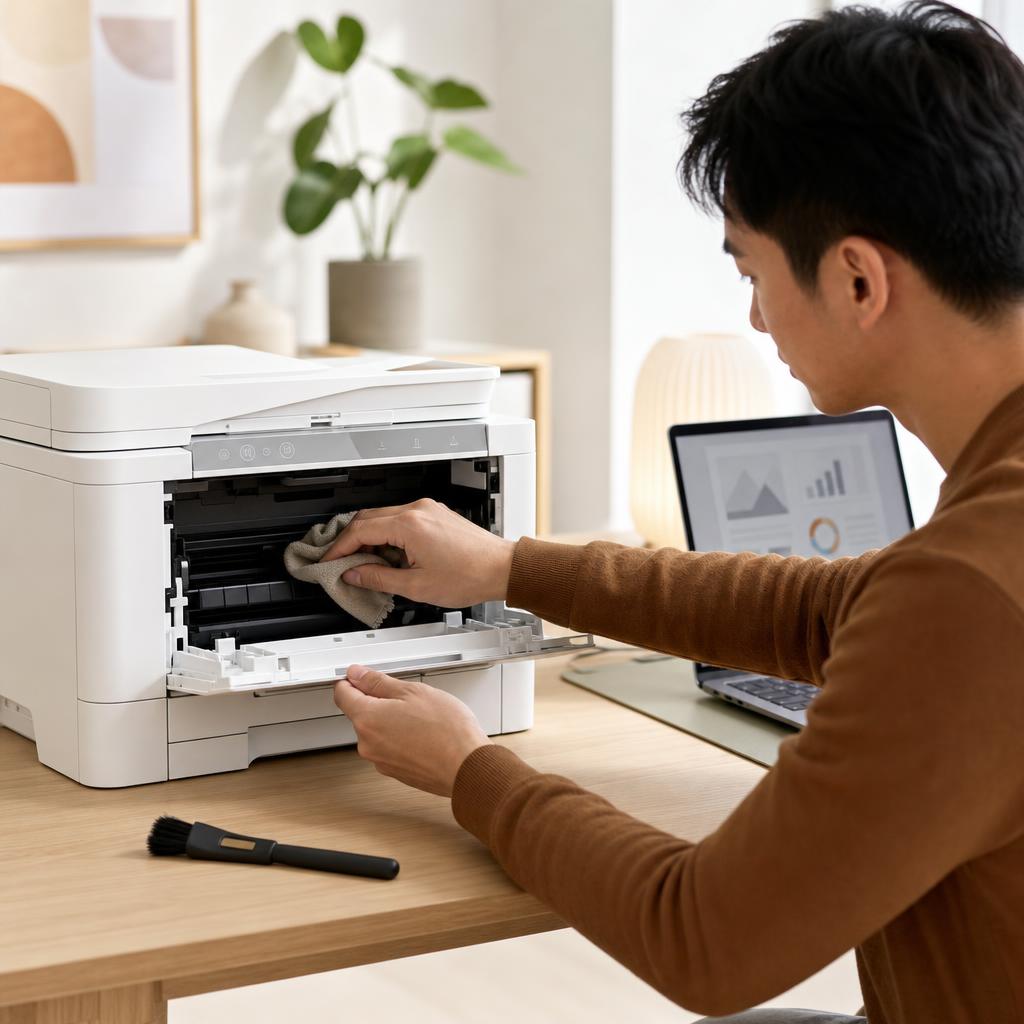
Step 3: Wipe the rollers with a dampened cloth
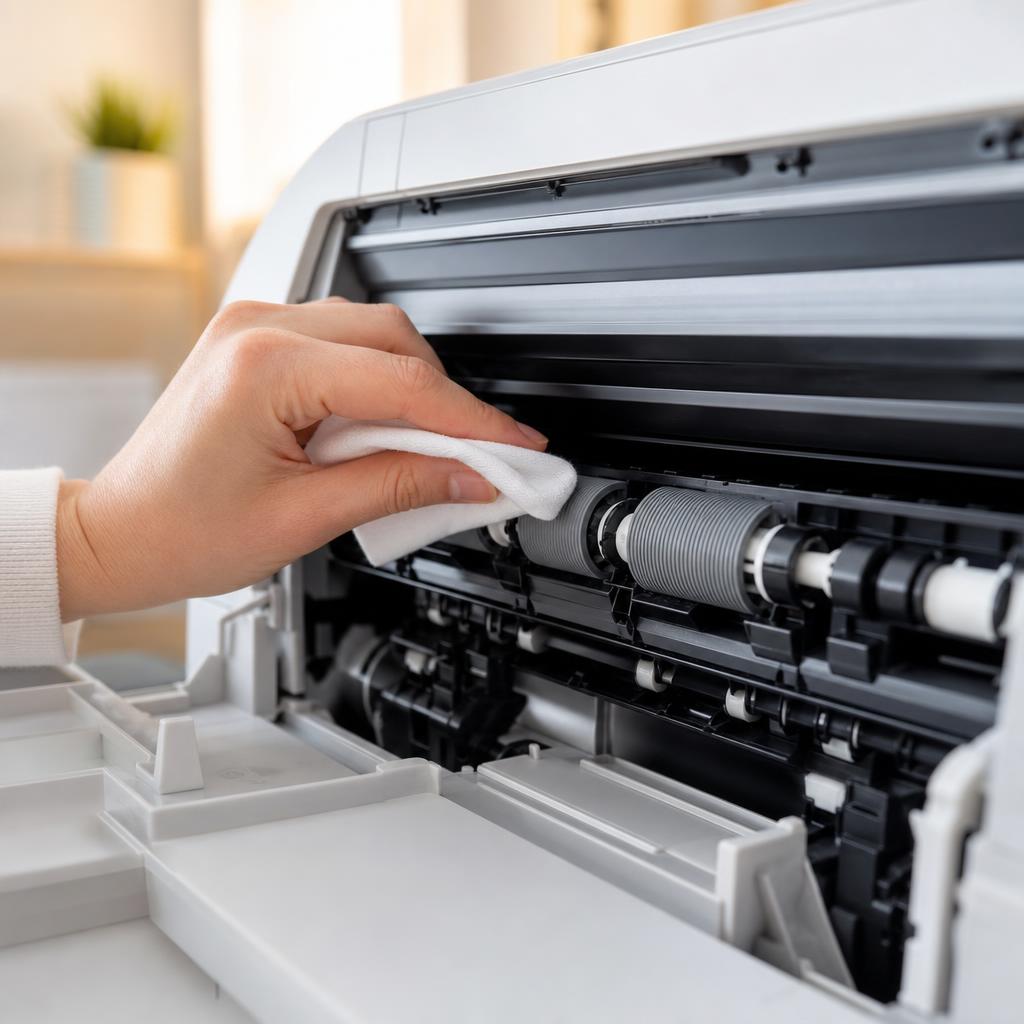
Dampen — not wet — a corner of the lint-free cloth with distilled water or isopropyl alcohol.
Press the cloth gently against the roller surface and rotate the roller slowly by hand. The roller should turn freely when the printer is off.
Continue wiping as you rotate until no more grey or brown residue transfers to the cloth.
If the roller does not turn freely, check your printer's manual for the correct method of manually advancing it — some models have a specific direction.
Wipe the separation pad (a small rubber or cork-textured tab near the pickup roller) with the same dampened cloth. This component helps prevent double-feeding.
Use the dry cloth to remove any excess moisture.
Rotate the roller while wiping to clean the full surface. Use a damp cloth, not a wet one. Why this works: Rotating the roller while wiping ensures the full circumference is cleaned, not just the top surface. The separation pad is equally important for preventing multi-sheet feeds.
Expected result: Rollers are visibly clean and the cloth shows no further transfer of dust or residue.
-
Step 4: Allow the rollers to dry completely
Leave the printer open and unplugged for at least 10–15 minutes after cleaning.
Do not attempt to speed up drying with a hair dryer or heat source — the heat can damage the rubber.
The rollers should feel completely dry to the touch, with no slippery residue.
If you used isopropyl alcohol, 5 minutes is usually sufficient for it to evaporate.
Why this works: Paper fed over a wet or damp roller will slip even more than a dirty one. Complete drying is essential before testing.
Expected result: Rollers are dry to the touch and ready for a test.
-
Step 5: Run a test print and check feeding
Load a small amount of paper — 5 to 10 sheets — in the paper tray.
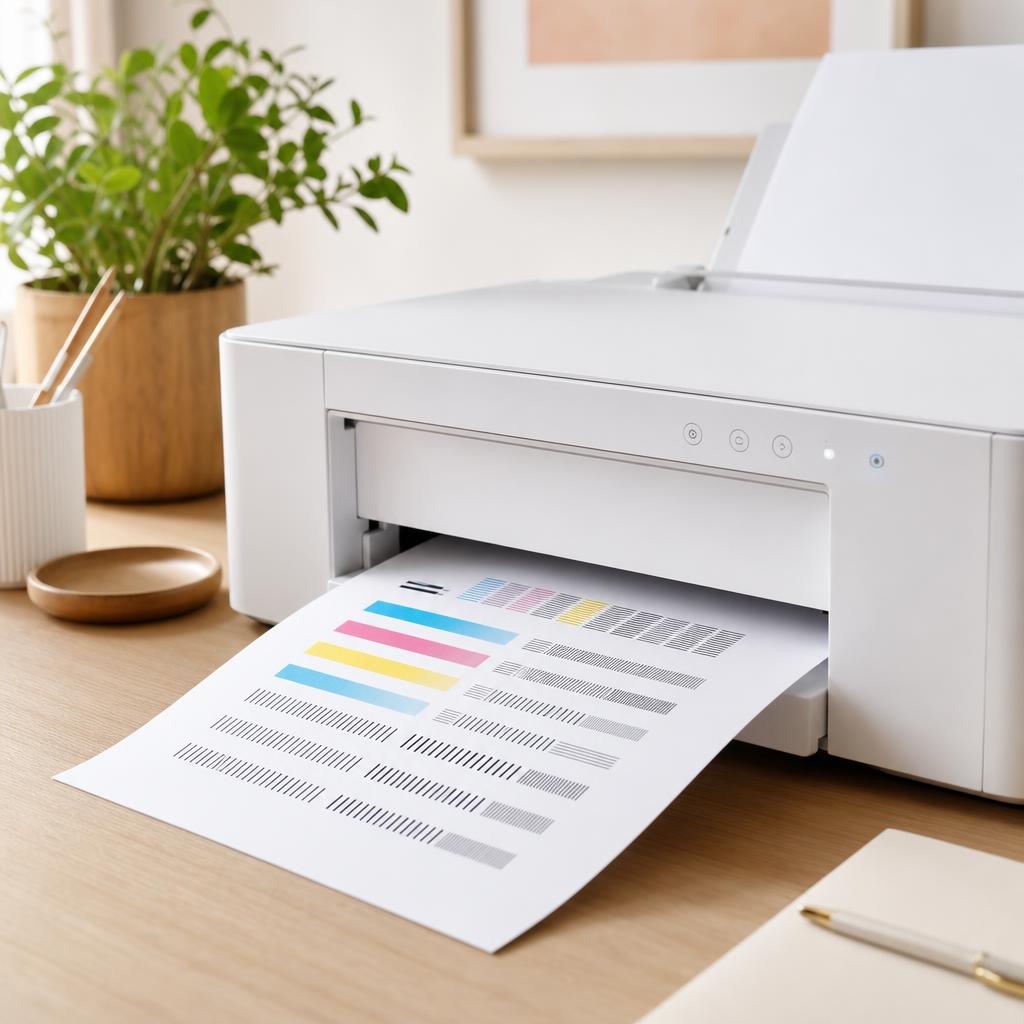
Reconnect the power, switch the printer on, and print a test page from your computer (or use the printer's built-in self-test if it has one).
Watch the paper entry point as the printer feeds. The sheet should be pulled in smoothly, straight, and without hesitation.
Print a further 10 pages to confirm the improvement holds.
If feeding is better but not fully resolved, repeat the cleaning process — a second pass often removes residue the first did not fully dissolve.
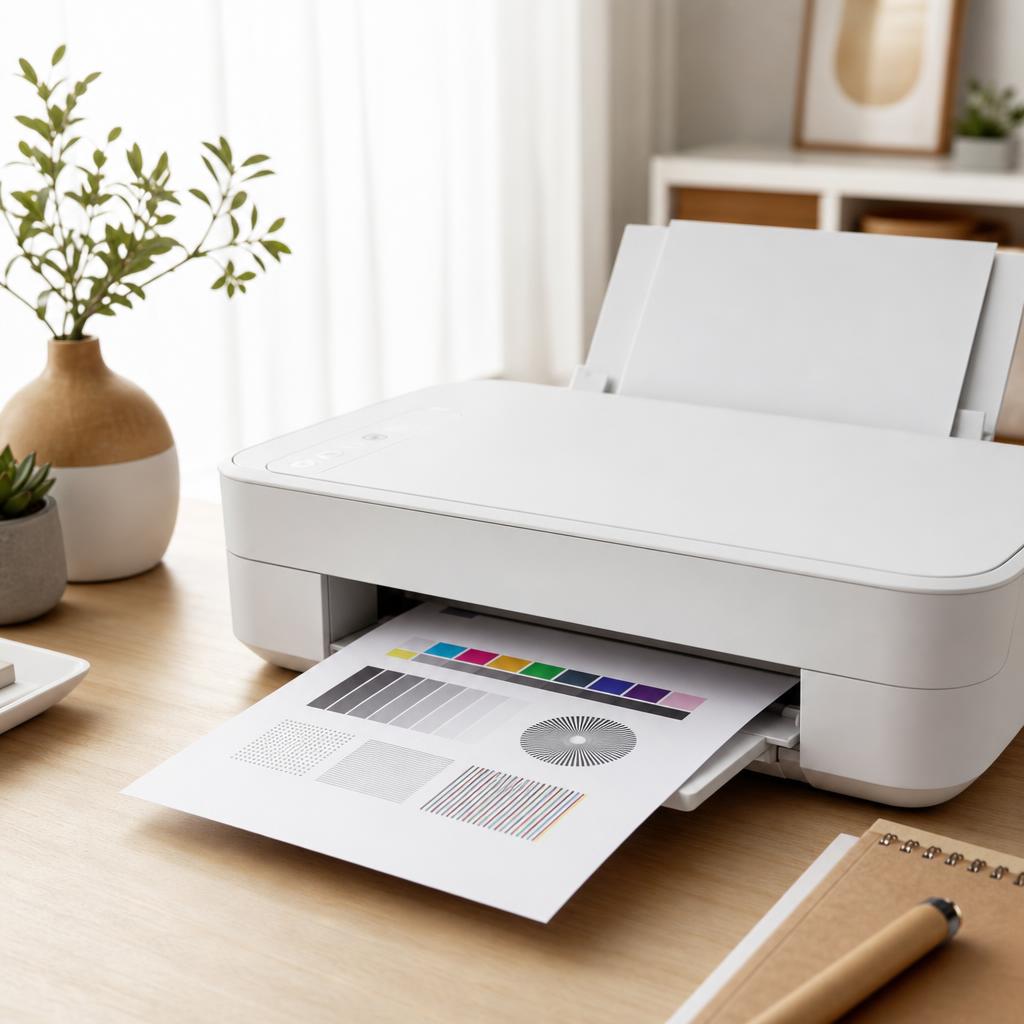
A clean, straight test print confirms the rollers have grip restored. Why this works: A test print confirms the rollers are clean, dry, and gripping correctly before you rely on the printer for real documents.
Expected result: Paper feeds smoothly on every sheet, with no jams, skewing, or multi-sheet feeds.
Tip
Printer Tip
Run the manufacturer's built-in cleaning cycle every 1,000–2,000 pages if your printer offers one
Other solutions to try
If the steps above didn't do it, these fixes resolve the less common cases.
Fan and realign the paper stack before loading
Hold the stack of paper by its short edges and flex it gently to separate the sheets, then tap it on a flat surface to align the edges. Paper that has been left stacked for a long time can stick together slightly, making double-feeds more likely even with clean rollers. Always load paper with the recommended side facing the correct direction as shown in the tray markings.
Replace the rollers if cleaning does not help
Rubber rollers last approximately 50,000 to 150,000 pages depending on the printer. If cleaning makes no difference, the rubber has glazed and no longer grips — cleaning cannot restore a glazed surface. Replacement roller kits are available for most popular models from the manufacturer and from general hardware suppliers. Search your printer model plus "roller kit" on the manufacturer's site or a reputable parts supplier.
Confirm it's working
Tick these off to be sure the problem is fully resolved.
Keep it from happening again
A few habits that stop this problem coming back.
- Run the manufacturer's built-in cleaning cycle every 1,000–2,000 pages if your printer offers one
- Fan paper before loading to separate sheets and reduce double-feed risk
- Use the recommended paper weight and type for your model — check the manual for the specification
- Keep unused paper sealed in its packaging to prevent moisture absorption, which softens paper and increases paper dust
- Store the printer in a low-dust environment and close all trays and covers when not in use
Frequently asked questions
Was this guide helpful?
Your feedback helps us keep these steps accurate.
Thanks for your feedback!
Written by
The Guts Guide Editorial Team · Printer Troubleshooting Specialists
Last updated
Jul 17, 2026
Continue Reading
Pick up where you left off with the next guide in your troubleshooting journey.
Related Guides
More troubleshooting walkthroughs you may find useful.
Buying Guides
Plain-English comparisons and pre-purchase checklists — find the right printer before you buy.


