
How to Uninstall and Reinstall a Printer Driver (Windows & Mac)
When a printer driver becomes corrupted or causes conflicts, a clean uninstall followed by a fresh install is the most reliable fix. This guide walks through fully removing an old driver on Windows and macOS, then installing a fresh copy from the manufacturer.
Applies to: All inkjet and laser printers, Windows 11 and Windows 10, macOS Ventura, Sonoma, and Sequoia, USB and wireless printers
Quick summary
- The problem
- The printer driver is corrupted, conflicting with another installation, or was not removed cleanly before a new one was installed — causing printing errors, the printer not being detected, or permanent offline status.
- The fix
- Remove the existing driver completely using the system print server (not just the printer icon), download a fresh copy for your exact model and OS from the manufacturer's site, and reinstall cleanly.
- Applies to
- Any printer on Windows 10, Windows 11, or macOS that was working before and has since developed driver-related problems.
On this page Show
Understanding the problem
Reinstalling a printer driver is not the same as repairing it. When people say "I reinstalled the driver," they usually mean they installed a new copy on top of the old one. That often leaves residual files, stale registry entries, and leftover port configurations that cause the same problem to come back.
A true clean reinstall removes the driver package from the system's print server first — the hidden store that Windows and macOS use to supply drivers to the printer queue. Only once that store is clear does a fresh install start from a genuinely blank state.
The most common situations that call for a clean reinstall: the printer appears offline permanently even though the hardware is fine; print jobs stall or disappear; the printer was detected during installation but stops appearing after a reboot; or the driver installed correctly but a feature — scanning, duplex printing, ink monitoring — stopped working after a Windows or macOS update.
This guide covers the full process: removing the old driver correctly on Windows and macOS, finding the right replacement, and completing a clean installation.
Best practice
Keep firmware up to date
Installing firmware updates from the manufacturer can fix bugs and improve compatibility. Keep the printer powered on throughout the update.
Signs you're in the right place
If you're seeing any of these, this guide is for you.
-
Printer shows permanently offline even when turned on
The printer is powered on and connected, but Windows or macOS reports it as offline and refuses to send print jobs.
-
Print jobs disappear or stall immediately
Jobs are sent to the queue but vanish or freeze before the printer receives them — often caused by a corrupted driver or port configuration.
-
Printer not found after OS update
A major Windows or macOS update changed the underlying system, making the existing driver incompatible. The printer no longer appears or responds.
-
Partial features stopped working
The printer prints basic documents but scanning, duplex, or ink monitoring stopped working — usually because part of the driver package is corrupted.
What's usually behind it
The most common reasons this happens, so the fix makes sense.
Corrupted driver files
An interrupted update or a failed installation left the driver files in a broken state. The printer may appear in the list but behave erratically.
Leftover files from a previous driver version
A previous driver was not fully removed before a new one was installed. The two versions conflict with each other, causing the queue or port to malfunction.
Wrong driver for the model or OS version
The installed driver is for a similar but different model, or for a previous version of Windows or macOS. Symptoms appear immediately after installation or after an OS upgrade.
Port configuration mismatch
The printer was set up on a different IP address or USB port. The driver still points to the old location, so jobs are sent to the wrong destination.
What you'll need
Have these on hand before you start for a smooth fix.
-
Administrator account on Windows or macOS
Removing a driver from the print server requires admin rights on Windows.
-
Your printer's exact model number
Found on a label on the underside or rear of the printer. Every character matters.
-
Internet connection
To download the fresh driver package from the manufacturer's official site.
How to fix it
Work through these in order — they run from the quickest checks to the more advanced fixes.
-
Step 1: Note your printer's exact model number
Turn the printer over or check the sticker on its back or base.
Write down the full model name including any letters and numbers — e.g. "HL-L2350DW" or "ENVY Pro 6455e". The driver must match this exactly.
Also note your operating system: Windows 10 or 11 (and whether it is 32-bit or 64-bit), or your macOS version (Settings → General → About).
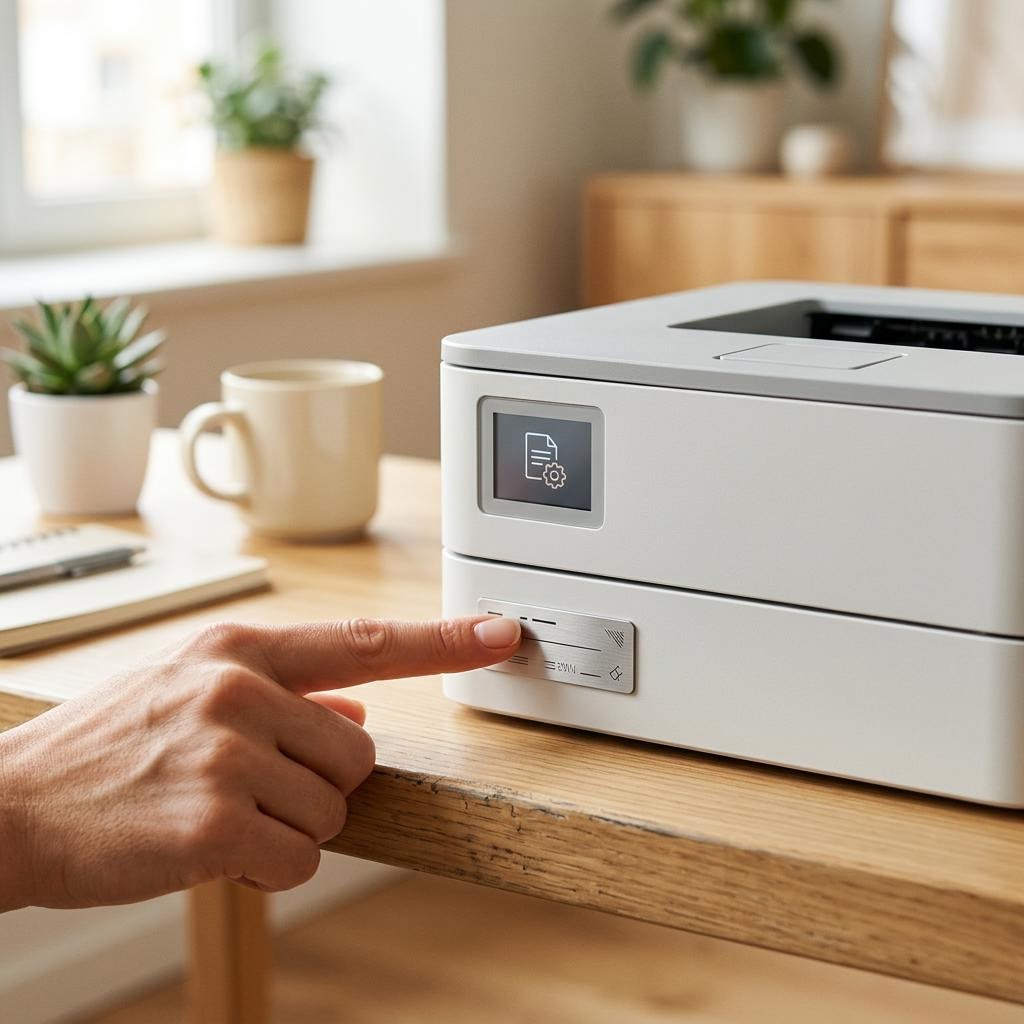
The model label is usually on the underside or rear of the printer. Copy every character — including the suffix. Why this works: Drivers are model-specific. A driver written for a similar model — even one letter different — may install without error but cause subtle problems that are hard to diagnose.
Expected result: You have the full, exact model name ready to use on the manufacturer's download page.
-
Step 2: Remove the printer and its driver completely
**On Windows:** Open Settings → Bluetooth & devices → Printers & scanners. Select your printer and click Remove.
Then open the Run dialog (Win + R), type printui.exe /s /t2, press OK. In the print server properties window, go to the Drivers tab, select your printer's driver, and click Remove → Remove driver and driver package.
If asked whether to remove from all servers, click Yes, then confirm the deletion.
**On macOS:** Go to System Settings → Printers & Scanners, select the printer, and click the minus button to remove it.
To remove the driver package too on macOS: right-click in the printer list and choose Reset Printing System. This clears all printers and drivers at once.
Restart your computer before continuing.
Why this works: Deleting just the printer icon leaves the driver package in the print server store. The next install often picks up the old broken package instead of starting clean.
Expected result: The printer no longer appears in the device list. A fresh restart ensures no leftover processes are running.
-
Step 3: Download a fresh driver from the manufacturer's official site
Go directly to the official support page for your brand — HP Support, Epson Support, Canon Support, Brother Support, etc. Do not use a third-party driver site.
Enter your exact model number in the search box.
Select your operating system from the dropdown. For Windows, also select 64-bit or 32-bit.
Download the full driver and software package (not just the basic driver), which includes scanning, maintenance, and settings software.
Save the installer to your Downloads folder.

Select your exact model and OS before downloading. The wrong selection is the most common setup mistake. Why this works: Only the manufacturer's own download guarantees the correct version. Third-party driver sites bundle outdated or mismatched packages that may worsen the problem.
Expected result: A fresh installer file is saved and ready to run.
-
Step 4: Run the installer and follow the setup wizard
Double-click the downloaded installer file to launch it.
Accept the licence agreement and follow each step of the wizard.
When asked for a connection type, choose the same method you normally use: USB or wireless.
For wireless: the wizard will scan for your printer on the network. Make sure the printer is turned on before this step.
For USB: connect the cable when the wizard asks — do not connect it beforehand.
Allow the installation to complete fully, including any firmware check it may perform.
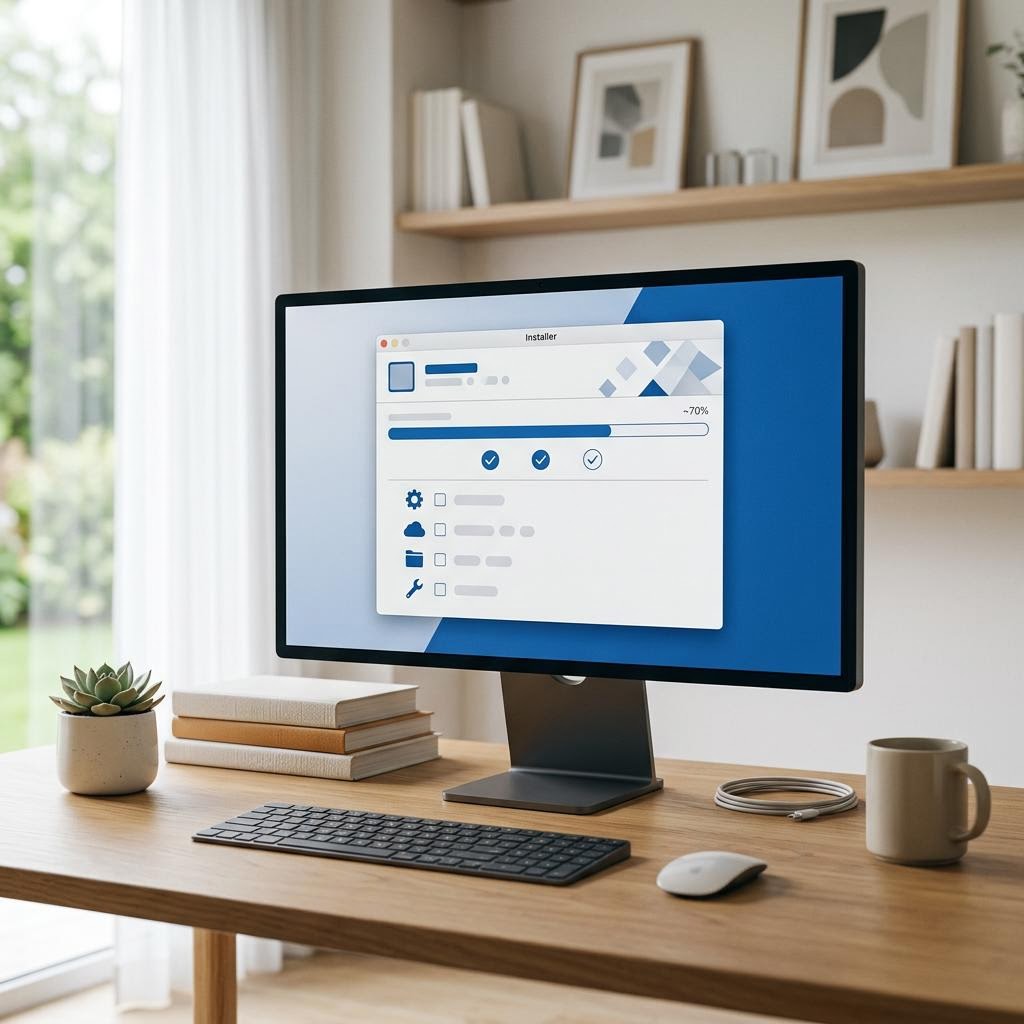
Let the wizard guide the connection step. Connecting the USB cable too early is a common cause of failed installations. Why this works: Running the full installer configures the port, registers the driver in the print server, and installs all companion software in the correct order.
Expected result: The installer completes without errors. The printer appears in the device list with a Ready status.
-
Step 5: Print a test page to confirm the installation
On Windows: open Settings → Printers & scanners, select your printer, click Printer properties, then Print Test Page.
On macOS: open System Settings → Printers & Scanners, select your printer, and click Print Test Page.
Examine the test page: it should print cleanly with no errors, missing sections, or colour problems.
If your printer has a scanner, test that too from the manufacturer's app.
Set the printer as the default in your OS settings if it is your primary printer.
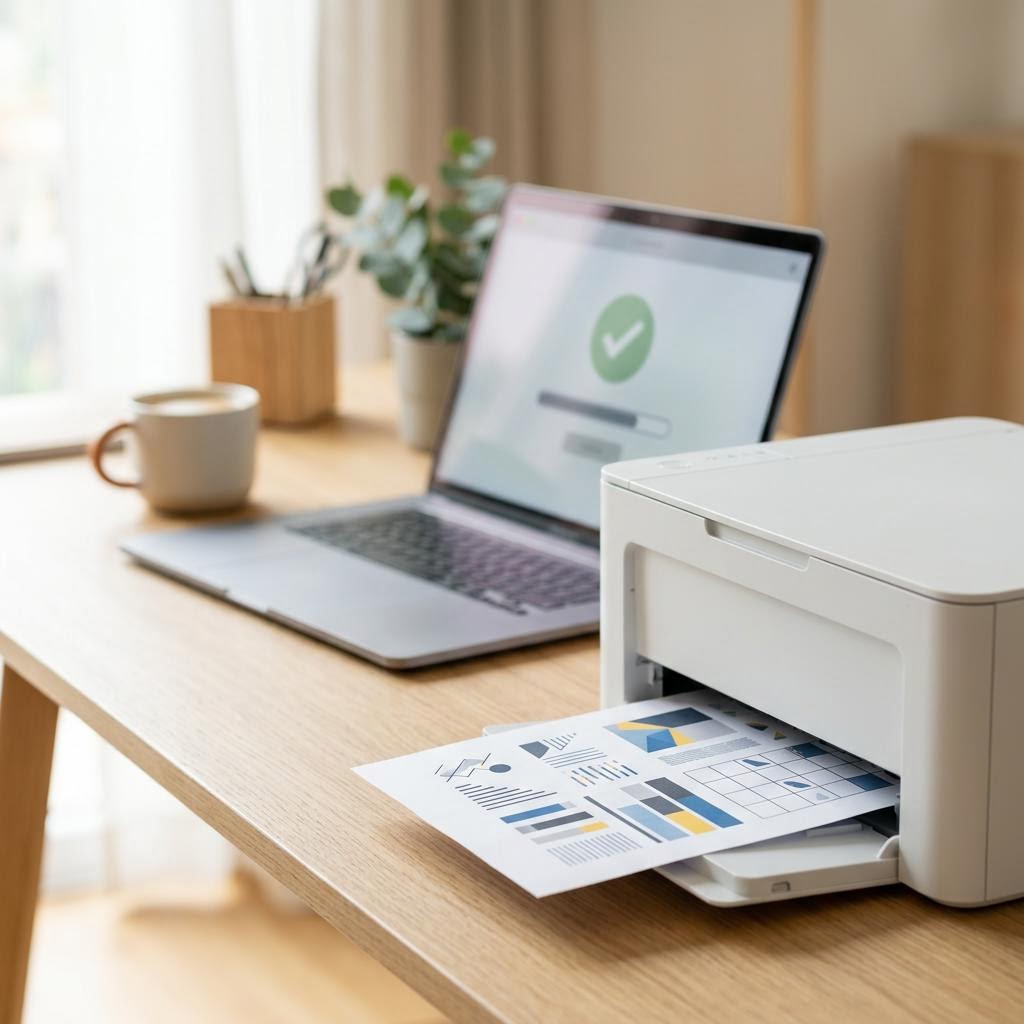
A clean, fully-printed test page is the clearest sign that the reinstall worked. Why this works: A successful test page confirms the driver, port, and connection are all working correctly end to end.
Expected result: A clean test page prints successfully. The printer shows Ready in the device list.
Tip
Printer Tip
Always fully remove the old driver from the print server before installing a new version
Other solutions to try
If the steps above didn't do it, these fixes resolve the less common cases.
Use the Windows Printer Troubleshooter if the reinstall does not resolve it
Go to Settings → System → Troubleshoot → Other troubleshooters and run the Printer troubleshooter. On Windows 10, search "Troubleshoot" in Settings. This can detect and automatically fix port mismatches or spooler errors that persist after a manual reinstall.
Reinstall the driver on macOS using the Reset Printing System option
Right-click (Control-click) in the printer list in System Settings → Printers & Scanners. Choose Reset Printing System. This removes all printers and their drivers at once, giving macOS a completely clean state before you add the printer fresh.
Confirm it's working
Tick these off to be sure the problem is fully resolved.
Keep it from happening again
A few habits that stop this problem coming back.
- Always fully remove the old driver from the print server before installing a new version
- Download drivers only from the manufacturer's official support page, not third-party sites
- When Windows offers an automatic driver update, allow it — built-in updates are tested for compatibility
- After a major OS update, check the manufacturer's site for a driver update before problems appear
- Use the manufacturer's companion app for maintenance — it keeps the driver and firmware in sync
Frequently asked questions
Was this guide helpful?
Your feedback helps us keep these steps accurate.
Thanks for your feedback!
Written by
The Guts Guide Editorial Team · Printer Troubleshooting Specialists
Last updated
Jul 17, 2026
Continue Reading
Pick up where you left off with the next guide in your troubleshooting journey.
Related Guides
More troubleshooting walkthroughs you may find useful.
Buying Guides
Plain-English comparisons and pre-purchase checklists — find the right printer before you buy.


