
How to Manage Startup Programs on Windows 10 and 11
Every program that runs at startup slows down boot time and keeps RAM occupied for the entire session. This guide shows you how to see what is launching at startup, decide what to disable, and make those changes safely using Task Manager and Windows Settings — without removing any software.
Applies to: Windows 11, Windows 10, Desktop and laptop computers
Quick summary
- The problem
- Windows takes a long time to boot and the computer feels slow for several minutes after login because too many applications are loading automatically at startup.
- The fix
- Open Task Manager (Ctrl + Shift + Esc), go to the Startup apps tab, and disable the programs you do not need running from the first moment you log in. This does not uninstall anything — you can still open those programs manually.
- Applies to
- Windows 10 and Windows 11 desktops and laptops that have become noticeably slower to boot or feel sluggish immediately after login.
On this page Show
Understanding the problem
When you install software on Windows, many applications register themselves to start automatically when Windows boots. At first, with a fresh installation, this is manageable. After months or years of installing browsers, cloud storage clients, communication apps, printer software, games, and utilities, the number of startup programs can grow to 20, 30, or more.
Each startup program claims a share of your CPU, RAM, and disk during the boot sequence. Individually, most use very little. Together, they force Windows to do far more work before you can use the computer normally. A machine that once booted in 15 seconds can take several minutes once this accumulation builds up.
The important distinction is: disabling a startup program does not remove or uninstall it. The program is still installed and fully accessible — you just launch it manually when you actually need it, rather than having it run in the background from the moment Windows starts.
Windows provides two straightforward tools for managing startup programs: Task Manager and the Startup Apps section in Settings. Both are built in, require no downloads, and take only a few minutes to use effectively.
Quick fact
Duplex means double-sided
Duplex printing prints on both sides of the paper automatically. If your printer lacks it, you can print odd pages, flip the stack, and print the even ones.
Signs you're in the right place
If you're seeing any of these, this guide is for you.
-
Windows takes a long time to reach a usable desktop
Boot time has grown from seconds to several minutes. The login screen loads but the desktop remains unresponsive or slow for a long time after.
-
Computer feels slow for the first 5–10 minutes after login
Even after reaching the desktop, opening applications or the Start menu takes much longer than usual. This settles after several minutes as startup programs finish loading.
-
Task Manager shows high CPU or disk usage right after boot
Opening Task Manager immediately after login reveals multiple programs consuming significant CPU or disk resources — startup activity that has not yet finished.
What's usually behind it
The most common reasons this happens, so the fix makes sense.
Accumulated startup registrations
Each installed application had an opportunity to add itself to the startup sequence. Over time, tens of programs have added themselves and none have been removed.
Cloud sync clients running at boot
Services like OneDrive, Google Drive, Dropbox, and iCloud all register startup entries. When multiple sync clients run simultaneously at boot, they compete for disk and network resources.
Communication and chat apps launching automatically
Teams, Slack, Discord, Zoom, Skype, and similar apps all default to starting at login. Even if you use them daily, they do not need to start before you actually open them.
Manufacturer preinstalled software
Many new PCs come with OEM software — manufacturer utilities, update checkers, and companion apps — that register startup entries before you have installed anything yourself.
What you'll need
Have these on hand before you start for a smooth fix.
-
A Windows 10 or Windows 11 PC
These steps apply to both versions. The screenshots and menu names are slightly different but the process is the same.
-
Task Manager
Built into Windows — no download required. Open with Ctrl + Shift + Esc.
How to fix it
Work through these in order — they run from the quickest checks to the more advanced fixes.
-
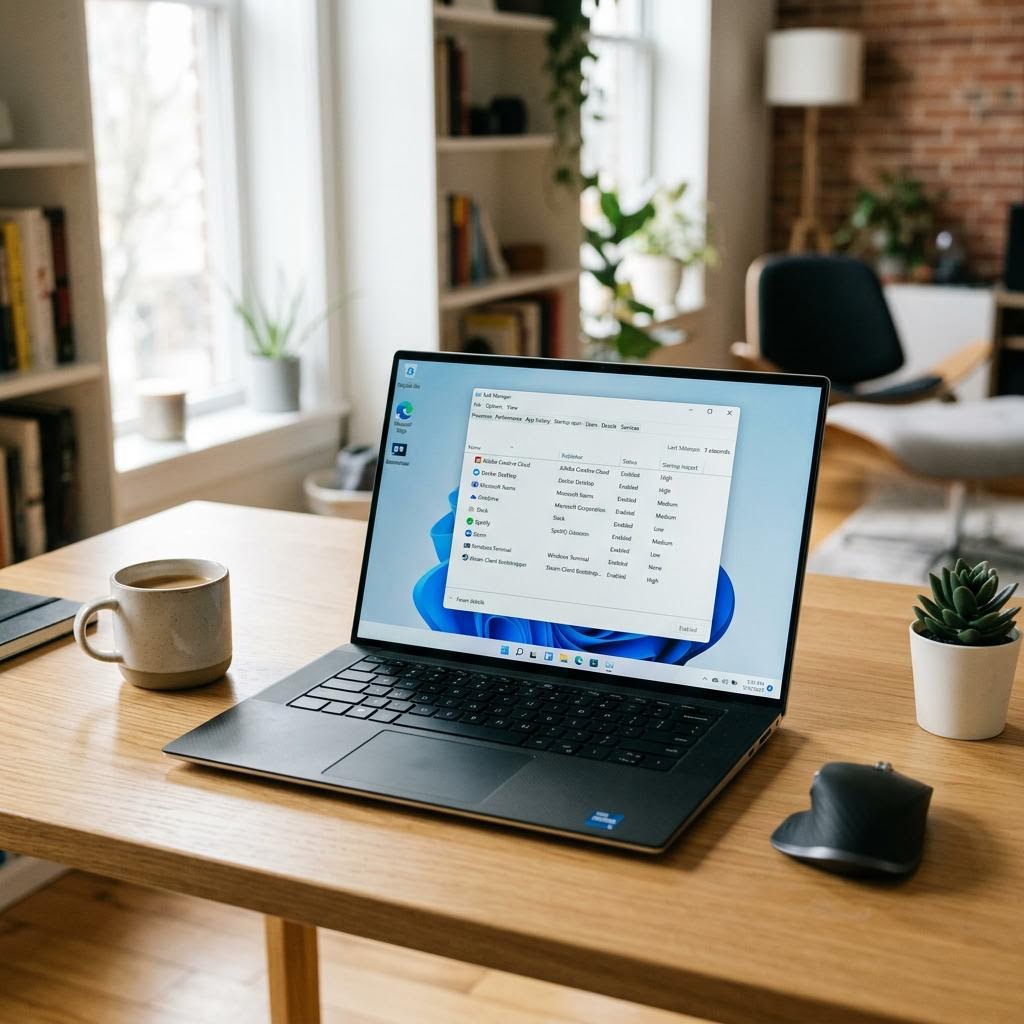
Step 1: Open Task Manager and find the Startup apps tab
Press Ctrl + Shift + Esc to open Task Manager directly.
Alternatively, right-click the taskbar and select Task Manager, or search "Task Manager" in the Start menu.
In Windows 11: click the three-line menu icon (≡) on the left to expand the full view if it appears compact, then select "Startup apps".
In Windows 10: click "More details" if you see the compact view, then select the "Startup" tab at the top.
You now see a list of every program set to start automatically when Windows boots.
Why this works: Task Manager is the most complete view of startup programs and includes the Startup impact column — which Windows updates based on how much each app slows boot time — making it easy to prioritise what to disable first.
Expected result: A list of startup programs is visible, each with its Status (Enabled/Disabled) and Startup impact rating (None/Low/Medium/High).
-
Step 2: Understand the Startup impact ratings
The "Startup impact" column shows how much each program slows down your boot: None, Low, Medium, or High.
Focus on High-impact programs first — these have the most effect on boot time.
The "Status" column shows whether each entry is currently Enabled or Disabled.
The "Publisher" column helps identify what each program belongs to. Unknown publishers or blank publisher names are worth investigating before disabling.
Right-click any entry and select "Properties" to see the file path if you are unsure what a program is.
Why this works: Prioritising high-impact entries gives you the biggest speed improvement for the least disruption. Understanding what each program does avoids accidentally disabling something important.
Expected result: You have identified the high-impact startup programs and understand what each one does.
-
Step 3: Disable programs you do not need at startup
Right-click a program in the list and select "Disable". This prevents it from starting automatically — it does not uninstall it.
Safe to disable: game launchers (Steam, Epic, GOG), cloud backup clients if you don't need instant sync, communication apps (Zoom, Teams, Slack, Discord), manufacturer utilities you rarely use, and update checkers for applications you update manually.
Leave enabled: your antivirus or security software, Windows components, and any hardware driver software your peripherals depend on.
If you are unsure about a program, search its name online before disabling it.
After disabling entries, the "Status" column updates immediately — no restart needed for the list to reflect your changes.
Why this works: Disabling is reversible and non-destructive. Any program can be re-enabled in seconds if you find you need it at startup after all.
Expected result: High-impact startup programs that are not needed at boot are set to Disabled. Security software and hardware drivers remain Enabled.
If you cannot find a program by name, right-click it in Task Manager and choose "Open file location" to see exactly what is running.
-
Step 4: Check the Startup Apps list in Windows Settings
Open Settings (Win + I), then go to Apps → Startup.
This view shows the same programs as Task Manager but presents them with toggle switches and brief descriptions for some entries — often clearer for less familiar programs.
Toggle off any entries you want to disable. Changes here and in Task Manager are synchronised — disabling in one reflects in the other.
On Windows 10, this view is available at Settings → Apps → Startup if your version supports it, otherwise manage everything through Task Manager.
Why this works: The Settings view is often easier to read and provides context for programs that Task Manager only shows by filename.
Expected result: All unwanted startup programs are disabled in both Task Manager and Settings.
-
Step 5: Restart Windows and measure the improvement
Save any open work and restart your computer.
Time how long it takes from the login screen to a fully responsive desktop.
After reaching the desktop, wait 2 minutes and then open Task Manager → Performance tab to see current CPU and memory usage — it should be noticeably lower than before.
If boot time is still slow after the restart, return to Task Manager and check whether any newly appeared entries with High impact can also be disabled.
If you disabled something that you miss at startup, re-enable it by right-clicking and selecting "Enable" in Task Manager or toggling it back on in Settings.
Why this works: A restart applies all the changes you made. Timing the boot before and after gives you a concrete measure of the improvement.
Expected result: Boot time is noticeably faster. The computer reaches a usable state in less time after login.
Tip
Printer Tip
When installing new software, look for a "Launch at startup" or "Run at login" checkbox and uncheck it during installation
Other solutions to try
If the steps above didn't do it, these fixes resolve the less common cases.
Check startup folders for programs Task Manager does not show
Some older or poorly-written programs add themselves to Windows startup via the Registry or a startup folder rather than the standard route Task Manager shows. Open the Run dialog (Win + R), type shell:startup and press OK to see the personal startup folder, and shell:common startup for system-wide entries. Delete any shortcuts in these folders that you do not recognise or need.
Enable Windows Fast Startup if boot time is still slow
Windows Fast Startup saves a snapshot of the system to disk when you shut down, allowing a faster restart next time. Check it at Settings → System → Power (Windows 11) or Control Panel → Power Options → Choose what the power buttons do (Windows 10). Enable "Turn on fast startup" if it is not already checked.
Confirm it's working
Tick these off to be sure the problem is fully resolved.
Keep it from happening again
A few habits that stop this problem coming back.
- When installing new software, look for a "Launch at startup" or "Run at login" checkbox and uncheck it during installation
- Review the startup list once every few months — applications often add themselves silently after updating
- Keep the number of High-impact startup entries to three or fewer for the fastest boot times
- Uninstall software you no longer use rather than just disabling its startup entry — it also removes background services
- Avoid installing manufacturer companion apps for hardware you use rarely — they contribute disproportionately to startup load
Frequently asked questions
Was this guide helpful?
Your feedback helps us keep these steps accurate.
Thanks for your feedback!
Written by
The Guts Guide Editorial Team · PC Performance Specialists
Last updated
Jul 17, 2026
Continue Reading
Pick up where you left off with the next guide in your troubleshooting journey.

Related Guides
More troubleshooting walkthroughs you may find useful.
Buying Guides
Plain-English comparisons and pre-purchase checklists — find the right printer before you buy.


